Landscape photography improves when you master four fundamentals: composition, light timing, camera settings, and lens choice. Strong landscape images need a clear visual structure, quality light, sharp exposure, and the right focal length for the scene. Use this guide to learn how to take better landscape photos with practical, repeatable techniques.
By Stacie Errera, Photography by credited Tamron photographers. Graphics by Tamron Americas.
Table of Contents
- What Makes a Great Landscape Photo?
- How to Use Composition in Landscape Photography
- What Is the Best Light for Landscape Photography?
- What Camera Settings Should You Use for Landscape Photography?
- What Lens Should You Use for Landscape Photography?
- Essential Gear for Landscape Photography
- Common Landscape Photography Mistakes (and How to Fix Them)
- How to Keep Improving Your Landscape Photography
- Find the Right Tamron Lens for Your Landscape Work
What Makes a Great Landscape Photo?
A great landscape photo has four things working together: a clear subject or focal point, strong composition, quality light, and sharp exposure. When any one of these elements is missing, the image may feel incomplete, even if the location itself is beautiful or dramatic.
Most beginners focus on location first. They look for mountains, waterfalls, coastlines, forests, overlooks, or colorful skies and assume the scene will do all the work. But the photographers who consistently create strong landscape images are the ones who learn to control the other three elements.
A beautiful location with flat midday light can still feel lifeless. A perfect golden-hour scene with no focal point can feel empty. A sharp exposure with poor composition may record the scene accurately but fail to guide the viewer’s eye. The goal of landscape photography is not only to show where you were, but to organize the scene in a way that feels intentional.
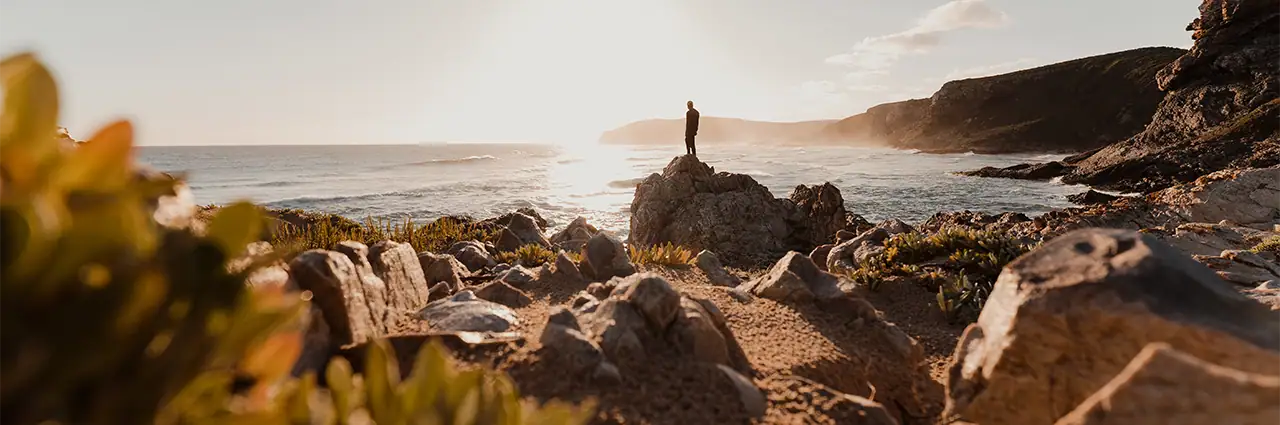
Why Every Landscape Photo Needs a Focal Point
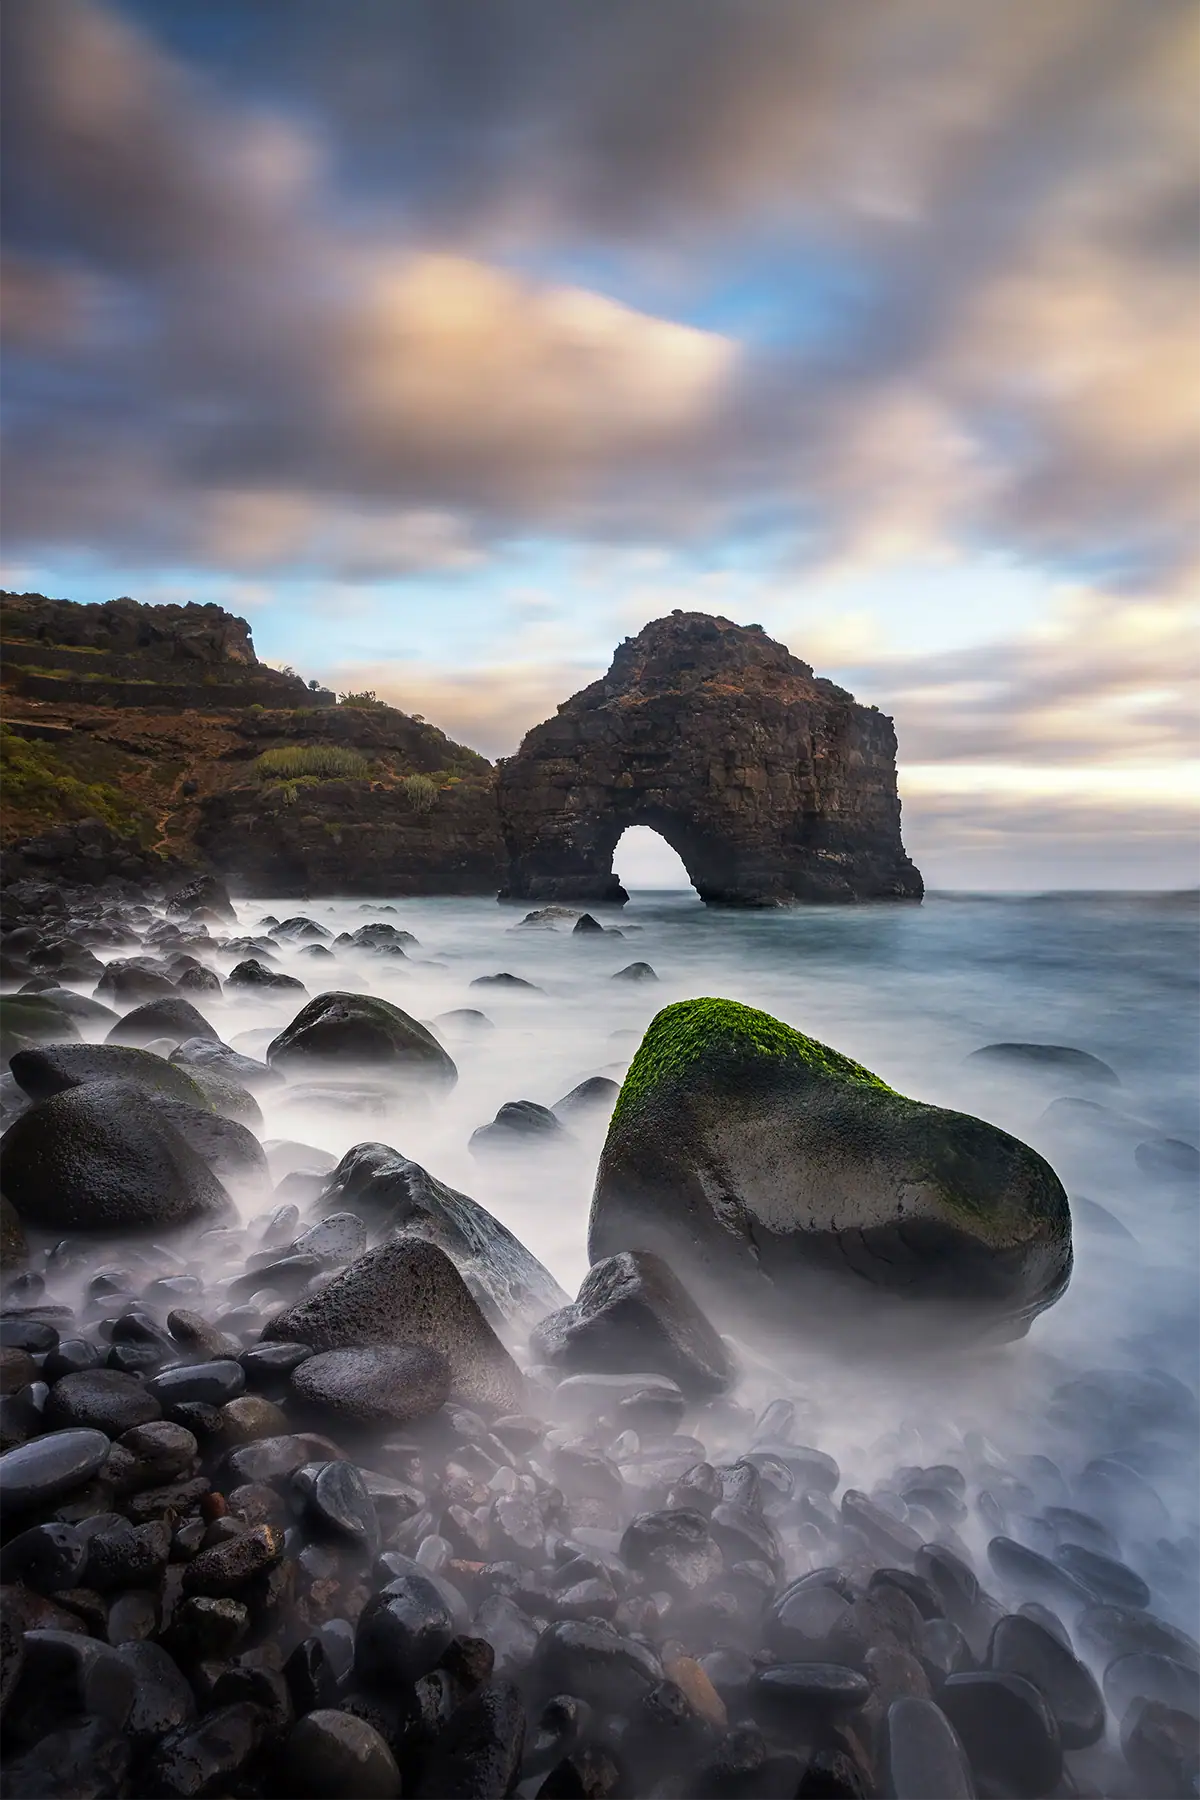
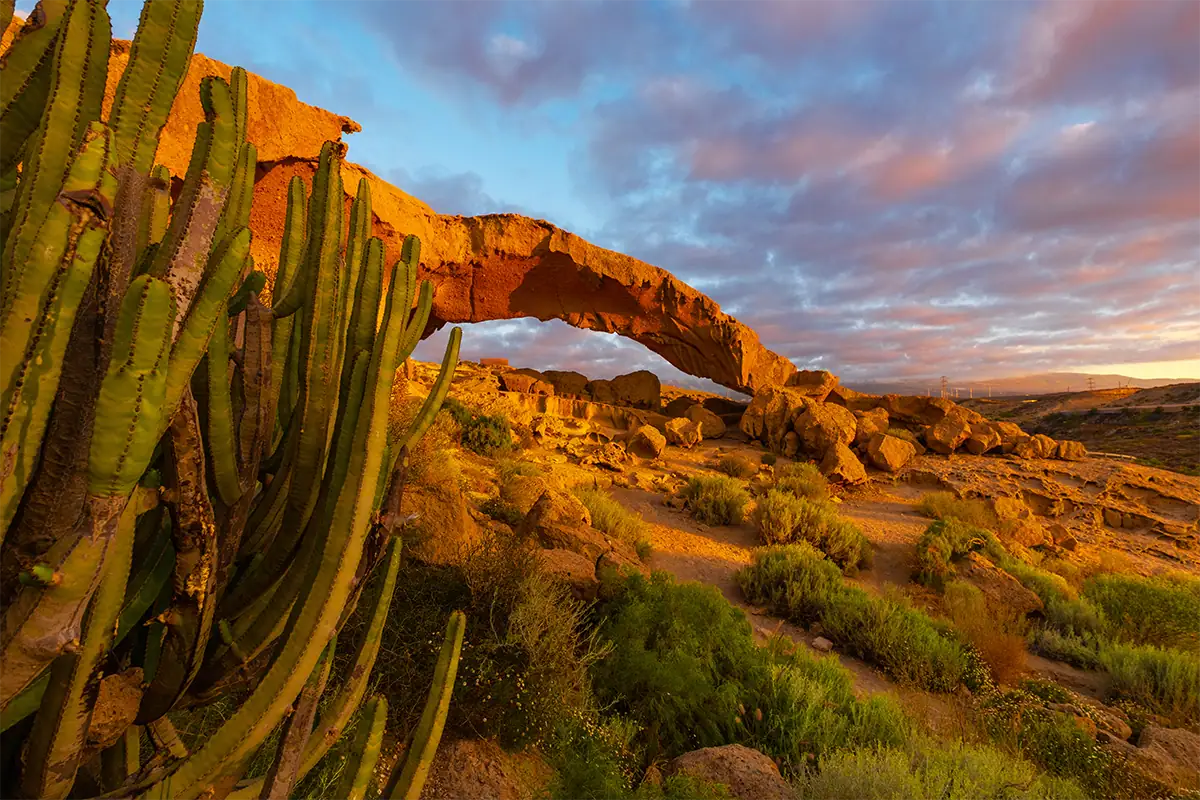
A focal point is the single element that draws the viewer’s eye into the frame, such as a rock formation, a lone tree, a winding path, a distant mountain peak, or a bright area of light. Without one, even a beautiful landscape scene can feel flat, scattered, or forgettable.
Look for something with visual weight. That may come from contrast, color, scale, shape, texture, or placement within the frame. A red cabin in a snowy field, a sunlit peak above a dark valley, or a single person standing near the edge of a lake can all act as focal points.
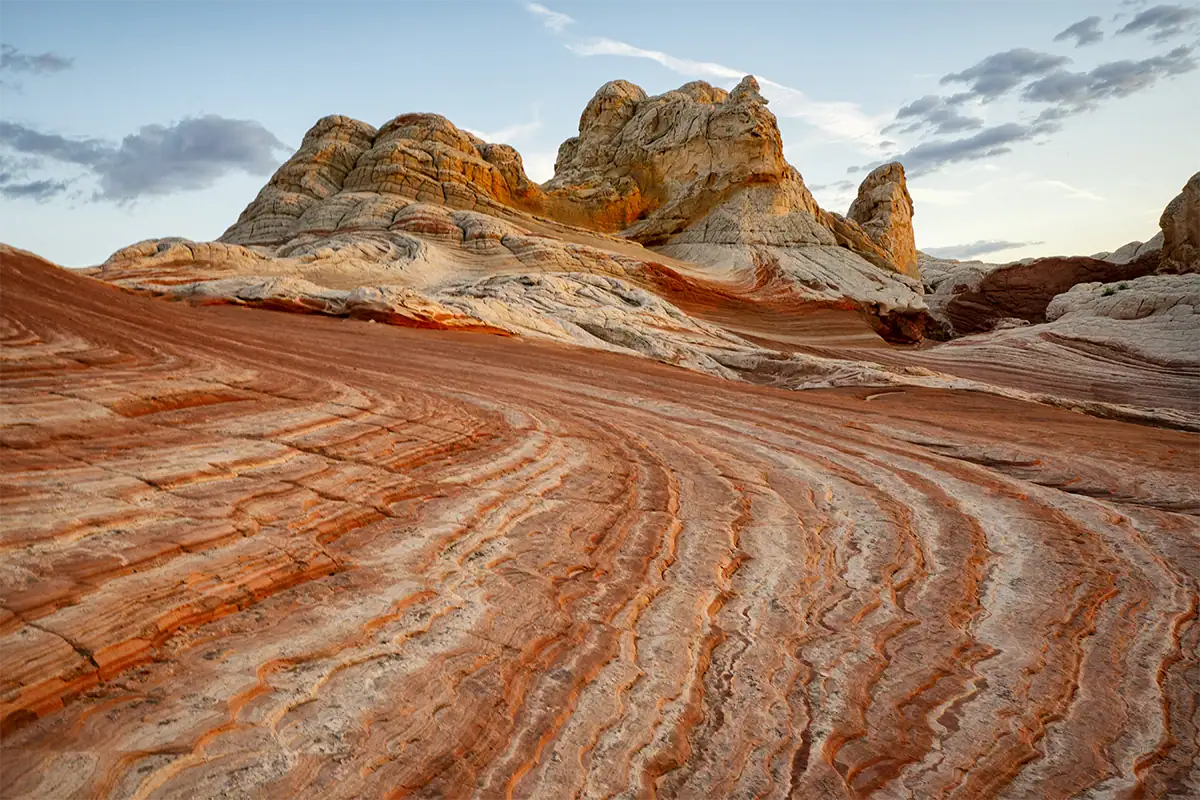
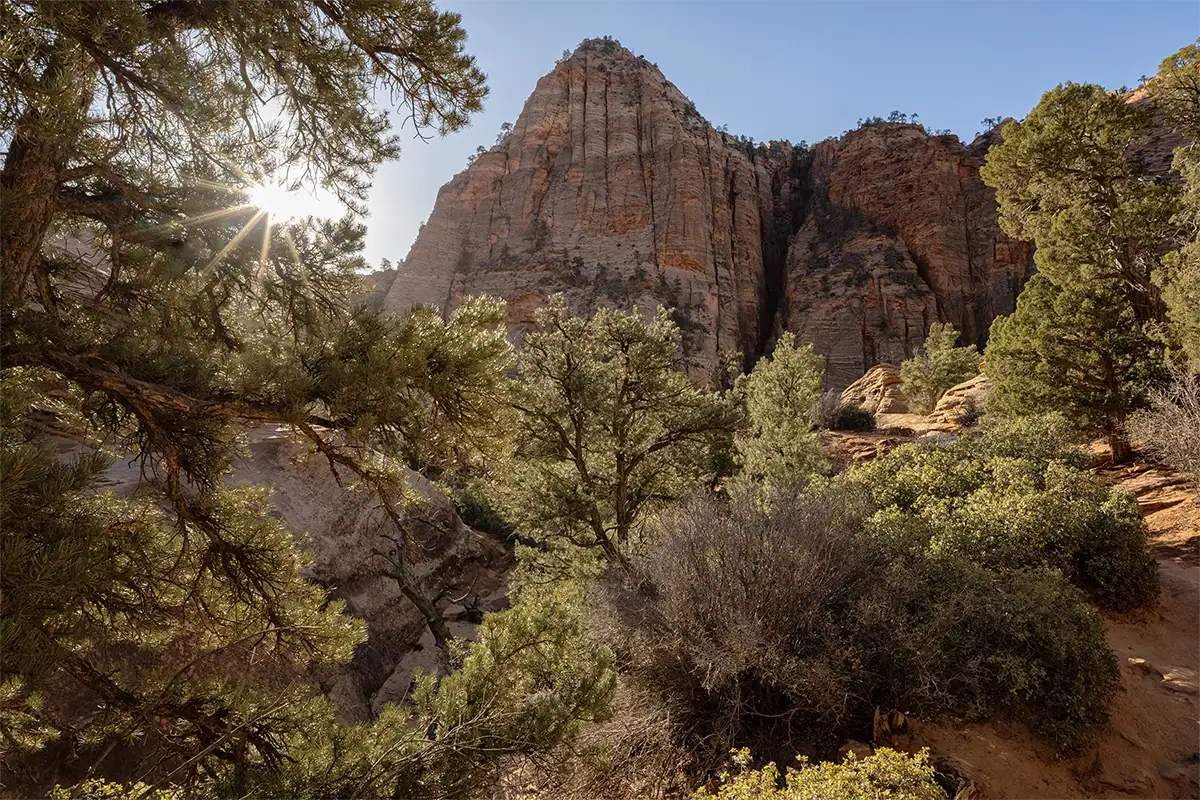
Foreground elements are especially useful in landscape photography because they create depth. A rock, wildflower, stream, log, or patch of texture close to the camera gives the viewer a place to enter the image before moving toward the middle ground and background.
How to Use Composition in Landscape Photography
Composition is the arrangement of elements in your frame, and the fastest way to improve it is to practice the rule of thirds and leading lines. These two landscape photography tips help you create balance, depth, and direction without changing your camera or buying new gear.
Unlike lighting or weather, composition is always available to practice. Every time you raise the camera, you can decide where to place the horizon, how to frame your subject, what to include in the foreground, and what to remove from the edges of the image.
For a broader foundation, start with Tamron’s beginner’s guide to photo composition, then return to these landscape-specific techniques as you shoot.
The Rule of Thirds
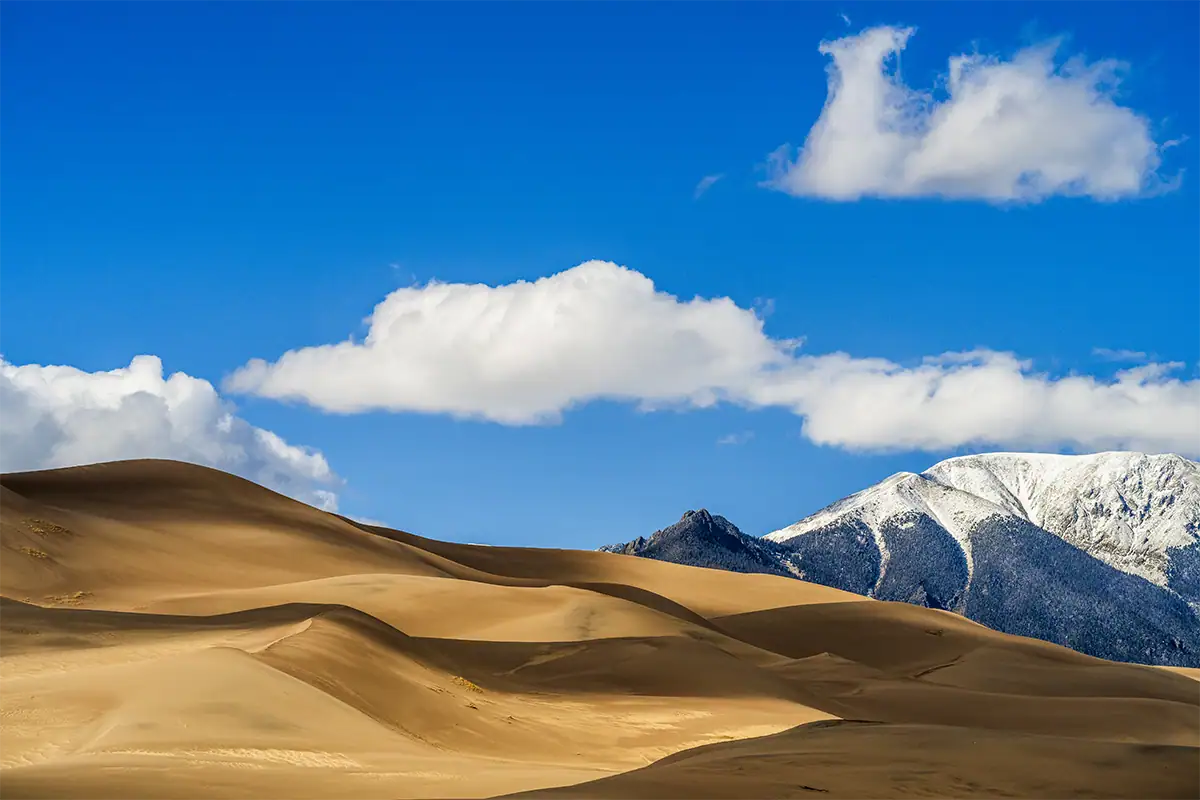
The rule of thirds divides your frame into a 3×3 grid. Placing your horizon and key subjects along those grid lines, instead of directly in the center, often creates images that feel more balanced, natural, and dynamic. Most cameras have a grid overlay you can enable today.
The horizon is one of the most important decisions in landscape photography. If the sky is the strongest part of the scene, place the horizon in the lower third so the clouds, color, or light dominate the frame. If the foreground is more interesting, place the horizon in the upper third so rocks, flowers, water, sand, or texture get more space.
This does not mean the horizon can never be centered. Reflections, symmetry, and minimalist compositions can work beautifully with a centered horizon. But for most beginner landscape photos, moving the horizon away from the middle immediately makes the image feel more deliberate.
Using Leading Lines to Pull the Viewer In

Leading lines are natural or man-made lines in the scene, such as roads, rivers, fences, shorelines, trails, shadows, or ridgelines, that guide the viewer’s eye through the image. They add depth and movement, helping a still landscape photo feel more immersive.
Look for lines that begin near the bottom of the frame and move toward your focal point. A trail leading toward a mountain, a stream flowing into a forest, or a shoreline curving toward a sunset gives the viewer an easy visual path to follow.
Leading lines do not need to be literal straight lines. Tree trunks, cliff edges, cloud formations, rows of flowers, and patterns in sand or snow can all create visual direction. To explore this technique in more depth, read Tamron’s guide to leading lines in photography.
Perspective and Shooting Angle
Changing your shooting height dramatically changes the feel of a landscape image. Getting low exaggerates foreground elements and creates depth, while shooting from a higher position can reveal patterns, layers, and relationships that are not visible from normal standing height.
Most beginners shoot every landscape from eye level. That is natural, but it also makes many images feel predictable. Before taking the final photo, try photographing the same scene from three positions: standing, kneeling, and very low to the ground. Then compare how the foreground, horizon, and focal point change.
A low perspective can make small foreground details feel more important. A higher perspective can simplify clutter and show how rivers, roads, fields, or ridgelines move through the frame. For more creative ideas, see Tamron’s guide to unique photography angles and perspectives.
What Is the Best Light for Landscape Photography?
The best light for landscape photography is usually the hour after sunrise and the hour before sunset, known as golden hour. The light is warm, low-angle, and directional, which adds color, texture, shadows, and depth that harsh midday light often cannot provide.
Light is one of the biggest differences between an average landscape photo and a memorable one. The same scene can look completely different depending on the time of day. A mountain at noon may appear flat and washed out. That same mountain at sunrise may show shape, texture, atmosphere, and color.
This is one of the most important landscape photography tips because it requires planning, not expensive gear. If you want to know how to take better landscape photos quickly, start by changing when you shoot.
Golden Hour and Blue Hour Explained
Golden hour produces warm, amber light at a low angle that creates long shadows, richer color, and more visible texture. According to Wikipedia’s entry on golden hour photography, this warmth occurs because low-angle sunlight travels through more atmosphere, scattering blue wavelengths and leaving reds and oranges to dominate. Duration varies by latitude and season.
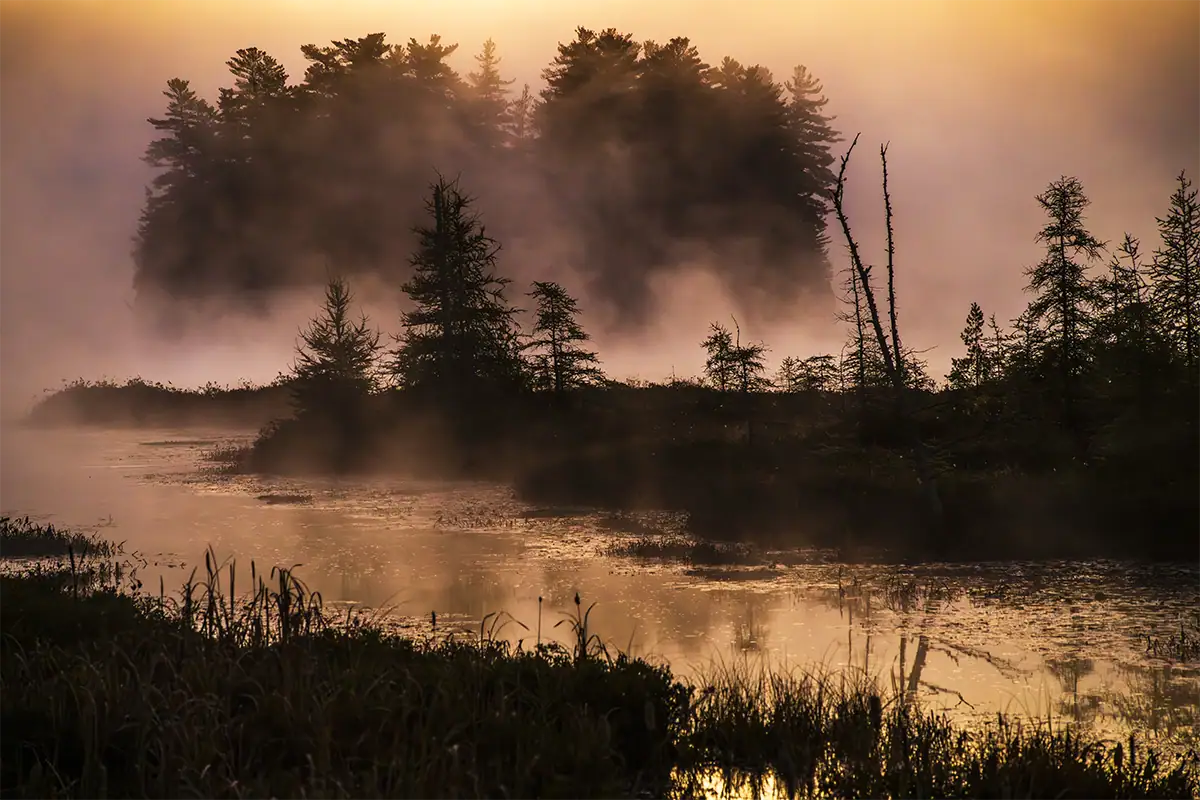
Blue hour, which happens shortly before sunrise and shortly after sunset, creates cooler, softer light that works especially well for water, fog, mist, and quiet scenes.
Golden hour is often ideal when you want dramatic direction, warm highlights, and shadow detail. Blue hour is useful when you want a calmer mood, softer contrast, or a more atmospheric look. Both are valuable for landscape photography, and both reward planning.
Use a planning app or sunrise and sunset tool to know when the light will arrive and where it will fall. For more detail, explore Tamron’s golden hour photography tips, blue hour photography guide, and best settings for sunset and sunrise photos.
Why Midday Light Is So Difficult
Midday light is difficult for landscape photography because it is harsh, overhead, and often creates blown-out skies, flat color, and deep shadows with little detail. The sun is high in the sky, so the scene usually has less shape, less texture, and less visual drama.
This does not mean you should never shoot during the day. It means you need to adjust your expectations and choose subjects that work better in that light. Forests, canyons, waterfalls, shaded trails, architectural landscapes, and overcast scenes can all photograph well outside golden hour.
If you must shoot at midday, look for shade, wait for clouds, use a circular polarizer when appropriate, and pay close attention to highlights. Avoid open landscapes with bright skies and dark foregrounds unless you are intentionally working with high contrast.
How Weather Changes Landscape Photography
Stormy, foggy, rainy, snowy, and overcast conditions can produce more interesting landscape photos than clear blue-sky days. Clouds add texture, fog creates depth, wet surfaces reflect light and breaks in storm clouds can create dramatic beams of sunlight across the scene.
Many beginners cancel a shoot when the forecast is not clear, but weather is often what gives a landscape photo its mood. Mist can separate layers of trees. Storm clouds can make a mountain feel more powerful. Overcast light can soften forests, waterfalls, and fall color.
Tamron Image Master Ian Plant puts it directly: “Be there when the weather changes! Your best chance to capture dramatic conditions occurs when weather fronts come in and move out.”
Treat weather as a creative variable, not an obstacle. For seasonal inspiration, explore Tamron’s guide to landscape photography during fall colors. For more dramatic outdoor conditions, explore Ian Plant’s quick tips for landscape and weather photography.
What Camera Settings Should You Use for Landscape Photography?
The baseline camera settings for landscape photography are aperture f/8-f/11 for sharp front-to-back focus, ISO 100-400 for clean detail, and a shutter speed based on available light. With a tripod, slower shutter speeds are often fine and can become a creative tool.
These settings are starting points, not rules. Your final exposure depends on the light, subject movement, lens, tripod use, and creative goal. Still, f/8-f/11, ISO 100-400, and a controlled shutter speed will work for many landscape situations.
The key is understanding what each setting does. Aperture affects depth of field. ISO affects noise and image quality. Shutter speed affects motion. Once you understand those three controls, you can make better decisions in the field.
For deeper learning, see our guide to landscape photography camera settings: from baseline to every shooting scenario.
Aperture: The Key to Front-to-Back Sharpness
Aperture controls depth of field, or how much of the scene appears sharp from foreground to background. For landscape photography, smaller apertures such as f/8, f/11, or sometimes f/16 help keep both nearby foreground elements and distant backgrounds in focus.
For most lenses, f/8-f/11 is the sharpness sweet spot. According to Cambridge in Colour’s tutorial on diffraction in photography, diffraction begins limiting resolution when the width of the light’s airy disk surpasses the size of your camera’s pixels, a threshold that typically falls somewhere between f/11 and f/16 depending on your sensor resolution. Stopping down beyond that point trades sharpness at the focal plane for depth of field.
If your foreground subject is very close to the camera, focus carefully and check your image playback. Make sure the foreground has detail and the background still looks sharp. For a deeper explanation, read Tamron’s guide to what is aperture in photography.
ISO: Keep It Low for Clean Images
ISO controls your camera’s sensitivity to light. For landscape photography, use the lowest ISO your conditions allow. As Cambridge in Colour’s tutorial on digital camera image noise explains, higher ISO speeds amplify the image signal to simulate greater sensitivity, but this amplification also increases noise, producing random speckles that degrade fine detail in skies, shadows, and water.
Lower ISO settings help preserve detail, color, and dynamic range. Higher ISO settings can introduce digital noise, which reduces fine detail in skies, shadows, water, foliage, and large prints.
If you are shooting at dawn, dusk, or blue hour with a tripod, keep ISO low and let the shutter speed get slower. If you are handholding or photographing moving plants in wind, you may need a higher ISO to maintain sharpness. For more background, see Tamron’s guide to what is ISO in photography.
Shutter Speed: When to Go Slow
For most landscape photos made with a tripod, shutter speed is both a technical control and a creative decision. Fast shutter speeds freeze motion, while slower shutter speeds blur moving elements such as water, clouds, grasses, or waves for a softer, more expressive effect.
A shutter speed of 1/500s or faster can freeze moving water, blowing leaves, or waves. A slower shutter speed, such as 1/4s or longer, can blur water into a smoother texture. Multi-second exposures can stretch clouds or flatten the surface of water.
Try both approaches in the same scene. Freeze the motion first, then slow the shutter and compare. To keep the camera steady, use a tripod and a 2-second self-timer or remote shutter release.
Learn more with Tamron’s guides to what is shutter speed, silky water photography with slow shutter speed, and long exposure photography guide.
Shoot in RAW for More Editing Control
Shooting in RAW records more image data than JPEG, especially in highlights and shadows. According to Cambridge in Colour’s tutorial on the RAW file format, RAW provides considerably more dynamic range because sensor data has not been converted using tone curves, meaning exposure can be adjusted after capture to recover detail a JPEG would permanently discard.
Dynamic range is one of the biggest challenges in landscape photography. A sunset sky may be much brighter than the land below it. A forest path may have bright openings and deep shadows in the same image. RAW gives you more room to balance those tones in editing.
If RAW processing feels intimidating, shoot RAW+JPEG while you learn. You will have a ready-to-share JPEG and a more flexible RAW file for later editing.
Learn more in our guide to the benefits of shooting in RAW.
What Lens Should You Use for Landscape Photography?
Wide-angle lenses in the 16-35mm range on full-frame cameras are the most versatile starting point for landscape photography because they capture expansive scenes, emphasize foreground-to-background depth, and work well at f/8-f/11. A telephoto zoom is the logical second lens for isolating distant details.
Lens choice changes what is possible in the field. A wide-angle lens can make the viewer feel close to the scene. A telephoto lens can simplify a large view by isolating one ridge, peak, tree, or pattern. A standard zoom can help you move between both approaches.
The best lens depends on your camera mount, sensor size, location, and shooting style. But for most beginners, a flexible zoom is the easiest way to learn composition without constantly changing lenses.
Wide-Angle Lenses: The Landscape Staple
Wide-angle lenses, such as 16-35mm on full-frame or 10-24mm on APS-C, are common landscape photography choices because they include more of the scene, increase apparent depth of field, and emphasize foreground elements that create a strong sense of depth.
A wide-angle lens is especially useful when you want to include dramatic skies, large foregrounds, sweeping views, or tight spaces where you cannot step backward. However, going extremely wide can make distant subjects look smaller. A mountain that looks massive in person may shrink if you use too wide a focal length without a strong foreground.
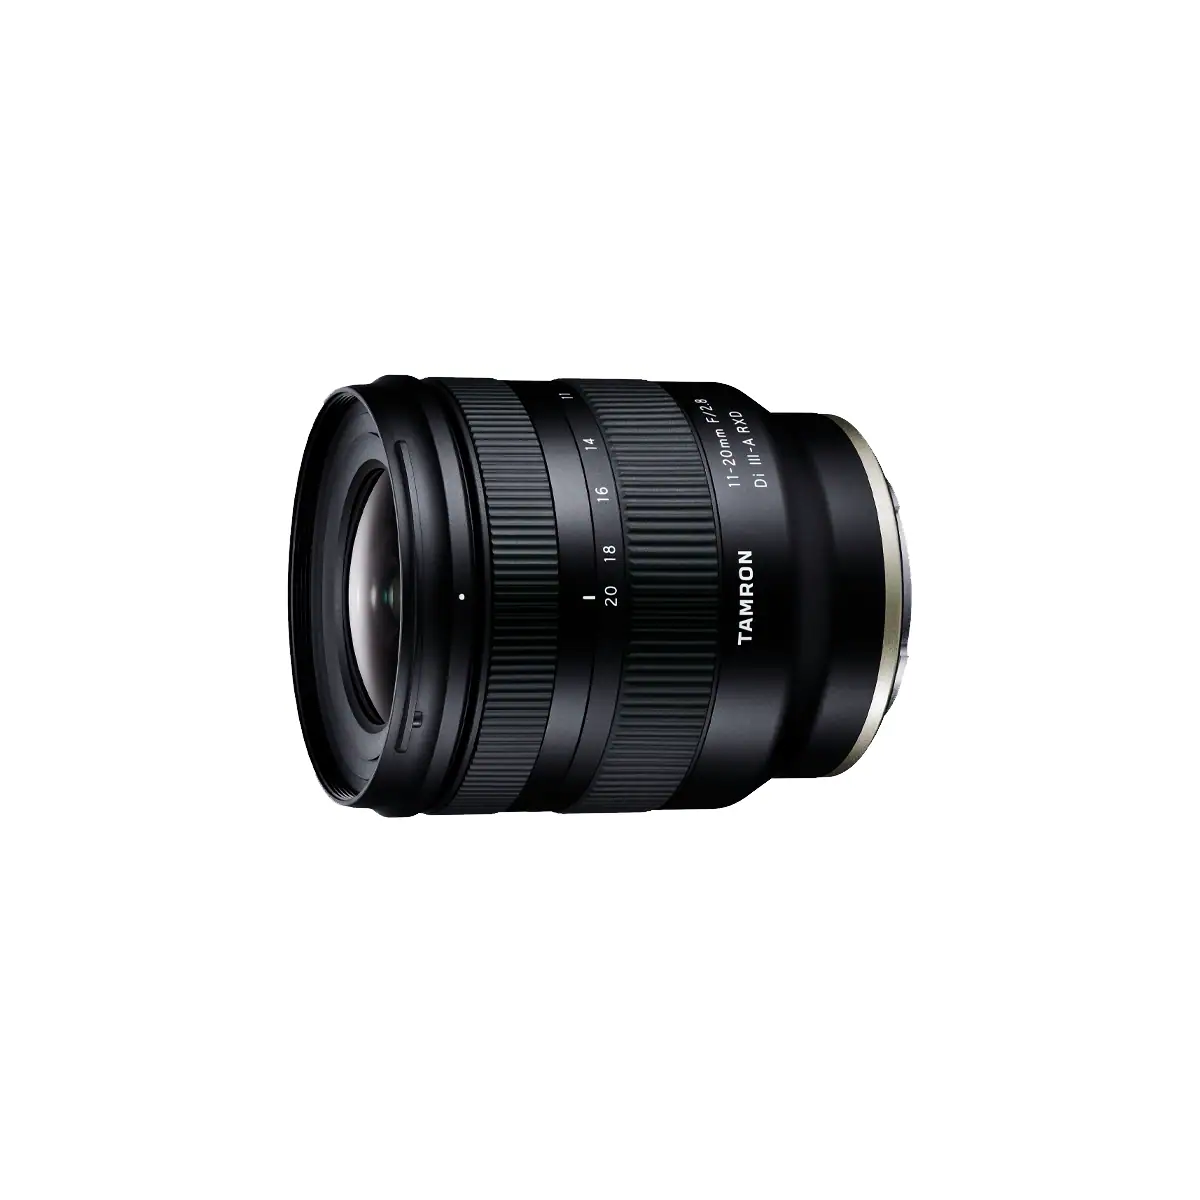
A 24mm or 28mm view is often more forgiving for beginners than an ultra-wide 14mm perspective. Experienced landscape photographers, however, may enjoy the immersive perspective provided by the Tamron 12-20mm F2.8. Its expansive ultra-wide range creates opportunities to place prominent foreground elements close to the lens while still incorporating dramatic skies, sweeping terrain, and environmental context. Used thoughtfully, this exaggerated sense of depth can produce bold, dynamic landscape compositions that draw the viewer directly into the scene
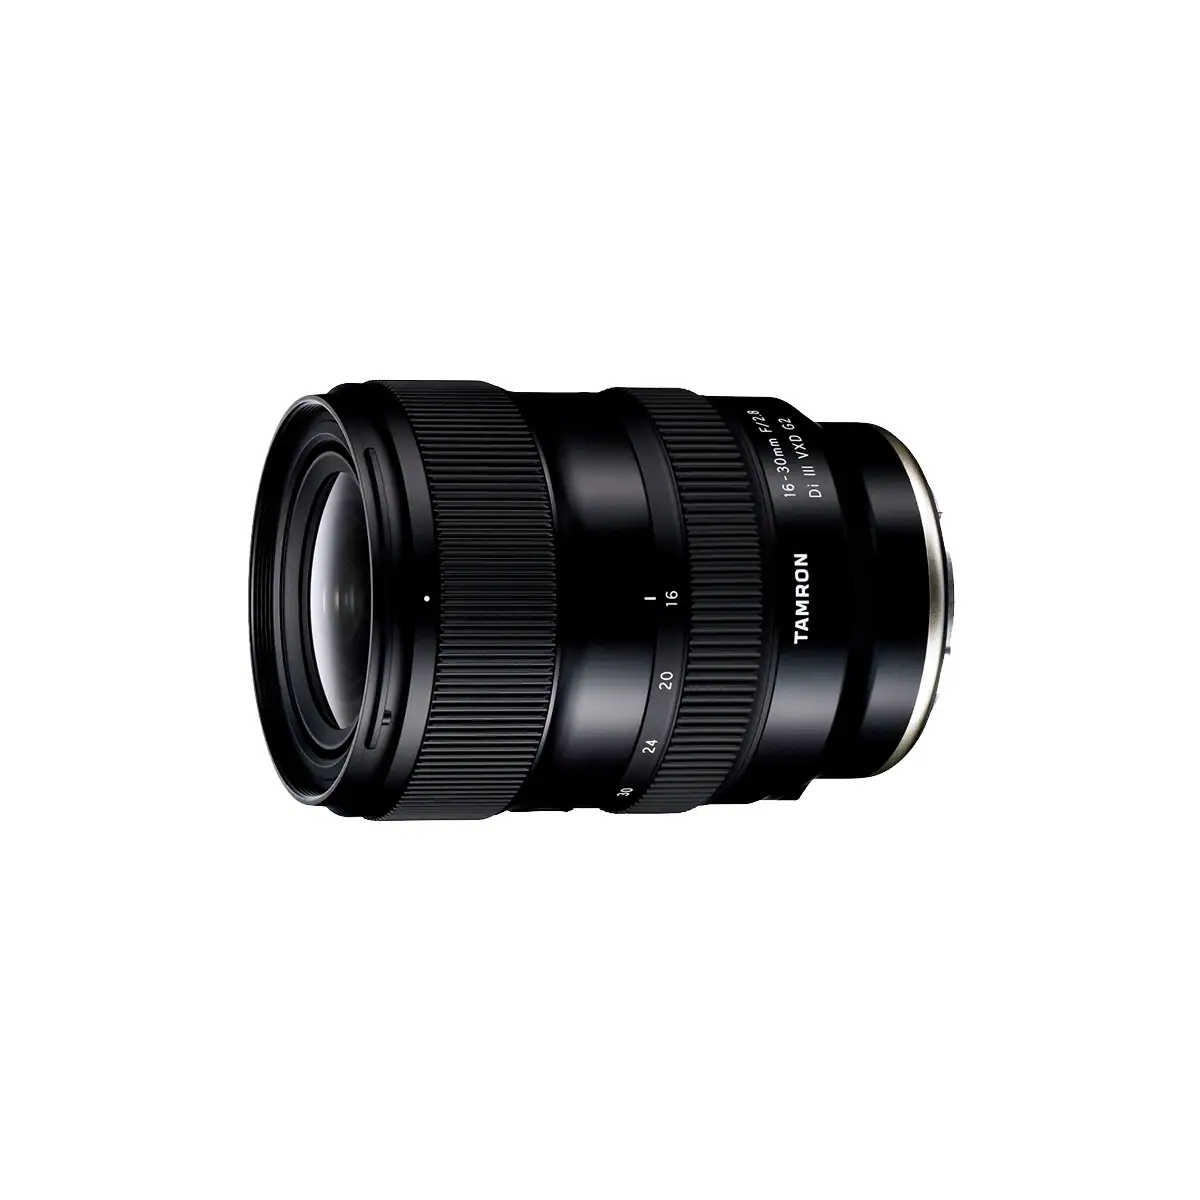
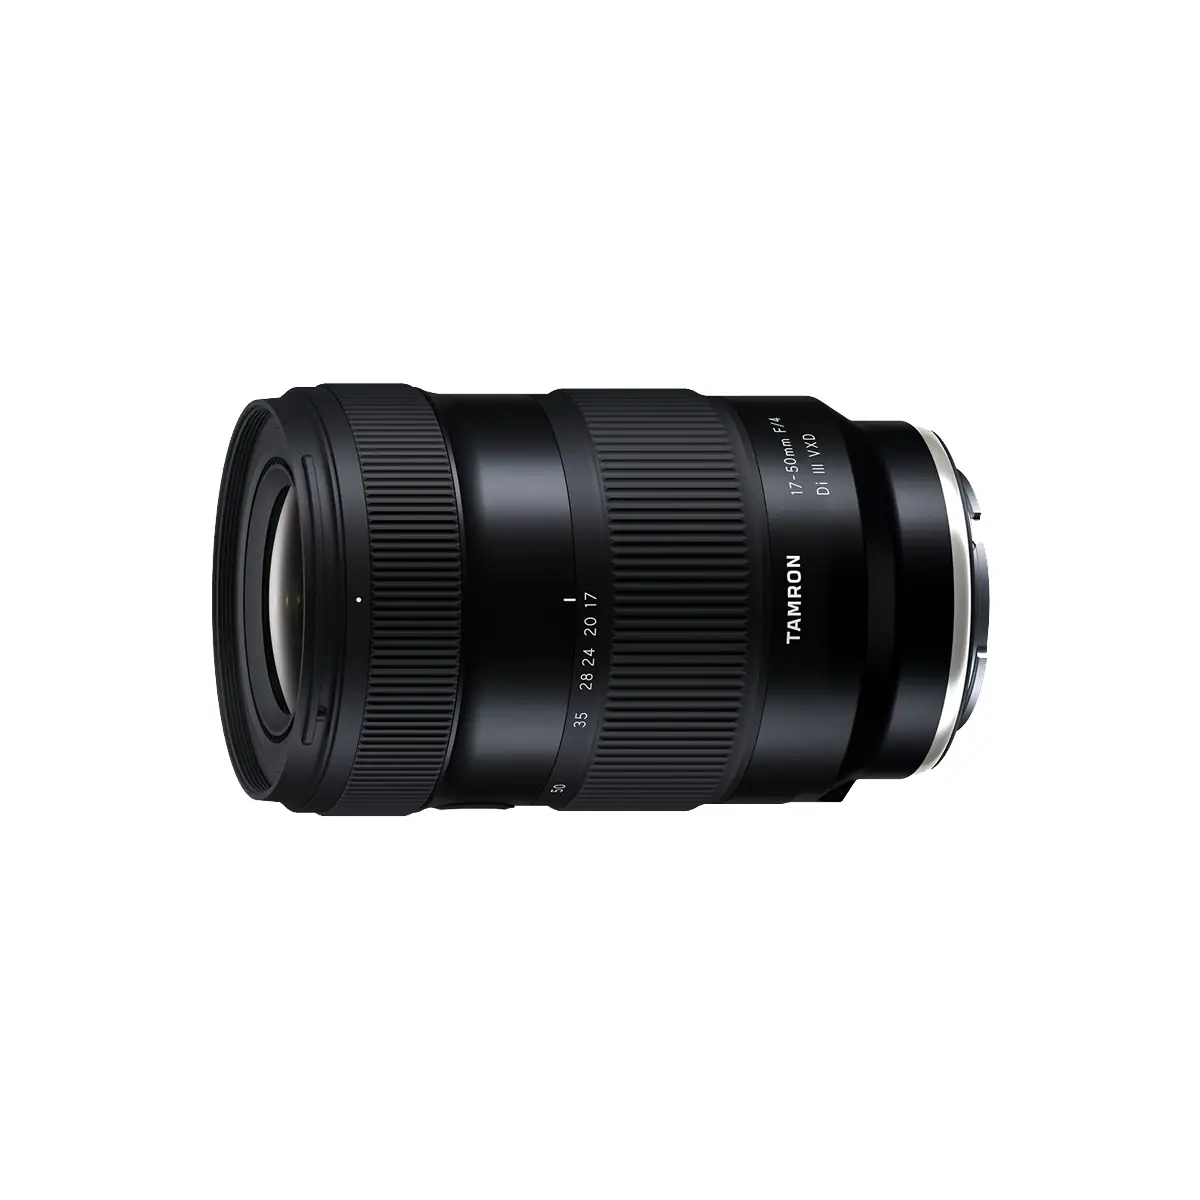
A 24mm or 28mm view is often more forgiving for beginners than an ultra-wide 14mm perspective. For Tamron-specific examples, explore landscape photography with Tamron 17-70mm F/2.8, the Tamron 16-30mm G2 review, and Tamron’s wide angle zoom lenses beginner’s guide.
Telephoto Lenses: Isolating Detail and Compressing Distance
Telephoto lenses, such as 70-200mm and longer focal lengths, let you isolate compelling details within a landscape that a wide-angle lens may render too small. They also compress distance, making layers of mountains, trees, ridges, or atmospheric haze appear closer together.
A telephoto lens is useful when the full scene feels too busy. Instead of trying to include everything, you can select one strong detail: a sunlit peak, a lone tree on a hillside, a pattern of dunes, a distant waterfall, or a band of color across a valley.
Telephoto compression can make landscape photos feel more graphic and layered. It is also useful when you cannot physically move closer to your subject.
Explore Tamron’s guides to find the best lenses for your specific camera mount:
- Best Sony E mount lenses for landscape photography
- Best Canon RF mount lenses for landscape photography
- Best Nikon Z lenses for landscape photography
- Best Fujifilm X mount lenses for landscape photography
Do You Need a Prime or a Zoom for Landscapes?
For most landscape photographers, especially beginners, a zoom lens is the practical choice because it lets you fine-tune framing when moving your feet is difficult or unsafe. Primes can be excellent, but zooms usually provide more flexibility for changing terrain, light, and compositions.
Landscape photography often happens from overlooks, shorelines, trails, bridges, rocks, or uneven terrain where repositioning is limited. A zoom lens lets you make small framing adjustments without stepping into water, climbing unstable ground, or losing your composition.
Prime lenses can be useful for astrophotography, low-light work, or photographers who prefer a fixed focal length. But for daylight landscapes at f/8-f/11, a zoom offers more practical flexibility. Fast zooms like Tamron’s 16-30mm F2.8 are also well corrected for astrophotography’s inherent aberrations, making them useful beyond daytime landscapes.
Learn when to choose a prime lens or a zoom lens in our special guide.