
Macro photography is a fascinating genre that reveals intricate details often overlooked. However, capturing these tiny wonders requires specific skills and equipment.
In this post, you’ll discover essential tips for macro photography and macro lens photography tips, including:
- How to choose the right macro lens for sharp, detailed images.
- The best macro settings to enhance clarity and focus.
- Effective focus techniques for artistic and precise shots.
- How to manipulate light and compose compelling macro images.
- Post-processing tips to refine and enhance your macro shots.
Master these techniques to elevate your macro photography skills!
This guide aims to help you master macro photography by providing you with essential macro tips and techniques for macro photography subjects.
Whether you’re a beginner or an intermediate photographer, this guide will be beneficial to help you master the art of macro photography.
Understanding Macro Photography
Macro photography focuses on capturing small subjects with high detail. Unlike general photography, macro focuses on getting very close to the subject. It typically involves capturing images at a 1:1 ratio or greater. This means the subject appears life-sized or larger on the camera sensor.
The technique requires specialized equipment, like a macro lens. It’s not just about magnifying objects as with a magnifying glass; it’s about revealing inthttps://tamron-americas.com/macro-prime-lenses/ricate details invisible to the naked eye. Understanding this art form is the first step towards mastering it.
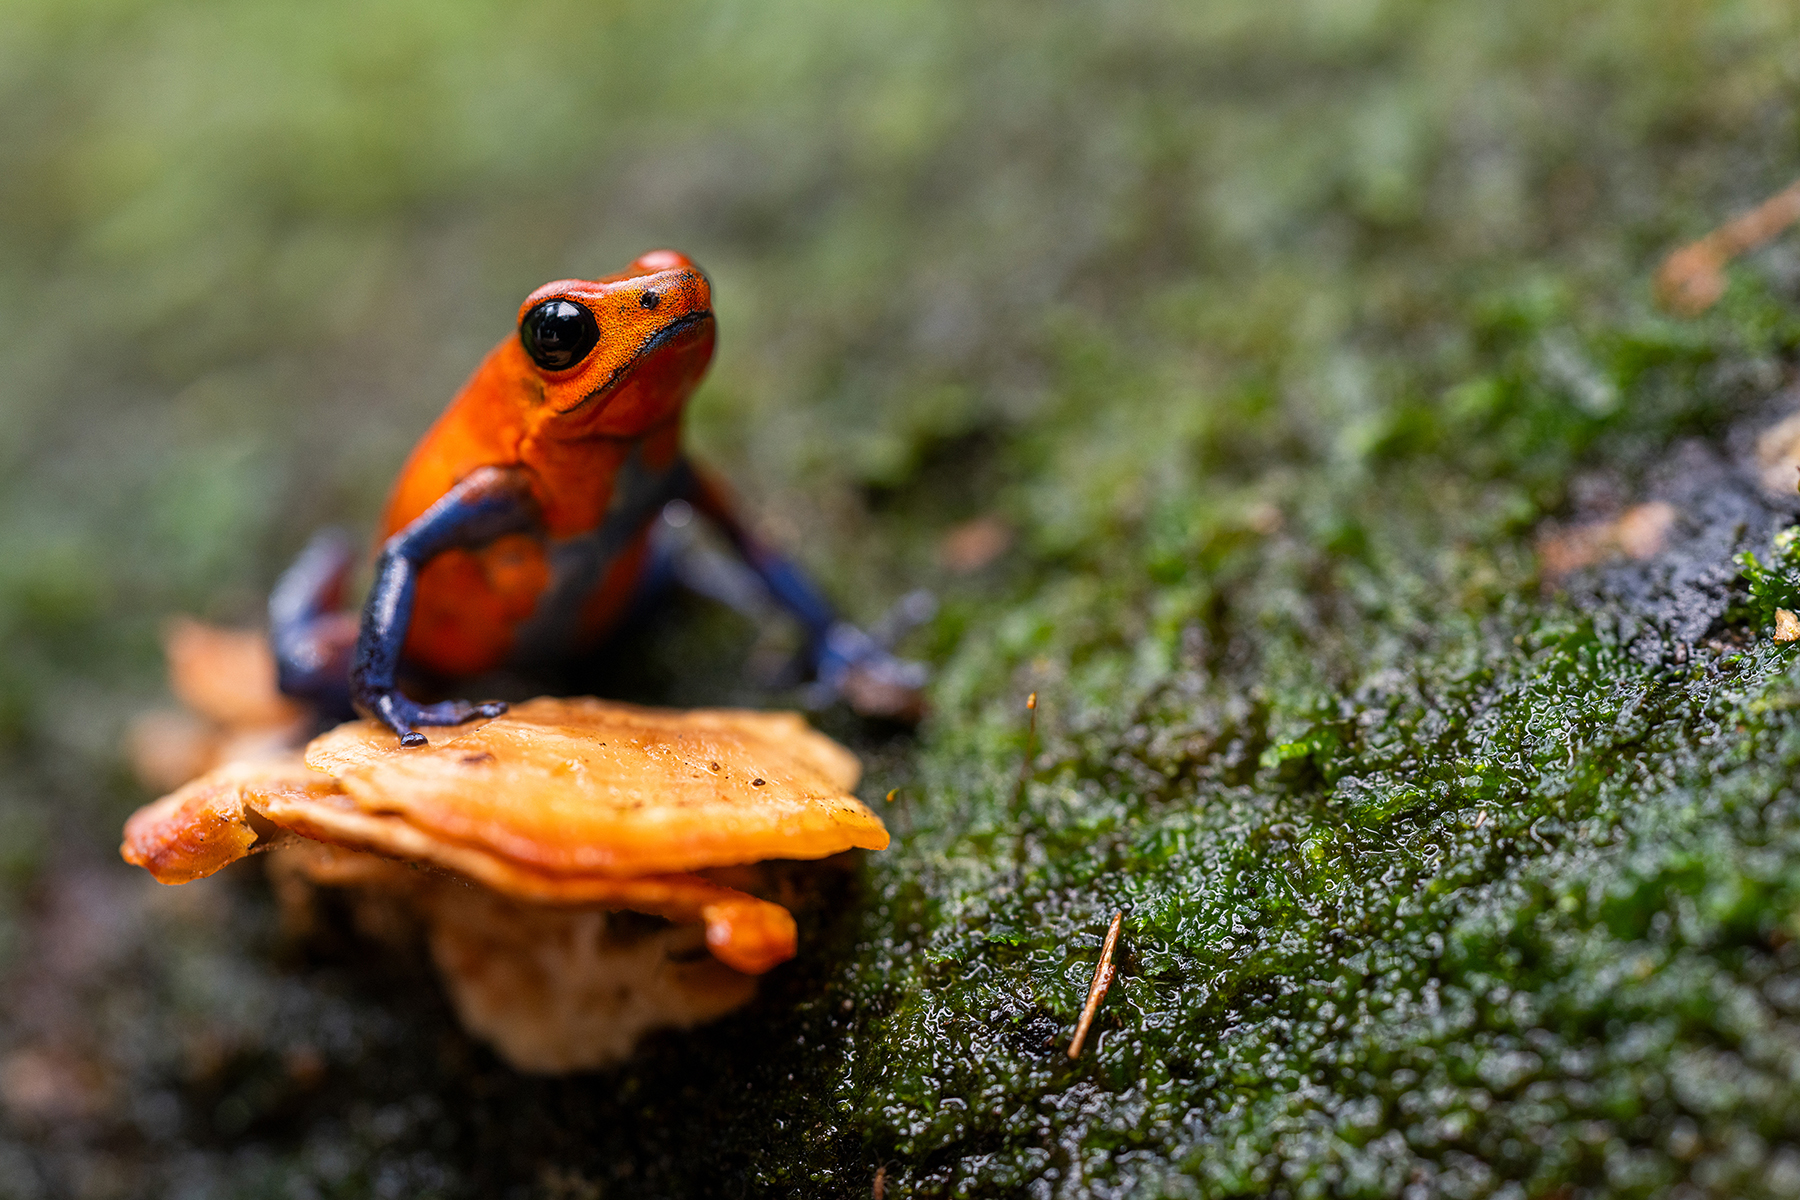
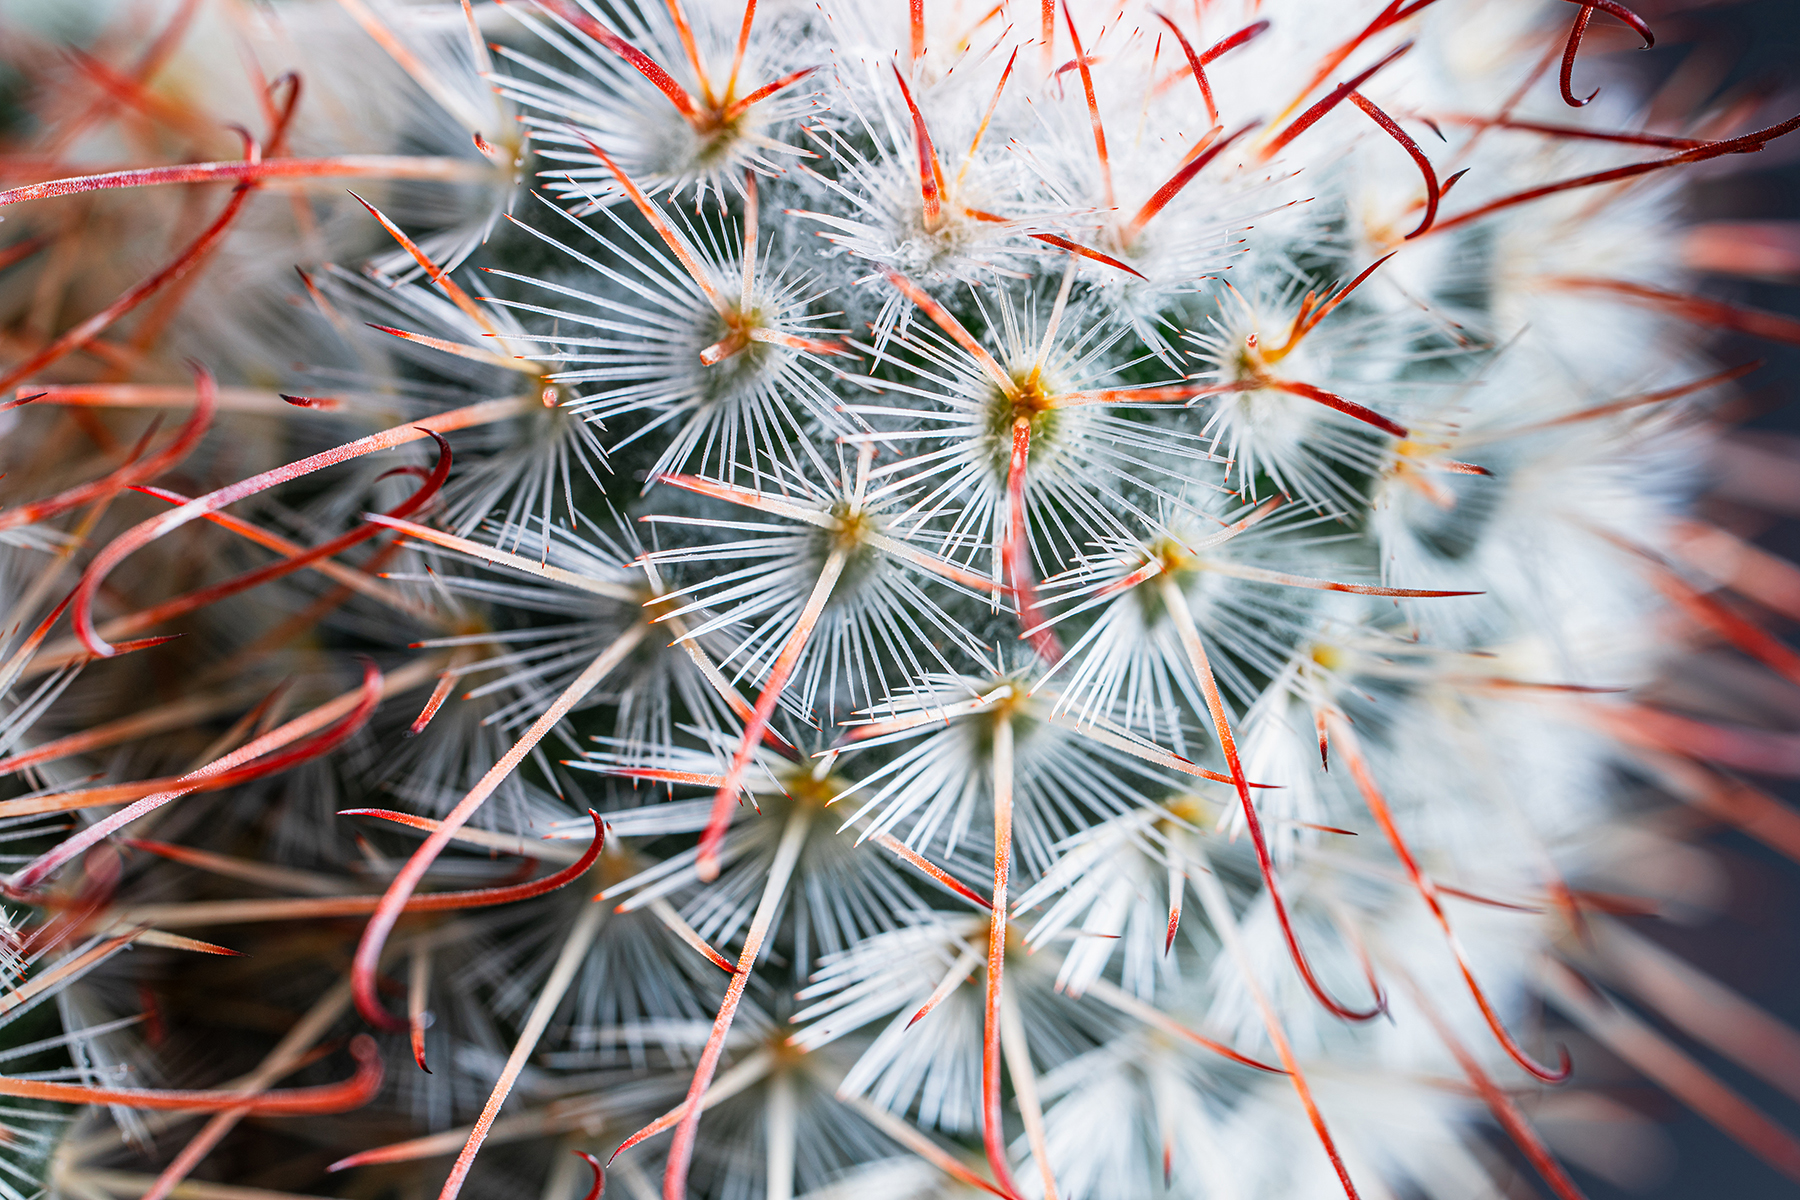
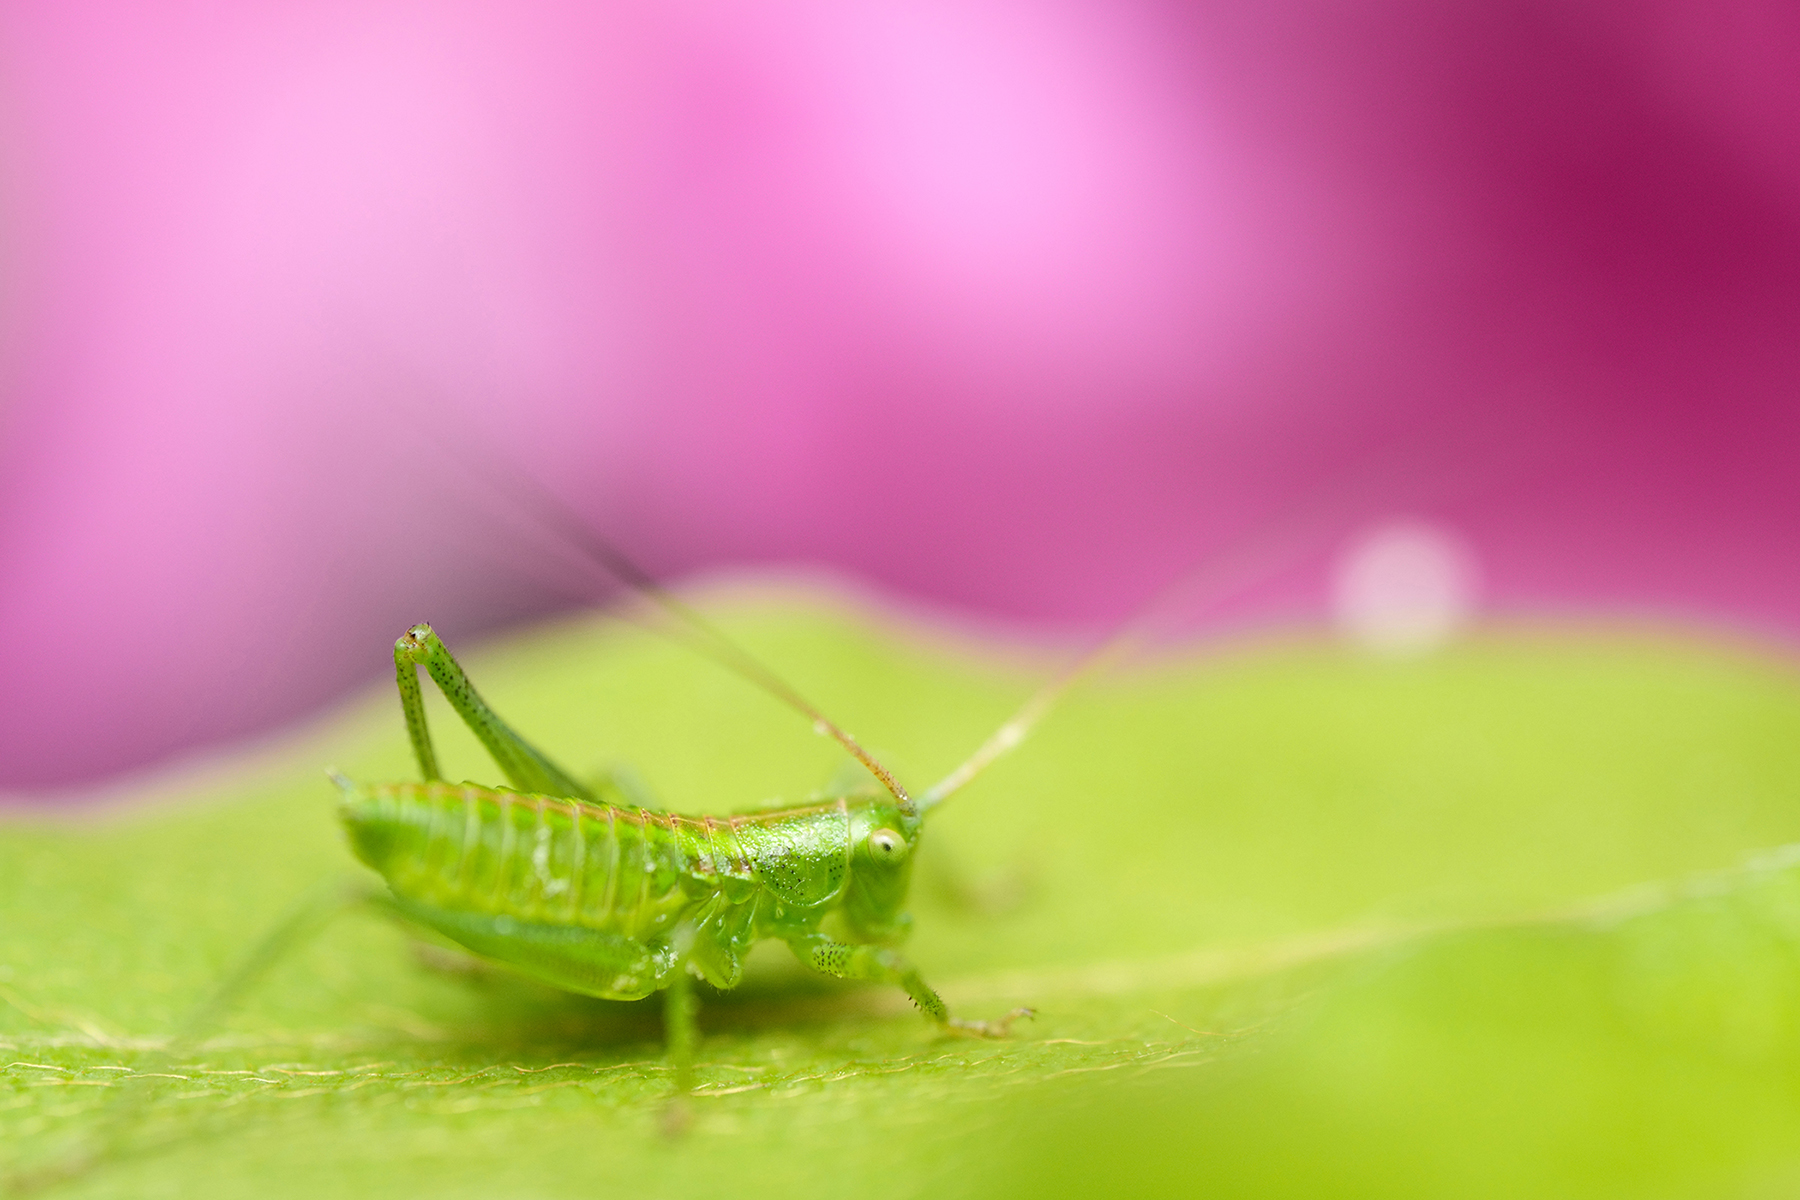
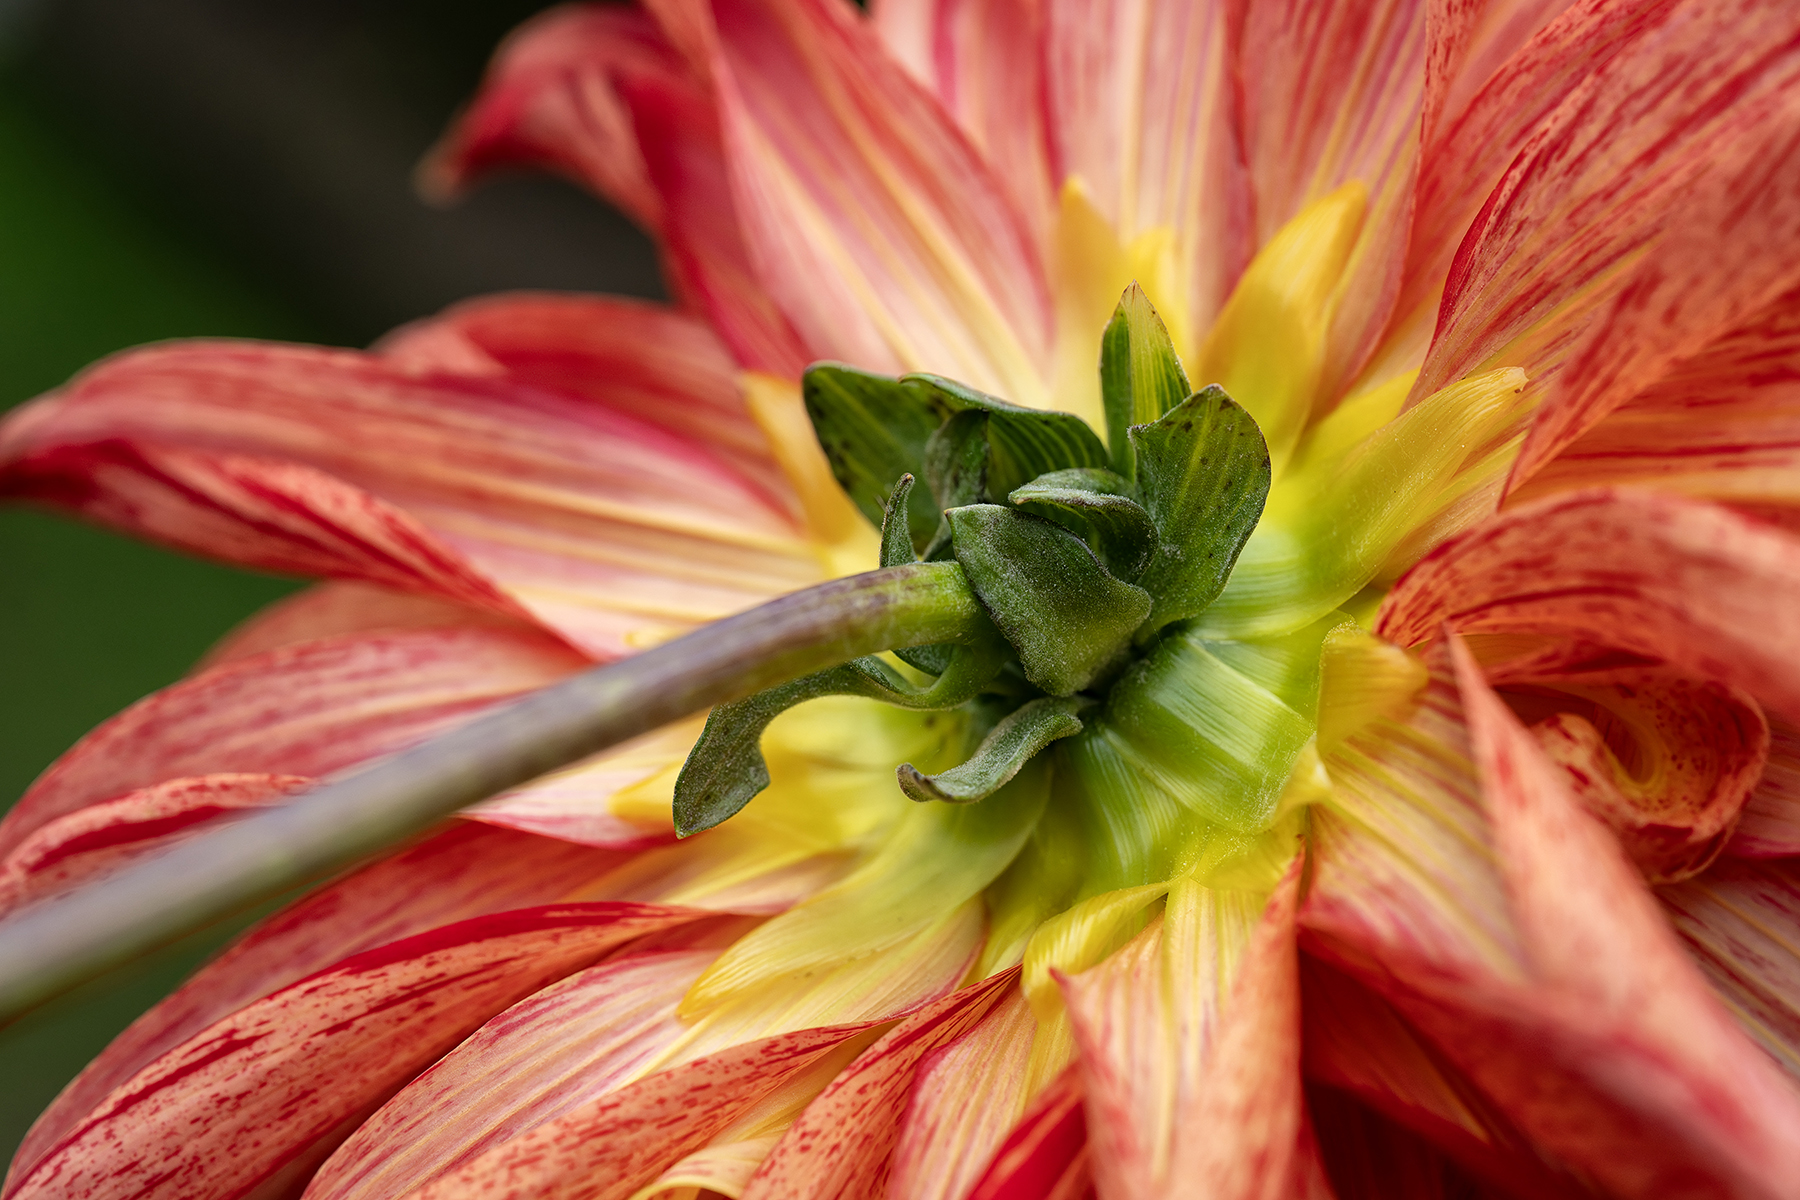
Macro photography celebrates the beauty in the details. This form of photography unveils details often missed. It reveals textures, patterns, and complexities not seen otherwise. Macro requires different approaches and specialized tools to achieve such magnification and detail.
By exploring various macro shooting tips, you’ll uncover how unique each tiny subject can be. Whether you photograph nature, insects, or abstract patterns, macro photography offers endless possibilities.
Tip 1: Essential Gear for Macro Shooting
To excel in macro photography, investing in the right gear is crucial. A dedicated macro lens is a must-have. It allows you to capture stunning details with great magnification.
However, a good macro lens is only the start. Additional equipment can significantly enhance your shooting experience. Choose tools that complement your style and subject choice.
Lighting accessories and stabilization gear, such as tripods, are essential to shoot macro subjects. They ensure your shots are clear and sharp. These tools make a noticeable difference in image quality.
Close-up filters and extension tubes are accessories to consider if you do not have a macro lens.
Choosing the Right Macro Lens Tips
Selecting the right macro lens is vital for capturing detailed macro images. True macro lenses offer a 1:1 magnification ratio or higher. This capability allows you to shoot life-sized or larger images of small subjects.
Consider the focal length when choosing a lens. A 90-105mm lens offers a versatile working distance. This range is suitable for various subjects, from nature to still life.
The Tamron 90mm F/2.8 Di III VXD for Sony E and Nikon Z full frame mirrorless cameras is a fantastic option. Offering 1:1 magnification and unparalleled image quality, this lens will quickly become your macro workhorse.
Make sure your lens has good optical quality and build. Extra features like weather resistant design and fluorine coating let you shoot in inclement weather.
Supporting Accessories: Tripods, Rails, and More
Additional accessories, like remote triggers, tripods, and focusing rails, reduce vibrations further. These tools increase the likelihood of clear, sharp images. Investing in quality stabilization gear is worthwhile for macro photography success.
TIP 2: Macro Photography Settings Explained
Achieving the perfect macro shot often hinges on the right camera settings. Proper settings enhance detail and sharpness, capturing your subject crisply. Understanding these settings allows you to adapt to different shooting conditions effectively.
Different camera settings can dramatically affect a macro photograph. Adjusting aperture, shutter speed, and ISO can yield various outcomes. Balancing these elements is essential for optimal results.
Experimenting with settings helps find the best combination for each scenario since each macro subject may demand different attention. Learning to adapt your approach will improve your photography skills over time.
Best Macro Lens Settings for Sharpness and Detail
Attaining sharpness in macro shots requires precise settings. A narrow aperture, like f/8 to f/16, provides greater depth of field. This ensures more of the subject is in focus, capturing fine details effectively.
However, a narrow aperture reduces the amount of light hitting your sensor. This trade-off might necessitate using slower shutter speeds or a higher ISO.
Ensure your shutter speed counteracts any camera movement. A faster speed, such as 1/100th of a second, prevents motion blur. This speed is ideal if you’re shooting handheld or your subject moves slightly.
ISO settings should remain as low as possible since increasing ISO can introduce noise, which impacts image clarity. Shoot at the lowest ISO setting that still provides adequate exposure, keeping detail and sharpness intact.
Understanding Aperture and Depth of Field in Macro

Aperture plays a critical role in macro photography. It affects how much of your subject is in focus. Depth of field is determined by the aperture size, impacting both background and subject clarity.
A narrower aperture increases depth of field. This means more of your subject stays sharp. It is ideal for focusing on intricate details across varying subject planes.
Alternatively, a wide aperture, like f/2.8 or f/4, isolates the subject by creating a blurred foreground and background. This effect draws focus to specific features, creating an artistic touch. It’s particularly effective when you wish to emphasize individual details.
It’s important to note that very small apertures, like f/22 or f/32, can cause diffraction. This can reduce sharpness, counteracting the intended effect. Experiment with aperture settings to find the balance between detail and artistic expression.
The Role of Shutter Speed and ISO
Shutter speed is crucial in controlling exposure and capturing movement. In macro photography, a faster shutter speed helps freeze motion. This is essential for live subjects or when dealing with camera shake.
If possible, use a tripod to allow for slower shutter speeds of non-moving subjects without blurring. This approach maximizes light intake and keeps the ISO low. A tripod stabilizes your setup, enabling detailed, clear images with extended exposure.
ISO impacts image quality, influencing brightness and noise levels. Use the lowest ISO that maintains adequate exposure. Start with base ISO settings between 100 and 400 and adjust only if necessary.
Balancing shutter speed and ISO with aperture settings creates well-exposed images. This trio is fundamental to achieving high-quality macro shots. Adjust settings based on your environment and subject for best results.
TIP 3: Focusing Techniques for Macro Photography
Capturing stunning macro photographs demands precise close focusing techniques. The margin for error is small due to the close proximity of subjects. Even minor missteps can result in blurred or unfocused images.
In macro photography, patience and practice are key. Focusing on small details requires honing your skills and regular practice teaches you to anticipate challenges and adapt efficiently. Here are key tips for macro photography focusing:
Manual Focus vs. Autofocus in Macro Shooting
Many photographers prefer manual focus for macro photography. This technique provides greater control over which parts of the subject remain sharp. Manual adjustments can be more precise, ensuring the key details are in focus.
Autofocus, while convenient, may not always suit macro conditions. It can struggle with small targets, shifting light, and low contrast. Utilizing manual focus overrides these issues, giving you the best control over the image.
However, autofocus is beneficial when time is of the essence. It can quickly lock onto subjects, preventing missed opportunities. Selecting the right method depends on your shooting environment and preferences.
Advanced Technique: Focus Stacking
Focus stacking is a powerful method for achieving unparalleled depth of field in macro shots. It involves combining multiple images, each with a different focus point. This layered approach results in a fully sharp composite image.
This technique excels in situations where achieving deep focus is challenging. Capturing intricate subjects in full detail may require multiple takes. With focus stacking, you avoid compromising any part of the scene.
Software like Adobe Photoshop or dedicated stacking programs can assist in merging images. These tools streamline the process, ensuring seamless results. Mastering focus stacking elevates your macro photography to professional levels.
Learn how to focus stack in our dedicated article.
TIP 4: Lighting for Macro Images
Macro subjects often require specific lighting approaches. Natural light can be soft and flattering but may not always be practical. Controlled lighting with artificial sources can bring consistency, especially indoors.
Finding the Perfect Light for Macro Subjects
Creating perfect lighting in macro photography demands a mix of experimentation and technique. And balancing light is vital for highlighting details without overpowering the subject.
- Natural light: Natural light can deliver extraordinary results, but its unpredictability poses challenges. Adjust shooting times to capitalize on the soft, even light of early morning or late afternoon.
- Ring and LED lights: When natural light falls short, artificial lighting steps in. Ring lights or small LED panels offer focused illumination directly where it’s needed. They provide an even light distribution around your subject, reducing unwanted shadows and enhancing detail. Ring lights and LED panels also offer control over light intensity and angle.
- Reflectors and diffusers: Reflectors and diffusers play an essential role in refining light quality. Reflectors can bounce light back onto the subject, softening harsh shadows. Meanwhile, diffusers can curb direct sunlight, preventing overexposed highlights. These tools let you tweak the lighting to emphasize textures and colors.
TIP 5: Composing Striking Macro Photographs
Composition in macro photography requires meticulous attention to detail. And a well-composed image draws attention to the subject’s unique details.
- Simplify the background: Macro lenses compress backgrounds, making every element crucial to the final composition. Simplifying the background helps ensure the subject stands out, eliminating distractions.
- Use the rule of thirds: Employing the rule of thirds can enhance your composition significantly. This technique involves dividing the frame into a grid of nine equal parts. Positioning your subject at the intersections creates a balanced, dynamic image.
- Guide the viewer with leading lines: Consider the use of leading lines to direct attention within the frame. Lines, whether natural or man-made, guide the viewer’s eye towards the focal point. This can help emphasize the subject’s form and the environment.
- Employ negative space: Negative space also plays a strategic role in composition. It provides breathing room for the subject, adding emphasis and elegance to the image. Incorporating negative space can transform a cluttered shot into a captivating visual story.
TIP 6: Post-Processing Macro Photography
Post-processing is a vital step in macro photography. It helps bring out the fine details captured with your lens. With the right tools, even ordinary shots can become extraordinary.
Editing software like Adobe Lightroom or Photoshop can enhance images. You can adjust various elements, such as contrast, exposure, and color balance. These adjustments make your subjects stand out more vividly.
A key to effective post-processing is subtlety. While it’s tempting to make dramatic changes, less is often more. Maintain the natural feel of your macro subjects while enhancing them for impact.
Three Quick Editing Tips for Enhancing Macro Shots
- Cropping: To enhance macro shots, begin by cropping. Cropping tightens the composition and eliminates distractions. It emphasizes the intricate details, drawing the viewer’s focus.
- Color correction: Correcting white balance and saturation can make a significant difference. It ensures that your colors are true to the subject.
- Sharpening: Sharpen selectively to highlight textures. Use tools like the clarity slider to enhance intricate details without over-sharpening. This practice brings out the texture, making your macro shots pop while preserving their natural look.
TIP 7: Overcoming Common Macro Photography Challenges

Macro photography presents unique challenges. Many photographers struggle with maintaining focus and exposure. Missed focus or poor exposure can greatly affect the quality of your macro images.
Stability is crucial in macro shooting. Any small movement can blur the shot. Techniques and equipment can minimize these effects.
Lighting also poses challenges, especially outdoors. Harsh lighting can ruin a photo, making control over the illumination essential.
Dealing with Movement and Stability
Camera shake is a frequent issue in macro photography. Using a tripod helps reduce movement significantly. It provides a stable platform for your shots.
In situations where a tripod isn’t feasible, consider image stabilization features. Many cameras and lenses offer built-in stabilization, which can be very helpful. Additionally, using a remote shutter release can minimize vibrations.
Fast shutter speeds can also counteract movement. By quickly capturing the scene, you reduce the effects of any minor shakes. This technique ensures sharper images, particularly in dynamic environments.
Managing Difficult Shooting Environments

Shooting outdoors can present variable conditions. Wind is a common problem for macro photographers. Using a windbreak or shielding your subject can help reduce subject motion blur.
Lighting is another challenge in different environments. Shaded areas can lack the light you need. Consider carrying portable lights or using reflectors to manage this issue effectively.
Managing cluttered backgrounds is key to keeping focus on your subject. Positioning your camera to isolate the subject or finding angles with a cleaner background can be effective. Consider carrying a small black card to place between your subject and a messy background.
These approaches ensure your macro images remain striking and focused.
TIP 8: Final Thoughts and Further Resources
Mastering macro photography requires dedication and patience. Each shot presents unique challenges and learning opportunities. Consistent practice sharpens your skills and enhances creativity.
Numerous resources can guide your journey. Books, online tutorials, and workshops offer valuable insights. Investing in these resources boosts both your technical knowledge and creative vision.
Joining Macro Photography Communities
Joining a macro photography community provides immense benefits. These groups often share tips and experiences. They offer inspiration and feedback that can fuel your growth.
Communities also organize events and workshops. Engaging with fellow photographers fosters a sense of camaraderie. It’s an excellent way to stay motivated and learn from others’ successes and challenges.
Follow professional photographers who specialize in macro photography for inspiration. They also provide tips for macro photography and often run workshops.
Continuous Learning and Practice
Continual learning enhances your macro photography abilities. Regular practice allows you to refine techniques and explore new ones. Each photo shoot is an opportunity to experiment with different settings.
Staying updated with trends is crucial. Advancements in technology and artistic styles influence photography. Staying informed helps you adapt and innovate, keeping your work fresh and exciting.
Conclusion
Macro photography unveils a world of intricate details. With the right macro lens photography tips, a great macro lens, and persistent practice, your skills will flourish. We hope these tips for macro photography will allow you to enjoy the journey as you capture stunning close-up images.