 Instant Savings
 Support
 Find a Dealer
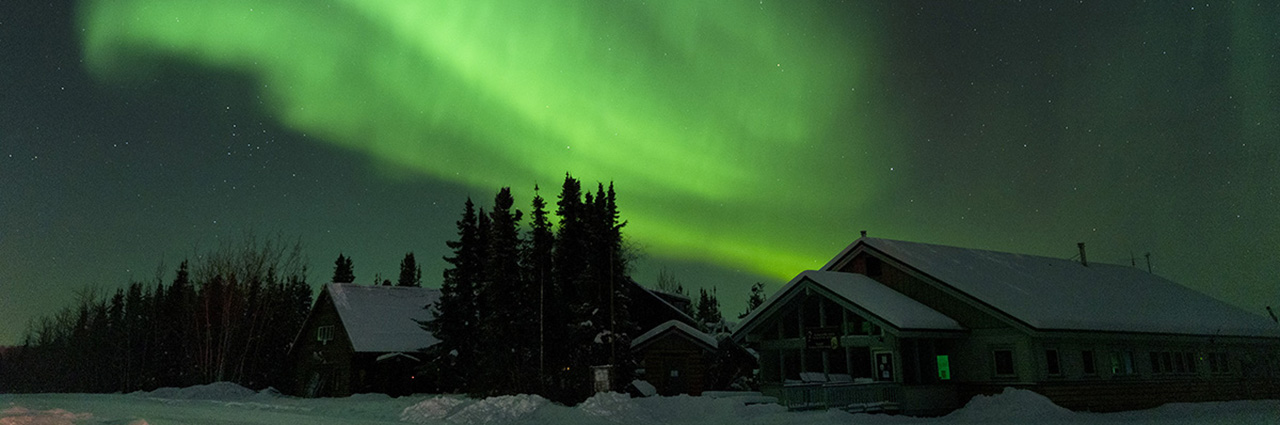
To photograph the Northern Lights, use a wide-angle f/2.8 lens, switch to Manual Mode, set ISO 800–1600, and choose a 10–20 second exposure. Find a dark-sky location, check the aurora forecast, and manually focus on a distant star for sharp, vibrant aurora borealis images.
Photographing the Northern Lights is easier than you might think—if you know the right settings, gear, and timing. For a broader introduction to night sky photography techniques and gear, see our complete astrophotography guide. In this guide, you’ll learn exactly how to photograph the aurora borealis, from choosing a dark location and reading the aurora forecast to dialing in ISO, shutter speed, and aperture for sharp, vibrant images. You’ll also discover which Tamron wide-angle lenses work best for night sky photography and how to prepare your camera for shooting in freezing conditions. Whether you’re heading to Iceland, Alaska, or your local dark-sky spot, this walkthrough gives you everything you need to capture stunning Northern Lights photos.
What you will learn in this article:
- How to find the best locations for viewing the Northern Lights, including tips on escaping light pollution and choosing remote, dark-sky destinations.
- How to use aurora forecast tools and weather apps to determine the best times and conditions for photographing the aurora borealis.
- Which Tamron lenses are ideal for night sky photography, with recommendations for both full-frame and APS-C mirrorless camera systems.
- How to use TAMRON Lens Utility™ 5.0 Astro features—including Focus Lock, Fine Focus adjustment, Dark Mode, and wireless control with TAMRON-LINK—to achieve precise focus in night sky photography.
- How to properly set up your gear for long exposure shooting, including tripod use and lens considerations to maximize sharpness and light capture.
- What camera settings to use when photographing the Northern Lights, covering ISO, aperture, shutter speed, and manual focus techniques for optimal results
How To Photograph the Northern Lights: 13 Pro Tips
TIP 1: Find a Dark Location
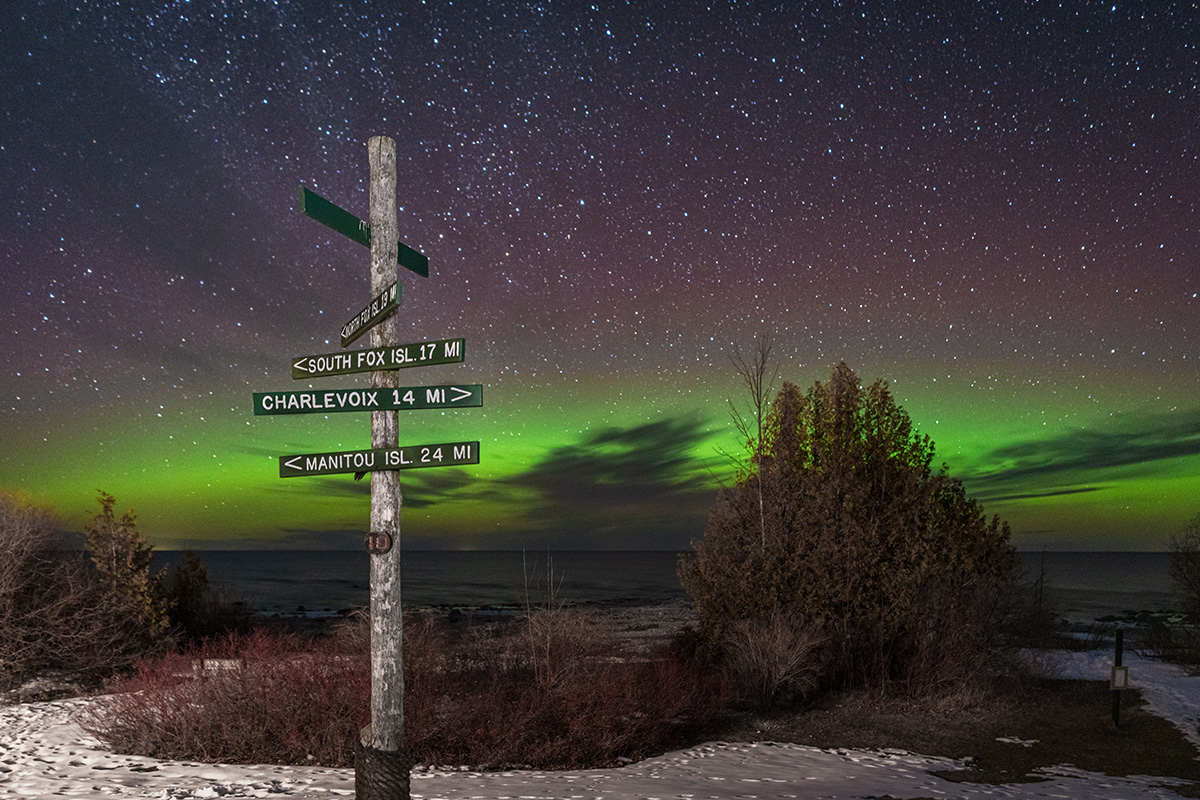
The top tip for how to photograph the Northern Lights is finding the right place to shoot. Light pollution can diminish the visibility and impact of your aurora borealis photography. Choose remote dark sky locations for northern lights, far from city lights, to ensure the sky is as dark as possible. National parks, mountain ranges, or rural areas are ideal for night sky photography.
TIP 2: Check the Aurora Forecast
Websites and weather forecast apps like Aurora Alerts and AuroraWatch can predict when and where the Northern Lights will appear. Look for nights with clear skies and high aurora activity (Kp Index for Northern Lights is 3 or above).
TIP 3: Use the Right Gear
When photographing the auroras, a wide field of view and fast aperture are critical. Wide-angle lenses allow you to capture more of the night sky, while a fast aperture ensures you gather enough light during long exposures.
Tamron 11-20mm F/2.8 Di III-A RXD
(for APS-C Sony E, Fujifilm X and Canon RF mounts)
Why it’s great: For photographers with APS-C cameras, this lens gives a focal length of 16.5-30mm. This range is perfect for wide shots of the auroras. The bright f/2.8 aperture helps you gather as much light as possible in dark environments.
Tamron 16-30mm F/2.8 Di III VXD G2
(for Sony E and Nikon Z mounts)
Why it’s great: This lens combines an ultra-wide focal length (16mm) with a constant f/2.8 aperture, which is perfect for low-light conditions. It allows you to include sweeping landscapes alongside the auroras while keeping everything sharp and detailed.
Tamron 20-40mm F/2.8 Di III VXD
(for Sony E-mount)
Why it’s great: This flexible zoom lens is perfect for wide shots of the auroras at 20mm. It also works well for tighter shots with interesting foregrounds at 40mm. Its fast aperture ensures excellent performance in low light.
Tamron 28-75mm F/2.8 Di III VXD G2
(for Sony E and Nikon Z mounts)
Why it’s great: This fast standard zoom is ideal for because its fast, constant f/2.8 aperture allows for capturing more light in dark conditions, essential for sharp, vivid aurora shots. Its versatile zoom range from wide to short telephoto also lets photographers frame sweeping landscapes or tighter compositions without changing lenses in the cold.
Using Tamron lenses helps you capture high-quality images. They provide sharpness from edge to edge and reduce distortion. These features are important for photographing large scenes, like the Northern Lights. They also feature moisture-resistant weather sealing for confidence in shooting in cold weather.
TIP 4: Use TAMRON Lens Utility™ Ver. 5.0 for Precision Night Sky Focus
When photographing the Northern Lights, accurate focus is critical—and it can be challenging in complete darkness. TAMRON Lens Utility™ Ver. 5.0 includes dedicated Astro features designed specifically for night sky photography, making it easier than ever to achieve precise, repeatable focus.
Astro Focus Lock (Introduced in Version 4.0)
Astro Focus Lock allows you to preset and lock focus at infinity (or your preferred star focus point). Once set, the focus position remains locked, preventing accidental movement while shooting long exposures. This is especially helpful when working in freezing conditions while wearing gloves.
Fine Focus Adjustment (New in 5.0)
The new Fine Focus feature allows for micro-adjustments to your focus position beyond the standard manual ring precision. This helps you dial in critically sharp stars and pinpoint aurora borealis detail with even greater accuracy.
Night Mode Interface (New in 5.0)
TAMRON Lens Utility™ 5.0 now includes Dark Mode, which preserves your night vision while adjusting lens settings in low-light environments—an important advantage when working under dark skies.
Wireless Control with TAMRON-LINK
With compatible lenses, you can now control TAMRON Lens Utility features wirelessly using TAMRON-LINK — and optional accessory available at the TAMRON Store — eliminating the need for a cable connection. This allows for easier setup on a tripod and minimizes disturbance during long exposures.
Now with iOS Support
TAMRON-LINK provides iOS compatibility, allowing photographers to wirelessly control the TAMRON Lens Utility™ features directly from their iPhone. This expanded support provides greater flexibility in the field and makes remote focus adjustments even more convenient during night sky photography.
Download the app for Android >>
By combining a fast wide-angle lens like the Tamron 16-30mm F/2.8 Di III VXD G2 with the advanced Astro tools in Lens Utility™ Ver. 5.0, you gain greater consistency, sharper star rendering, and more confidence when shooting the aurora borealis.
TIP 5: Use a Sturdy Tripod
Stability is key when shooting long exposures and learning how to photograph the Northern Lights. A sturdy tripod will keep your camera steady and prevent blur from even the slightest movement.
TIP 6: Northern Lights Camera Settings
Here are the best settings for northern lights photography. Switch your camera to Manual Mode to have complete control over the exposure.
- ISO: Start with a higher ISO from 800 to 1600 to balance light sensitivity and image noise. Adjust to the high iso 3200 if needed.
- Aperture: Use the widest aperture available on your lens (e.g., f/2.8 or lower). Wide apertures gather more light, which is essential for capturing faint auroras.
- Shutter Speed: Start with a 10-20 second exposure. Adjust the exposure time based on the brightness and movement of the auroras. Use shorter exposures for fast-moving lights. Use longer exposures for lights that stay still.
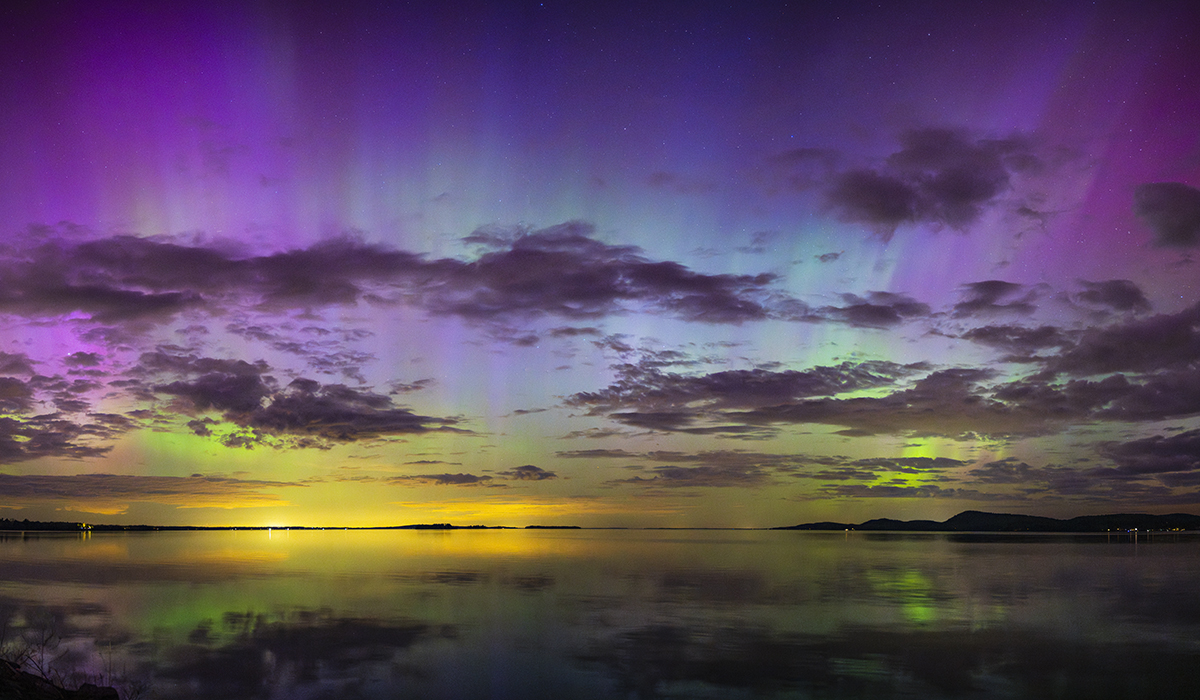
- White Balance: Set to “Tungsten” for a cooler, blue-toned sky, or “Daylight” for a more natural, green aurora effect.
TIP 7: Focus for Sharp Images
Photographers always recommend using manual focus for night photography since autofocus struggles in low-light conditions. Set your lens to infinity (∞) or slightly back from infinity to ensure stars and the auroras remain sharp. Use live view and zoom in to fine-tune the focus on distant stars.
Download TAMRON Lens Utility™ for Android and iOS and use Astro Focus Lock to preset and lock precise infinity focus. With Version 5.0, you can also fine-tune focus using Fine Focus adjustments and preserve night vision using Dark Mode for a more efficient night workflow.
TIP 8: Compose Your Shot
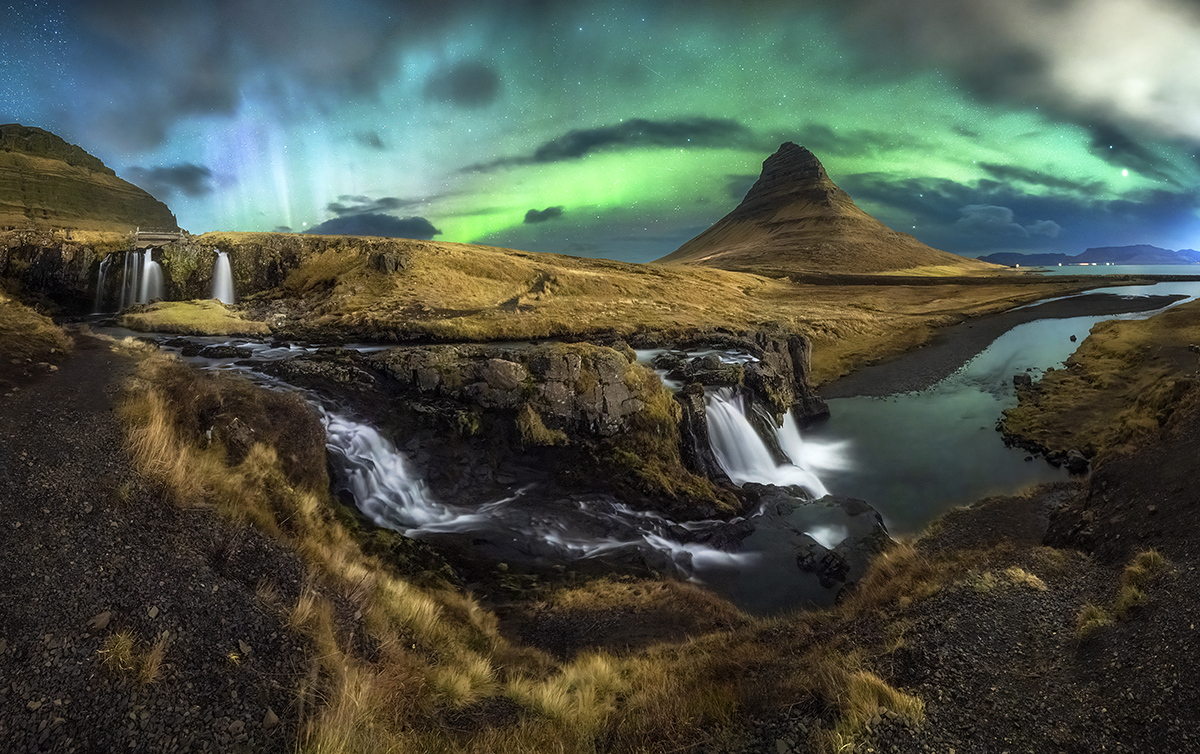
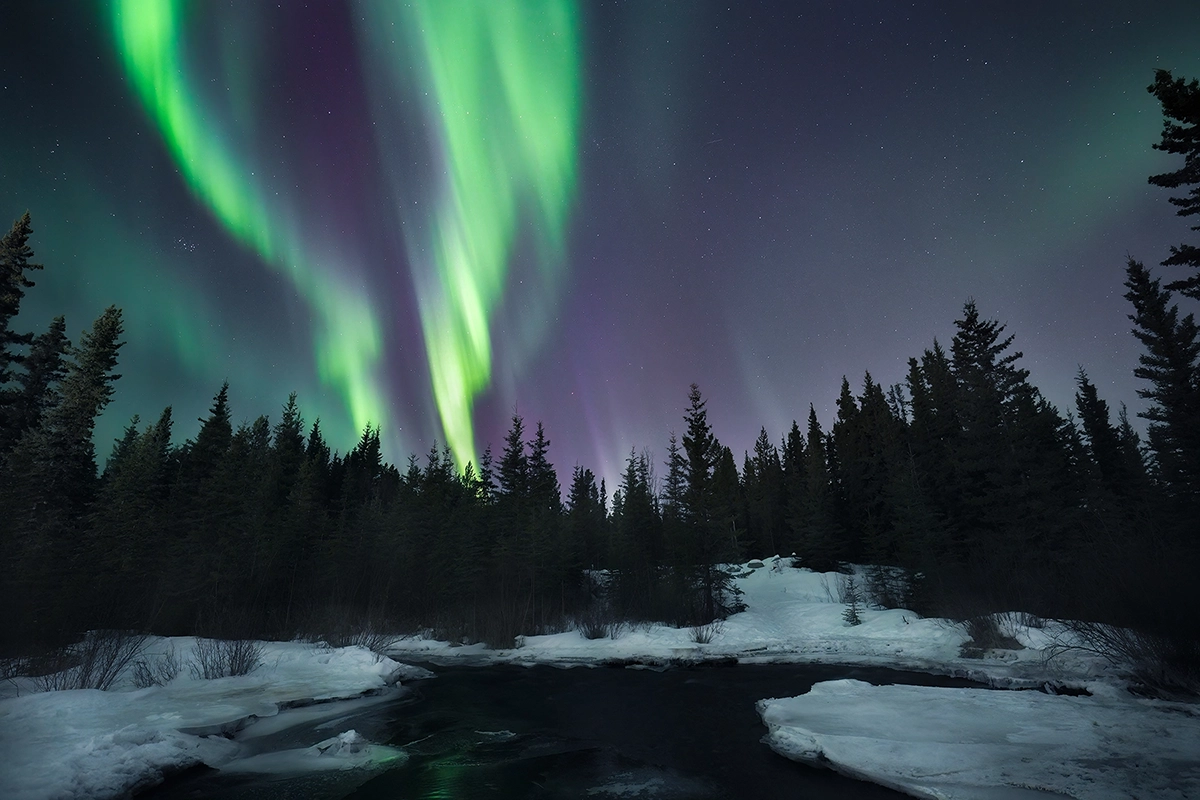
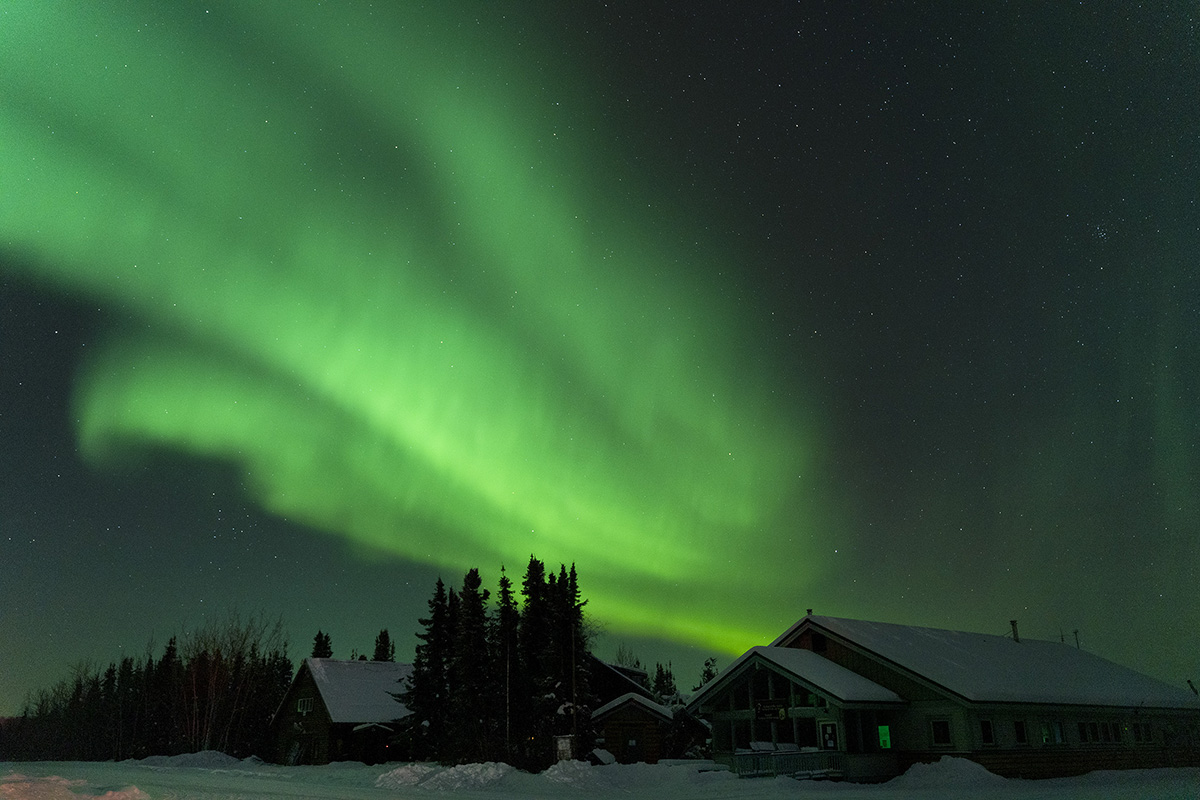
To elevate your photos when learning how to photograph the Northern Lights, include interesting foreground elements such as mountains, trees, cabins, or frozen lakes. These elements add depth and context to your composition. Position yourself to maximize the auroras’ movement across the sky.
TIP 9: Take Test Shots and Adjust
Start by taking a few test shots and review the exposure, sharpness, and composition. Adjust your shutter speed, ISO, or focus as needed. Don’t rush—sometimes the lights intensify, so be ready!
TIP 10: Use a Remote Shutter Release
To avoid camera-shake during long exposures, use a remote shutter release. You can also use your camera’s self-timer.
TIP 11: Be Patient
Auroras are unpredictable and can vary in intensity. Be patient and keep watching the sky. The perfect display might appear when you least expect it!
TIP 12: Post-Processing
After capturing your shots, use software like Adobe Lightroom or Photoshop for post-processing aurora borealis photos to enhance your images. Adjust settings such as exposure, highlights, contrast, and saturation to make the colors pop. Fine-tuning sharpness and reducing noise can also improve your final result.
TIP 13: Stay Warm and Protect Your Gear
Photographing the Northern Lights often means enduring long hours in frigid temperatures. Staying warm and ensuring your gear performs well in these conditions are critical to having a successful and enjoyable experience. Here are tips on what you can do and bring:
How to Photograph the Northern Lights Comfortably
Dress for the Cold
Proper clothing is essential when spending extended time outdoors in freezing weather. Dressing in layers allows you to adjust your clothing as needed:
- Base Layer: Use moisture-wicking thermal clothing to keep sweat away from your skin. Merino wool or synthetic materials work best.
- Middle Layer: Add an insulating layer such as a fleece or down jacket to trap heat. Down provides an excellent warmth-to-weight ratio for extreme cold.
- Outer Layer: Wear a waterproof and windproof shell to protect you from snow, wind, and moisture. Look for jackets with insulation if you expect extreme temperatures.
- Hands and Feet: Wear insulated, waterproof boots, thick wool socks, and hand/foot warmers for additional comfort. Gloves are critical—use thin touchscreen gloves for camera adjustments under heavy, insulated mittens.
Keep Your Hands Warm While Operating Your Camera
Cold hands can make it difficult to control your camera settings, and frostbite is a real risk. Here’s how to protect your hands:
- Use fingerless gloves with mitten covers or gloves with flip-back tips so you can operate your camera without exposing your hands completely.
- Add disposable hand warmers inside your gloves or pockets. They’re inexpensive and can last for hours.
- Heated rechargeable gloves are another option if you plan to shoot for long periods.
Protect Your Camera Gear in Cold Conditions
Cameras and lenses can function well in cold weather, but they require special care to prevent damage and ensure they perform properly:
- Bring Spare Batteries: Cold weather significantly reduces battery life. Carry multiple fully charged batteries and keep them in an inner pocket close to your body to keep them warm. Swap them out as needed, rotating between warm and cold batteries.
- Keep Gear Insulated: Use a camera bag with padded insulation to protect your equipment from the cold and prevent frost buildup. Wrapping cameras in soft cloths or scarves inside your bag also helps.
- Prevent Condensation: When moving your camera from the cold into a warm environment (e.g., indoors or into a car), condensation can form inside the camera and lens, which may cause damage. To avoid this, place your camera in a sealed plastic bag or airtight camera pouch before bringing it inside. Let it warm up slowly to room temperature before removing it.
Keep Yourself Fueled and Comfortable
- Bring a thermos of hot drinks like tea, coffee, or hot chocolate to keep you warm and hydrated throughout the night.
- Pack high-energy snacks (e.g., nuts, granola bars, or chocolate) to maintain your energy levels while waiting for the auroras.
- Consider a folding chair or camping mat to sit on when waiting—standing for hours in the cold can be exhausting.
Bring Gear-Specific Warmers
If you’ll be photographing for extended periods, lens warmers can help prevent frost or condensation from forming on your lens.
- Lens Heaters: These are USB-powered devices that wrap around your lens barrel to keep it just warm enough to prevent frost.
- Hand Warmers for Gear: Small disposable warmers can also be taped or placed near batteries, camera bodies, or inside your bag for extra warmth.
By preparing yourself and your gear for the cold, you’ll stay comfortable and avoid interruptions caused by failing equipment or discomfort. The Northern Lights are unpredictable, so you’ll need to wait patiently in frigid conditions. Being warm and ready can make the difference between capturing a stunning shot and missing the moment entirely!
Final Thoughts on How to Photograph the Northern Lights
Photographing the Northern Lights is one of the most rewarding experiences in night sky photography, and with the right preparation, anyone can capture stunning aurora images. By choosing a dark location, checking the aurora forecast, and dialing in reliable camera settings—ISO 800–1600, a wide f/2.8 aperture, and a 10–20 second exposure—you’ll be ready for whatever the sky delivers.
Using a fast wide-angle lens is one of the biggest factors in getting clean, vibrant results. Tamron lenses like the 16–30mm F2.8 G2, 11–20mm F2.8, 20–40mm F2.8, and 28–75mm F2.8 G2 provide excellent low-light performance, edge-to-edge sharpness, and weather-resistant construction—ideal for cold, unpredictable aurora conditions.
With patience, test shots, and thoughtful compositions that include mountains, lakes, trees, or cabins, you can create images that truly capture the scale and magic of the aurora borealis. The more you practice, the more confident you’ll become in adjusting settings on the fly and reading the movement of the lights.
Whether you’re photographing the Northern Lights for the first time or refining your technique, these tips and gear recommendations will help you bring home breathtaking, high-impact images that showcase the beauty of the night sky.
Where to Buy Tamron Lenses
Learn more about Tamron lenses at an authorized Tamron dealer near you or shop directly at the official TAMRON Store.
Frequently Asked Questions About Photographing the Northern Lights
What are the best settings for photographing the Northern Lights?
For sharp aurora photos, start with Manual Mode, ISO 800–1600, a wide aperture like F2.8, and a shutter speed of 10–20 seconds.
What lens should I use to photograph the Northern Lights?
Wide-angle, fast-aperture lenses work best. Tamron options like the 16-30mm F2.8 G2, 11-20mm F2.8, 20-40mm F2.8, and 28-75mm F2.8 G2 provide strong low-light performance and wide fields of view.
Can I use TAMRON Lens Utility™ for astrophotography?
Yes. TAMRON Lens Utility™ 5.0 includes Astro Focus Lock (introduced in 4.0), Fine Focus adjustment, Dark Mode for night visibility, and wireless control via Tamron Link for precise focus control during night sky photography.
Can I photograph the Northern Lights with an APS-C camera?
Yes—APS-C cameras work extremely well when paired with a bright wide-angle lens like the Tamron 11-20mm F2.8.
How do I focus my camera in the dark for Northern Lights photos?
Switch to manual focus and use Live View to zoom in on a distant star. For added precision, use Astro Focus Lock and Fine Focus adjustments in TAMRON Lens Utility™ 5.0.
What Kp Index is needed to see the Northern Lights?
A Kp Index of 3 or higher typically produces visible auroras in northern regions.
Do I need a tripod to photograph the aurora borealis?
Yes. A sturdy tripod is essential for long exposures and sharp images.
How do I keep my camera lens from fogging or freezing in cold conditions?
Use a lens heater, keep spare batteries warm, insulate your gear, and place your camera in a sealed bag before moving indoors.
How do I get perfectly sharp focus when photographing the Northern Lights?
Use manual focus and zoom in on a bright star in Live View, or use TAMRON Lens Utility™ Astro Focus Lock to preset and lock precise infinity focus for consistent sharpness.
What settings should I use to shoot the aurora borealis?
Start with ISO 800–1600, F2.8, and a 10–20 second exposure. Adjust based on brightness and movement of the aurora.
Do I need a special lens to photograph the Northern Lights?
You don’t need a specialty lens, but a fast wide-angle lens like the Tamron 16-30mm F2.8 G2 or Tamron 11-20mm F2.8 helps capture more sky and light in dark conditions.
Can I use TAMRON Lens Utility™ for night sky photography?
Yes. Version 5.0 includes Astro Focus Lock, Fine Focus adjustment, Dark Mode, and wireless control with Tamron Link for improved precision and workflow in low-light environments.
When is the best time to see the Northern Lights?
From late September to early April in northern regions with dark, clear skies and minimal light pollution.