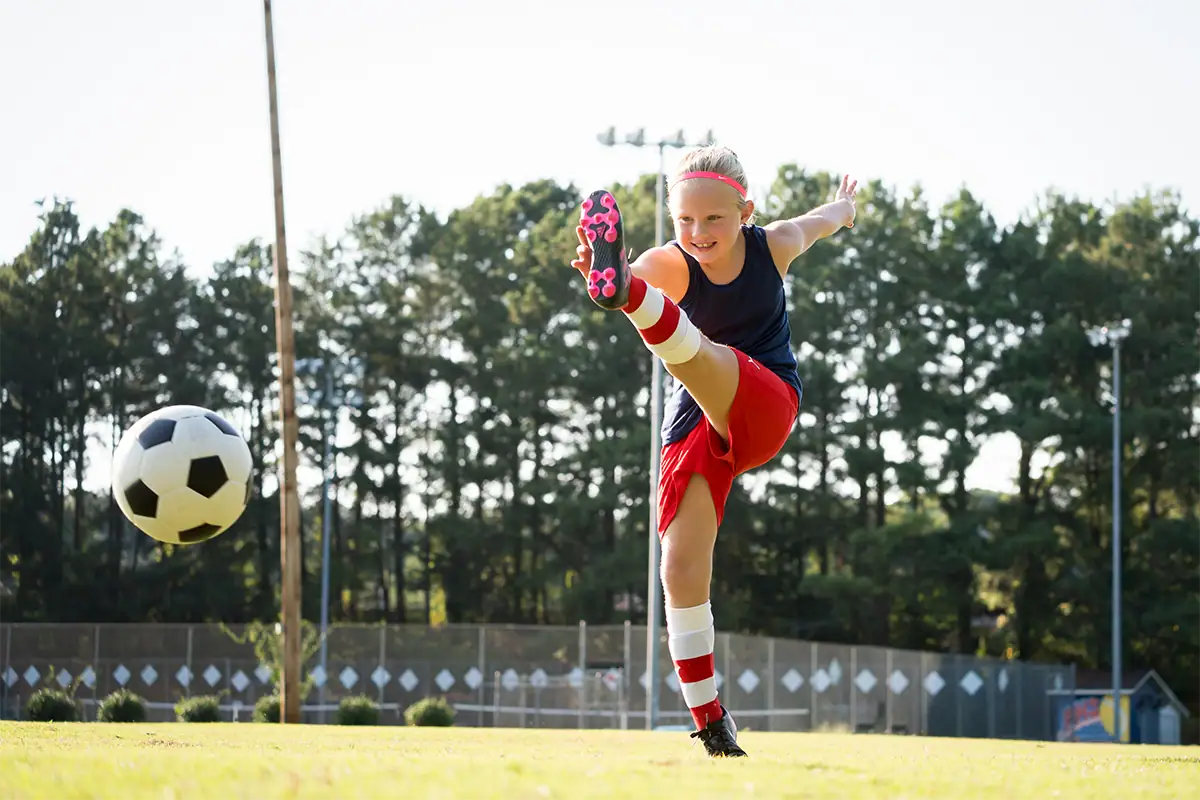
Sports photography is the practice of capturing athletes, competition, and fast-moving action — and four settings make it possible: continuous autofocus to track subjects, shutter speeds of 1/1000s or faster to freeze motion, burst mode to capture the decisive frame, and a telephoto lens to reach the action from the sidelines.
By Stacie Errera, Photography by credited Tamron photographers
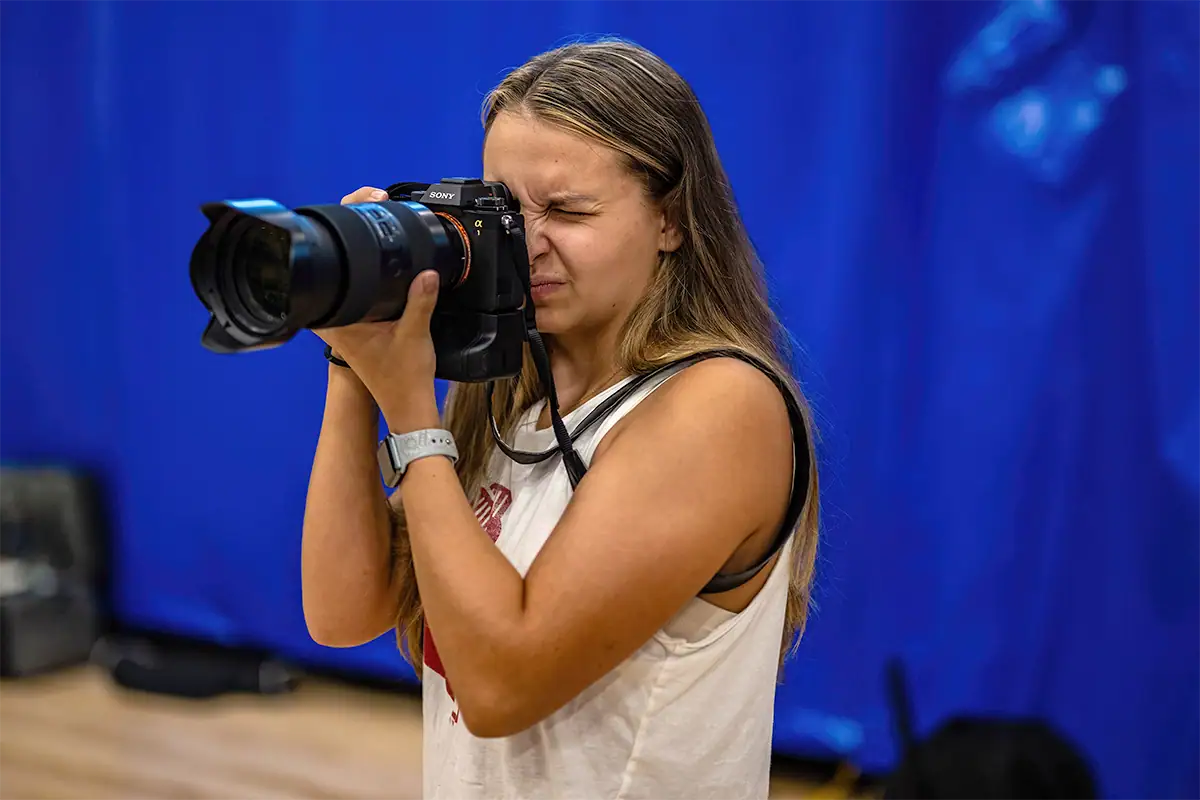
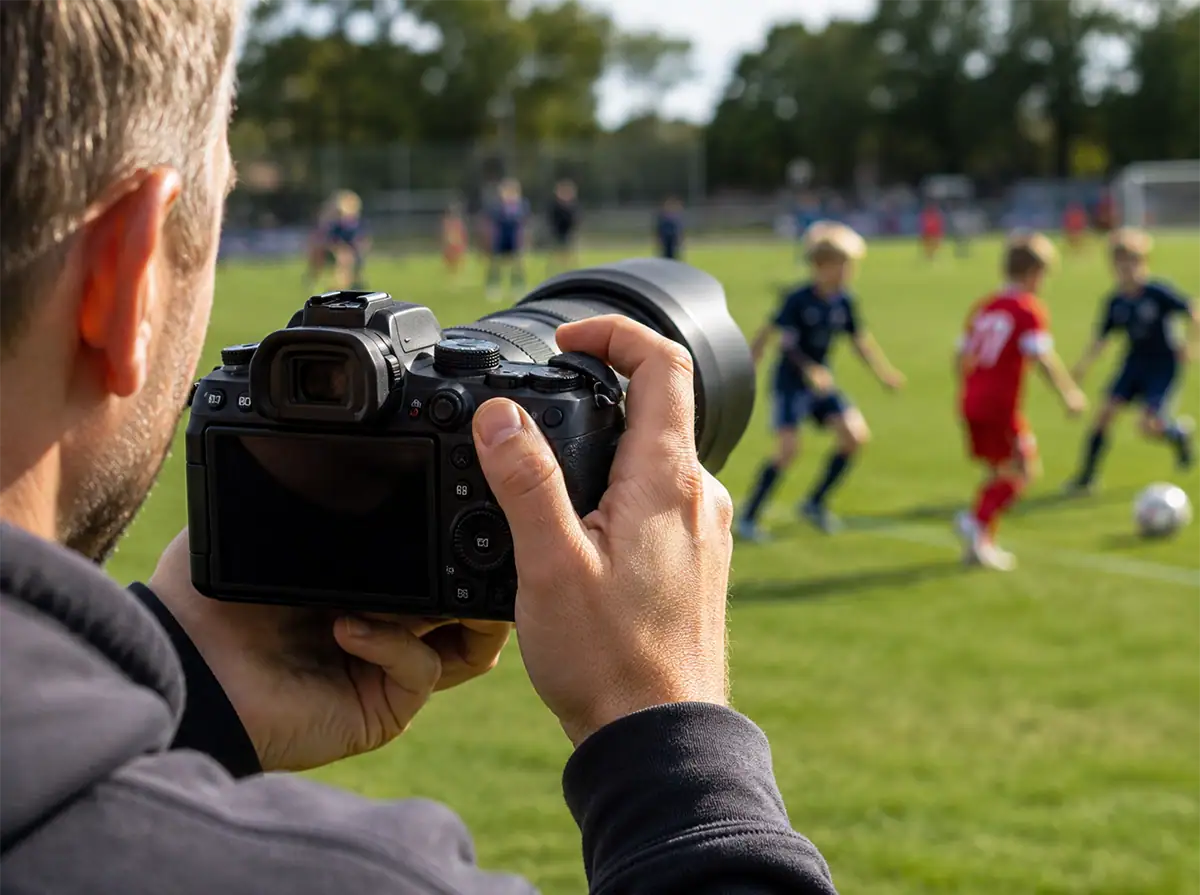
Whether you are a parent photographing a youth soccer game, a hobbyist covering local events, or an enthusiast ready to move beyond general photography, sports photography starts with getting your camera ready before the action begins. Once your settings are dialed in, better images come from positioning, anticipation, timing, and choosing the right lens for the sport.
Table of Contents
- What Is Sports Photography?
- The Essential Camera Settings for Sports Photography
- Autofocus: The Most Important Setting for Action Shots
- How to Use Burst Mode Effectively
- What Lens Should You Use for Sports Photography?
- How to Position Yourself for Better Sports Photos
- Shooting Sports in Low Light
- Common Sports Photography Mistakes and How to Fix Them
- Sport-Specific Photography Guides
What Is Sports Photography?
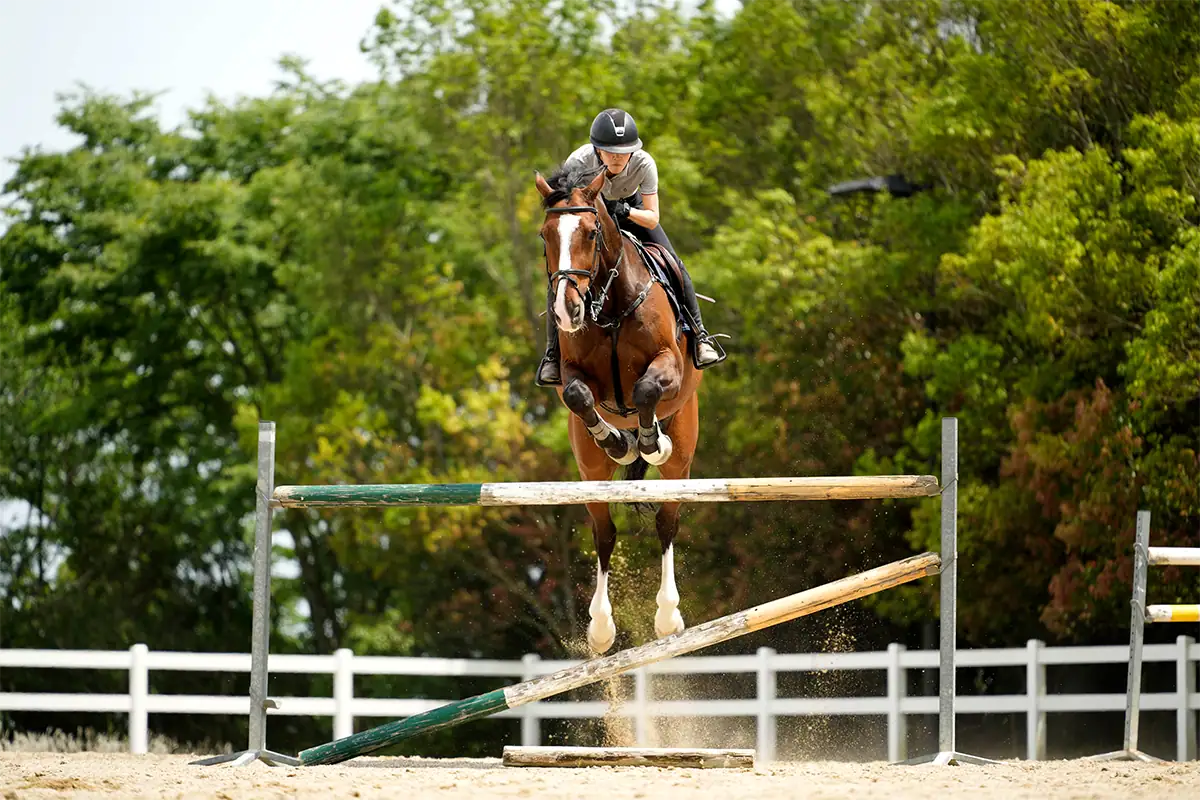
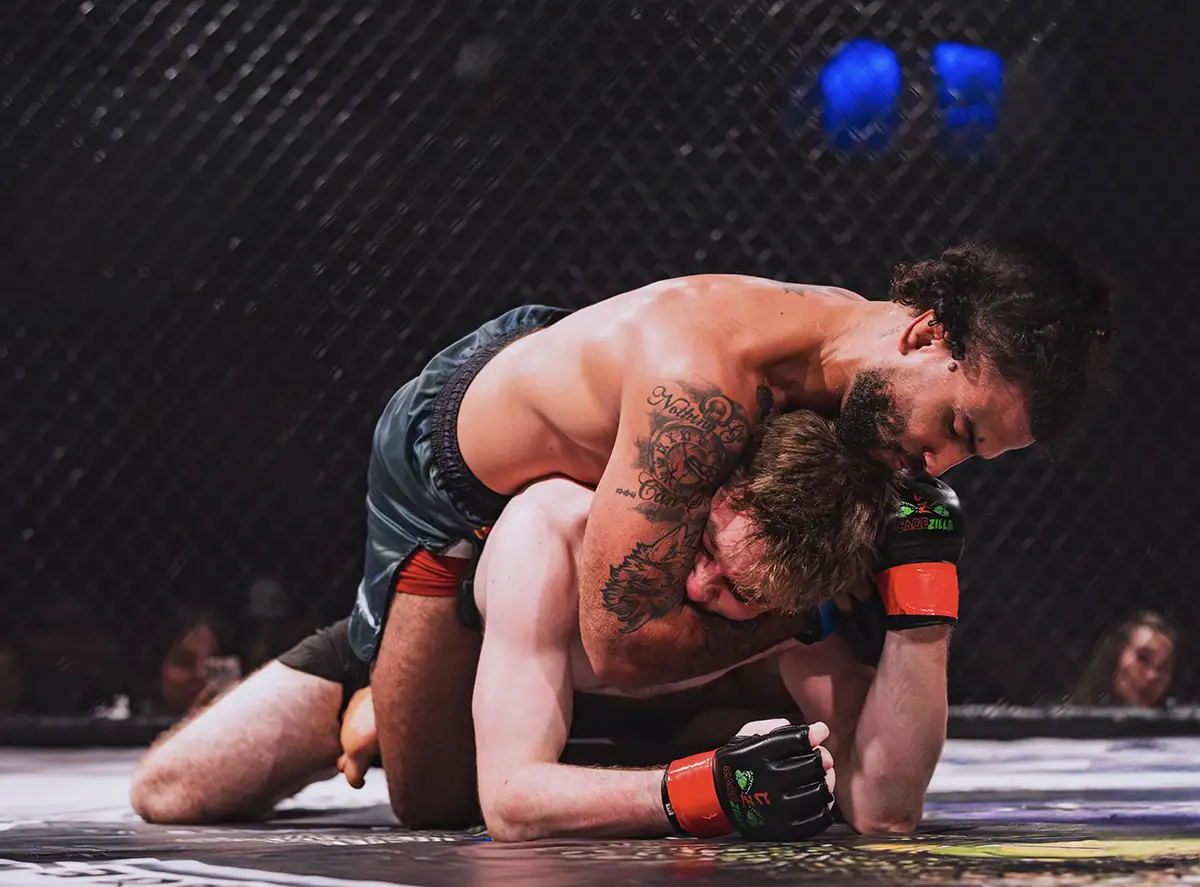
Sports photography is the practice of capturing athletes, competition, and motion in real time — freezing decisive moments that happen faster than the eye can fully track. It covers professional stadiums, motorsports, youth league games, extreme sports, and school athletics. The technical challenge is consistent: fast subjects, changing light, and no second chances.
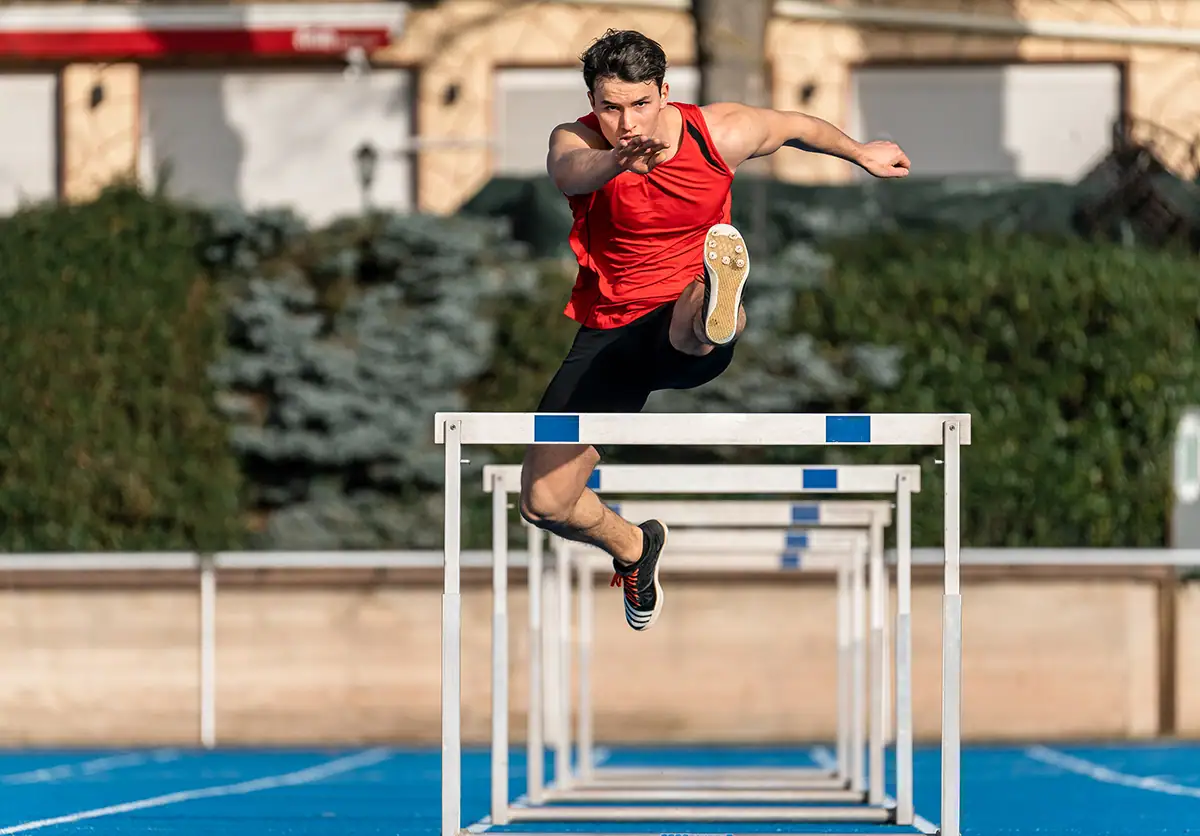
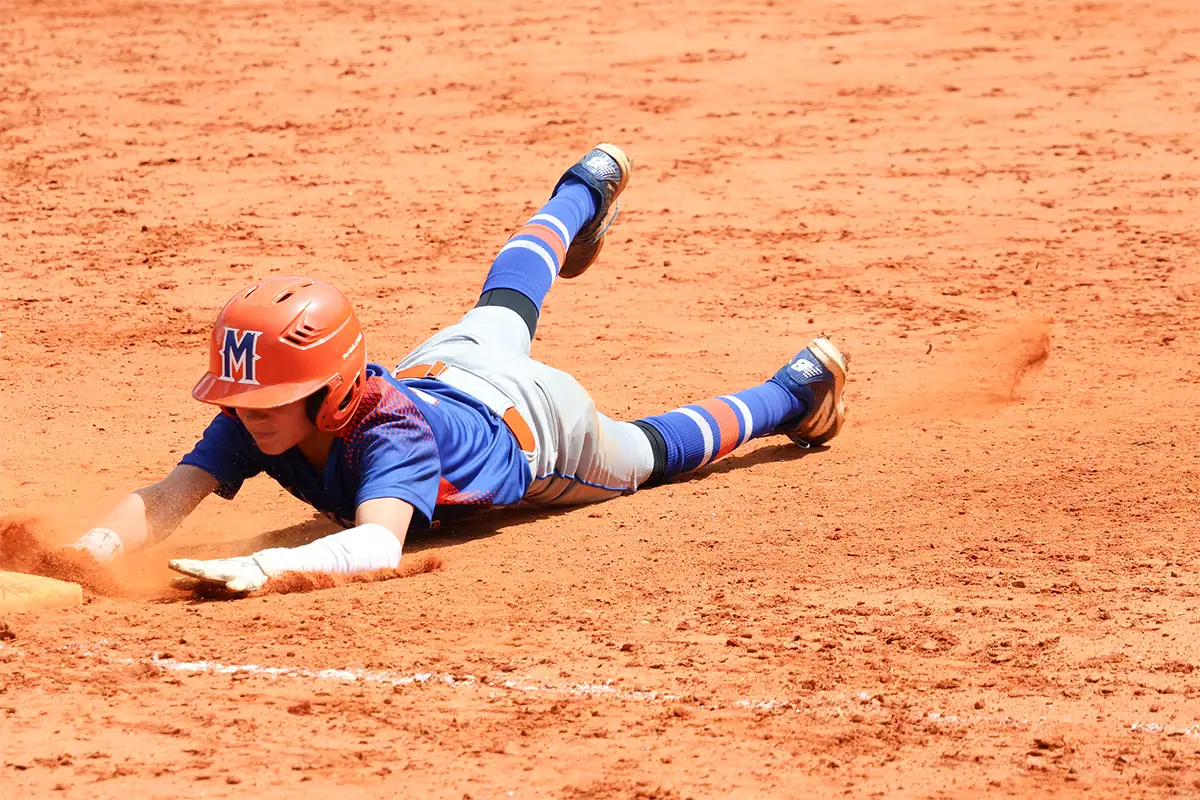
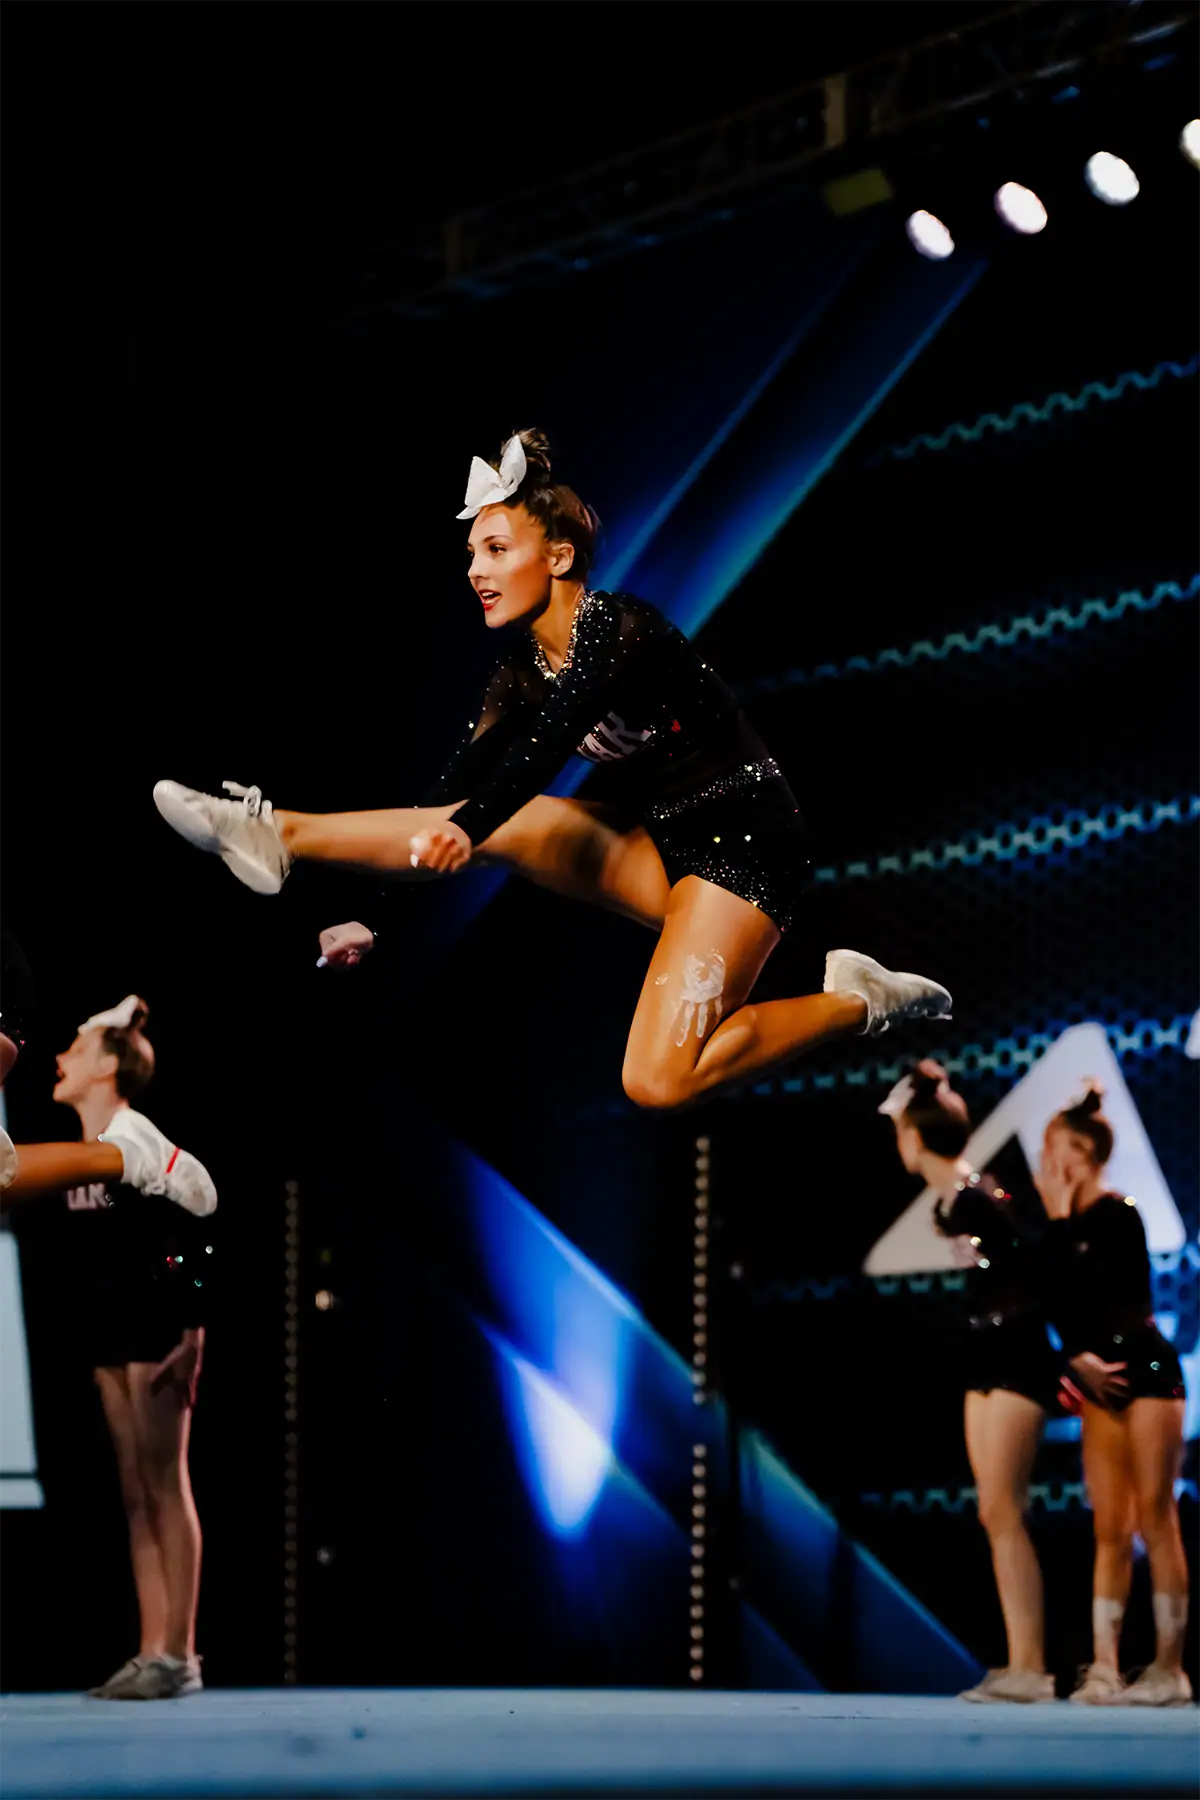
Action photography is often used as a related term because it describes the same core challenge: photographing movement as it happens. In sports, that movement may be a player sprinting downfield, a gymnast at the peak of a routine, a cyclist racing past, or a baseball player making contact with the ball.
You do not need professional gear to start. A camera with continuous autofocus, a telephoto lens of at least 200mm, and the right settings can produce compelling action shots from the sidelines of almost any game.
The Essential Camera Settings for Sports Photography
The baseline settings for sports photography are shutter speed at 1/1000s or faster to freeze motion, aperture f/2.8 to f/4 to collect light and isolate subjects, ISO adjusted to maintain that shutter speed in available light, and continuous autofocus mode active throughout. These four settings work as a system — configure all four before the action starts.
Think of sports photography settings in order of priority. First, set a shutter speed fast enough to stop the motion. Next, open your aperture wide enough to gather light and blur distracting backgrounds. Then raise ISO as needed to maintain exposure. Finally, make sure continuous autofocus is active so your camera can track athletes as they move.
What Shutter Speed Should You Use for Sports Photography?
Shutter speed determines how motion renders in a sports image — fast enough and the athlete freezes; too slow and the image blurs. Use at least 1/1000s for most running and ball sports. A practical speed guide by sport: jogging: 1/500s — running: 1/1000s — fast sports: 1/2000s — motorsports and racing: 1/4000s or faster.
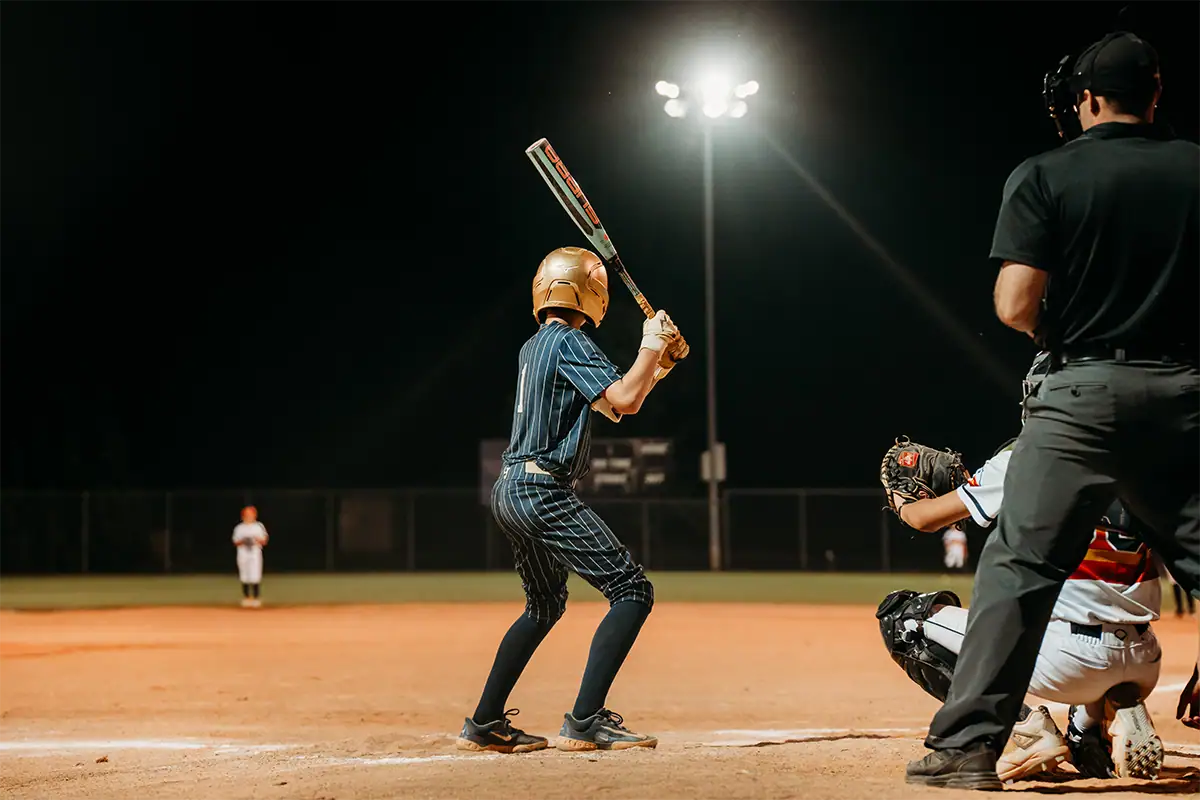
That guide is a starting point, not a rule that never changes. A youth baseball player running to first base may be sharp at 1/1000s, while a baseball bat, tennis racket, lacrosse stick, or racing vehicle may require much faster speeds. The faster the subject and the closer it is to the camera, the more shutter speed matters.
Faster shutter speeds require more light or a higher ISO. In bright outdoor conditions this is easy. In indoor gyms or night games, push ISO higher to maintain shutter speed. Prioritize shutter speed over noise — a sharp image with grain is always better than a clean blurry one.
For a deeper explanation of exposure and motion, read what is shutter speed.
What Aperture Is Best for Sports Photography?
Use a wide aperture — f/2.8 to f/4 — for sports photography. Wide aperture serves two functions: it lets in more light, which lets you maintain fast shutter speeds in lower-light conditions; and it creates a shallow depth of field that blurs the background and isolates the athlete from the crowd or field behind them.
A wide aperture is especially helpful when backgrounds are busy. Sidelines often include fences, benches, spectators, parked cars, signs, and other visual distractions. Shooting at f/2.8 or f/4 helps separate the athlete from that clutter, especially when you are using a telephoto lens and the background is farther behind the subject.
While f/2.8 is ideal if your lens offers it, f/4 is completely workable in good light. Avoid stopping down below f/5.6 for action work when possible — you lose background separation and often need to raise ISO further to compensate.
For more on how aperture affects exposure and depth of field, read what is aperture in photography.
What ISO Should You Use for Sports Photography?
ISO is not a setting to minimize in sports photography — it is a lever to pull whenever shutter speed and aperture cannot give you the exposure you need. Indoor sports, night games, and overcast conditions routinely require ISO 1600, 3200, or higher. Modern mirrorless cameras handle ISO 3200 cleanly; test your specific camera’s noise ceiling before a major event.
The mistake many beginners make is trying to keep ISO too low. That forces the camera to use a slower shutter speed, which causes motion blur. According to Cambridge in Colour’s tutorial on digital camera image noise, higher ISO speeds amplify the image signal but also increase noise, producing random speckles that degrade fine detail. In sports photography that tradeoff almost always favors the higher ISO — a slightly grainy image that freezes the decisive moment is more successful than a clean image where the subject is soft.
Set Auto ISO with a minimum shutter speed cap, such as never dropping below 1/1000s, so the camera manages exposure automatically while preserving sharpness. This is a standard working mode for sports photographers in variable light.
For more help, read what is ISO in photography and low light photography tips.
Autofocus: The Most Important Setting for Action Shots
Continuous autofocus — called AF-C on Nikon and Sony, AI Servo on Canon — constantly recalculates focus as your subject moves toward or away from the camera, keeping them sharp throughout a burst sequence. Single-shot autofocus locks focus once and cannot track movement. For any moving subject, continuous autofocus must be active.
Sports subjects rarely stay on the same plane of focus. A soccer player cuts toward the goal, a runner moves straight down the lane, a basketball player drives to the basket, and a baseball player runs from home to first. Your autofocus mode needs to keep updating as the distance changes.
Continuous AF vs. Single-Shot AF
Continuous AF, also called AF-C or AI Servo, tracks a moving subject and updates focus for every frame in a burst sequence. Single-shot AF, also called AF-S or One-Shot, locks focus at the moment you press the shutter — it cannot track movement. Continuous AF is the correct mode for all sports and action photography. Single-shot AF is for stationary subjects only.
Pair continuous AF with a flexible AF area such as zone AF, expanded point, or subject tracking rather than a single small point. A zone covering the central frame gives the system more reference points and keeps subjects sharp even when they move unpredictably.
Back-Button Focus for Sports
Back-button focus separates autofocus activation from the shutter button. Assign AF to the AF-ON button on the back of the camera. Press and hold to track your subject continuously with AF. Fire the shutter independently at the decisive moment. This prevents the camera from re-evaluating focus with every shutter press and improves hit rate significantly.
Back-button focus takes a little practice because it changes how your hand works with the camera. Most photographers adjust after one session. Once it becomes natural, it gives you more control over when focus starts, when it stops, and when the shutter fires.
Pre-Focusing for Predictable Action
For sports where peak action happens at a fixed point — a finish line, home plate, a hurdle, the apex of a jump — pre-focus on that location, switch to manual focus to lock it, and shoot in burst mode as the athlete arrives. This technique is more reliable than tracking for track and field, gymnastics, and skateboarding where the decisive moment is spatially predictable.
Pre-focusing works best when you know exactly where the action will happen. Instead of asking the autofocus system to chase a moving subject, you prepare the focus point in advance and wait for the athlete to enter that zone.
How to Use Burst Mode Effectively
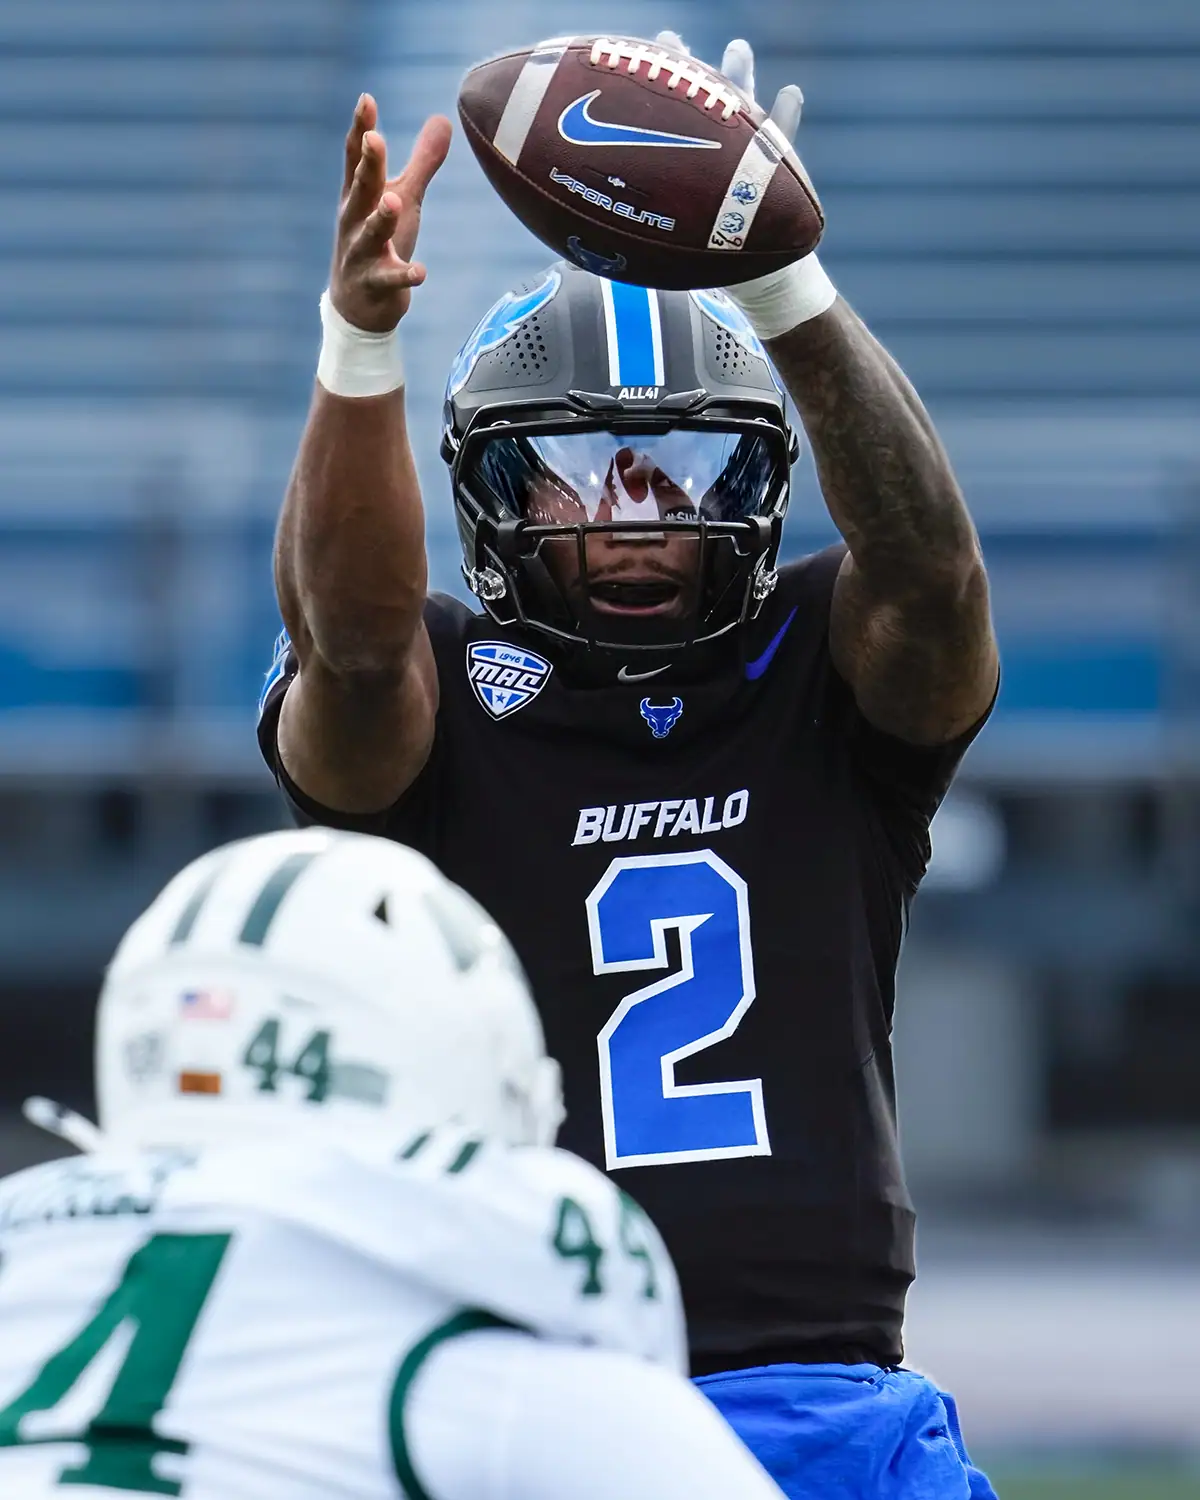
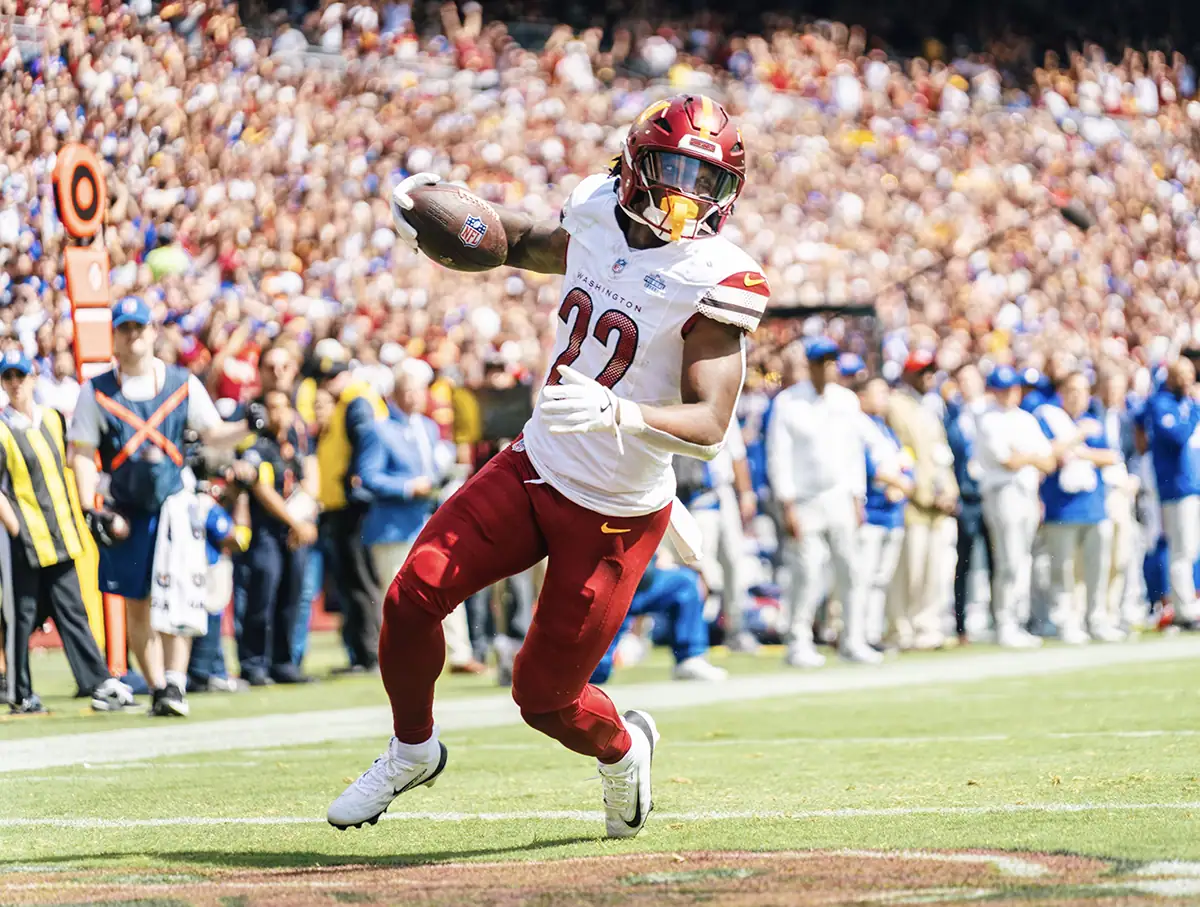
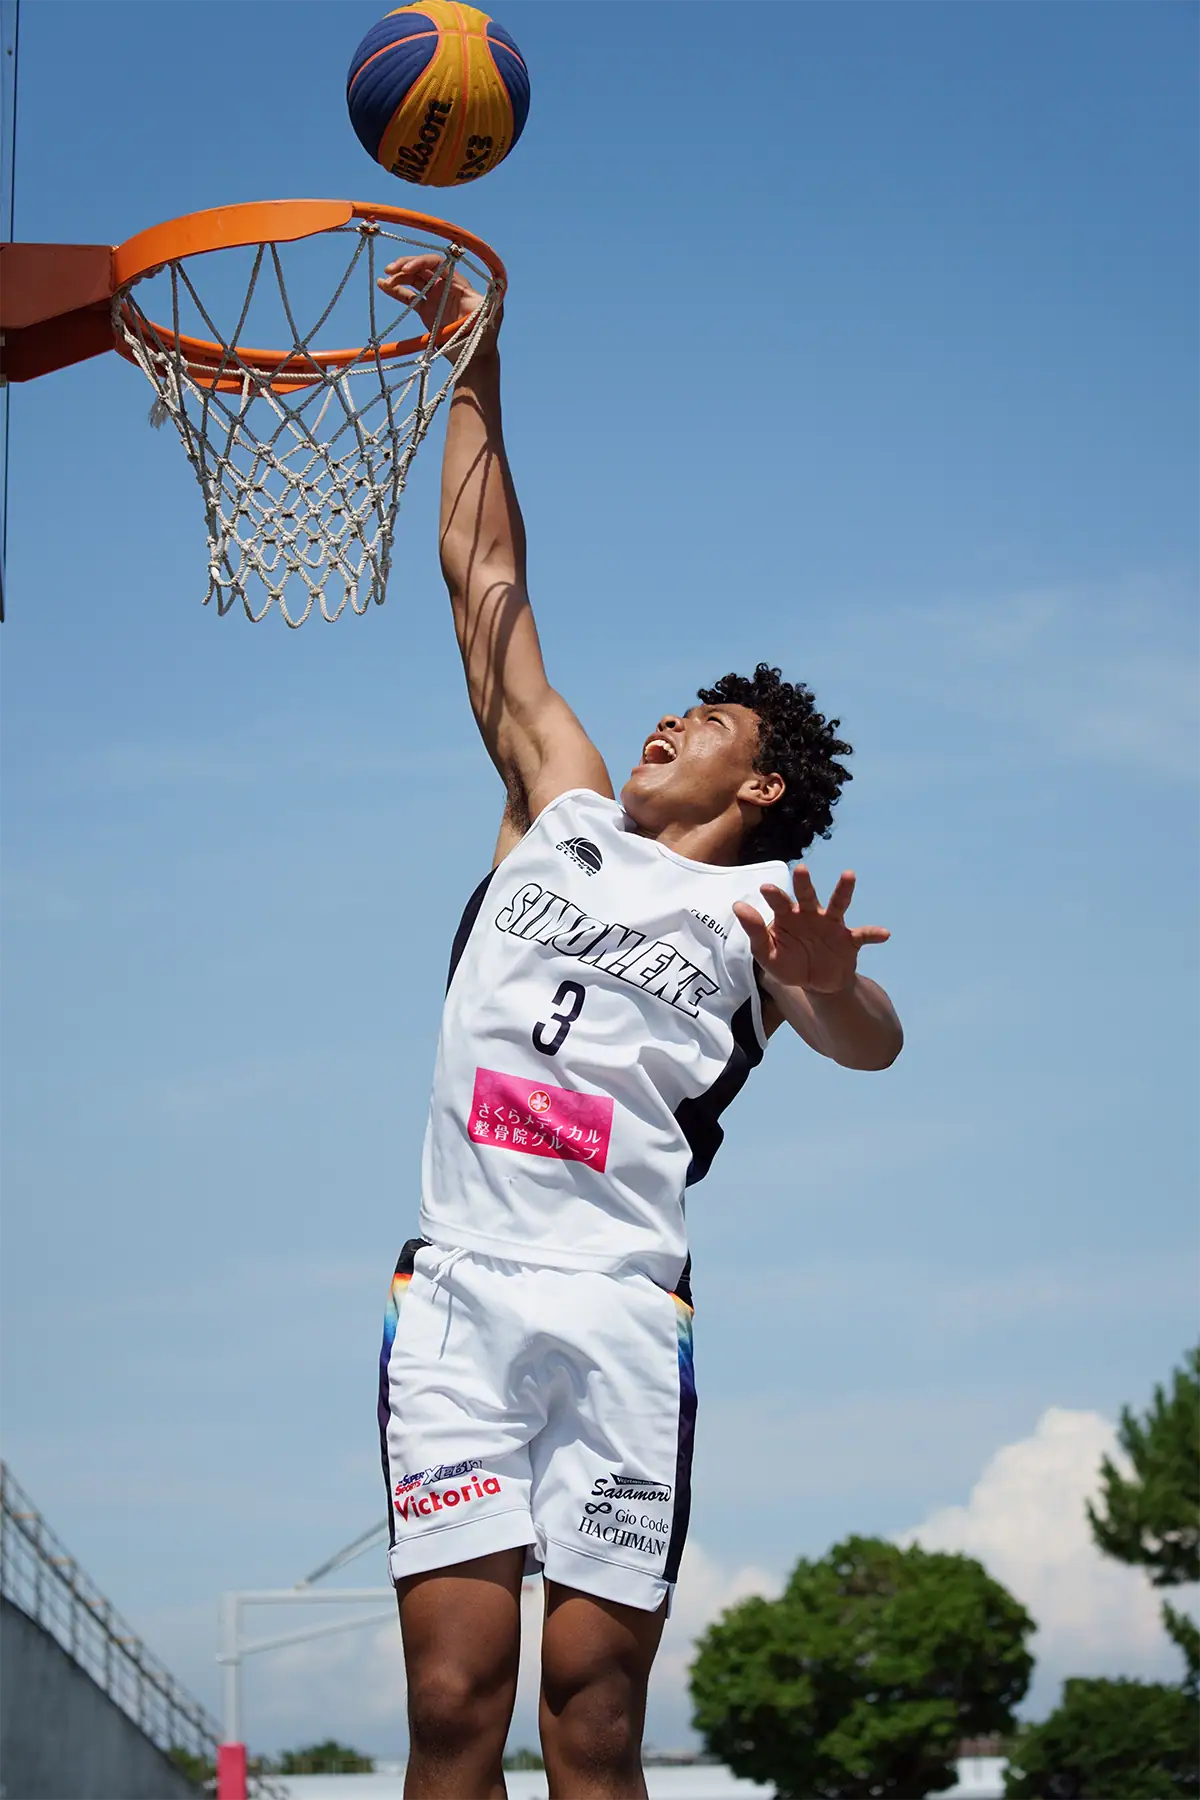
Burst mode fires multiple frames per second while you hold the shutter — giving you more chances to capture the exact peak of action, the split second when a basketball reaches maximum arc or a sprinter crosses the finish line. Most cameras shoot 8-20+ fps in burst mode. The goal is not to hold it down continuously — it is to time bursts around predictable peak moments.
Burst mode does not replace anticipation. It gives you a better chance of capturing the best frame once you know when that frame is coming. Use your knowledge of the sport to predict the moment, then fire a short burst through that action.
How to Use Burst Mode Without Filling Your Buffer
Watch the action, identify the moment that is coming — a jump shot, a tackle, a serve — start your burst 1-2 seconds before that moment, and release the shutter immediately after. Do not hold burst mode down for entire plays. Targeted bursts around peak action produce a manageable sequence of frames rather than an uneditable flood of thousands of similar images.
Every camera has a buffer, which is limited high-speed memory that fills during a long burst. Know your camera’s buffer depth, meaning how many RAW frames it can capture before it slows. Shorter targeted bursts preserve buffer for when you need it most.
Memory Cards and Burst Shooting
Use a memory card rated UHS-II, or CFexpress for newer cameras, with a write speed of at least 90MB/s for burst shooting. According to Fstoppers’ guide to memory card specs and speeds, the V90 Video Speed Class guarantees a minimum sustained write speed of 90MB/s, which is the threshold that keeps camera buffers clearing quickly during intense burst sequences. A slow card fills the buffer faster, causes the camera to slow sooner, and creates missed moments at critical times. This is one of the most overlooked performance bottlenecks in sports photography — and one of the cheapest to fix.
Memory cards are easy to ignore until they become the reason you miss a frame. If your camera slows down during long bursts, check your card speed before assuming the camera itself is the problem.
What Lens Should You Use for Sports Photography?
A telephoto lens in the 70-200mm or 100-400mm range is the standard starting point for sports photography. Telephoto reach lets you fill the frame with athletes from the sidelines, compress perspective to add drama, and isolate subjects against blurred backgrounds. A maximum aperture of f/2.8 or f/4 is strongly preferred — it keeps shutter speeds viable in any light.
Lens choice depends on the sport, the venue, and how close you can stand to the action. Indoor courts, gyms, and arenas often benefit from a fast telephoto zoom with a wider aperture, such as the Tamron 35-150mm F/2-2.8 Di III VXD, because it gives you flexible framing from mid-range plays to tighter action while maintaining the light-gathering advantage needed for fast shutter speeds. Soccer, football, baseball, motorsports, and larger field sports often benefit from longer reach. If you want a deeper breakdown, read this guide to choosing the best sports photography lens.
Telephoto Zoom vs. Prime for Sports
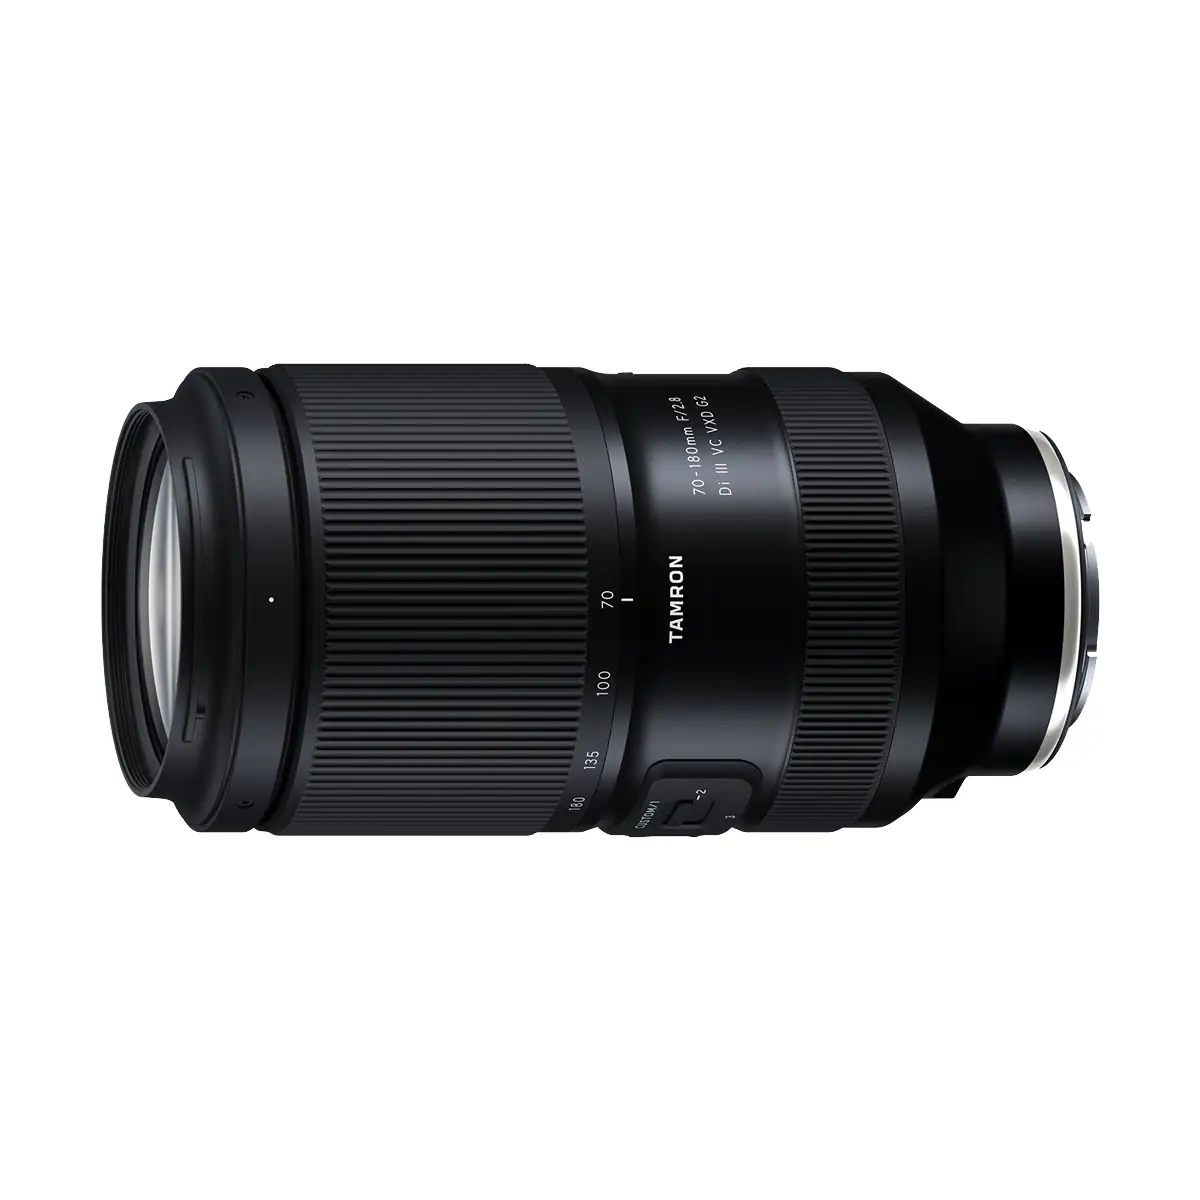
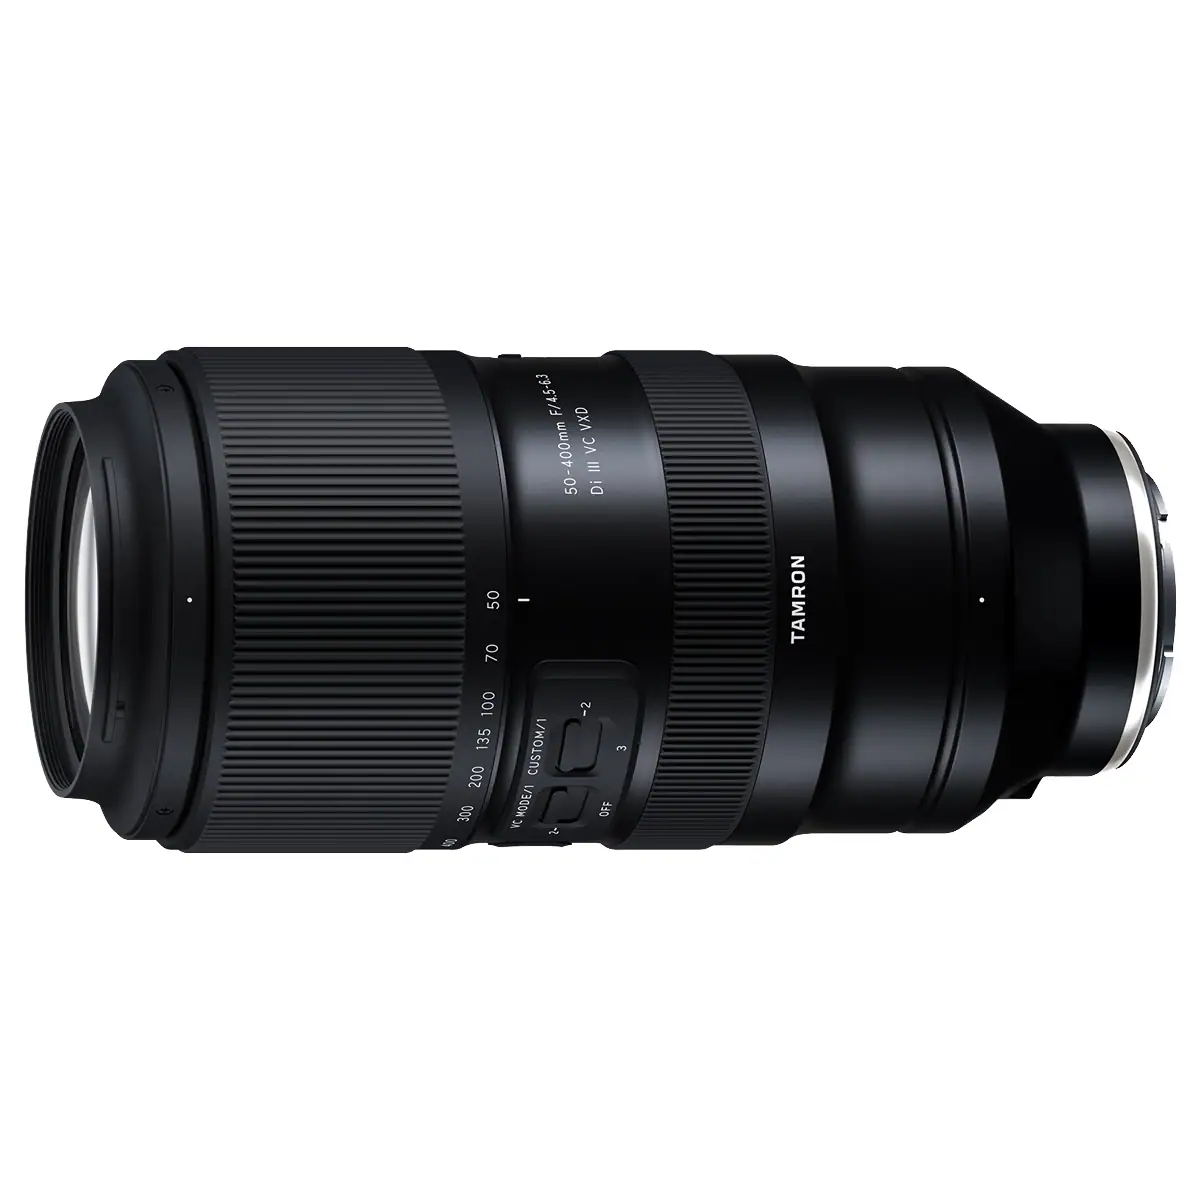
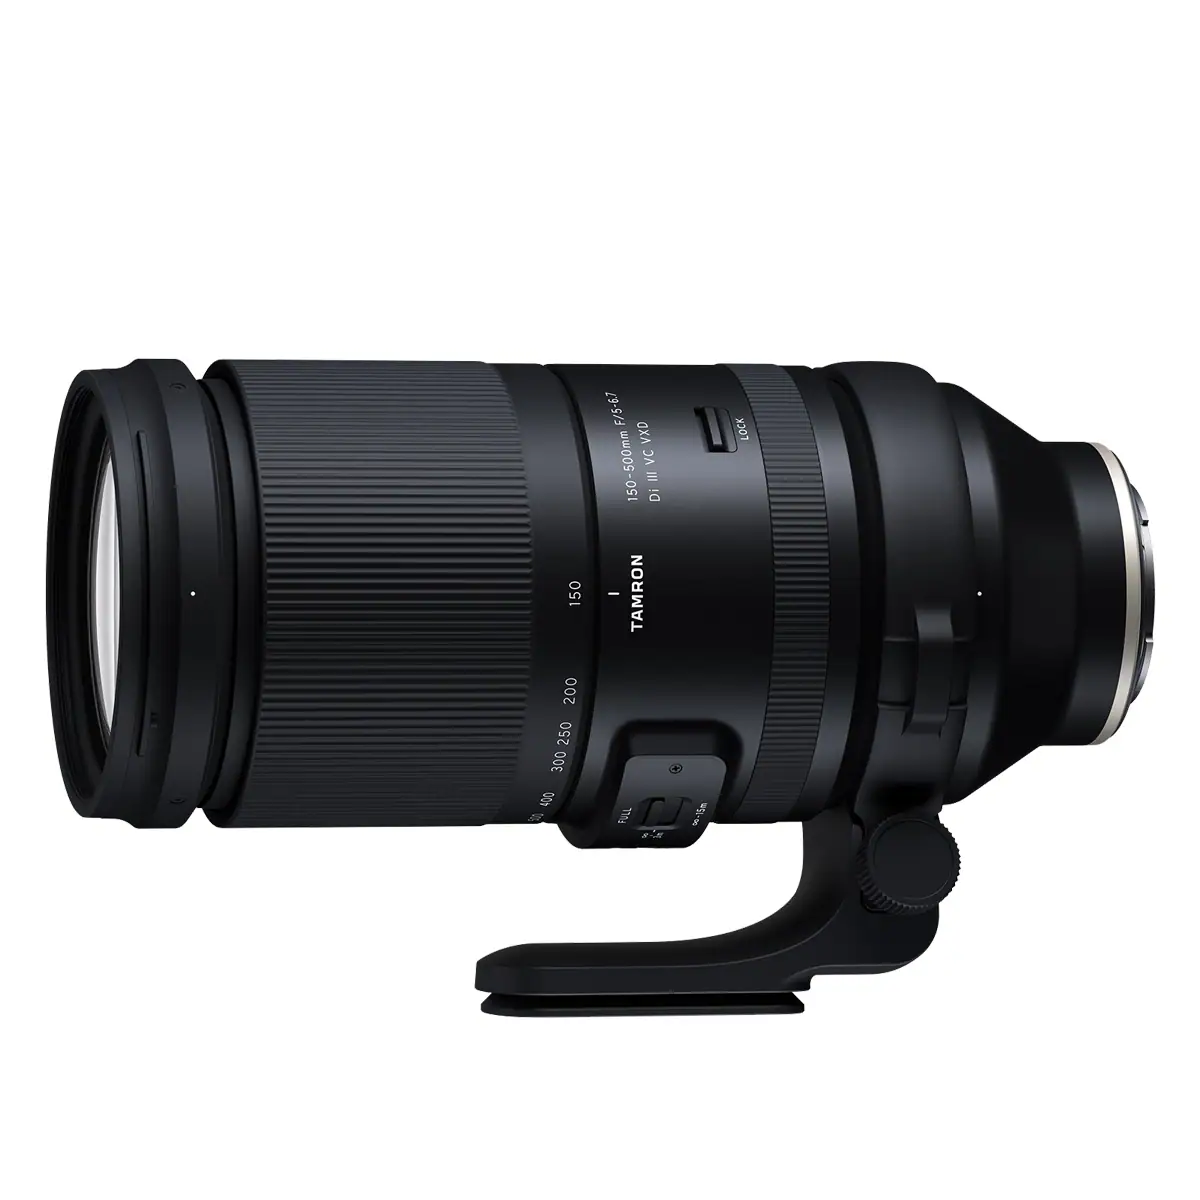
Telephoto zoom lenses, such as 35-150mm f/2-2.8, 70-180mm f/2.8, 50-400mm, and 150-500mm options, provide focal length flexibility to reframe without changing position — critical when action moves unpredictably. Prime telephoto lenses deliver the widest maximum aperture at a fixed focal length but lock you into one framing distance. For most sports, the zoom’s flexibility outweighs the prime’s aperture advantage.
A zoom lets you react as play moves closer or farther away. That flexibility is especially useful for youth sports, school events, and local games where you may not have the freedom to move during play. A prime lens can be excellent, but it requires more precise positioning and a clearer expectation of where the action will happen.
For more real-world examples, explore sports photography using Tamron telephoto lenses, dynamic sports photography tips using telephoto lenses, and this Tamron 70-180mm F2.8 G2 review for sports action photography.
Image Stabilization for Sports
Image stabilization compensates for camera shake when handholding a heavy telephoto lens. At shutter speeds of 1/1000s or faster, stabilization has minimal impact on sharpness because the shutter speed is already fast enough to eliminate motion blur from camera movement. According to Wikipedia’s article on image stabilization, IS facilitates shutter speeds 2 to 5.5 stops slower than would otherwise be possible, meaning its value is greatest when you are pushing shutter speed limits in low light, not when you are already shooting at 1/1000s or faster. Its other real benefit in sports is during video capture.
Stabilization also improves the shooting experience. When using longer focal lengths, a stabilized viewfinder can make it easier to follow a moving subject, compose accurately, and keep the athlete framed as action develops.
For more guidance, read how to use image stabilization.
How to Position Yourself for Better Sports Photos
The difference between a technically correct sports photo and a great one is usually positioning and timing — neither requires better gear. Knowing where to stand, what moment to anticipate, and how a sport’s rhythm works separates photographers who get lucky occasionally from those who get compelling images consistently. Arrive early, study the venue, and find where peak action concentrates.
Good positioning helps you photograph faces, emotion, impact, and direction. If every athlete is moving away from you, even sharp images may feel flat. If action comes toward you, the frame usually feels more dynamic.
Where Should You Stand for Sports Photography?
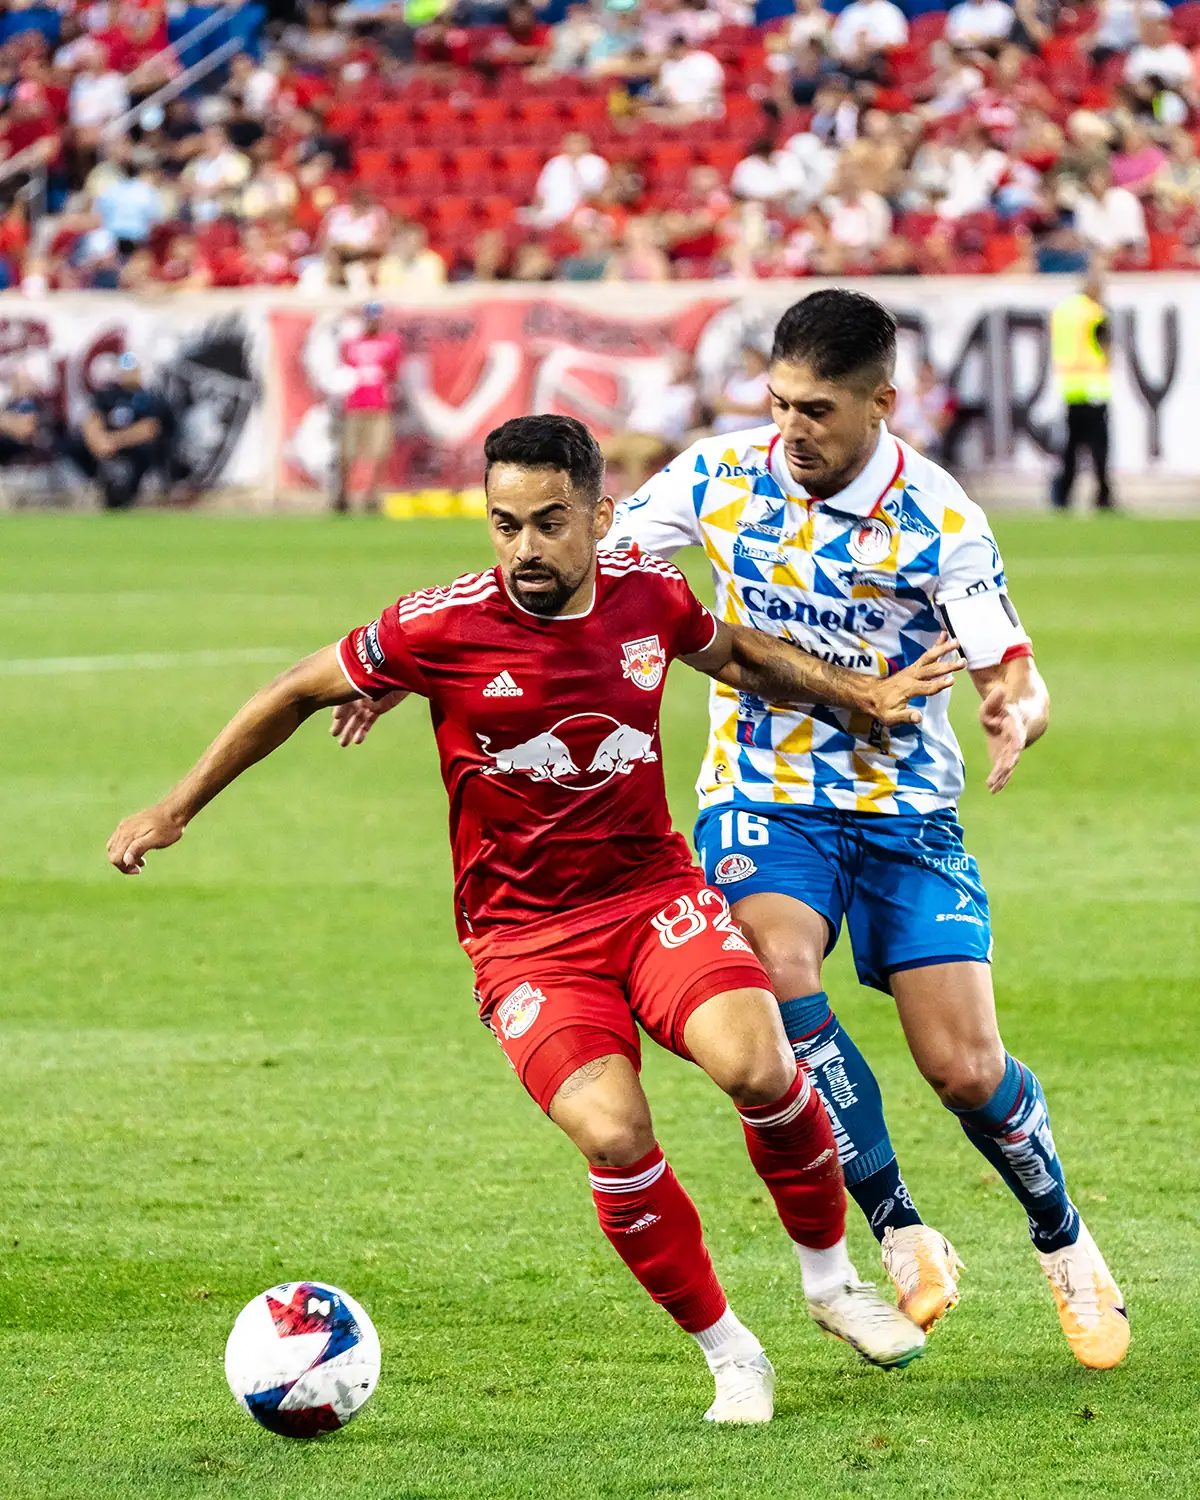
Position yourself where the action is most likely to come toward you. For soccer: the goal mouth and penalty area. For basketball: the baseline at each end captures drives and rebounds. For track events: the finish line and bend entries. At youth sports events: end zones and key transition points produce more decisive moments than midfield positions.
A telephoto lens from a good position beats a mediocre position with any lens. Spend time before the event walking the venue, identifying background clutter, checking light direction, and finding the two or three spots where action concentrates.
For more composition ideas, read mastering unique photography angles.
How to Anticipate Action in Sports Photography
Anticipation — knowing what is about to happen before it does — is the most important non-technical skill in sports photography. Study the sport before you photograph it: know where the ball goes after a tackle, what a pitcher’s windup signals, when a sprinter leaves the blocks. Watch the action for a few minutes before raising the camera. The photographers who consistently capture peak-action frames are not faster than the action — they are already focused on where it is going.
Identify the peak moment in your sport and build your burst timing around it. In basketball, it may be the apex of the jump shot. In football, it may be the moment of contact in a tackle. In track, it may be the finish line lean. Pre-focus, start your burst 0.5-1 second before, and release immediately after.
Panning: Creative Motion Blur
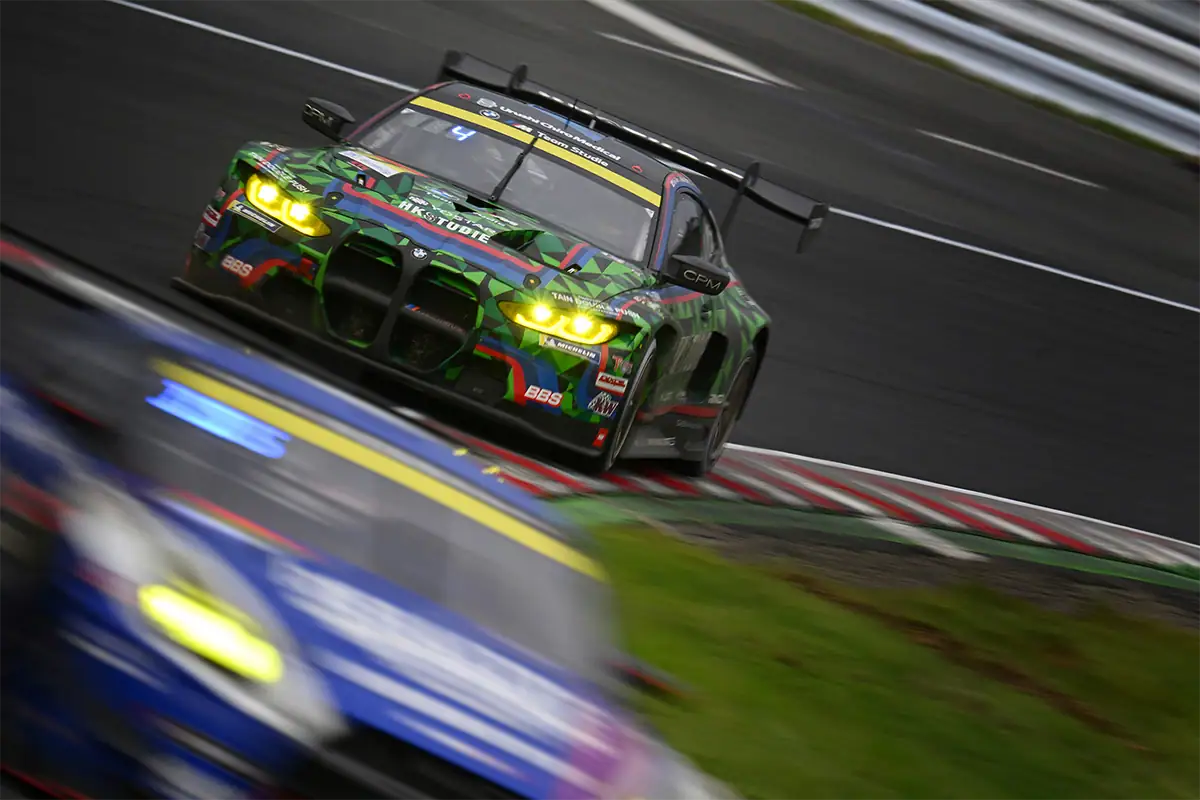
Panning follows a moving subject with the camera during a slower exposure — keeping the subject sharp while blurring the background into directional streaks that convey speed and motion. Reduce shutter speed to 1/60s-1/250s, depending on subject speed, follow the athlete smoothly with the lens, and fire during the pan. The result communicates motion in a way a frozen shot cannot.
Begin panning at 1/125s and adjust from there. Expect to discard most frames until you develop the smooth follow-through motion that keeps the subject sharp. Panning is particularly effective for cycling, motorsports, sprint events, skating, and skiing.
Visit our guide to learn panning techniques.
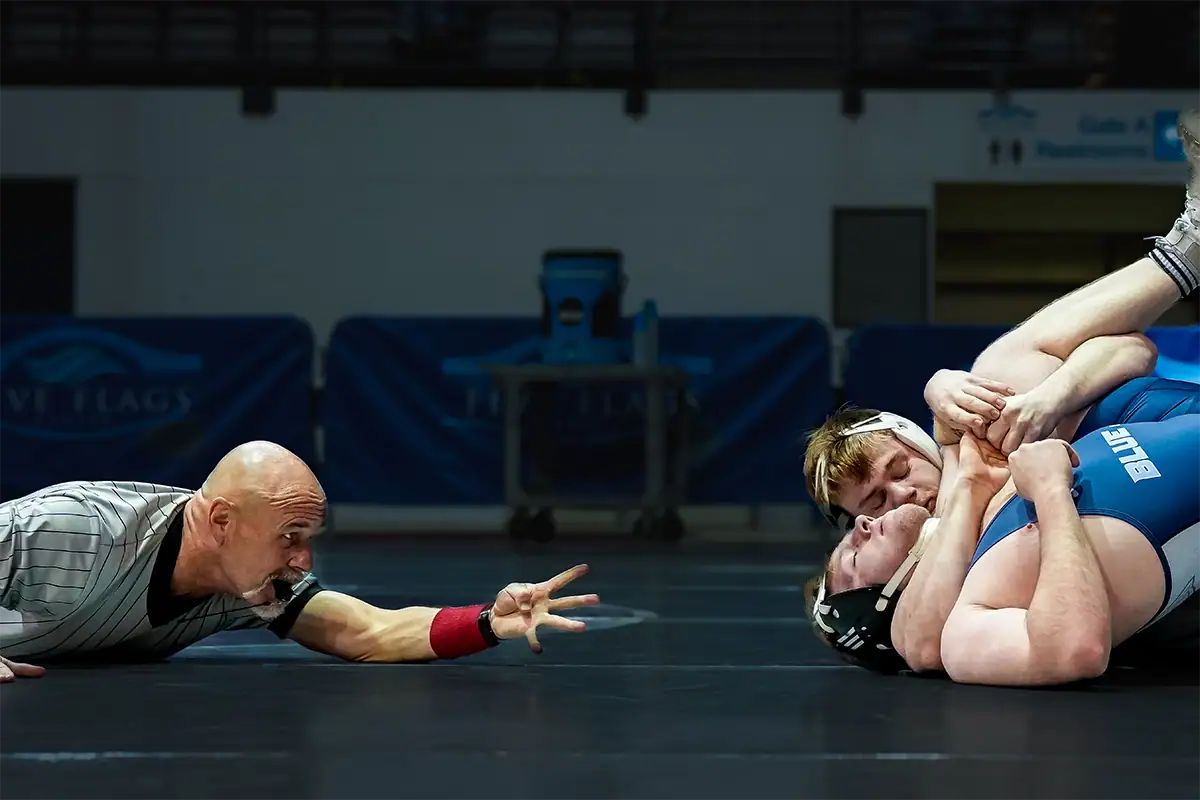
Shooting Sports in Low Light
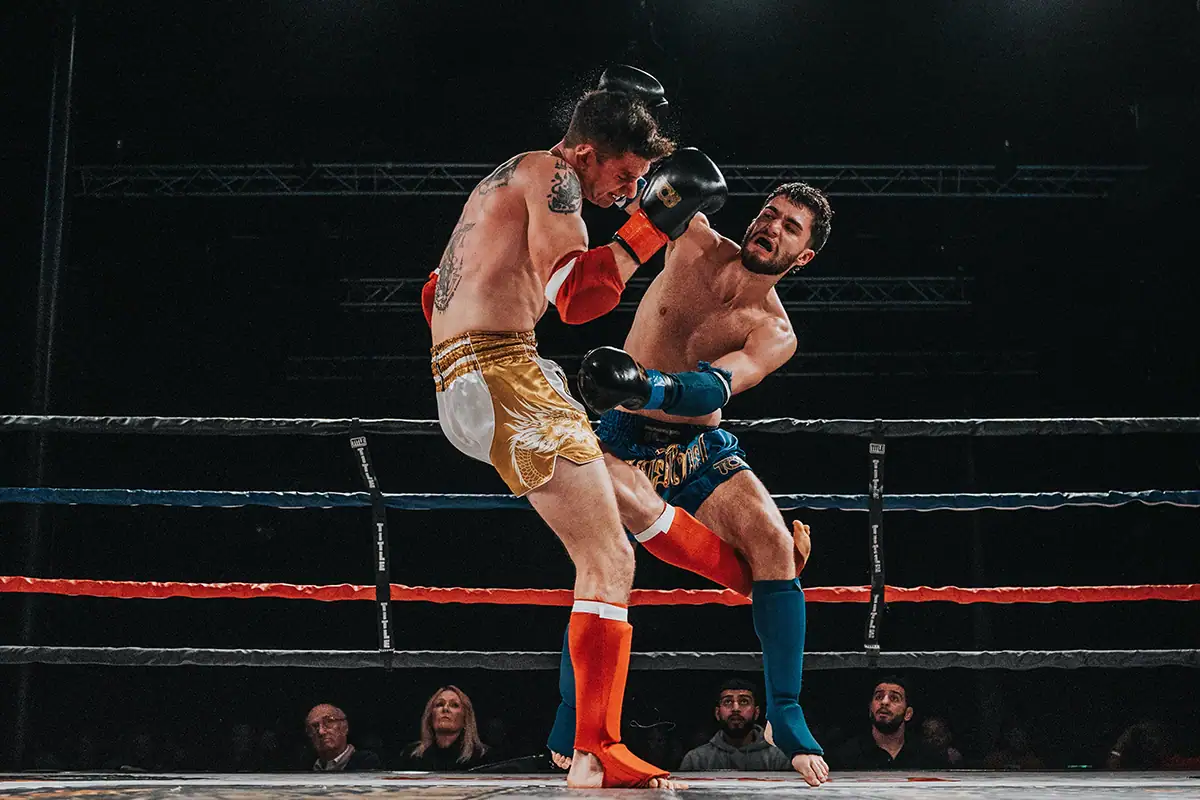
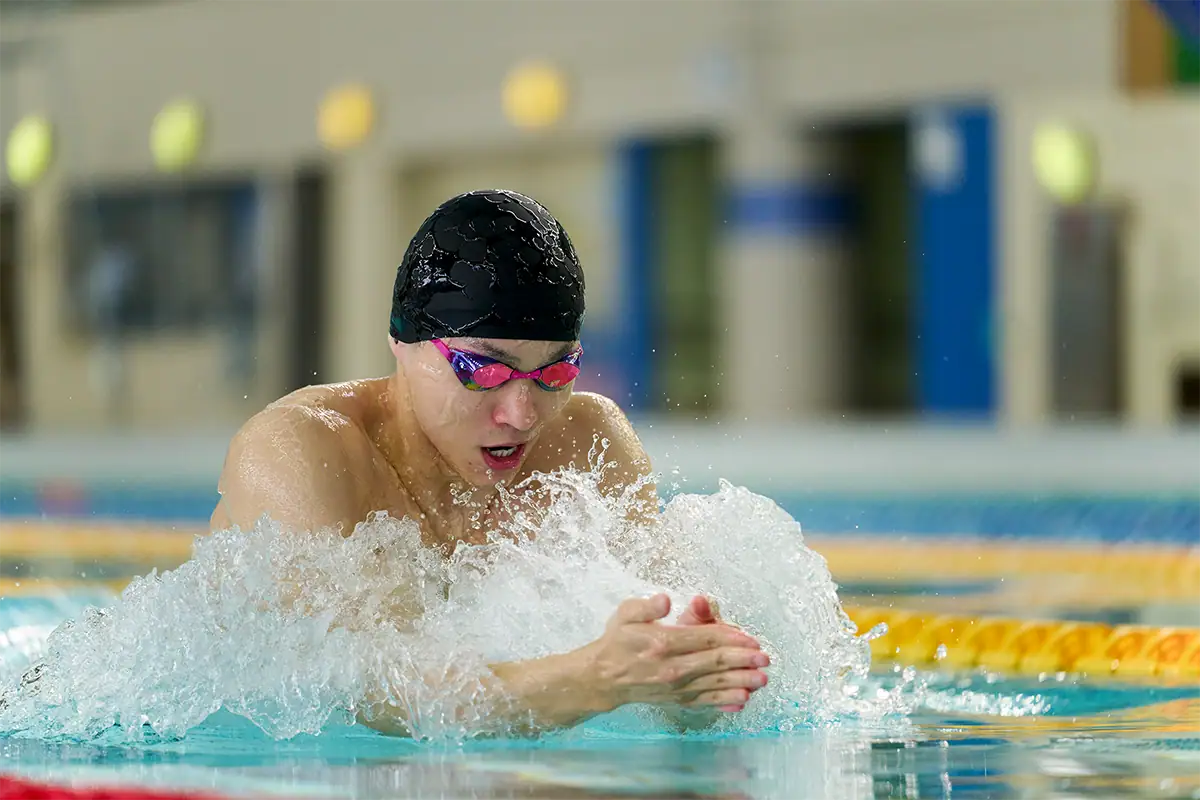
Indoor sports and night outdoor events present the hardest conditions in sports photography. Fast-moving subjects combined with limited light forces a trade-off between shutter speed, which must be fast, and ISO, which must be high. The solution is a fast aperture lens, f/2.8 or wider when available, the highest ISO your camera handles cleanly, and accepting that grain is preferable to motion blur.
Low light also makes autofocus more challenging. Give your camera the best chance by using a wide aperture, a strong AF area mode, and subjects with enough contrast for the autofocus system to track.
Indoor Sports Settings
For indoor sports, start at f/2.8, or your lens’s widest aperture, shutter speed 1/800s-1/1000s, and ISO 3200. Adjust ISO up or down based on the specific venue’s lighting. Many school gyms have inconsistent or mixed-color artificial lighting — set a custom white balance or use Auto White Balance and correct in post. Shoot RAW to maximize exposure and white balance latitude.
Indoor sports often require compromises. If your images are too dark, raise ISO before lowering shutter speed too far. If motion blur appears in hands, feet, faces, or equipment, your shutter speed is too slow for the action.
For more help with challenging conditions, read low light photography tips.
Camera Settings for Night Sports Photography
Floodlit night sports — football fields, stadium events, and outdoor evening games — are typically better lit than indoor arenas but still require ISO 1600–6400 and careful white balance management for mixed artificial and ambient light. Use spot metering on the athletes rather than evaluating the whole scene — the dark background causes matrix metering to overexpose the subjects.
Night sports can also create dramatic images because the background often falls darker than the subject. Use that contrast to your advantage, but check exposure early so uniforms, faces, and highlights are not blown out under artificial lights.
Common Sports Photography Mistakes and How to Fix Them
The most common sports photography mistakes are using single-shot autofocus instead of continuous, setting shutter speed too slow for the subject’s speed, shooting from the wrong position relative to peak action, holding burst mode down for entire plays instead of targeting decisive moments, and failing to configure camera settings before the event starts. All are immediately fixable.
The key is to check your settings and shooting position before the game begins. Sports move quickly. The fewer decisions you need to make during play, the more attention you can give to timing, faces, emotion, and peak action.
Using the Wrong Autofocus Mode
Single-shot AF is the most common cause of blurry action shots for beginners. It locks focus when you press the shutter and does not update — any subject movement between focus lock and shutter fire produces a soft image. Fix: switch to continuous AF, AF-C, or AI Servo before the event starts and leave it there for the entire shoot.
Shutter Speed Too Slow
If images show motion blur on athletes’ limbs, faces, or equipment, shutter speed is too slow. Fix: raise shutter speed to at least 1/1000s for most sports, compensating by raising ISO as needed. Check your histogram and first few frames as soon as action starts — do not discover the problem after the event is over.
Shooting From the Wrong Position and How to Fix It
Technically sharp images of athletes running away from the camera or between plays are not compelling regardless of settings. Fix: arrive early, identify where peak action concentrates in the specific venue, and position yourself there. Study the sport enough to anticipate when the decisive moment is coming. Positioning and timing matter more than any gear decision.
Not Accounting for the Background
A distracting background — a crowded stand, a fence, mixed signage — undermines even a technically perfect action shot. Fix: before shooting, check what is behind your likely subject from your shooting position. A lower angle often clears background clutter. A wider aperture, such as f/2.8, blurs the background more. Repositioning 10 feet can make the difference between a cluttered frame and a clean image.