Making Environmental Portrait Photography with Intention
Author & Images: Justin Haugen
Share Article
Occupational portraiture is all about intentional composition, unique perspectives, and creative lighting. Elevate your photography with thoughtful framing, dynamic lighting, and a closer connection to your subject.
TIP 1: To Center Frame Or Not To Center Frame
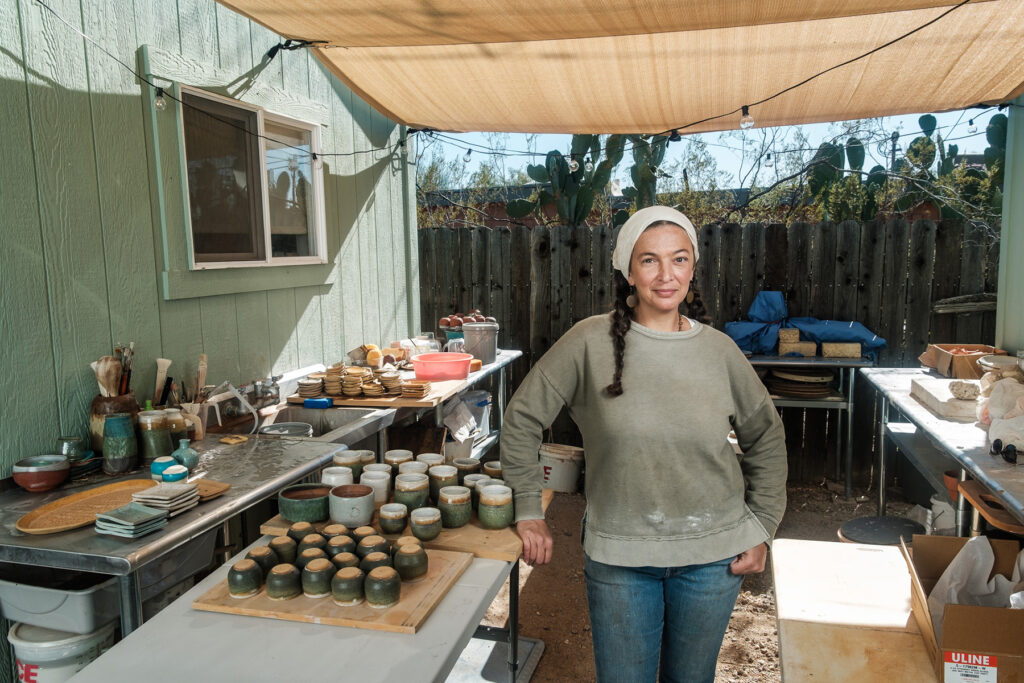
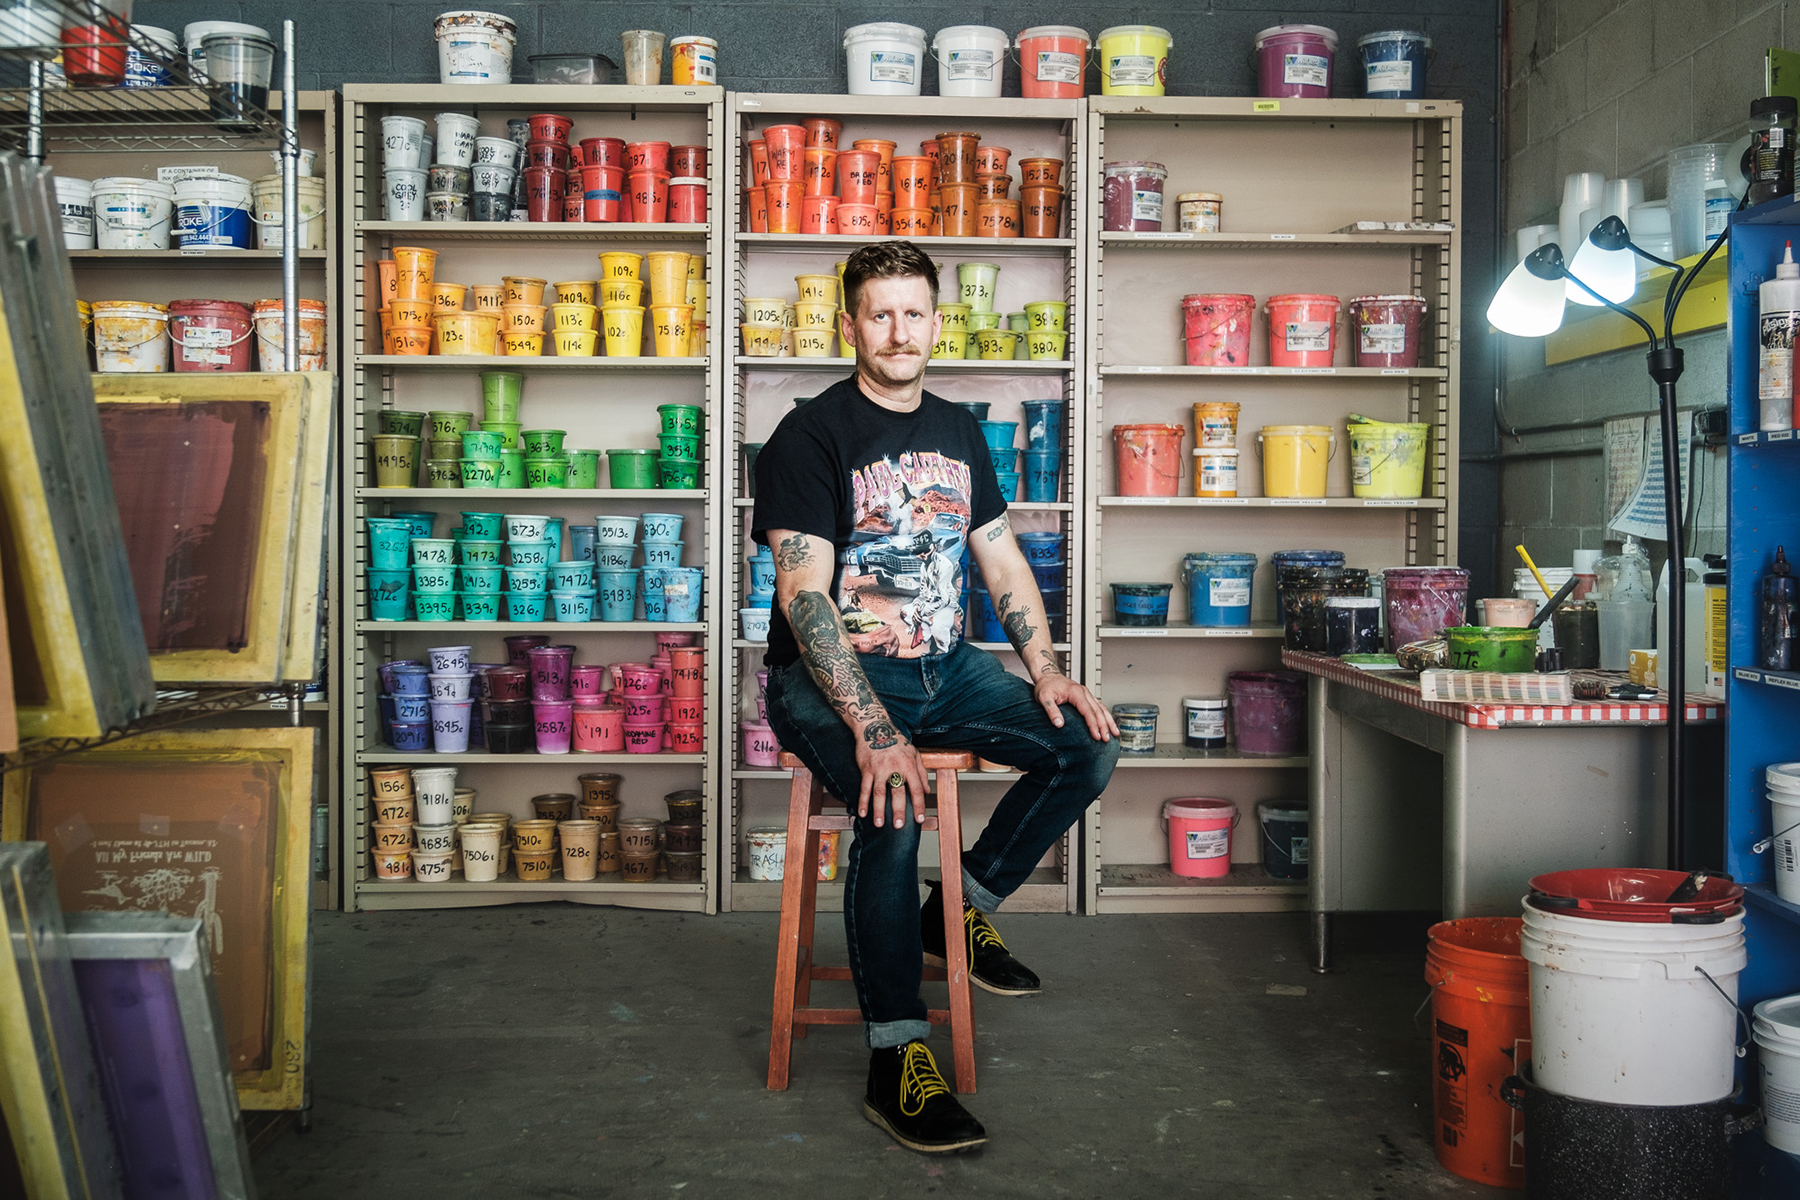
While I tend to favor placing my subjects in the outer thirds of an image while utilizing strong leading lines, sometimes the most impactful composition is staring directly in front of you. I like to lean into a centered composition when I notice symmetry in the frame and ample negative space to place my subject where distractions are minimized. This is a great way to place the emphasis on your subject and direct the viewer’s eye on the most important part of the image. With repetition over a body of work, this could become your style of portraiture, much like Wes Anderson is known for center framing throughout his films.
TIP 2: Get High!
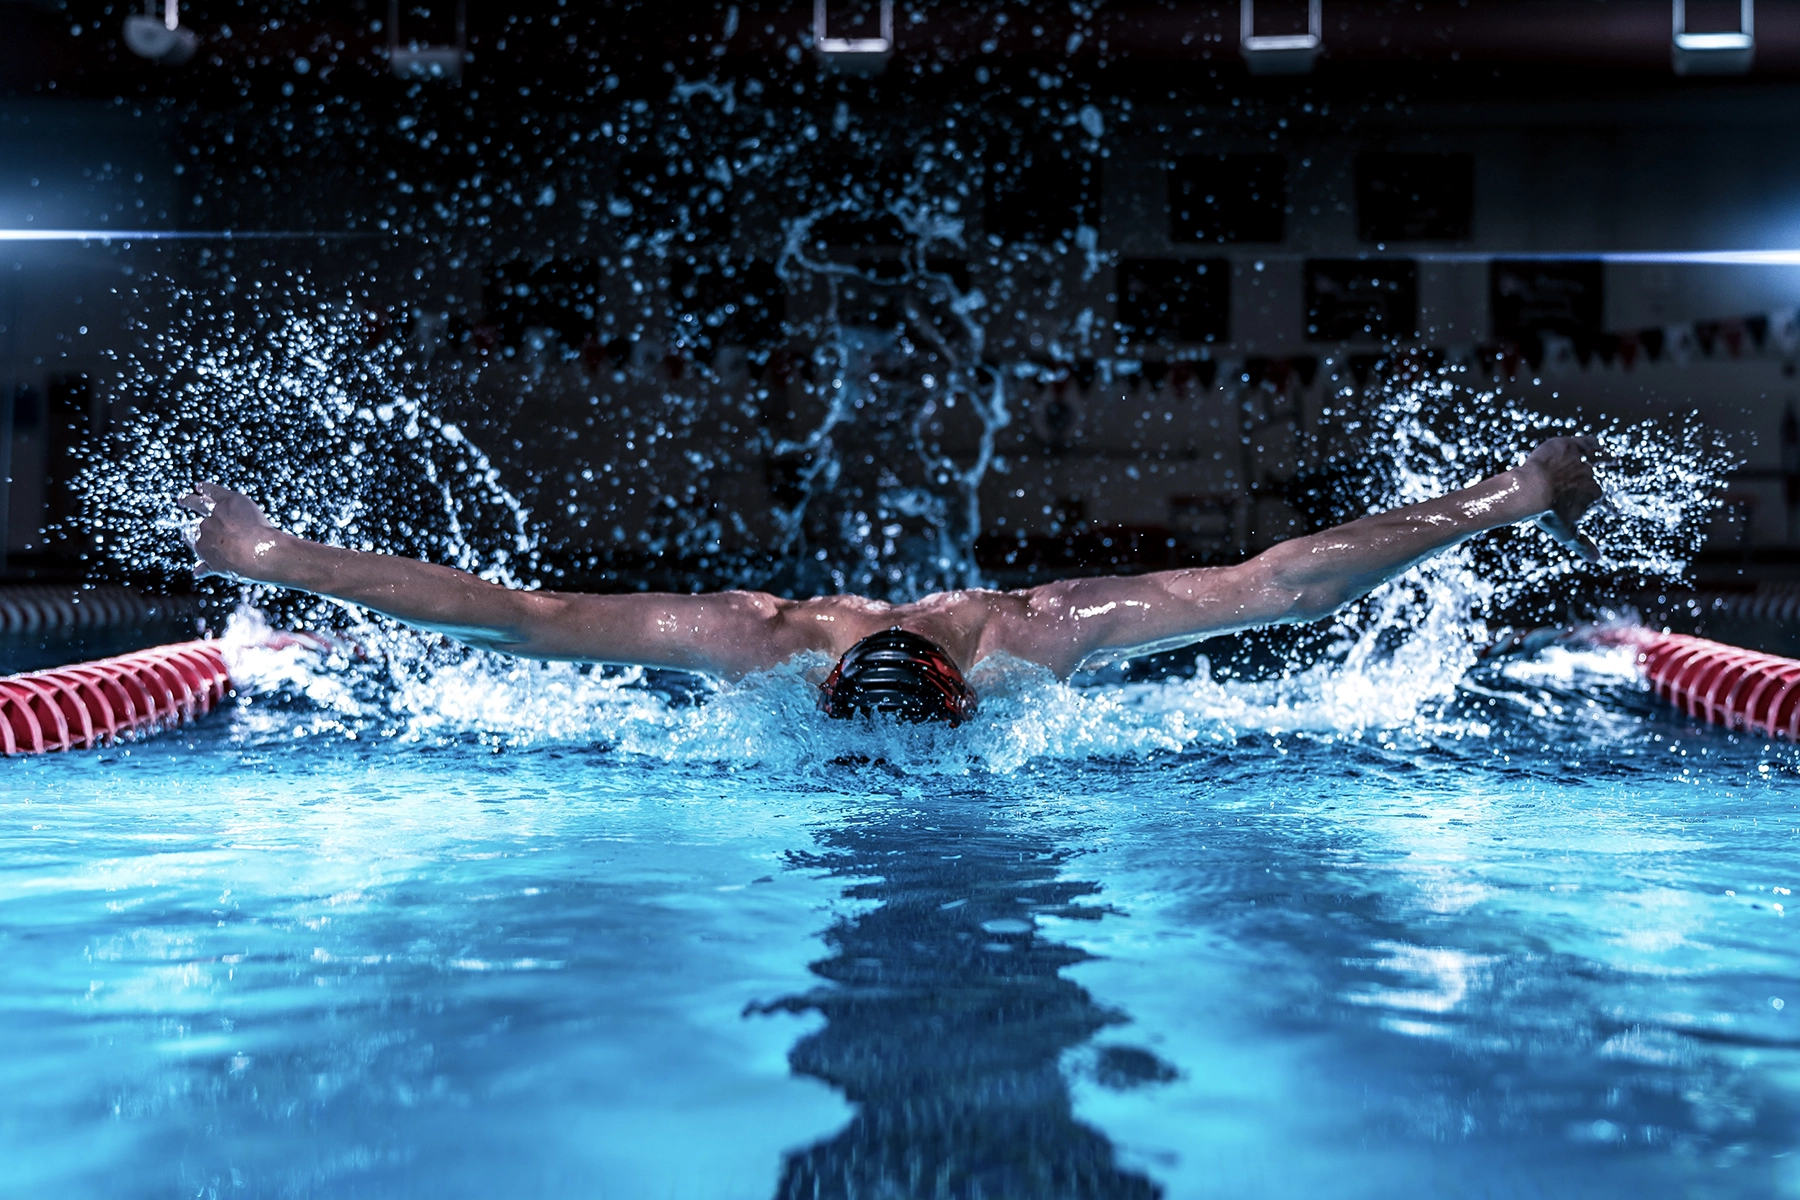
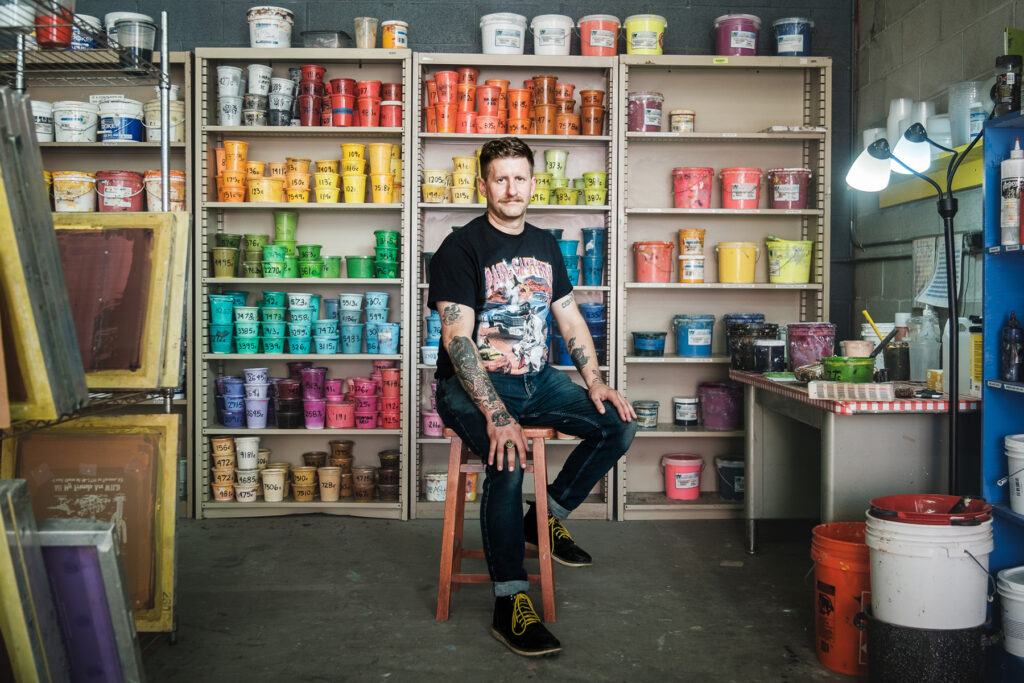
Explore less obvious or unconventional perspectives. We have a habit of taking the majority of our images at eye level, but there might be a different story unfolding from a higher (or lower) vantage point. You can also shoot at wider focal lengths to exaggerate the distance from these perspectives. When shooting head-on, remember to meet your subjects at their eye level. Nothing feels more disconnected than viewing a photograph of a shorter subject at your own eye level.

TIP 3: Get Closer!
Before I get to photographing a signature portrait, I encourage people to take me through their process and show me a bit of the work they do. This is a great way to alleviate the discomfort many feel about being photographed for a portrait. As they become more open to the camera and my presence, I get close. REAL close. Nothing excites me more than a free license to put the camera wherever I can take interesting images. It’s this closeness that tells a different story, like the hands of a potter who has thrown literal tons of clay over a decades long career.

TIP 4: Reference Lighting
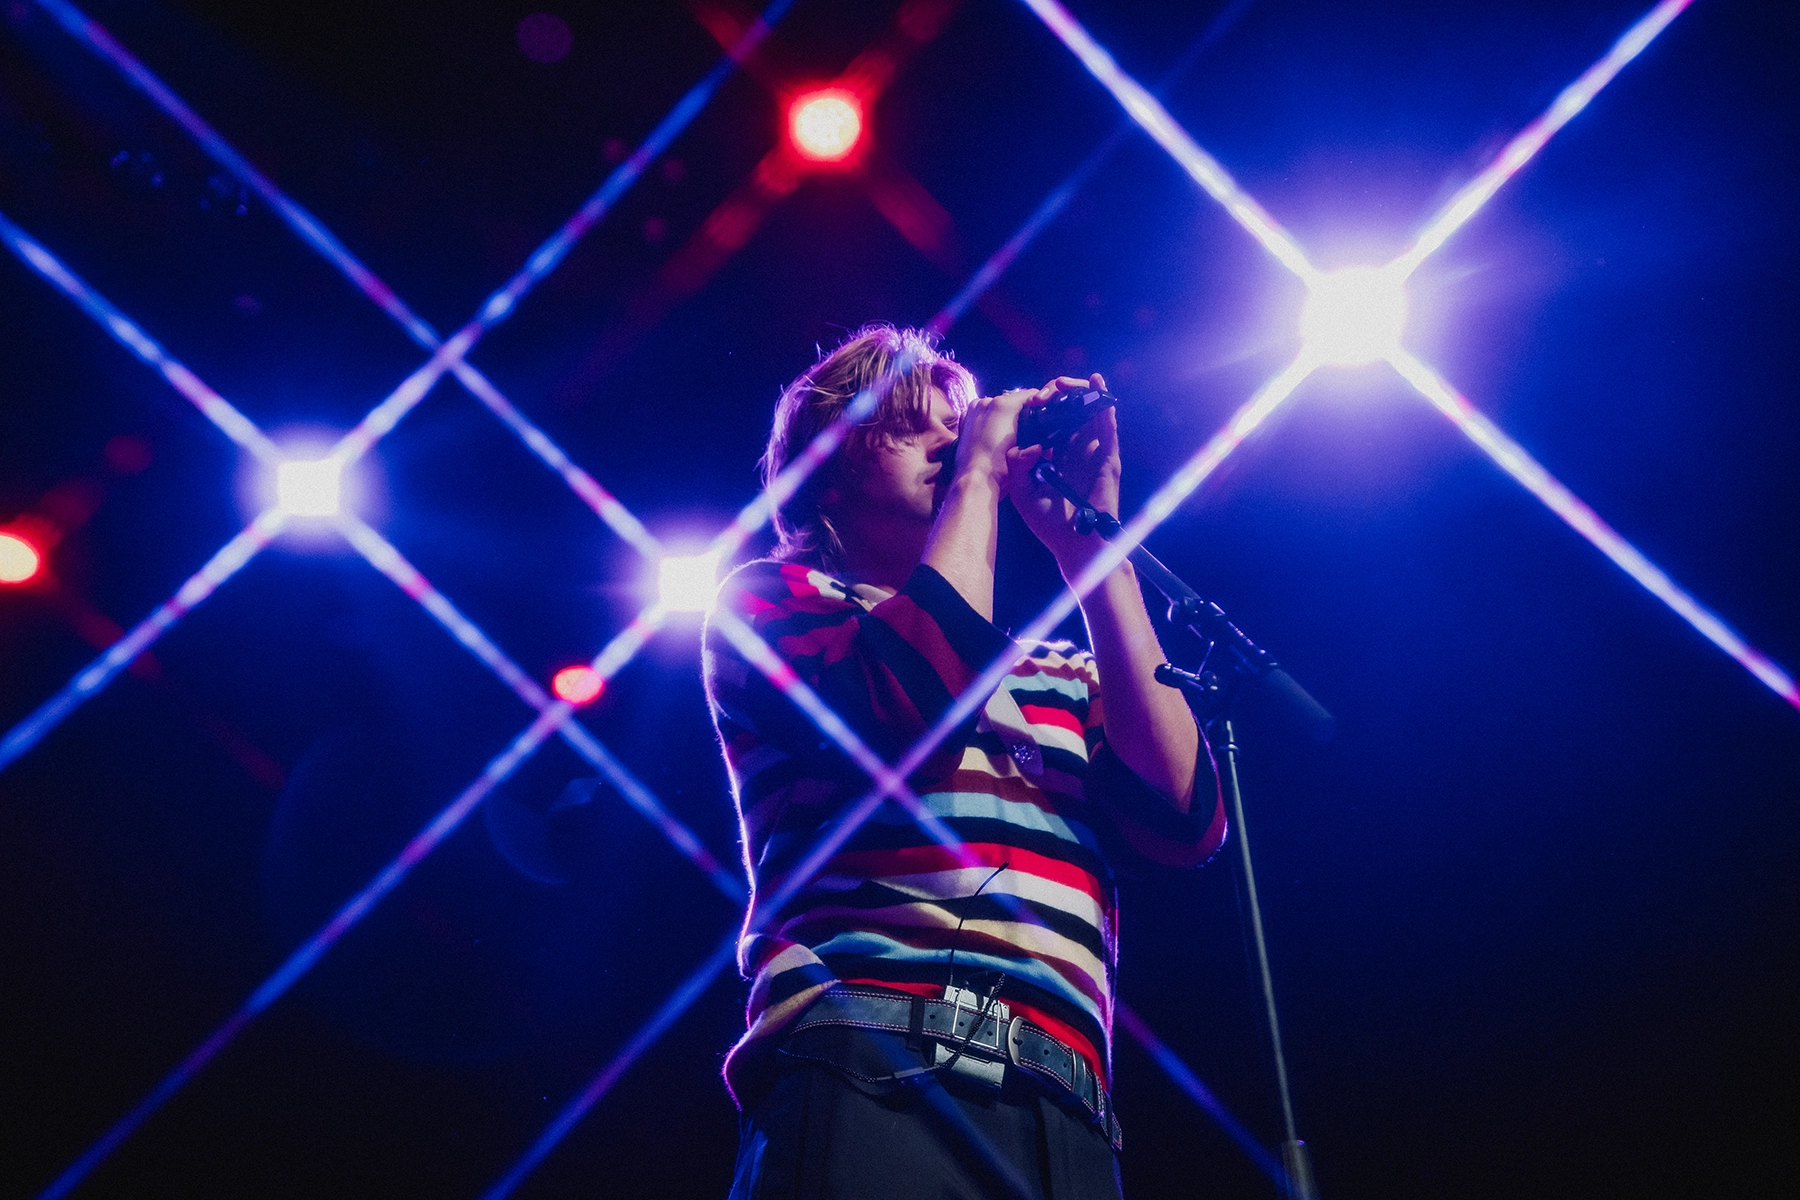
I’m a heavy off-camera flash user and it’s a big part of my visual language in how I choose to paint my subjects. It’s very important to me that the light sources I introduce into a photo, complement the already established lighting environment. If you notice high light sources, you may want to place your key light higher to drive the shadows downward in a way that feels intuitive to the scene.
TIP 5: Step on Down
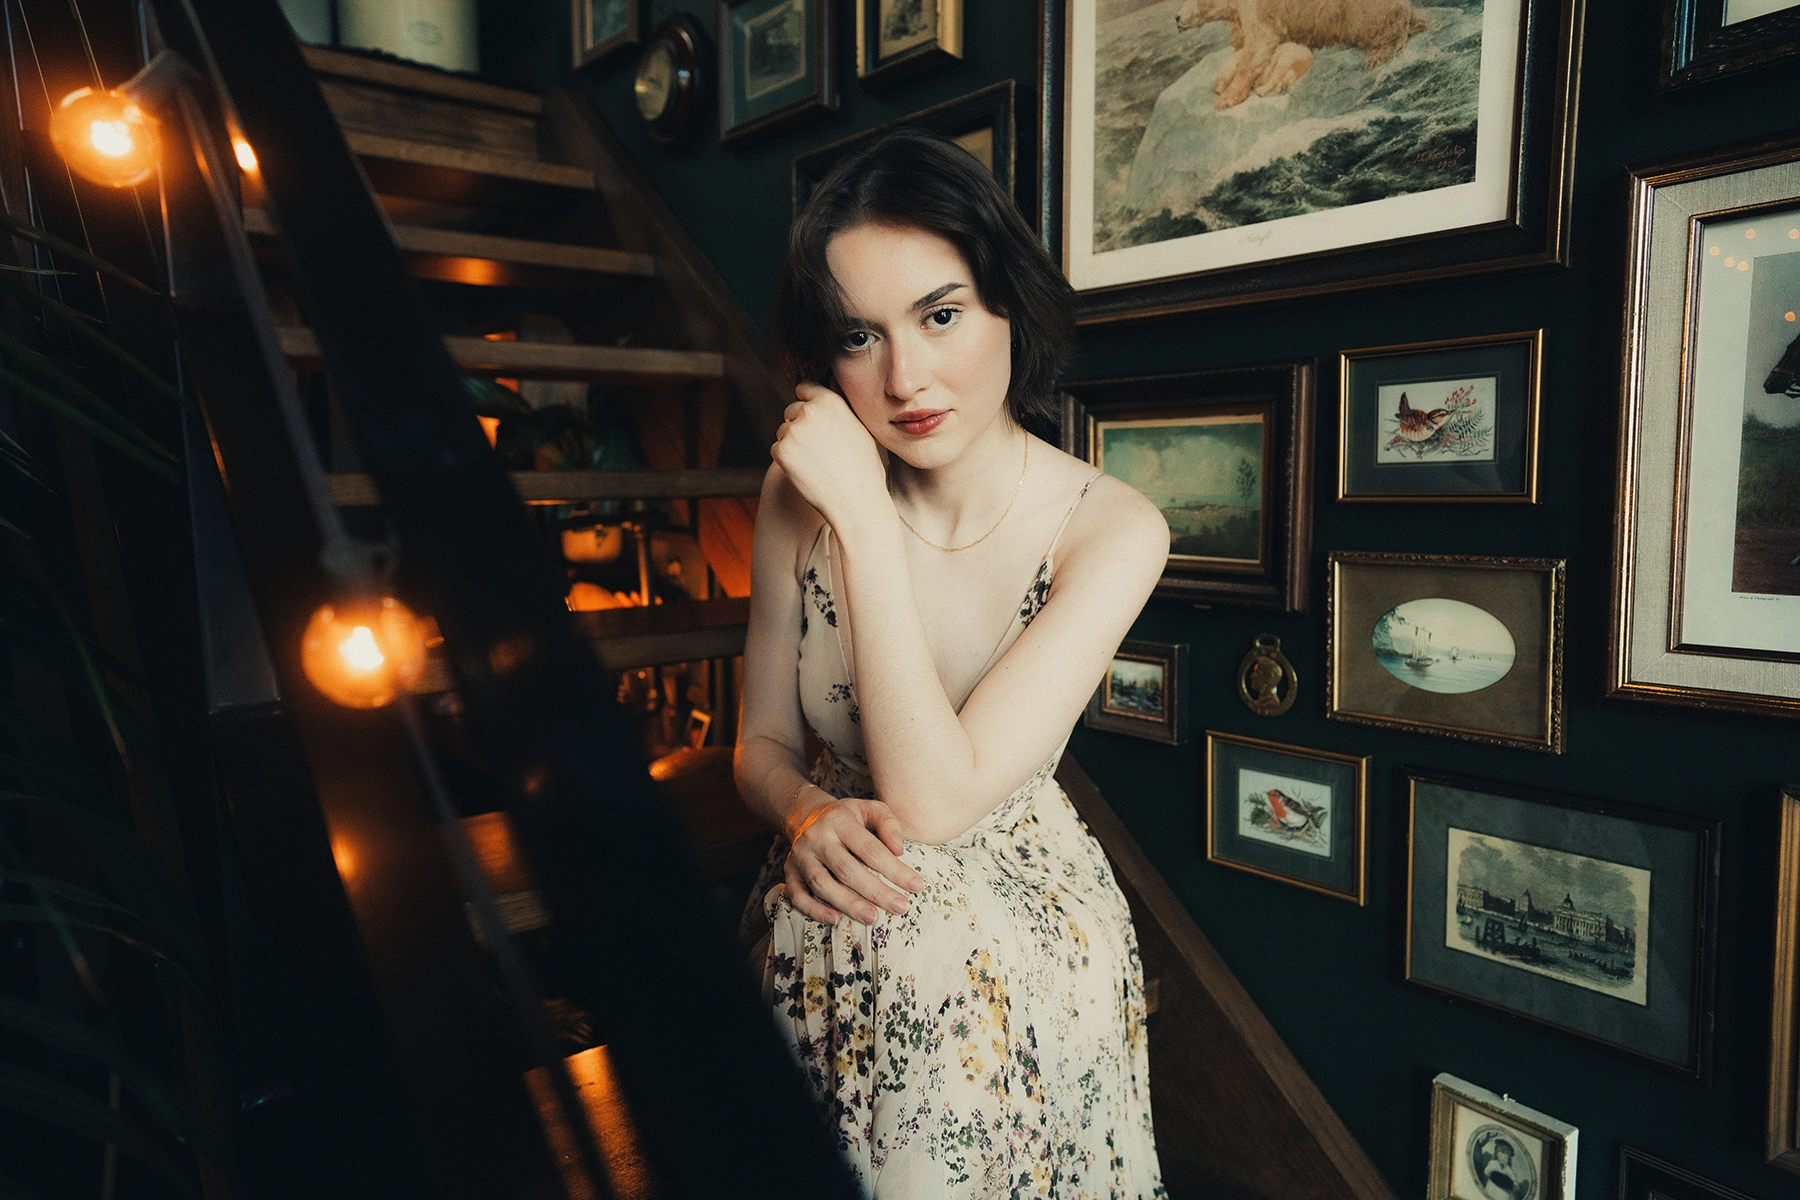
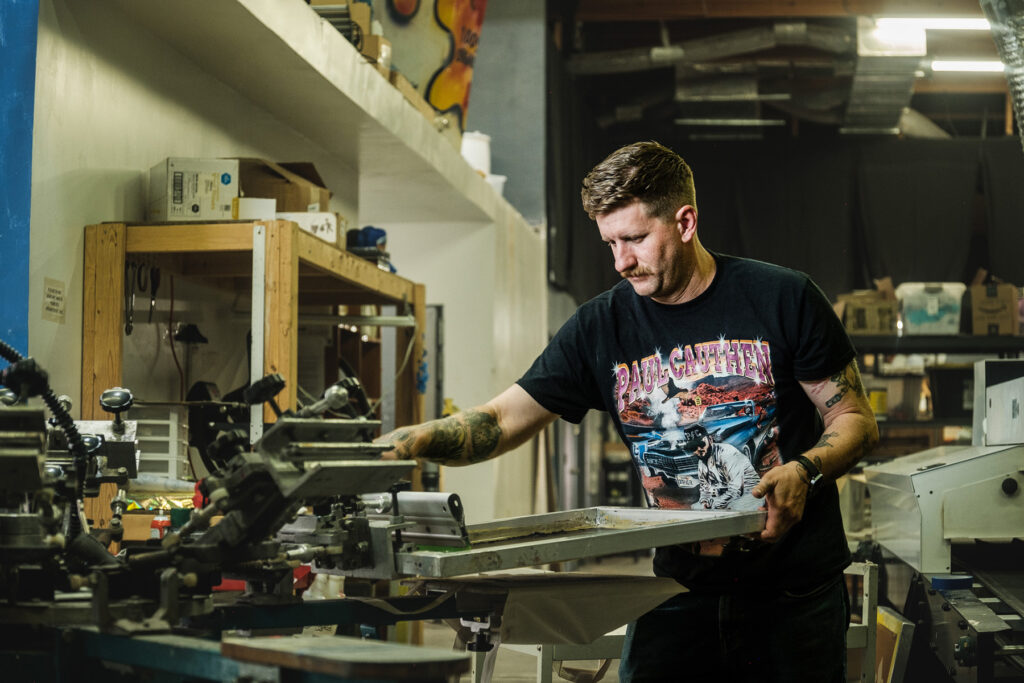
Yes you bought that wide aperture capable lens so you can take advantage of all its light gathering capability, simultaneously coveting the creamy bokeh from the out of focus areas in front of and behind your subject. A razor thin focal plane can help emphasize your subject and create a dreamy scene of blurry bokeh balls, but when I’m shooting environmental portraits, I’m never afraid to see more of the scene around my subjects. Careful placement of your subject in their environment can help ensure they are the first identifiable anchor point in the photo. Utilize negative space, leading lines, and lighting to draw your subject’s eye where you intend.
