Camera Tripods
Tripods
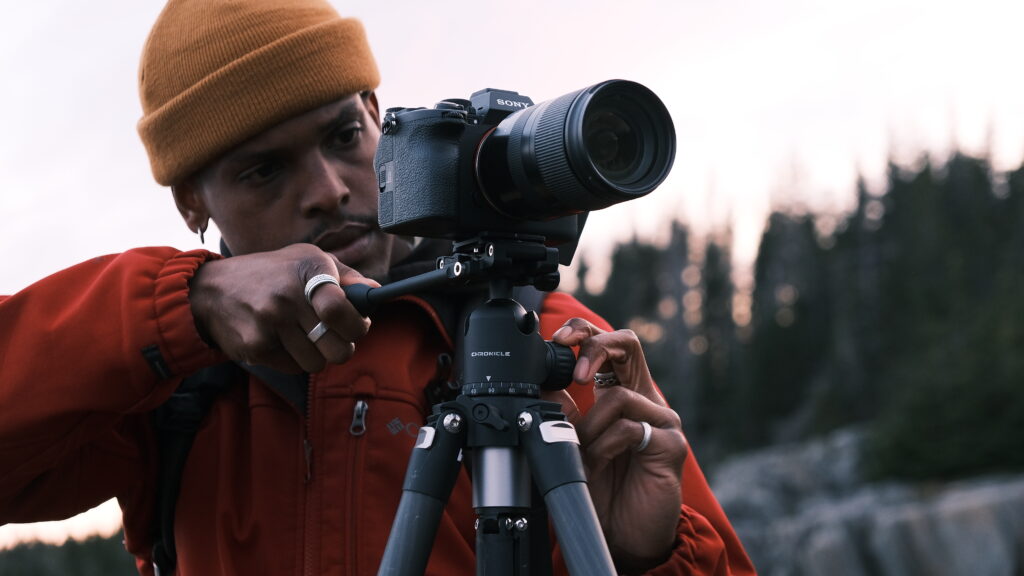
As a photographer there are certain pieces of equipment that, without, we simply cannot create the images we want to make. A camera tripod is at the top of this list, especially when we want to be creative!
©courtesy of www.promaster.com
Why is a camera tripod necessary?
When it comes to shutter speeds, the general rule of thumb for handheld shooting is that your shutter speed can only be as low as the focal length millimeter you are shooting at. For example, at 200mm, you would shoot at no less than 1/200th second. Of course, this rule has changed with image stabilization technology such as Tamron’s VC (Vibration Compensation) that allows for handheld shooting at shutter speeds 2-5 stops slower than ever before. The amount of compensation will vary by lens and system.
However, it is still impossible to handhold your lens for 30 seconds when trying to photograph the milky way, or 1-minute when you’re using a neutral density filter to photograph a waterfall using a long exposure, or for a 1-hour exposure when photographing a star trail.
Why can’t I just balance my camera on something stable?
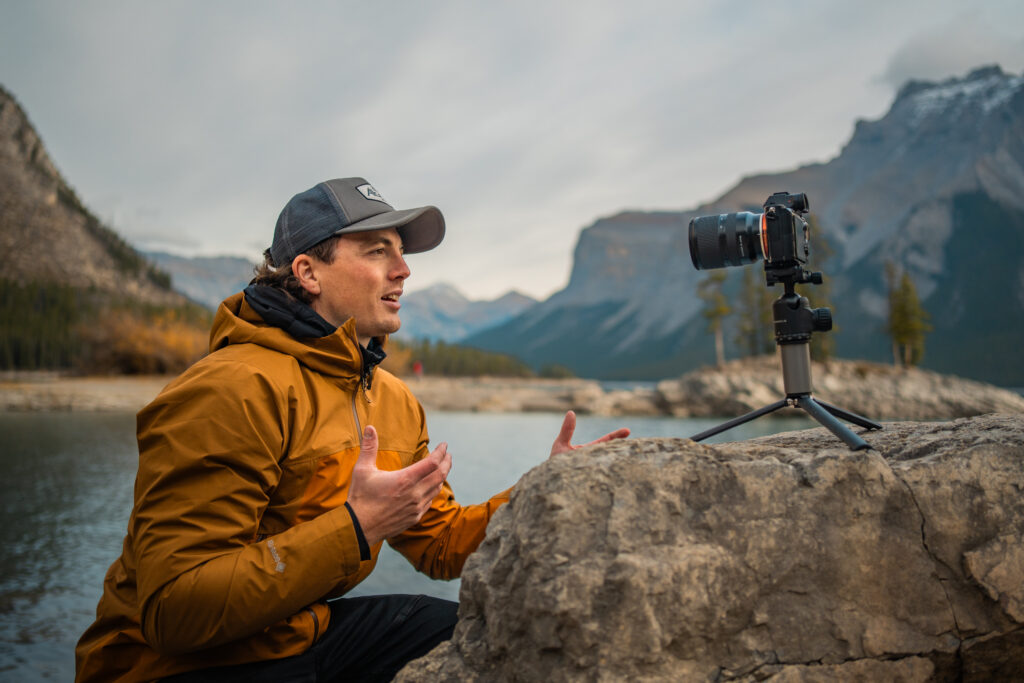
Balancing steadily on the hood of a car or a boulder in the foreground is simply not attainable. The simple movement when taking a breath or the vibrations of an underground train in the city can nudge our camera resulting in visible shake in your image. In addition, trying to balance the camera on an object does not allow you most times to get the desirable angle needed for your composition. The only way to properly take photographs requiring long exposures is with a camera tripod.
©courtesy of www.promaster.com
When would I use a camera tripod most often?
Camera tripods are a necessity for the following situations:
- When photographing the night skies, your exposure can range from 20 seconds to 1-minute depending on the conditions.
- When shooting landscapes that require using a small aperture like F/16-32 and lower ISO settings as this will result in lower shutter speeds that cannot be handheld.
- Shooting HDR images where the image cannot shift at all between exposures.
- Panorama where you ideally do not want the individual images to shift up or down.
- When photographing waterfalls, rivers and other fast-moving water and you wish to achieve the “milky” look of the water as this technique requires using shutter speeds slower than we can handhold.
- Most landscape, architecture and macro photographers use tripods religiously to get the sharpest images possible.
What functions should I look for in a tripod?
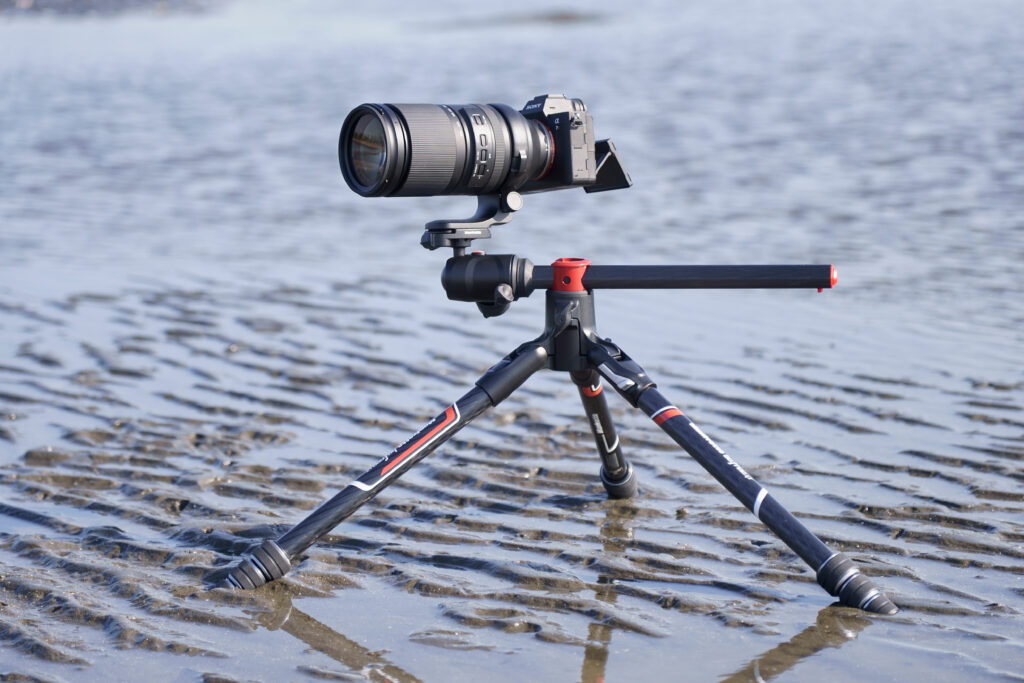
Camera tripods vary in style, function and price. The more functions that are built into the tripod, such as the removable center column, a monopod attachment, the length of the legs, fold-up size, and weight, will affect the cost as well as the material used to manufacture. Tripods are often built out of carbon fiber, aluminum, or plastics, carbon fiber being the pricier of the options.
- A removable center column lets you get low on the ground, for the lowest possible angle.
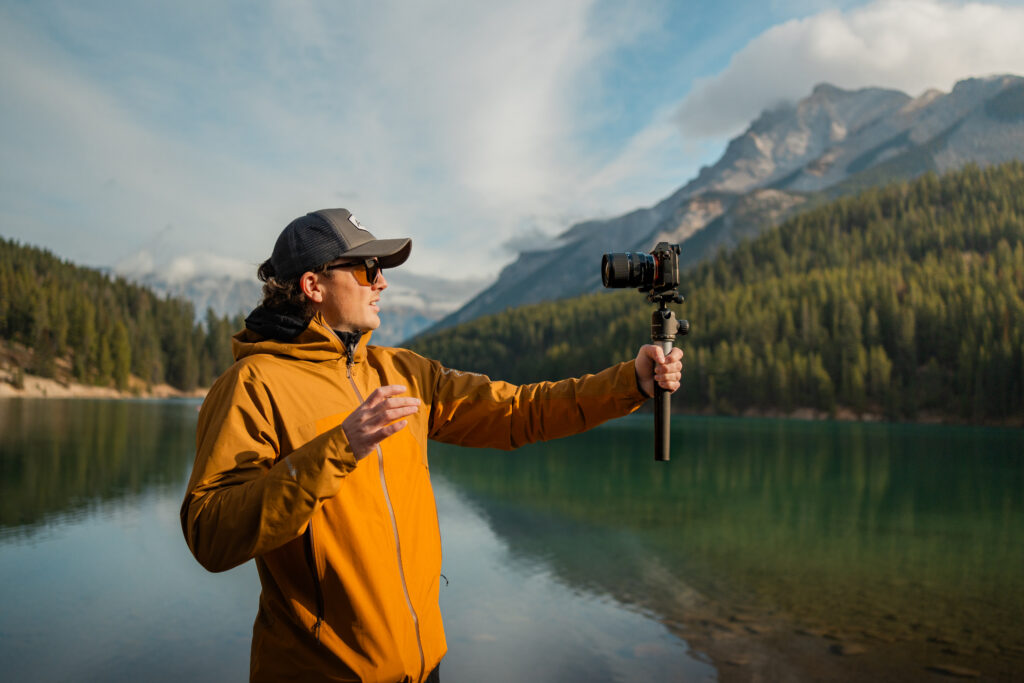
- A monopod attachment, which is usually either the center column itself or a leg that detaches from the tripod base, giving you the convenience of a built-in monopod.
- The length of the legs is important so that you can get as tall or as short as you need, to attain the desired angle.
- The weight and fold up size are important for convenience and travel where lightweight and small size are key. Keep in mind that heavier tripods with a larger thickness and strength are required to hold heavier camera body/lens combinations and larger format systems steady, so purchasing the right tripod to suit your equipment load is essential. If your tripod is top-heavy, you risk it falling over if bumped or you are in heavy wind conditions.
- Interchangeable heads for various applications like still vs. video shooting.
- Arca Swiss compatibility that lets you easily slide your camera on and off the tripod.
©courtesy of www.promaster.com
Are camera tripods easy to use?
Some tripods have many features and adjustments available to you to fine-tune your composition as much as possible. Be sure to get to know what all the knobs, levers and other adjustment features before heading out to avoid frustration in the field. This is especially important when out in the dark shooting night skies. Some tips to setting up your tripod are:
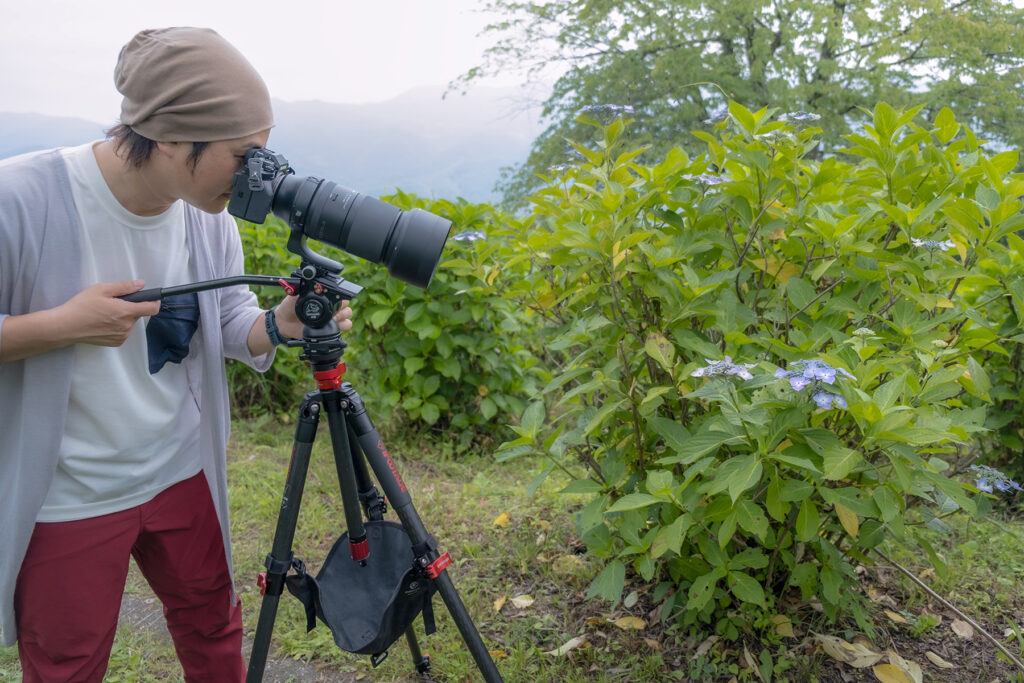
- Position one leg of the tripod toward your subject to make it easier to walk around it and to give more stability, especially when using an ultra-telephoto lens as it will also be pointing towards your subject.
- If on uneven terrain, adjust each leg to get as level as possible, and adjust using the bubble level to be sure you are level with the horizon.
- Hang your camera bag on the tripod if it is front heavy to prevent it from falling over.
- Only use the center column if you need additional height. It is better to extend the legs to maintain stability.
How much does a tripod cost?
The cost of tripods ranges anywhere from around $100 to a few $1000 dollars depending on its use, materials and features. However, the investment is certainly worthwhile since this is a piece of equipment that can make or break your image and is as important as your camera and lens. Keep in mind that a tripod can last for the majority of someone’s photography career if purchased right and cleaned properly.
©courtesy of www.promaster.com
Do I use my image stabilization when using a tripod?
It is necessary to turn off the lens and/or in-body stabilization (IBIS) to ensure you do not introduce shake that will result in a blurry image caused by the stabilization mechanism working to find shake when there is none.
Conclusion
Take your time selecting the right tripod(s) for your needs. If your needs change over time, upgrade to a new one with the features you need. In all cases that require exacting stability, you will never be sorry that you left your tripod at home.
