Instant Savings
 Support
 Find a Dealer
Wildlife photography requires patience, knowledge, and the right techniques to capture stunning images. These essential for wildlife photography tips for beginners will help you get started and increase your chances of capturing breathtaking wild animal photos in their natural habitat.
What you will learn in the post:
- Master the Basics: Understanding animal behavior, using the right focus techniques, and optimizing camera settings will greatly improve your wildlife shots.
- Use the Right Gear: A telephoto zoom lens, like the Tamron 150-500mm VC, helps you capture sharp images from a distance without disturbing wildlife.
- Work with Nature: Take advantage of natural light and shoot at the right times for the best results.
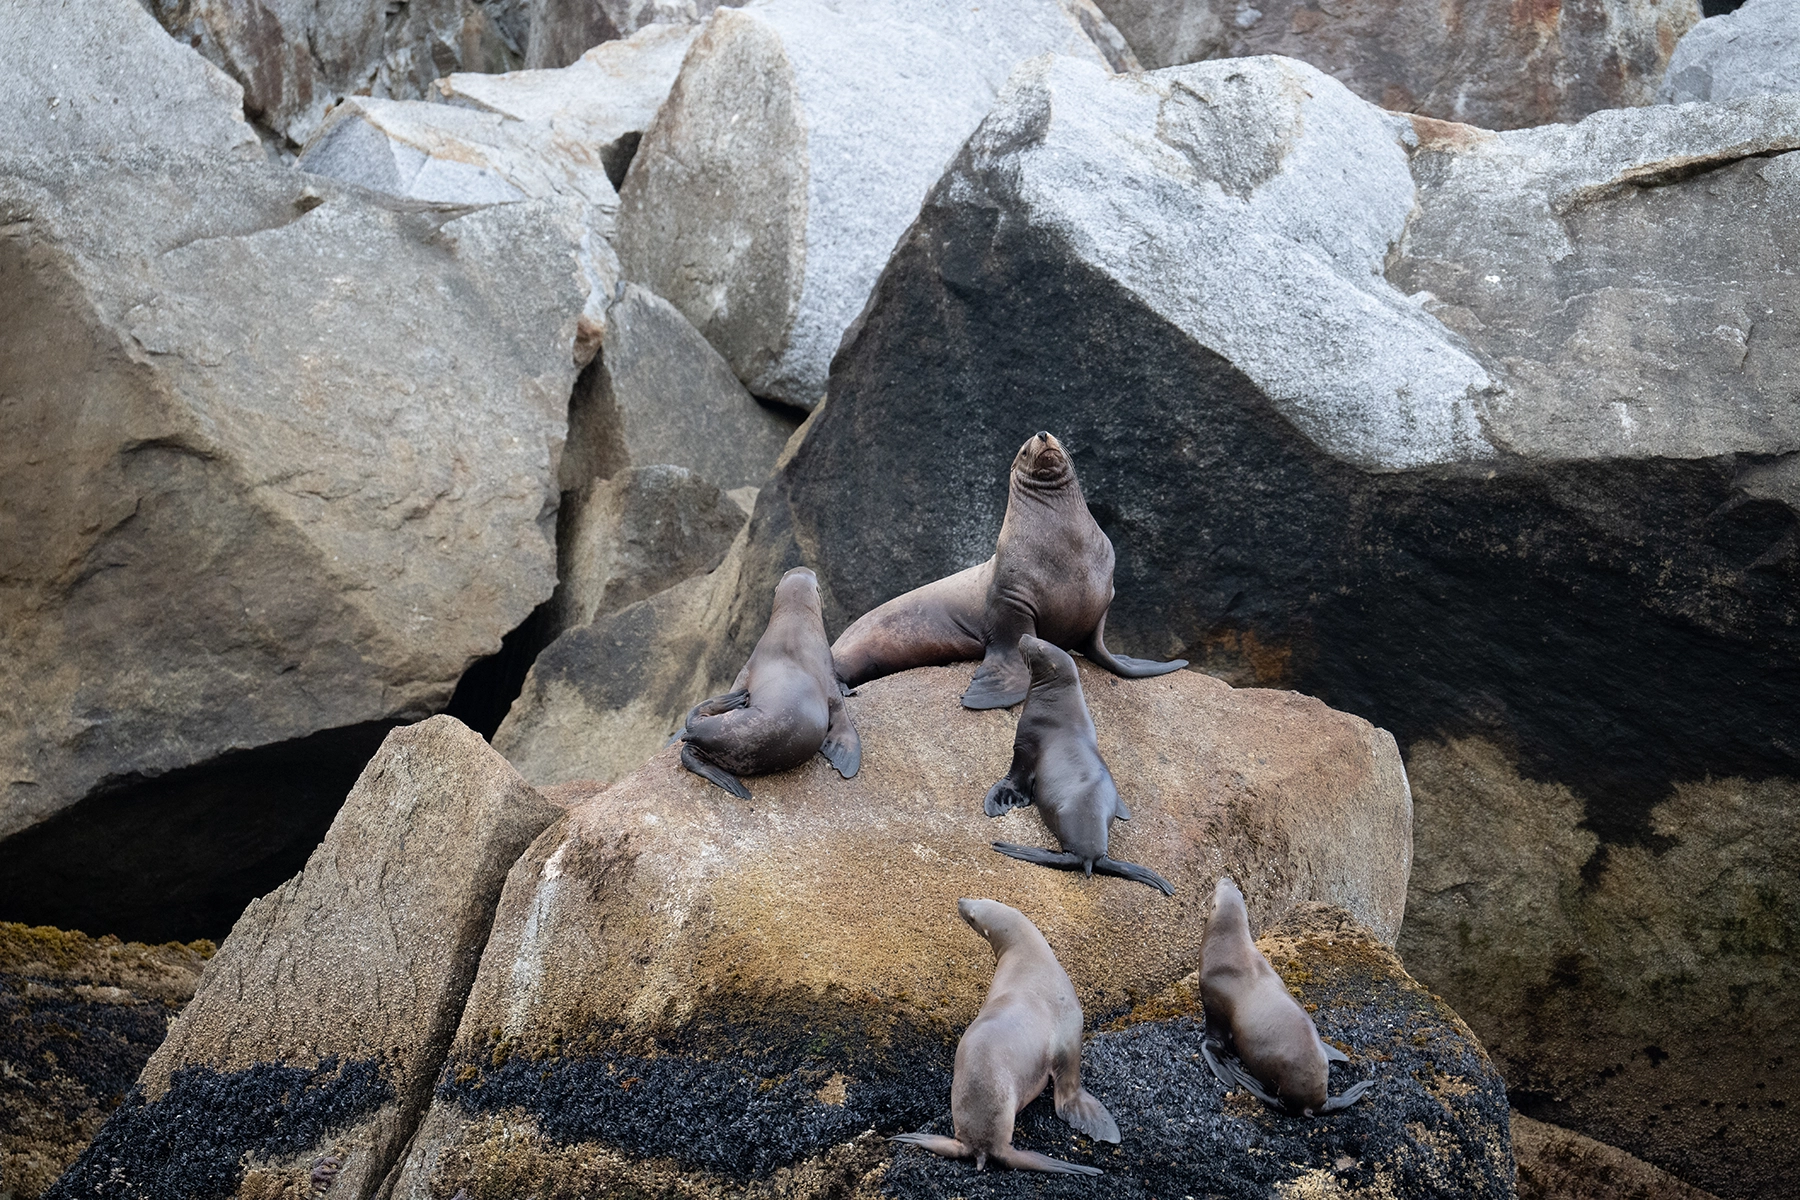
Tips and Images by Cecil Holmes with Tamron 150-500mm for Nikon Z mount
TIP 1. Research Animal Behavior and Habitat
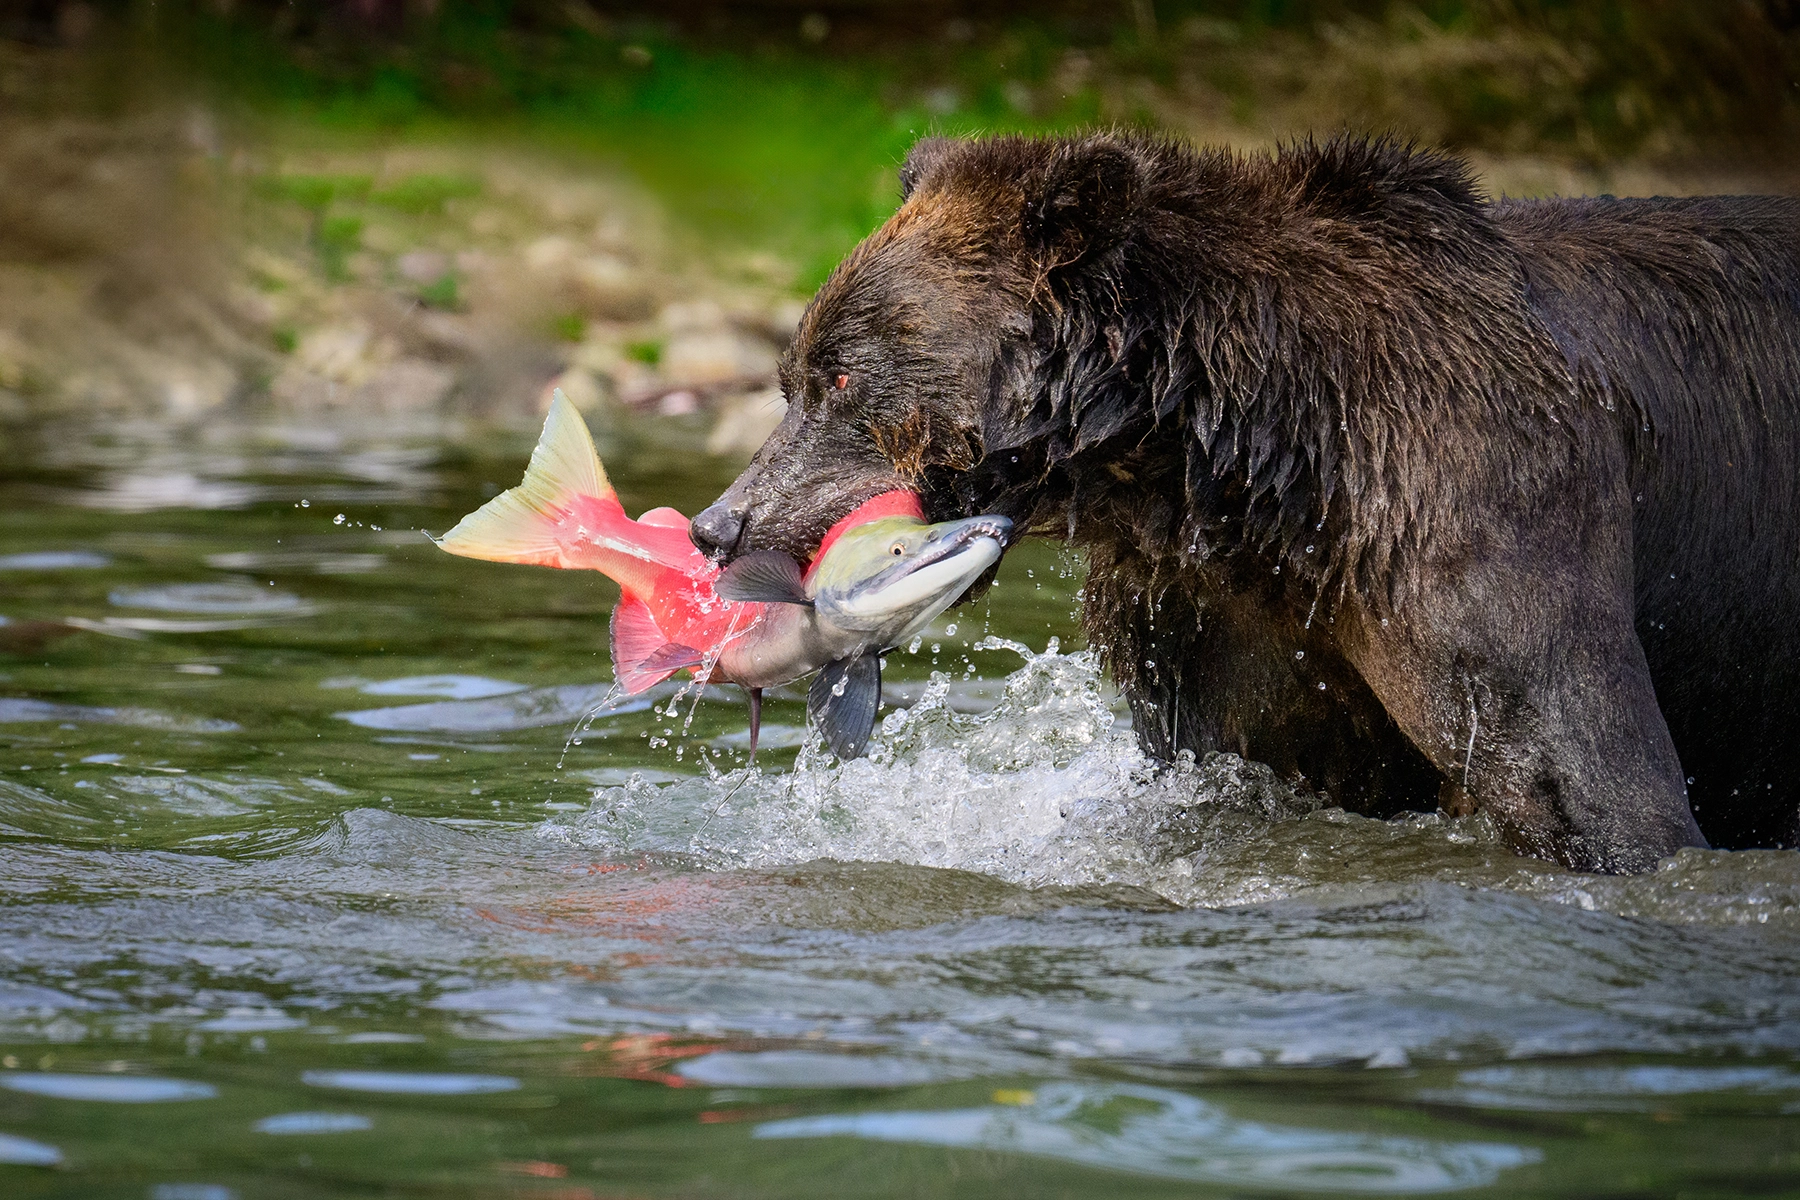
Understanding the behavior, habitat, and movement patterns of the animals you want to photograph is crucial. Research their habits, feeding times, and typical locations to anticipate their actions. This knowledge increases your chances of capturing unique moments and ensures that you remain respectful of their natural environment.
TIP 2. Choose the Best Lens for Wildlife Photography
When starting out in wildlife photography, choosing the right lens is crucial. An ultra-telephoto lens is essential for wildlife photography as it allows you to photograph animals from a distance without disturbing them. The extra reach ensures you can capture detailed shots of wildlife without getting too close. A great option for all skill levels of wildlife photographers is the Tamron 150-500mm F/5-6.7 Di III VC VXD, available for both Sony E and Nikon Z mounts.
Why the Tamron 150-500mm is Great for Wildlife Photography:
- Compact and Lightweight for Its Class: Unlike many super-telephoto lenses, the Tamron 150-500mm is relatively compact and manageable for handheld shooting, making it a great choice for beginners.
- Versatile Zoom Range: The 150-500mm focal length allows you to get close-up shots of wildlife without disturbing them, making it an excellent all-around telephoto lens.
- Vibration Compensation (VC): Tamron’s built-in image stabilization system helps reduce camera shake when shooting handheld, ensuring sharp images even at long focal lengths.
- Fast and Accurate Autofocus: The VXD (Voice-coil eXtreme-torque Drive) autofocus motor is quick and precise, which is essential for tracking moving animals.
- Excellent Build Quality – Designed to handle outdoor conditions, it features moisture-resistant construction, making it reliable for wildlife photography in various environments.
With its sharp image quality, flexibility, and beginner-friendly features, the Tamron 150-500mm is an outstanding lens for wildlife photography enthusiasts looking to step up their game without breaking the bank.
TIP 3. Use Image Stabilization
Many wildlife photographers prefer to handhold their cameras, especially when tracking moving animals. To ensure sharp images, keep these stabilization tips in mind:
- Use image stabilization: Tamron’s Vibration Compensation (VC) helps reduce camera shake as you increase the focal length, even when you’re using higher shutter speeds.
- Essential for long lenses: Stabilization is crucial when using telephoto lenses to capture sharp images at longer focal lengths.
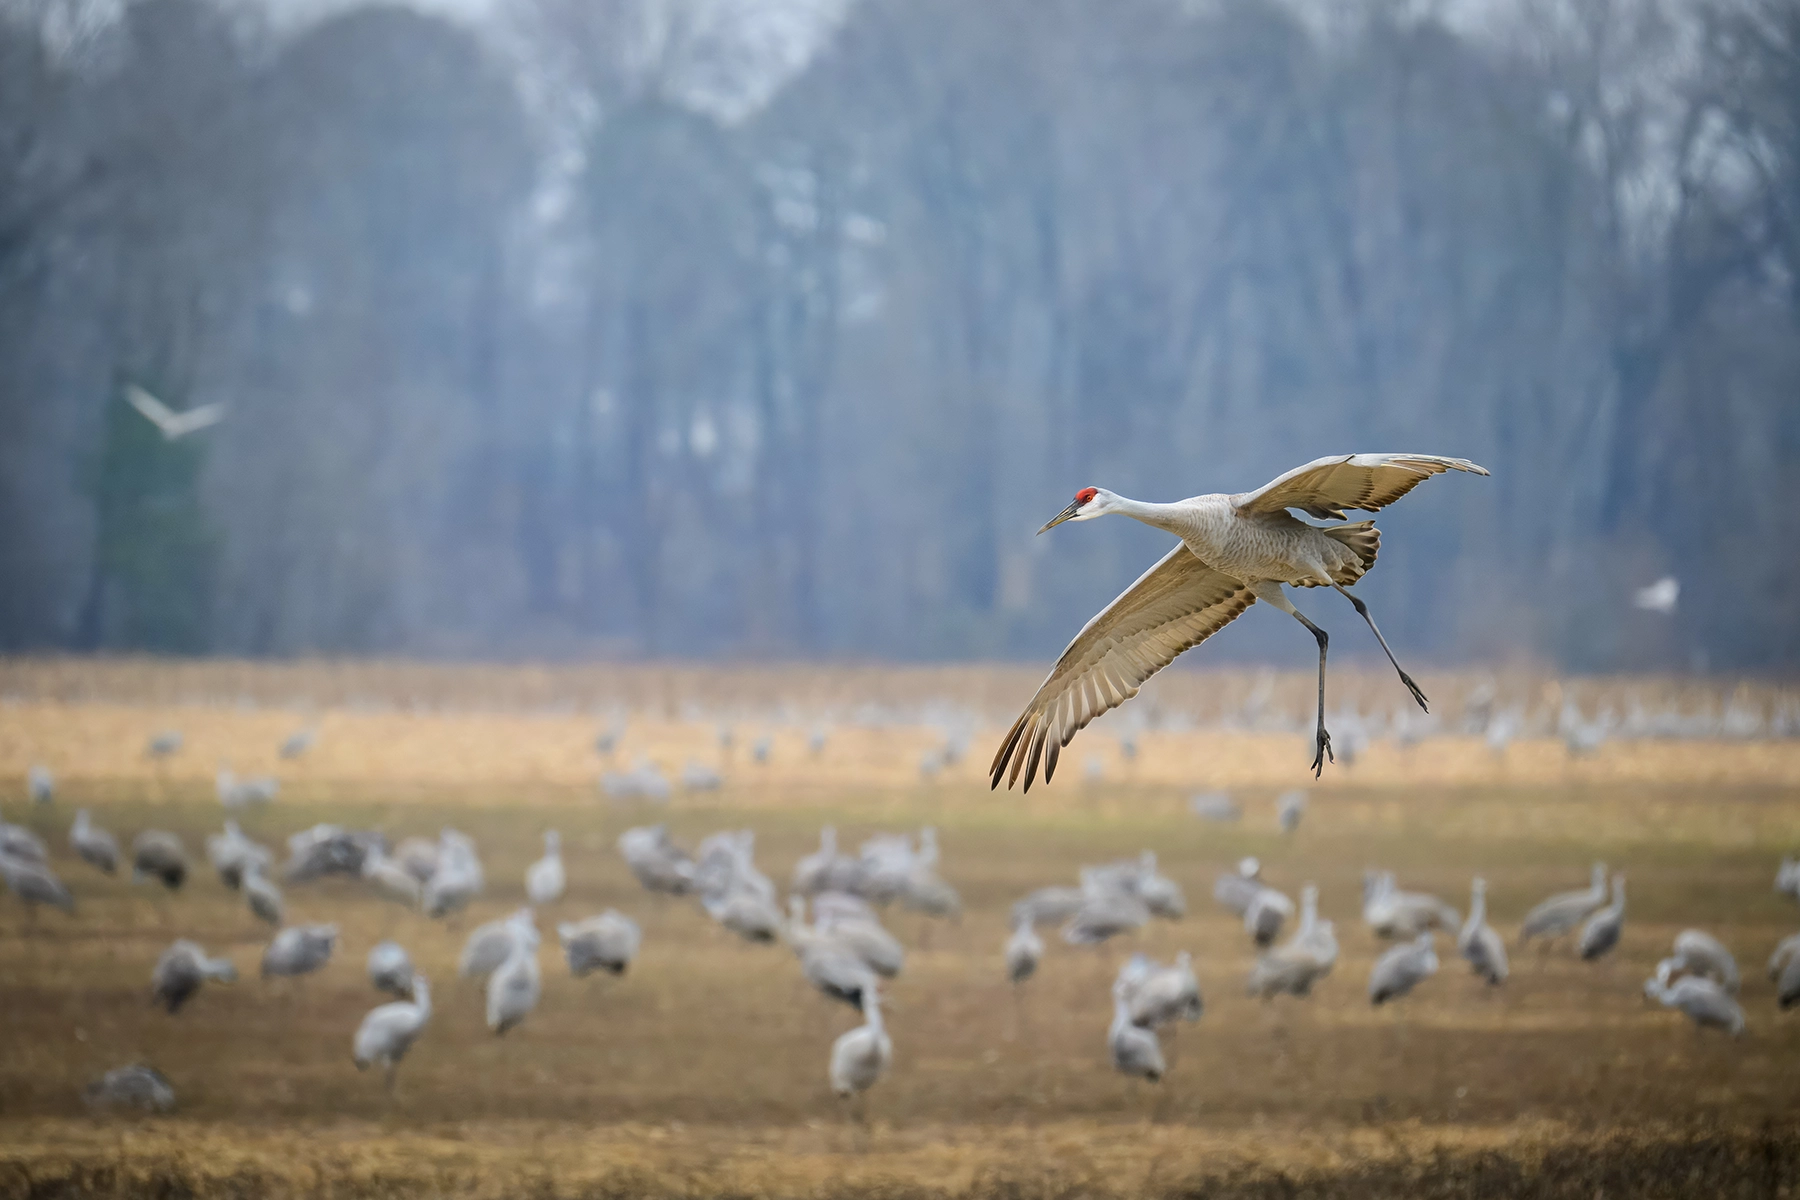
- Adjust settings for motion: Use the VC panning mode to track birds in flight or running animals.
- Turn off stabilization on a tripod: If using a tripod, disable stabilization to prevent unnecessary corrections that may cause blur.
TIP 4. Focus on the Eyes
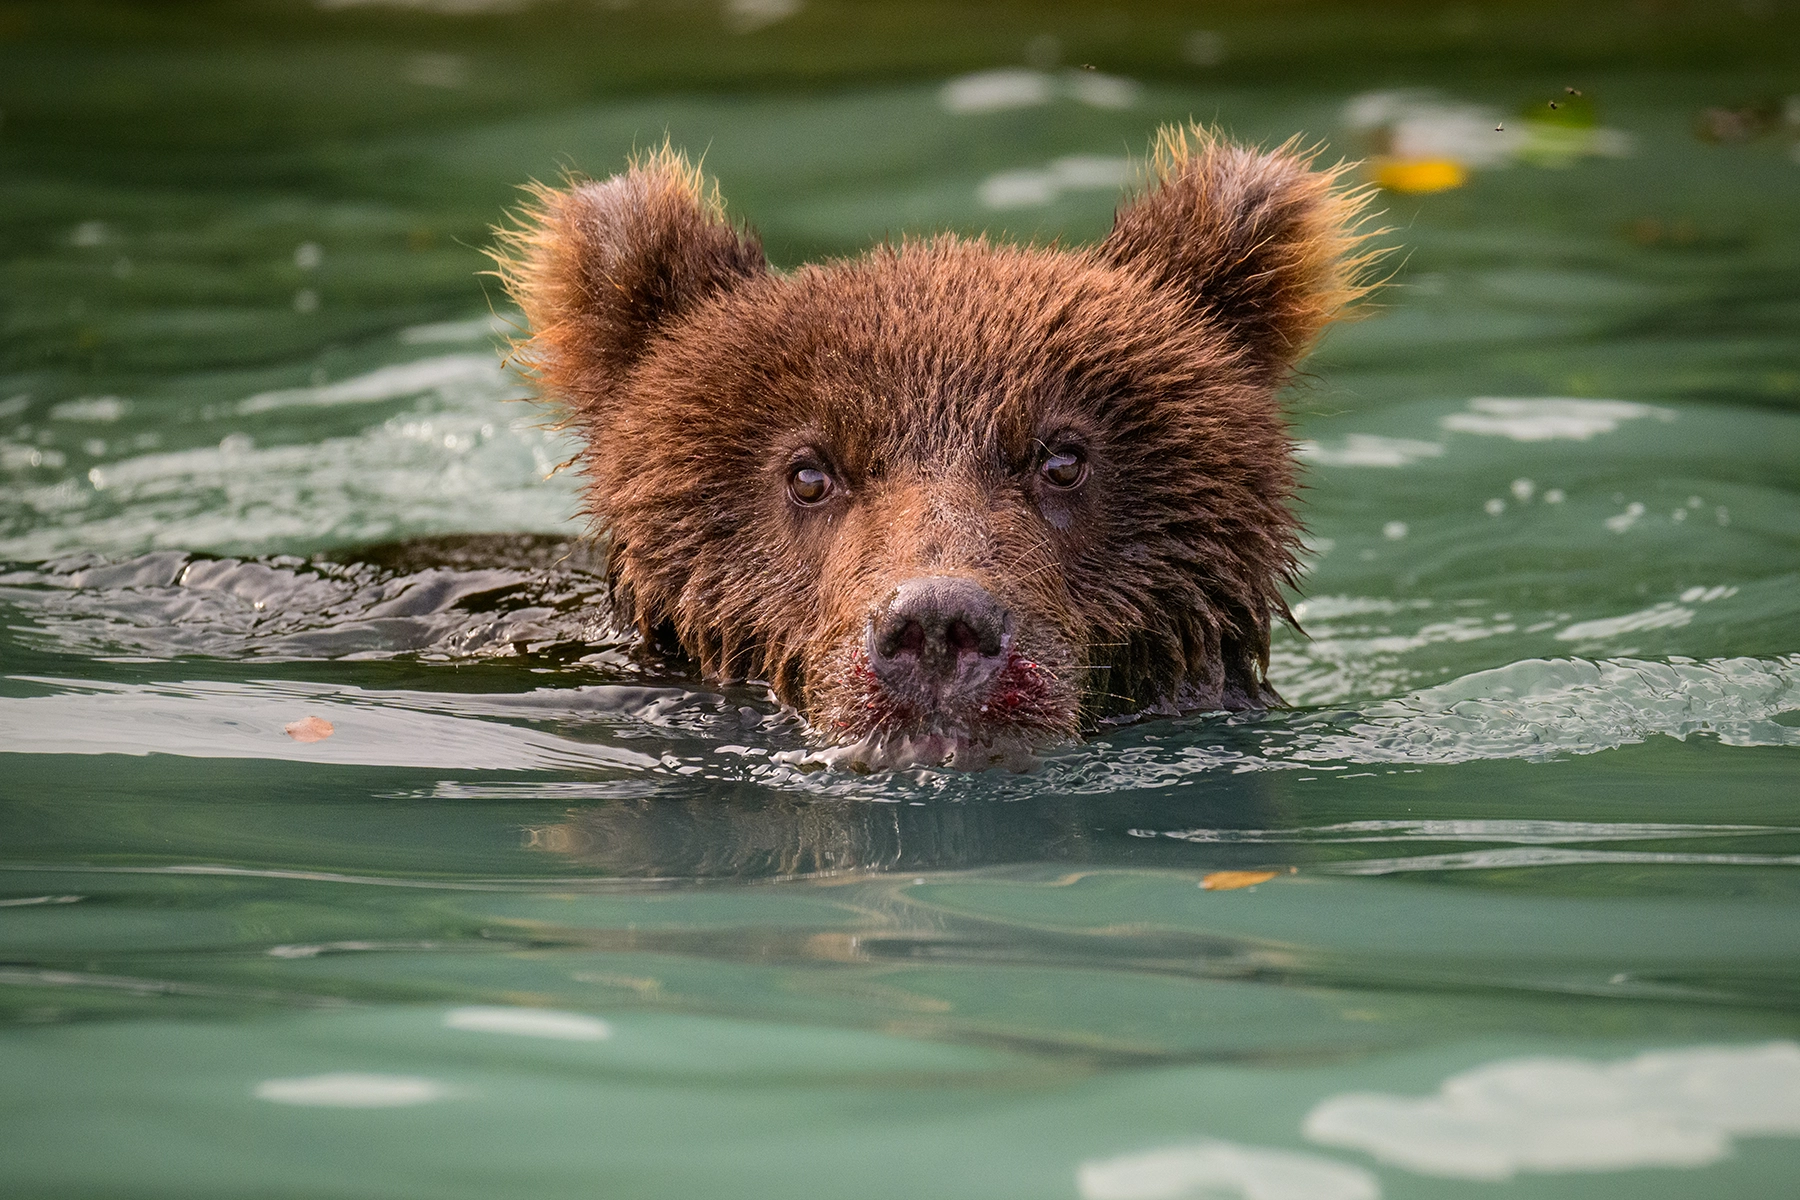
The eyes are the most expressive part of an animal and can make or break a wildlife photo. Use AF-C (Continuous Autofocus) with tracking to keep the animal’s eyes sharp and in focus. A sharp eye creates a connection between the viewer and the subject, making your wildlife photos more impactful.
TIP 5. Shoot in Manual Mode with Auto ISO

Shooting in manual mode with Auto ISO gives you greater control over your exposure while allowing the camera to adjust for changing light conditions. Follow these steps to get the proper exposure:
- Switch to Manual Mode: Gives you full control over aperture and shutter speed while allowing the camera to adjust ISO automatically.
- Set Your Aperture: Choose a wide aperture for a blurred background or a narrower aperture for greater depth of field.
- Select Your Shutter Speed: Use a fast shutter speed to freeze motion, especially for fast-moving animals to reduce motion blur.
- Enable Auto ISO: The camera will automatically adjust ISO to maintain proper exposure in changing light conditions.
- Test and Adjust: Take a few test shots and fine-tune settings as needed, ensuring sharp images while maintaining the right exposure.
TIP 6. Make the Most of Natural Light
Lighting plays a significant role in wildlife photography.
- The best times to shoot are early mornings and late evenings, when the light is soft and warm, adding a golden glow to your images.
- Position the sun behind you for evenly lit subjects, but don’t be afraid to experiment with backlighting for creative and dramatic effects.
- Silhouettes, rim lighting, and soft glowing edges can add an artistic touch to your wildlife photography.
Final Thoughts on Our Wildlife Photography Tips for Beginners
By researching animal behavior, focusing on the eyes, using a telephoto lens, stabilizing your shots, utilizing Auto ISO, and taking advantage of natural light, you’ll greatly improve your wildlife photography skills.
Investing in a dedicated wildlife lens like the Tamron 150-500mm for Sony E and Nikon Z mirrorless cameras can make a significant difference in capturing stunning images.
Learn more about Tamron lenses for wildlife photography at an authorized Tamron dealer near you or visit the TAMRON Store.