Instant Savings
 Rebate Claims
 Support
 Find a Dealer
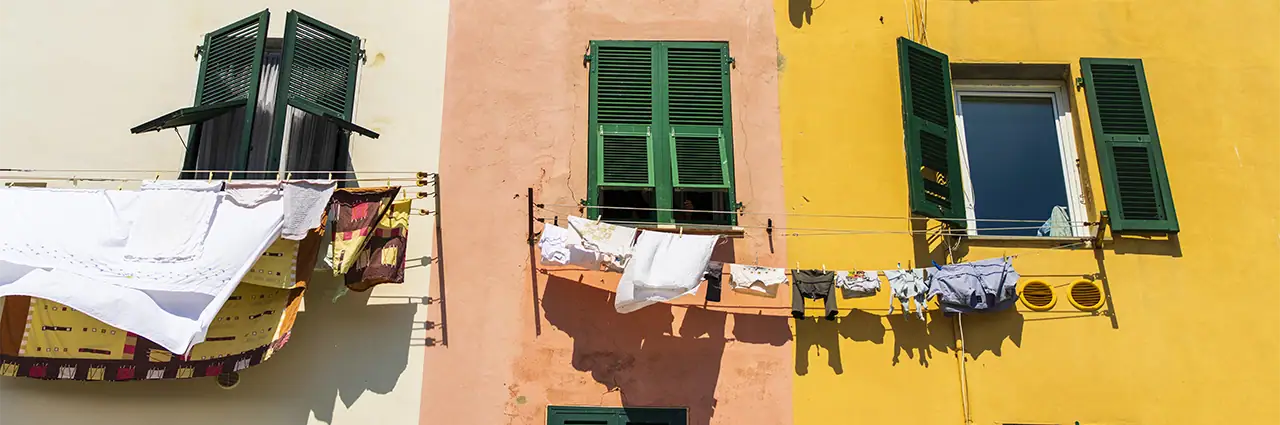
Travel photography documents the places, people, cultures, and experiences encountered away from home. To take better travel photos, plan around the best light, create intentional compositions, choose lightweight and versatile gear, and capture details and human moments that tell a complete story rather than simply recording what you saw.
The most memorable travel images help viewers understand what a destination looked and felt like. Whether you are exploring a nearby city, photographing a national park, or traveling internationally, thoughtful preparation and a flexible approach can help you return with a stronger and more meaningful collection of images.
Table of Contents
- What Is Travel Photography?
- How Do You Take Better Travel Photos?
- Best Camera Settings for Travel Photography
- How to Master Light and Timing While Traveling
- Composition Techniques for Travel Photos
- How to Tell a Story With Your Travel Photos
- What Gear Do You Need for Travel Photography?
- How to Choose the Right Travel Lens
- Photographing Different Destination Types
- Plan Your Next Trip With the Right Lens
- Travel Photography FAQs
What Is Travel Photography?
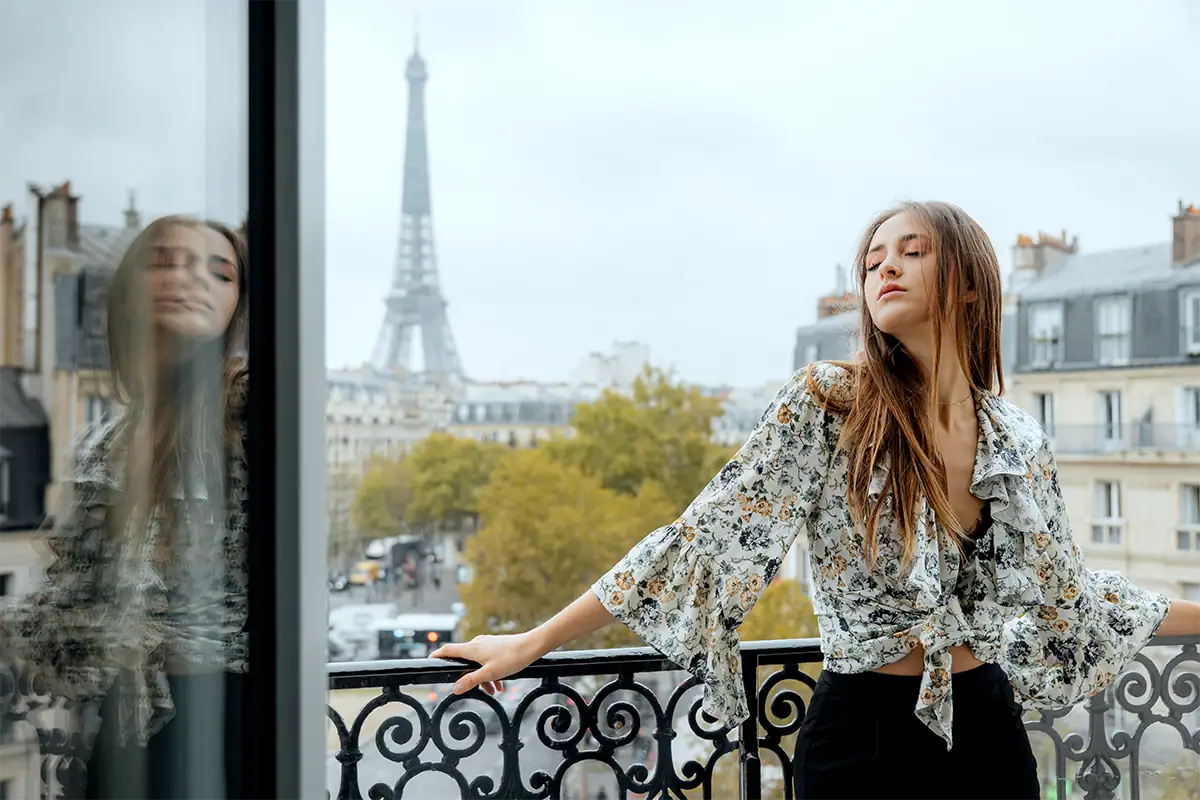
Travel photography is the practice of documenting places, people, and cultures while away from home. It can include landscapes, architecture, street scenes, food, wildlife, environmental portraits, and candid moments. The goal is not only to show where you traveled, but also to communicate the atmosphere and character of the destination.
Because the genre is so broad, travel photographers regularly draw on techniques associated with landscape, portrait, street, architectural, food, and wildlife photography. One morning may begin with a wide-angle sunrise landscape, followed by candid market scenes, architectural details, a local meal, and a portrait made in natural window light.
Successful travel photography therefore requires more than technical camera knowledge. Preparation, observation, patience, and storytelling are equally important. Researching a destination can help you identify the best light, anticipated weather, local customs, important landmarks, and lesser-known places that offer more original photographic opportunities.
How Do You Take Better Travel Photos?
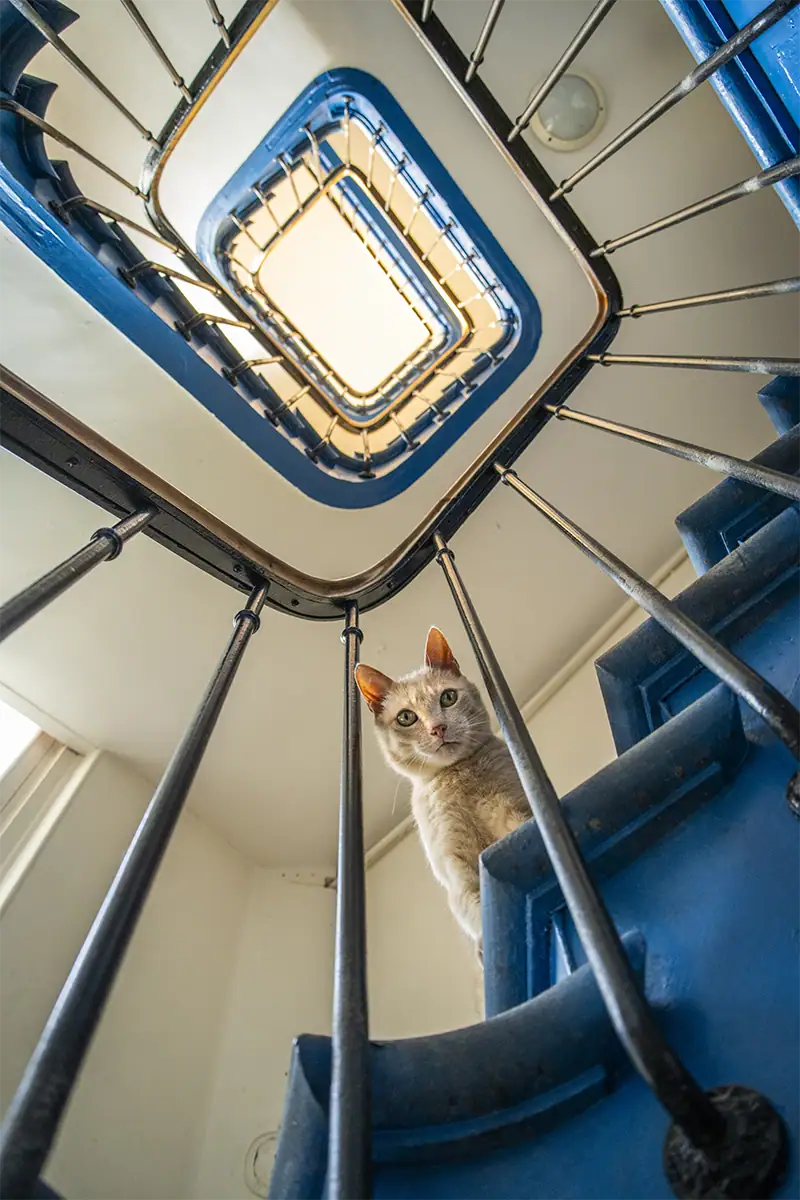
The fastest ways to improve your travel photos are to shoot during golden hour, prioritize storytelling over snapshots, travel light with one versatile lens, and explore viewpoints beyond eye level. Photograph wide scenes, but also zoom in on local details, textures, colors, and interactions that reveal what makes the destination distinctive.
Start by slowing down. Instead of immediately photographing a landmark from the most obvious position, walk around it and observe how the light, background, foreground, and human activity change. Look behind you, move lower to the ground, find a higher viewpoint, or use a doorway, arch, foliage, or reflection to frame the subject.
Photograph both the major attraction and the smaller details surrounding it. A wide view establishes the location, while close-up images of signs, food, clothing, crafts, textures, and gestures add context. Together, those photographs create a fuller visual narrative than a collection of unrelated scenic snapshots.
Packing light also improves photography because it allows you to remain mobile and react quickly. A versatile zoom lens can cover changing situations without requiring frequent lens changes, helping you concentrate on the destination rather than your camera bag.
For more advice on balancing focal range and portability, explore Tamron’s guide to selecting the ideal travel lens.
Best Camera Settings for Travel Photography
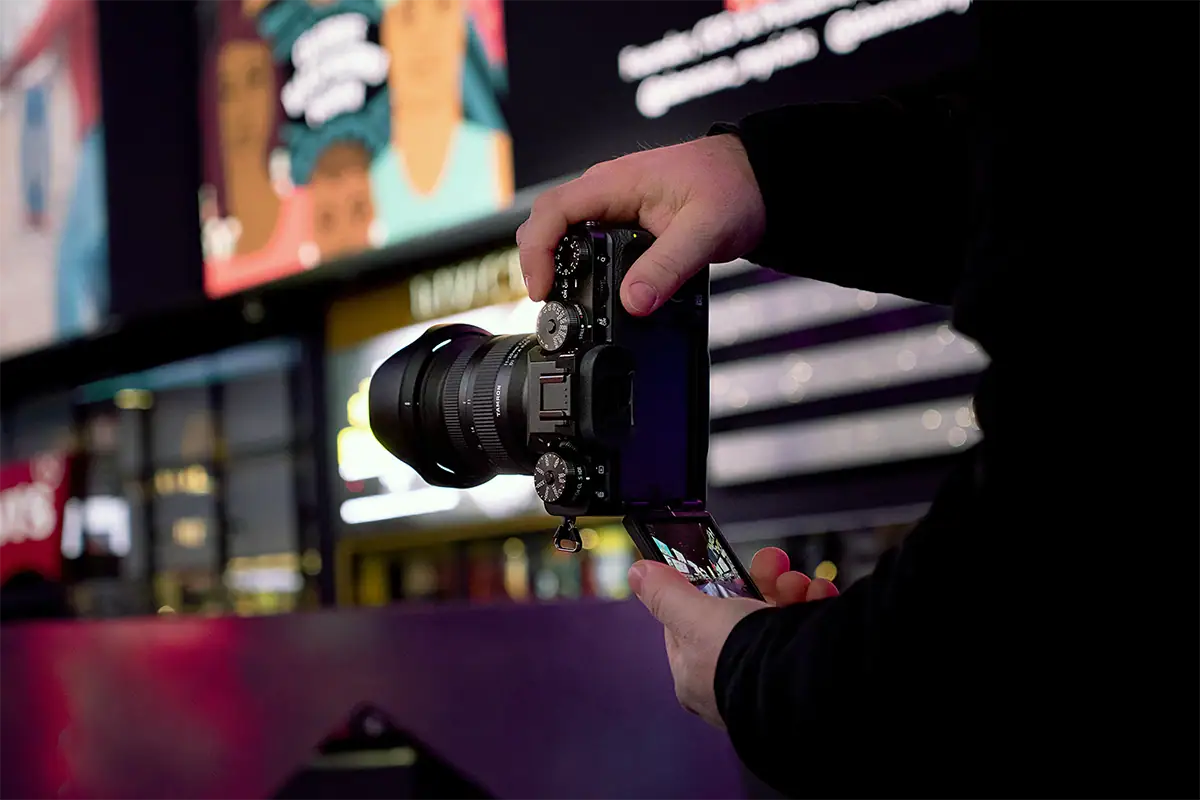
The best baseline camera settings for travel photography are Aperture Priority mode, Auto ISO or a moderate fixed ISO, and a minimum shutter speed fast enough to prevent camera shake and subject blur. Travel conditions change quickly, so use flexible settings that let you move from bright streets to dim interiors without missing the moment.
Aperture, ISO, and Shutter Speed on the Road
Choose aperture, ISO, and shutter speed according to the subject and available light. Use approximately f/8 to f/11 for bright landscapes, f/2.8 to f/4 for dim interiors or subject separation, and shutter speeds of at least 1/250 second when photographing people, street activity, or other moving subjects.
For general daylight travel photography, Aperture Priority is often the most practical mode. Select the depth of field you want and allow the camera to adjust the shutter speed. Watch that shutter speed carefully, especially when walking through shaded streets, covered markets, museums, or churches.
Use lower ISO settings such as ISO 100 or 200 when light is abundant. Raise the ISO as conditions become darker rather than accepting a shutter speed that is too slow to produce a sharp image. Modern cameras generally produce better results at elevated ISO settings than they do when motion blur or camera shake ruins the photograph.
For a deeper explanation of aperture, shutter speed, ISO, and exposure, see the camera fundamentals.
Settings for Handheld and Low-Light Shooting
For sharp handheld travel photos, begin with a shutter speed of at least 1/125 second for stationary scenes and 1/250 second or faster for people and movement. Image stabilization can help with camera shake, but it cannot freeze a moving subject. Raise ISO when necessary or use a compact tripod for static scenes.
A traditional guideline is to use a shutter speed at least as fast as the reciprocal of the focal length. At 50mm, for example, 1/50 second may be the theoretical minimum. In real travel situations, however, 1/100 or 1/125 second provides a safer margin, especially when photographing quickly or using a high-resolution camera.
For interiors, blue-hour scenes, and nighttime cityscapes, decide whether the subject is moving. If people are part of the scene, raise ISO to maintain a usable shutter speed. When photographing a static skyline, illuminated building, or landscape, a compact travel tripod can support a lower ISO and longer exposure.
How to Master Light and Timing While Traveling
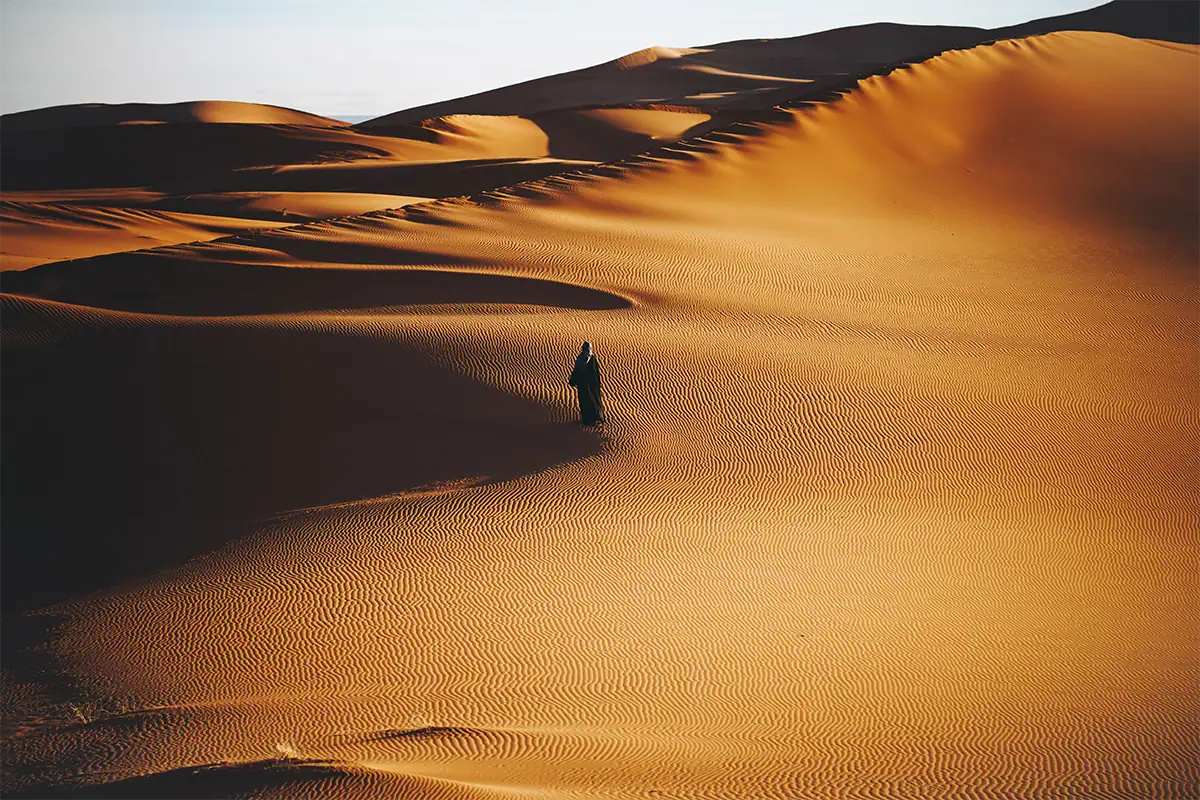
The best light for travel photography is often the golden hour shortly after sunrise and before sunset, when the sun produces warm color, soft contrast, and long shadows. Overcast skies, fog, rain, and even harsh midday light can also create compelling photographs when they are matched with the right subject and approach.
Why Golden Hour Matters
Golden hour improves travel photographs by creating softer highlights, warmer tones, and more dimensional shadows than overhead midday sunlight. It generally occurs during the hour after sunrise and the hour before sunset, though the exact window shifts with season, weather, and latitude. NOAA’s solar calculator can pinpoint golden hour for any location and date, which is worth checking before a trip.”
Early morning is especially valuable at popular destinations. In addition to attractive light, you may encounter fewer visitors, less traffic, calmer water, cleaner streets, and more opportunities to photograph landmarks without distracting crowds.
Use a weather or sun-tracking app to determine sunrise, sunset, and the direction of light before arriving. Scout the location in advance when possible so you know where to stand once the light begins changing. Golden hour can pass quickly, so preparation lets you spend more time photographing and less time searching for a composition.
Read the guide to golden hour photography.
Shooting in Bad Weather and Harsh Light
Bad weather can strengthen travel photography by adding mood, reflections, saturated color, and atmosphere. Overcast skies create soft light for portraits and details, while fog simplifies busy scenes. In harsh midday light, seek shade, photograph interiors, use strong shadows intentionally, or concentrate on graphic architectural compositions.
Do not automatically put the camera away when the weather changes. Light rain can create reflections on streets and sidewalks, while storm clouds can add drama to coastlines, mountains, and city skylines. Protect your equipment appropriately and look for scenes that benefit from the conditions.
When midday light cannot be avoided, expose carefully for highlights and look for subjects suited to strong contrast. Narrow streets, doorways, arches, geometric buildings, colorful walls, and backlit figures can work particularly well. A circular polarizer reduces reflections and deepens the appearance of blue skies, though the strength of the effect depends on the sun’s direction.
Ian Plant, world world-renowned professional nature and landscape photographer, author, and educator, says, “Be there when the weather changes! Your best chance to capture dramatic conditions occurs when weather fronts come in and move out…”
Read more of Ian’s quick tips for landscape and weather photography.
Composition Techniques for Travel Photos
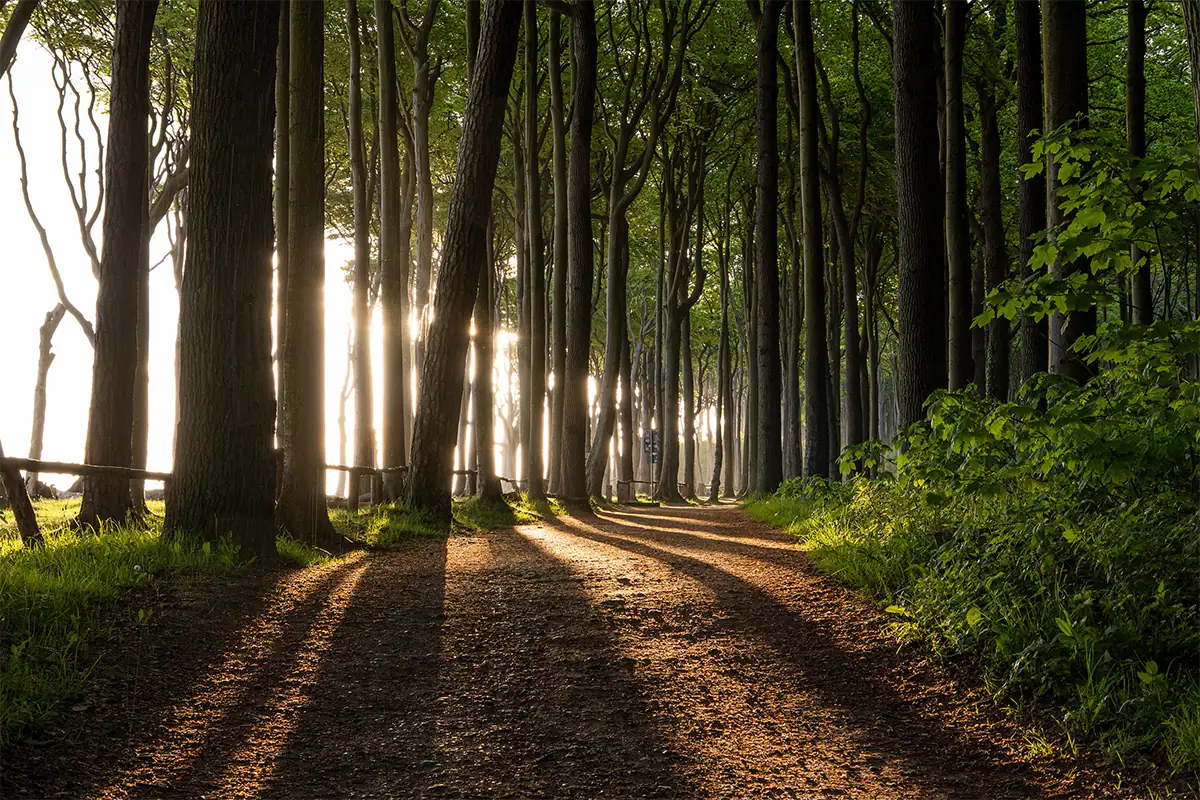
Strong travel composition relies on the rule of thirds, leading lines, and foreground depth to guide the viewer through the frame. These techniques help transform a straightforward record of a destination into a deliberate photograph with visual hierarchy, balance, scale, and a clear subject.
Rule of Thirds and Leading Lines
Use the rule of thirds by positioning important subjects away from the center when doing so creates better balance. Leading lines such as roads, rivers, bridges, stairways, and building edges can then direct the viewer toward the subject and create a stronger visual path through the travel photograph.
When photographing landscapes, try placing the horizon near the upper third to emphasize the foreground or near the lower third to feature a dramatic sky. In street and portrait photography, positioning a person near an intersection of the grid can leave room for movement, environment, or visual context.
Leading lines are especially common in travel destinations. A winding road can lead toward a mountain, railway tracks can pull the eye through a city, and repeating arches can create depth inside a historic building.
For more guidance, explore these travel photography composition techniques, including the rule of thirds, leading lines, framing, balance, and other foundational approaches.
Using Foreground and Depth
Foreground elements add depth by giving the viewer an entry point into the image and separating near, middle, and distant parts of the scene. Rocks, flowers, street signs, tables, doorways, boats, and architectural details can establish scale while making a flat travel scene feel more immersive and three-dimensional.
With a wide-angle lens, move physically closer to the foreground element rather than simply including it at the bottom of the frame. This exaggerates the relationship between foreground and background and can make viewers feel as though they are standing inside the scene.
Use a smaller aperture when you want both foreground and background detail to appear sharp. When the foreground is distracting, change position, simplify the frame, or use a wider aperture to soften it and direct attention toward the primary subject.
How to Tell a Story With Your Travel Photos
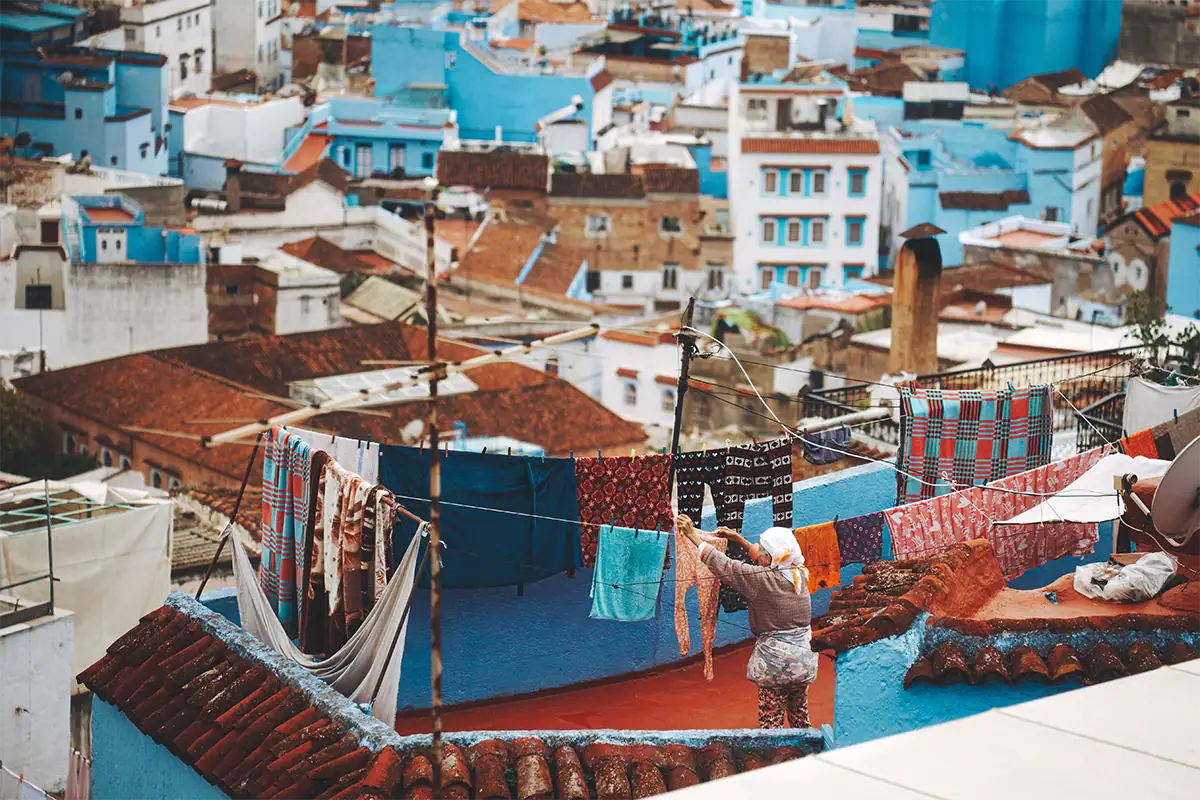
Tell a stronger travel story by moving beyond wide landmark photographs and capturing local details, candid human moments, cultural traditions, and contrasting colors that communicate the character of a place. A complete visual story should include establishing views, medium scenes, close-up details, and moments that show how people interact with the environment.
Think of your travel photographs as a sequence rather than isolated images. Begin with a wide establishing photograph that identifies the setting. Follow it with medium-distance scenes showing activity, then add close-up photographs of food, textiles, signs, architectural patterns, local crafts, and other defining details. These road trip photography tips offer additional guidance for documenting a journey through a varied collection of wide scenes, details, and memorable stops.
Human presence often gives viewers an emotional connection to the destination. Look for candid moments in which people are naturally working, talking, walking, celebrating, or interacting. Be respectful, learn local expectations, and ask permission when a photograph could feel intrusive.
A person can also communicate scale. Placing a small figure within a mountain landscape, canyon, desert, waterfall, or monumental interior helps viewers understand the size of the environment.
Color can connect a sequence as well. Look for complementary or contrasting combinations, such as a bright garment against a neutral wall, warm lights against a blue evening sky, or colorful market goods arranged in repeating patterns. These visual relationships help photographs stand out while conveying the atmosphere of the location.
For more help on creating meaningful images that communicate mood, place, and experience, explore these visual storytelling techniques for photographers.
What Gear Do You Need for Travel Photography?
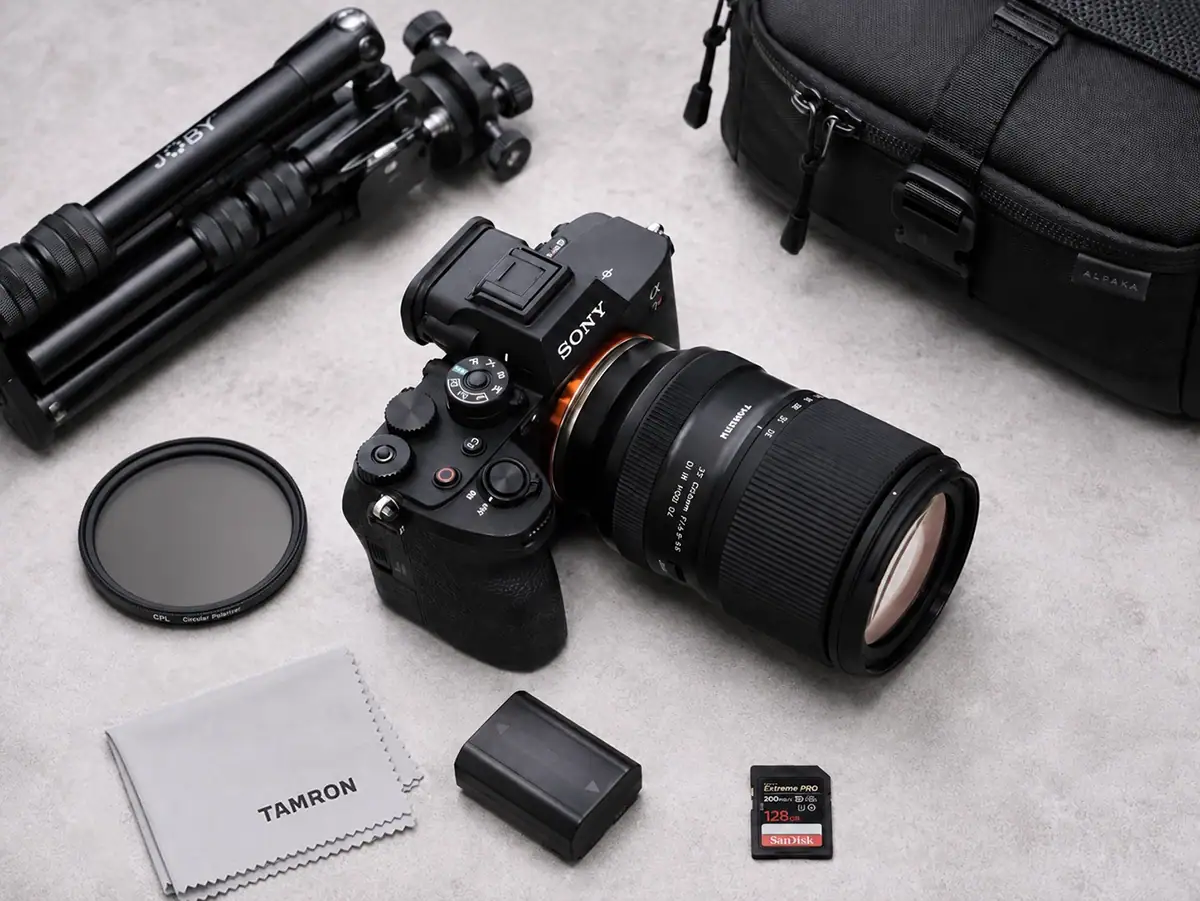
The ideal travel photography kit includes a lightweight, weather-resistant camera, one versatile zoom lens, spare batteries, memory cards, a circular polarizer, lens cleaner, and a compact tripod. An all-in-one zoom or fast standard zoom can cover most daily situations while keeping the kit portable enough to carry comfortably for hours.
Camera Body Considerations
The best camera body for travel photography balances image quality, portability, durability, and ease of use. A lightweight mirrorless camera is a practical choice because it reduces the total kit size, while weather-resistant construction, dependable autofocus, good battery life, and accessible controls help photographers work confidently in changing conditions.
Avoid selecting a camera based on specifications alone. Consider how it feels after several hours of walking and whether its controls are easy to operate while wearing gloves, moving quickly, or working in low light.
A comfortable grip, tilting or articulating screen, reliable autofocus, and a clear electronic viewfinder may be more valuable during a trip than features you rarely use. The camera should support the way you travel rather than becoming an obstacle.
Essential Accessories
Essential travel photography accessories include spare batteries, multiple memory cards, a lens cloth, a lens hood, a circular polarizer, and a compact tripod. A weather-resistant bag and rain cover provide additional protection, while a small blower and cleaning supplies help manage dust, fingerprints, moisture, and salt spray on the road.
A circular polarizer can reduce glare on water, glass, leaves, and wet surfaces while improving color and contrast in some outdoor scenes. Learn more about how to use a circular polarizer filter and when it can improve travel landscapes, coastlines, and city scenes.
A lens hood helps block stray light, reduce flare, and provide added physical protection for the front of the lens. Read more about why you should use a camera lens hood.
For many photographers, the most practical setup is one lightweight camera paired with a versatile Tamron travel zoom. An all-in-one lens can handle landscapes, portraits, architecture, details, and distant subjects without repeated lens changes.
How to Choose the Right Travel Lens
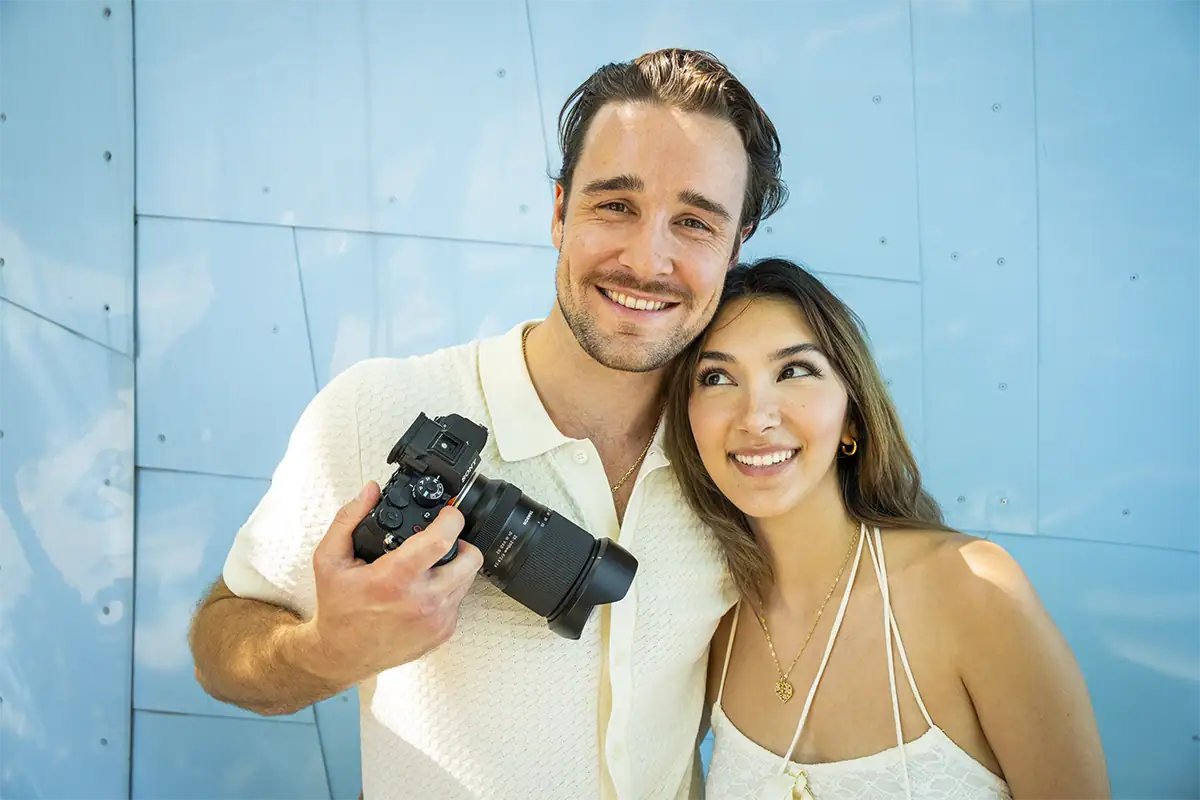
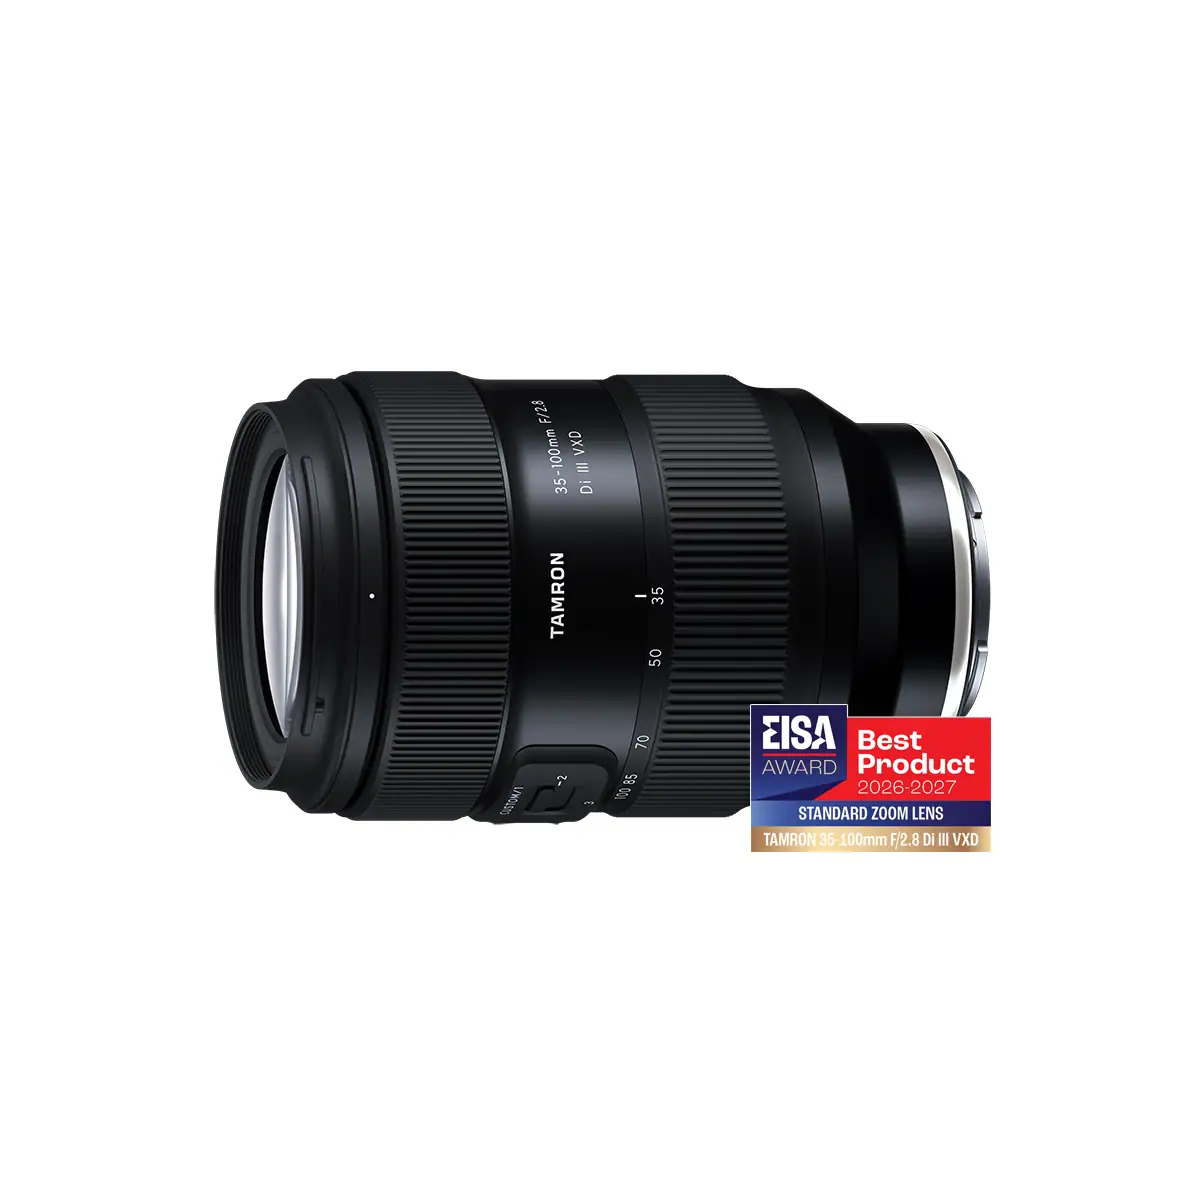
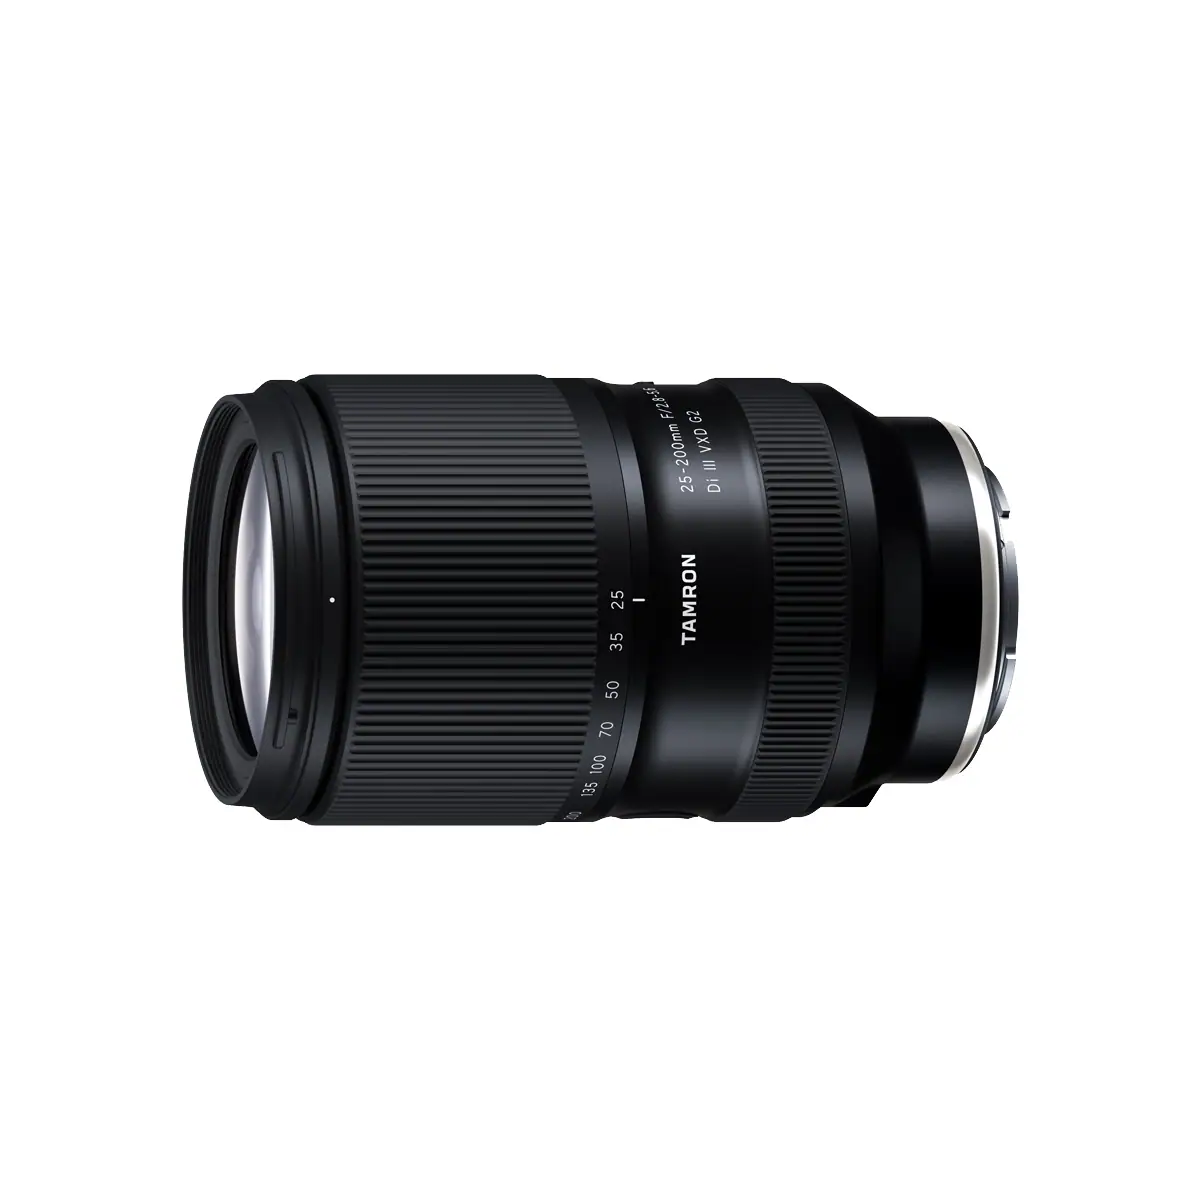
The best travel lens balances focal range, weight, aperture, and image quality. All-in-one zooms such as 25-200mm or 28-300mm lenses prioritize convenience and broad coverage, while fast standard zooms such as a 35-100mm F2.8 or 28-75mm F2.8 G2 provide stronger low-light performance, subject separation, and a consistent maximum aperture.
An all-in-one zoom is ideal when you want to carry one lens and avoid changing equipment in dusty, wet, crowded, or fast-moving environments. The wide end can photograph landscapes, architecture, and environmental scenes, while the telephoto end can isolate details, compress distant layers, and capture subjects that cannot be approached closely.
For an example of a wide-to-telephoto lens used in real travel conditions, read the Tamron 25-200mm travel photography review.
A fast standard zoom is well suited to photographers who prioritize image quality, low-light performance, and creative control. A lens such as the 28-75mm F2.8 covers wide environmental scenes, everyday perspectives, portraits, food, and details while maintaining a bright F2.8 aperture throughout the range.
See how this type of lens performs on the road in the Tamron 28-75mm F2.8 G2 travel photography review.
The right lens depends on the type of trip, the subjects you plan to photograph, and how much gear you want to carry.
For a deeper comparison of focal ranges, apertures, and travel priorities, read how to select the ideal travel lens.
You can also explore the broader Tamron guide to the best lenses for travel photography for additional lens recommendations.
Recommendations are also available for specific camera systems:
- Find the best Sony E-mount lenses for travel photography.
- Explore the best Nikon Z lenses for travel photography.
- Compare the best Canon RF-mount lenses for travel photography.
- Discover the best Fujifilm X-mount travel lenses.
Photographing Different Destination Types
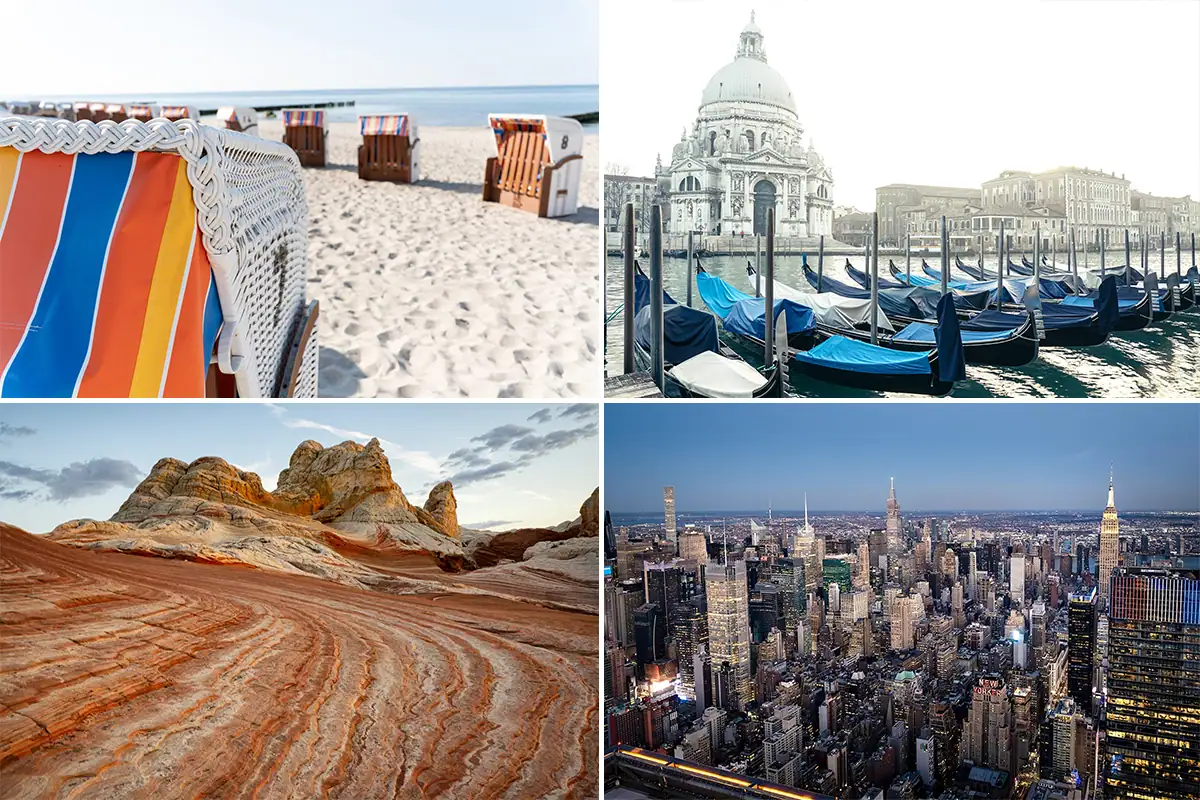
Different destinations require different photographic approaches. Wide-angle lenses work well for landscapes, architecture, coastlines, and tight interiors; versatile zooms help cover rapidly changing city scenes; and telephoto focal lengths are useful for wildlife, compressed landscapes, distant landmarks, and details that cannot be approached safely or respectfully.
Look for our photography by destination hub coming soon!
Plan Your Next Trip With the Right Lens
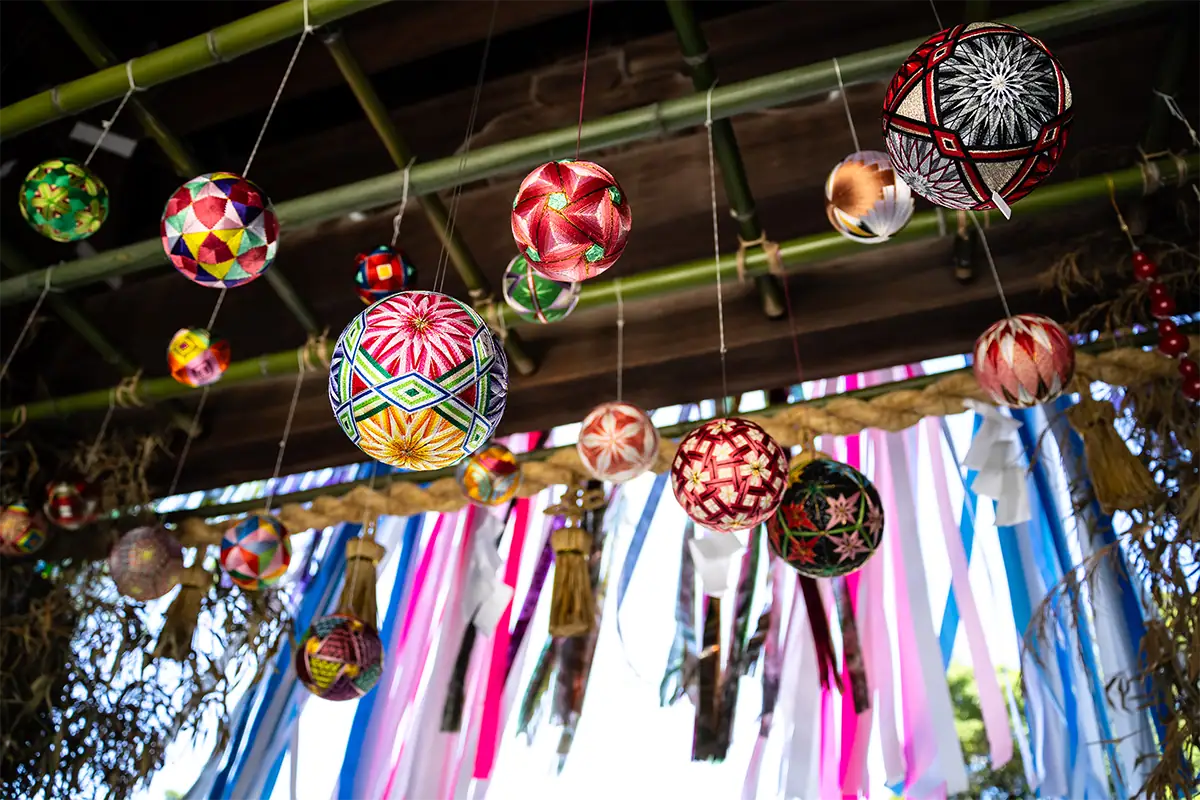
Great travel photos come from preparation, thoughtful timing, strong composition, and gear that keeps you mobile without limiting creative possibilities. The right travel lens is one of the most important equipment decisions because it determines which perspectives you can capture and whether your camera kit remains comfortable enough to carry all day.
A versatile lens allows you to respond as the trip unfolds, moving from sweeping landscapes and architecture to portraits, food, street activity, and distant details without interrupting the experience. By traveling with a focused kit, you can spend less time managing equipment and more time observing the destination and creating meaningful photographs.
Explore Tamron’s guide to choosing the best travel lens or browse the best Tamron lenses for travel photography to build a lightweight, versatile kit for your next trip.
Where to Buy Tamron Lenses
Learn more about Tamron lenses at an authorized Tamron dealer near you or shop directly at the official TAMRON Store.
Travel Photography FAQs
Travel photography raises practical questions about cameras, lenses, portability, and equipment protection. The best choices depend on your destination and priorities, but most travelers benefit from a lightweight camera, one versatile zoom lens, flexible exposure settings, and a simple kit that allows them to move comfortably and respond quickly.
What Is the Best Camera for Travel Photography?
The best camera for travel photography is a lightweight, weather-resistant mirrorless body that balances image quality with portability. Look for reliable autofocus, good high-ISO performance, accessible controls, and a comfortable grip. The lens matters just as much as the body because it determines your focal coverage and total kit weight.
A camera that remains in the hotel because it is too heavy offers little value. Choose a system you can comfortably carry throughout the day and pair it with a lens suited to your destination.
Use Tamron’s mount-specific guides to find recommended travel lenses for Sony E-mount cameras, Nikon Z cameras, Canon RF-mount cameras, and Fujifilm X-mount cameras.
Can You Take Good Travel Photos With a Phone?
Yes, modern phones can produce excellent travel photographs in good light, especially for wide scenes, food, casual portraits, and spontaneous moments. A dedicated camera and interchangeable lens offer greater advantages in low light, at telephoto distances, when photographing fast movement, and when you need fine detail or shallow depth of field.
A phone can also complement a larger camera kit. Use it for quick location scouting, behind-the-scenes images, navigation, and situations in which carrying a dedicated camera is not practical.
How Do I Protect My Camera Gear While Traveling?
Protect camera gear with a padded, weather-resistant bag, keep it in your carry-on when flying, use lens caps and a hood or protective filter, and pack silica gel in humid environments. Avoid leaving equipment unattended, clean away dust and moisture regularly, and allow cold gear to acclimate before exposing it to warm, humid air.
Carry a rain cover or waterproof pouch when conditions are uncertain. Near beaches, waterfalls, and deserts, clean the camera and lens carefully to remove salt spray, sand, or fine dust before changing lenses or retracting zoom mechanisms.
What Is the Best All-Around Lens for Travel?
The best all-around travel lens is a versatile zoom that covers wide-angle through short or moderate telephoto focal lengths in one lens. All-in-one zooms offer the broadest coverage, while a standard 28-75mm F2.8-style zoom provides a useful balance of portability, low-light capability, image quality, and subject separation.
Your ideal range depends on what you photograph most. Travelers who prioritize wildlife and distant details may want more telephoto reach, while architecture and landscape photographers may prefer a wider starting focal length.
How Many Lenses Should I Bring When Traveling?
Most travelers are best served by one versatile zoom lens, adding a second lens only for a specific need such as wildlife reach, ultra-wide architecture, or a compact fast prime for very low light. Carrying fewer lenses reduces weight, speeds up decision-making, and limits lens changes in dust, rain, crowds, and moving vehicles.
Before packing a second or third lens, ask whether you expect to use it often enough to justify carrying it every day. A broad-range zoom may be the better choice when mobility and flexibility are the main priorities.
The Tamron 25-200mm F2.8-5.6 all-in-one zoom demonstrates how one lens can cover a wide variety of travel scenes, while the Tamron 28-75mm F2.8 G2 and Tamron 35-100mm F2.8 provide a constant faster-aperture alternative for low-light shooting and subject separation.
About the Author
 Stacie Errera is Vice President of Marketing and Communications for Tamron Americas, where she has been with Tamron for more than 36 years. She is also a photography educator who teaches new camera users how to better understand their cameras and photography basics. She leads weekend photography workshops for women. Read Stacie’s full bio >>