Learning how to photograph the Milky Way starts with four essentials: a dark sky location, a new moon window, a fast wide-angle lens, and the right camera settings. For most Milky Way photography, begin with F2.8, ISO 3200, a 20-25 second shutter speed, manual focus, and a strong foreground composition.
Milky Way photography is one of the most rewarding forms of astrophotography because it combines night sky technique with landscape composition. You are not only photographing stars — you are building a complete scene around the galactic core, the bright central region of the Milky Way that appears as a detailed band across the night sky.
This guide walks through how to plan, shoot, and edit Milky Way images, from choosing the right season and location to dialing in exposure, focusing in the dark, and bringing out detail in post-processing.
By Stacie Errera, Photography by credited Tamron photographers. Graphics by Tamron Americas.
For a broader introduction to photographing the Milky Way including gear, planning, and technique, see our complete astrophotography guide.
Table of Contents
- What Is Milky Way Photography?
- When Is the Best Time to Photograph the Milky Way?
- How to Find a Dark Sky Location
- What Gear Do You Need for Milky Way Photography?
- Best Camera Settings for Milky Way Photography
- How to Focus on the Milky Way
- How to Compose the Galactic Core
- How to Edit Milky Way Photos
- Should You Stack Milky Way Photos?
- Final Tips for Photographing the Milky Way
What Is Milky Way Photography?
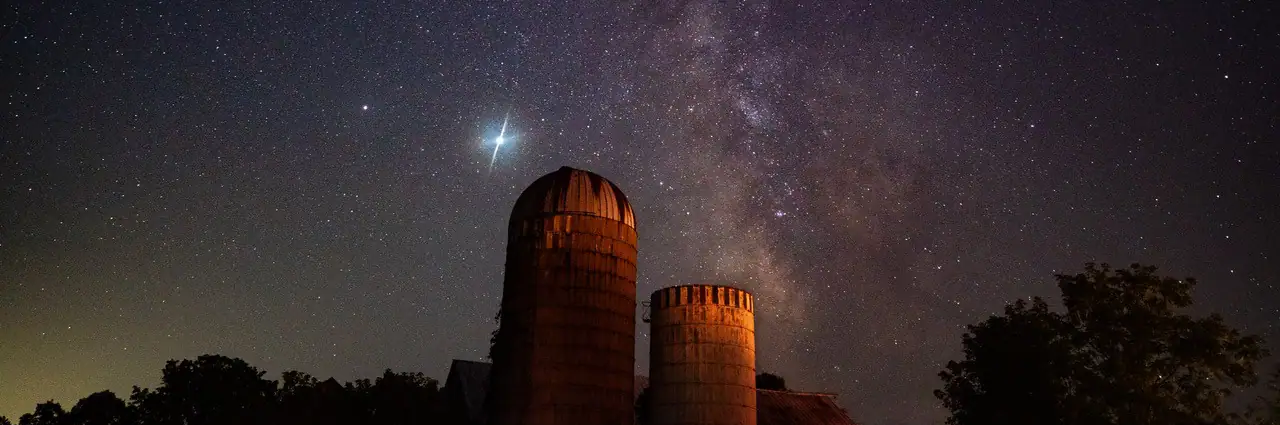
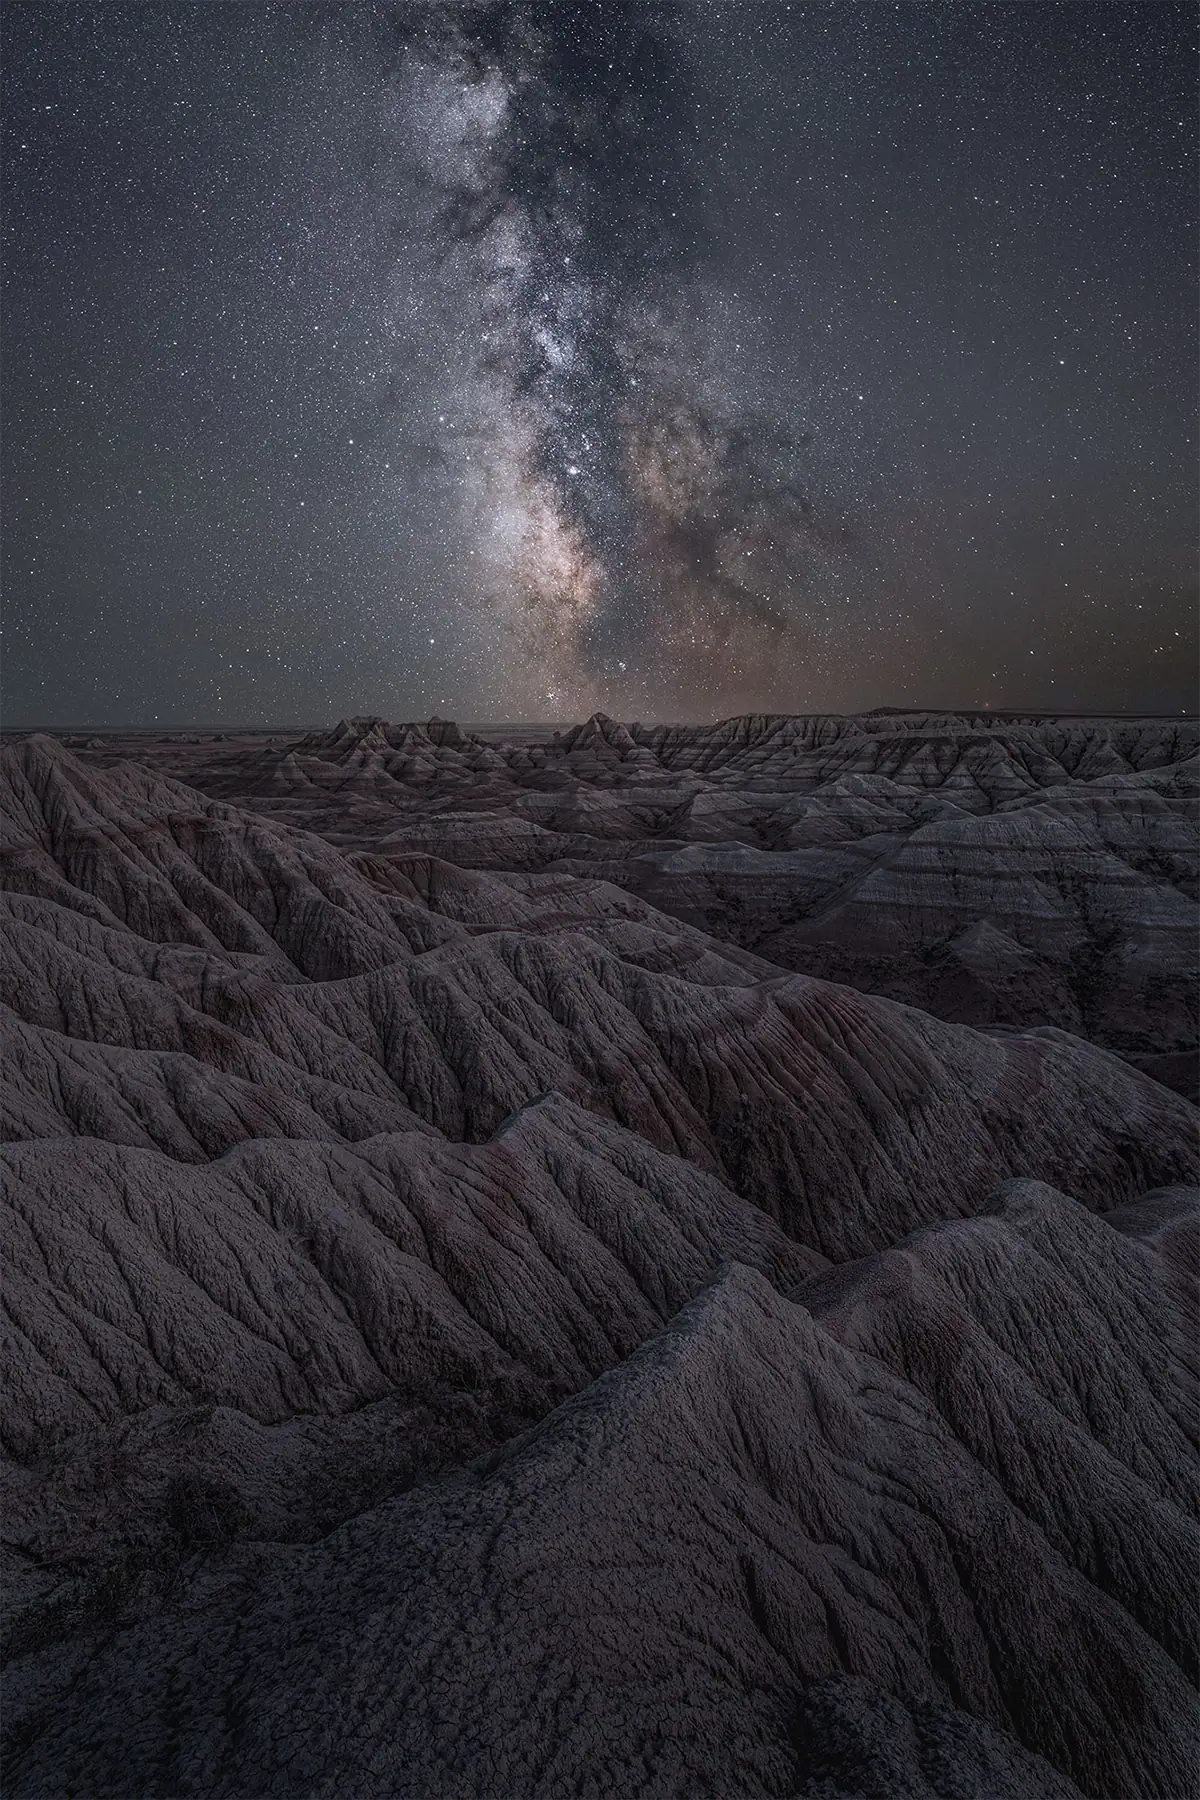
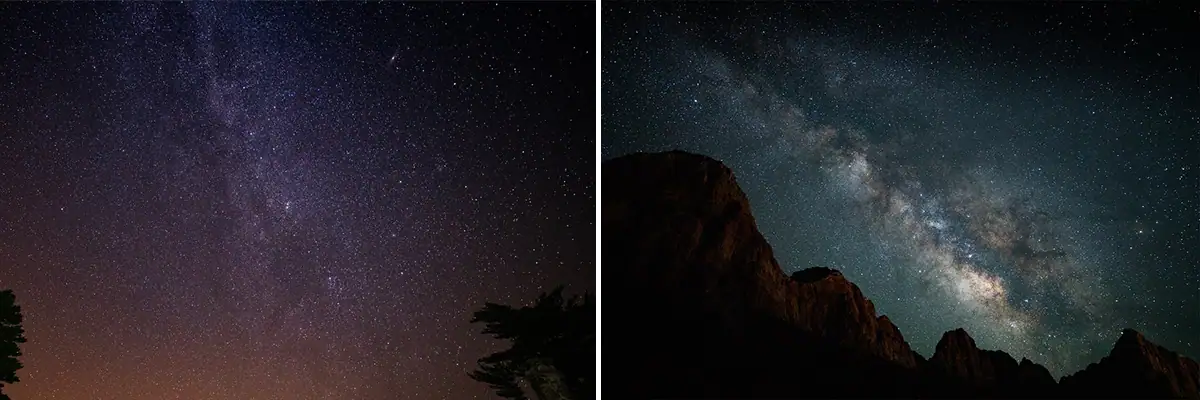
Milky Way photography is a type of astrophotography that captures the bright galactic core or star-filled band of our galaxy above a landscape. Unlike deep sky photography, it usually does not require a telescope or tracking mount. A camera, fast wide-angle lens, tripod, dark sky, and good timing are enough to begin.
The goal is to show both the night sky and the environment beneath it. A Milky Way photo often includes mountains, trees, rock formations, lakes, roads, or buildings to give the sky scale and context. Without a strong foreground, even a clear star field can feel flat.
For a broader overview of night sky subjects, settings, and gear, see Tamron’s full astrophotography pillar guide: Astrophotography: A Complete Guide to Photographing Stars & the Night Sky.
How to Find a Dark Sky Location
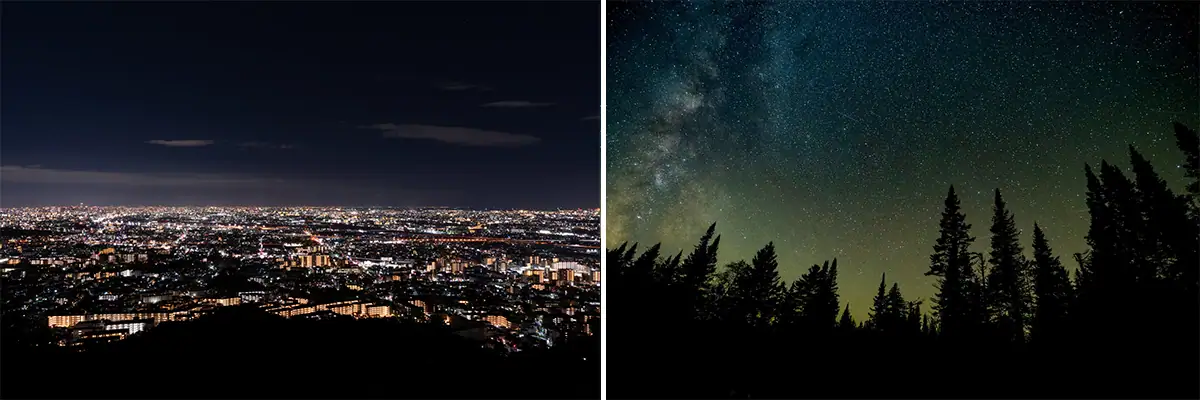
Use a light pollution map before your shoot and look for locations around Bortle Class 4 or darker whenever possible. According to Wikipedia’s entry on the Bortle scale, the scale runs from Class 1, the darkest skies on Earth, through Class 9, inner-city skies, and was developed specifically to help sky watchers evaluate and compare the darkness of observing sites. Light pollution reduces contrast, hides faint stars, and makes the galactic core look weak or muddy.
You do not always need to travel to a remote wilderness area. Sometimes a 30-60 minute drive away from the edge of a city can make a major difference. Look for open views to the south if you are in the Northern Hemisphere, since the galactic core appears in the southern sky for many locations.
Before committing to a spot, check access, parking, safety, terrain, and whether the location is open after dark. Milky Way photography often happens late at night or early in the morning, so scout in daylight whenever possible.
What Gear Do You Need for Milky Way Photography?
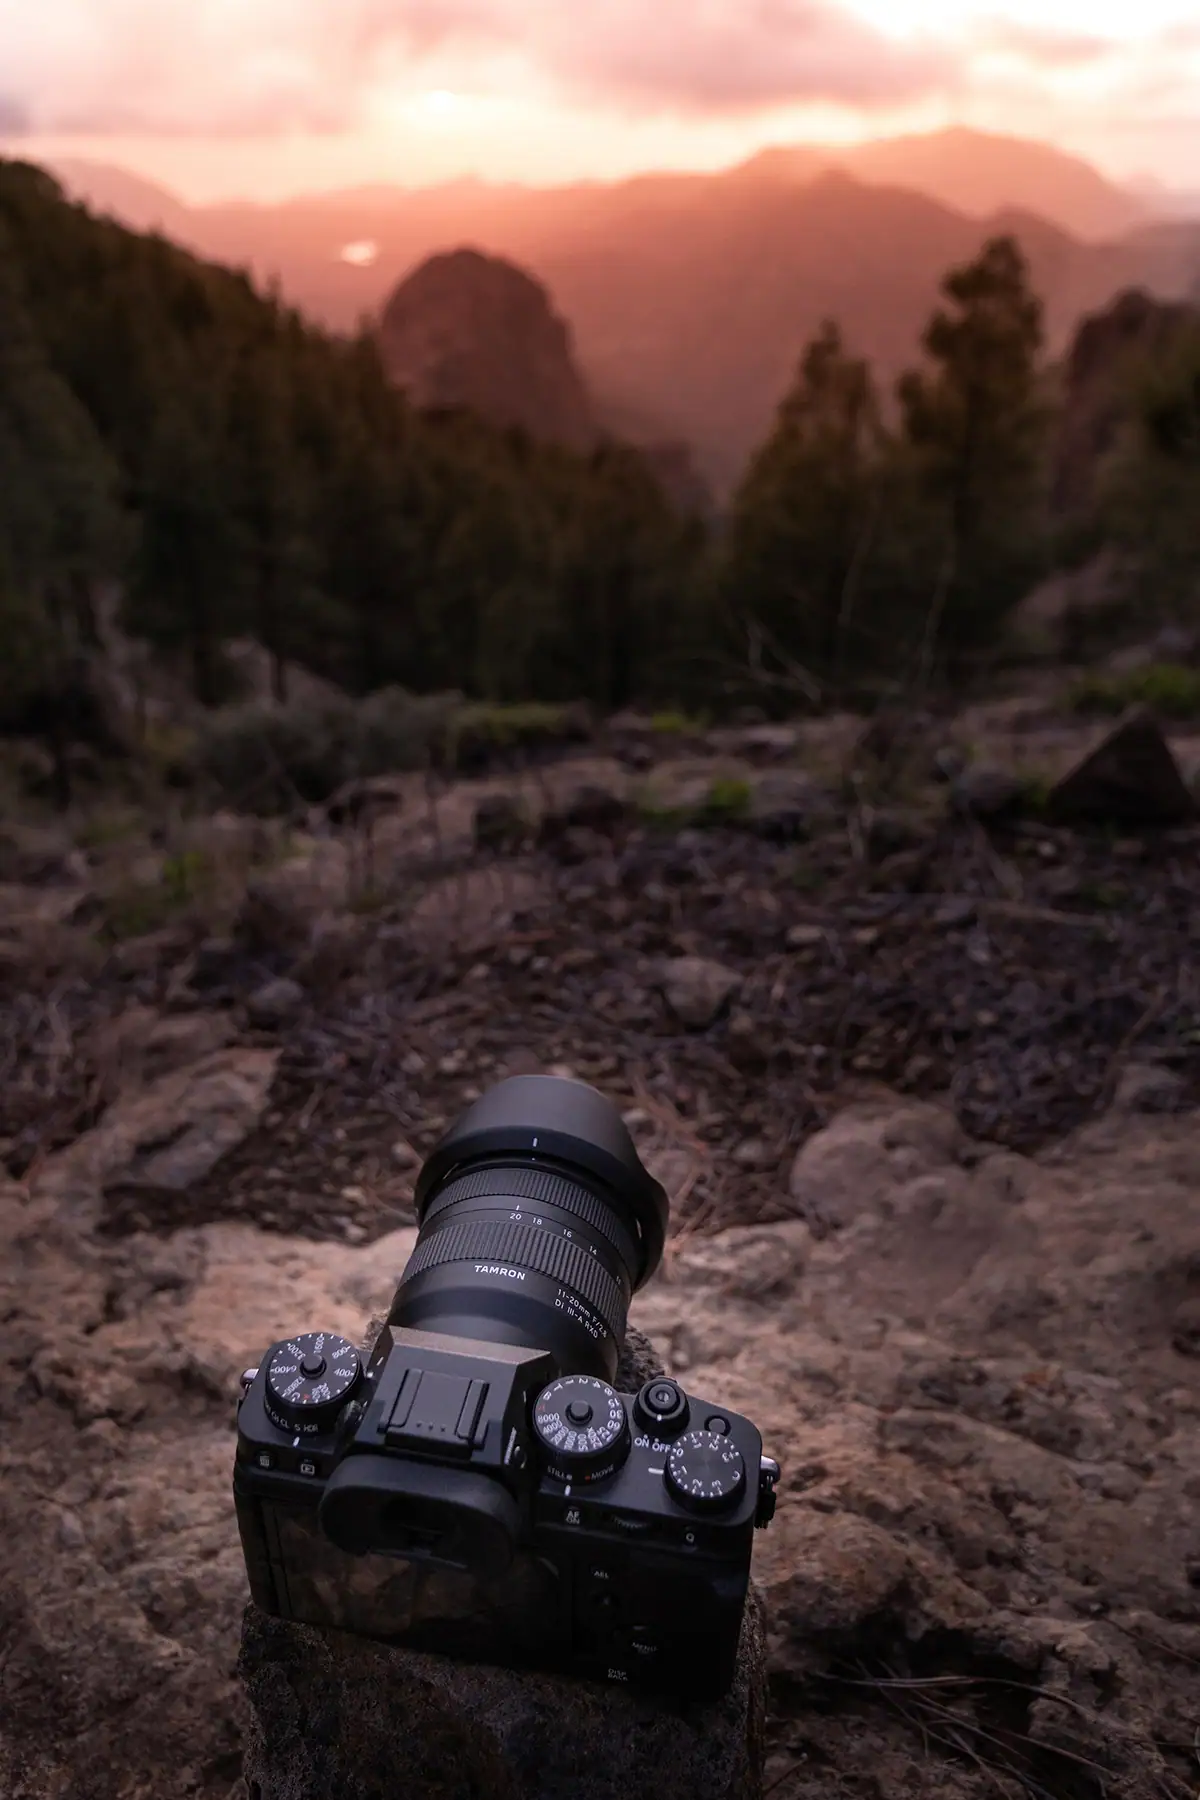
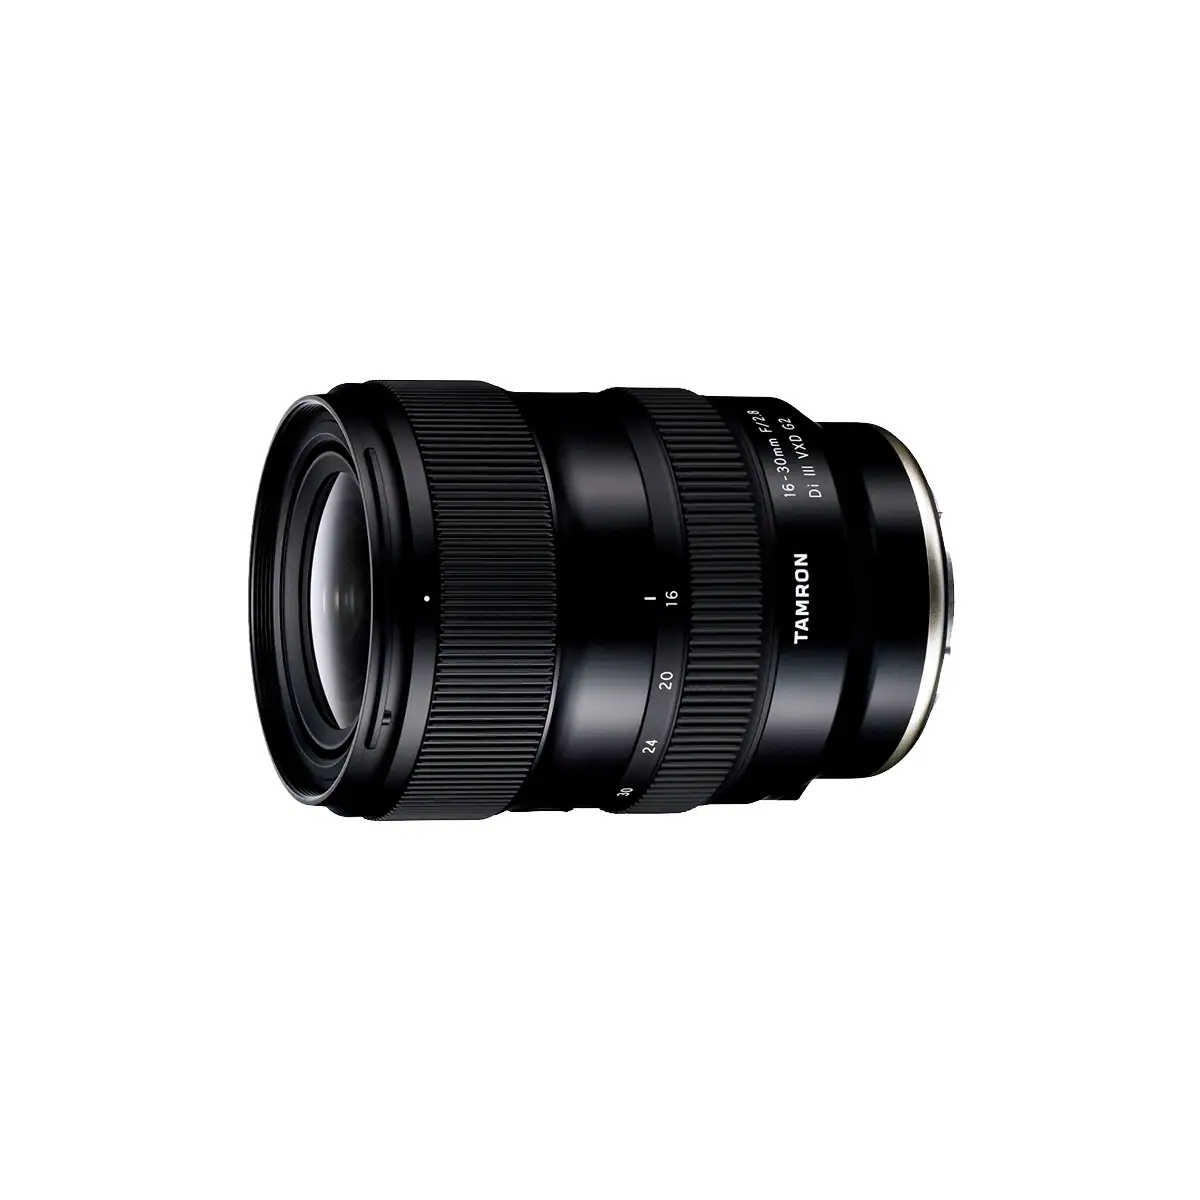
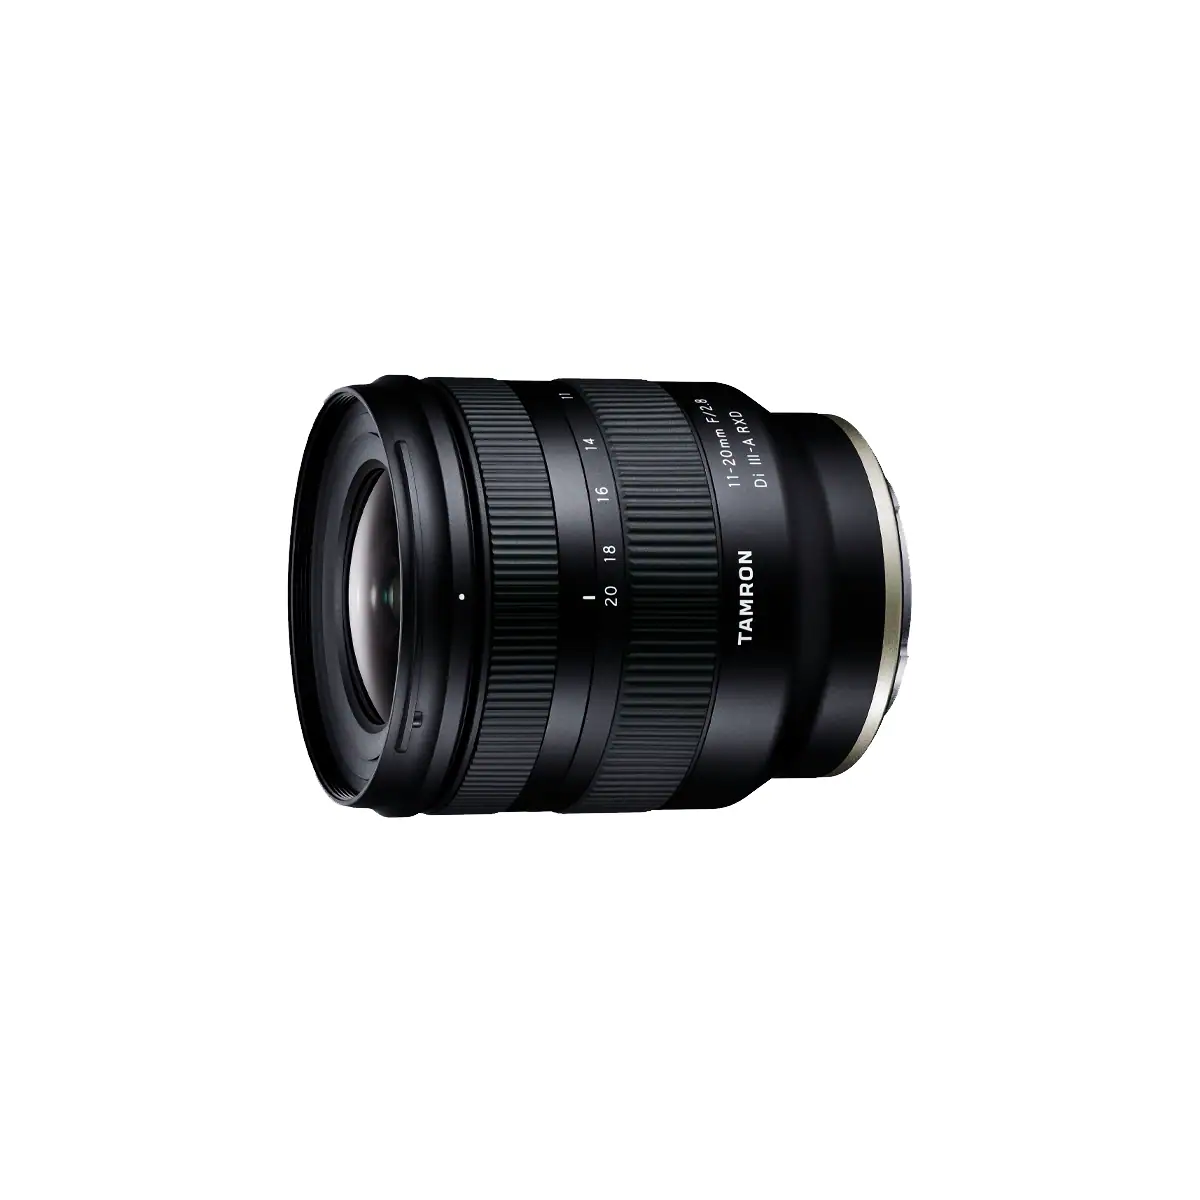
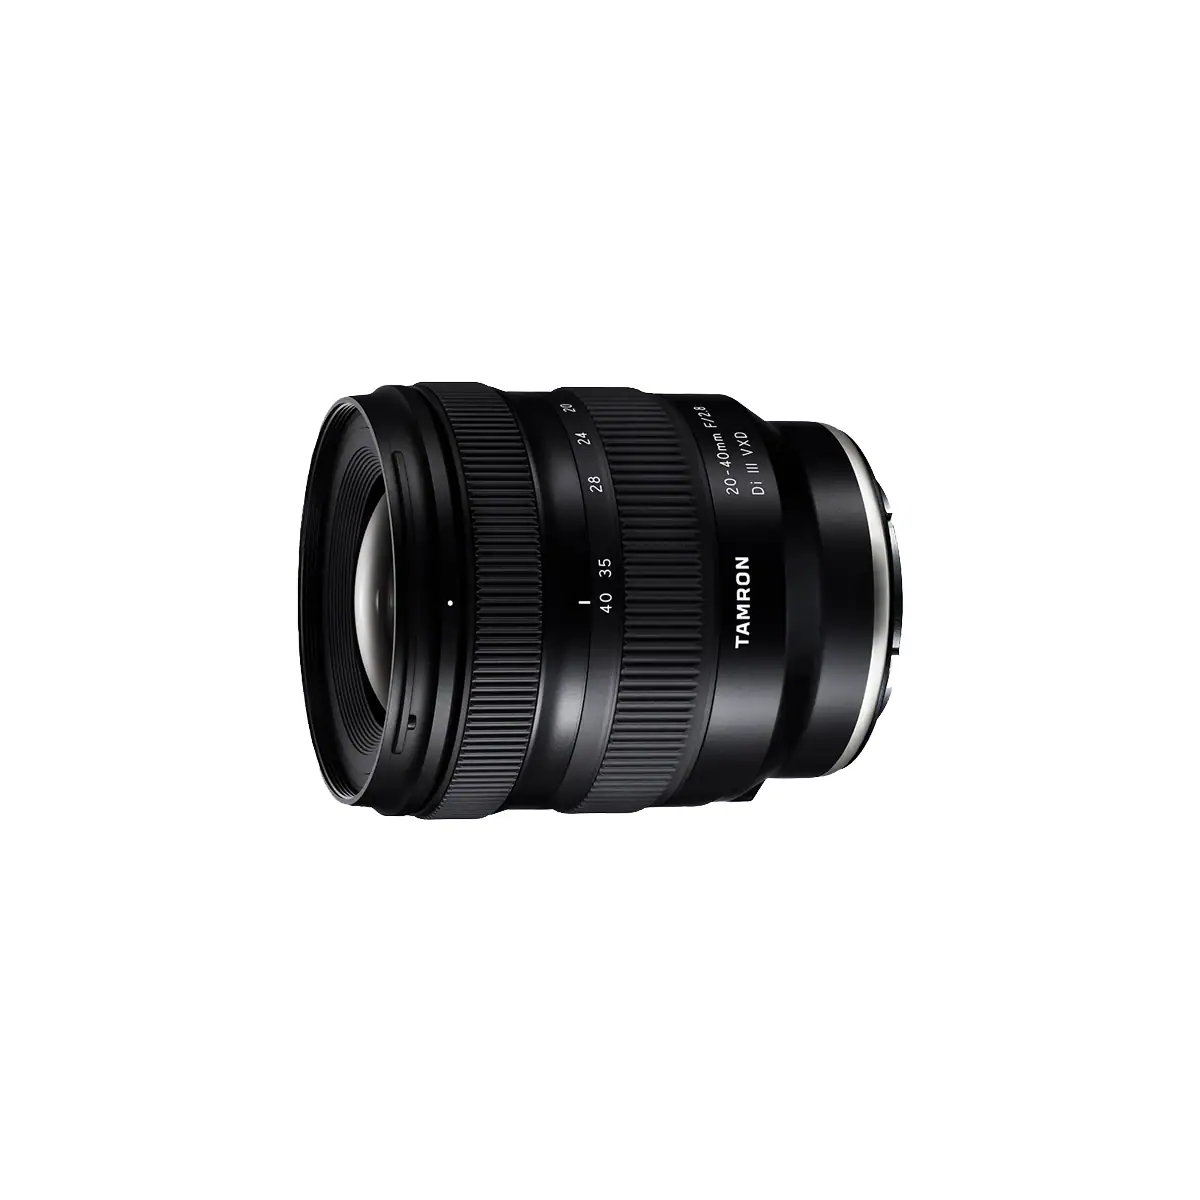
The basic Milky Way photography setup is a camera with manual controls, a fast wide-angle lens, a sturdy tripod, and a remote shutter release or 2-second self-timer. A lens in the 14-24mm range with an aperture of F2.8 or wider is ideal for capturing more sky and allowing longer exposures.
A wide-angle lens gives you two advantages. First, it captures more of the Milky Way and the surrounding landscape. Second, it lets you use a longer shutter speed before stars begin to trail. A fast aperture helps collect more light in the short exposure window available for sharp stars.
For more lens guidance, see Tamron’s Best Lens for Astrophotography guide.
A star tracker is optional. It can help you capture cleaner, longer exposures, but it is not required for your first Milky Way images. Most beginners should start with a static tripod setup and learn focus, exposure, composition, and planning first.
Best Camera Settings for Milky Way Photography
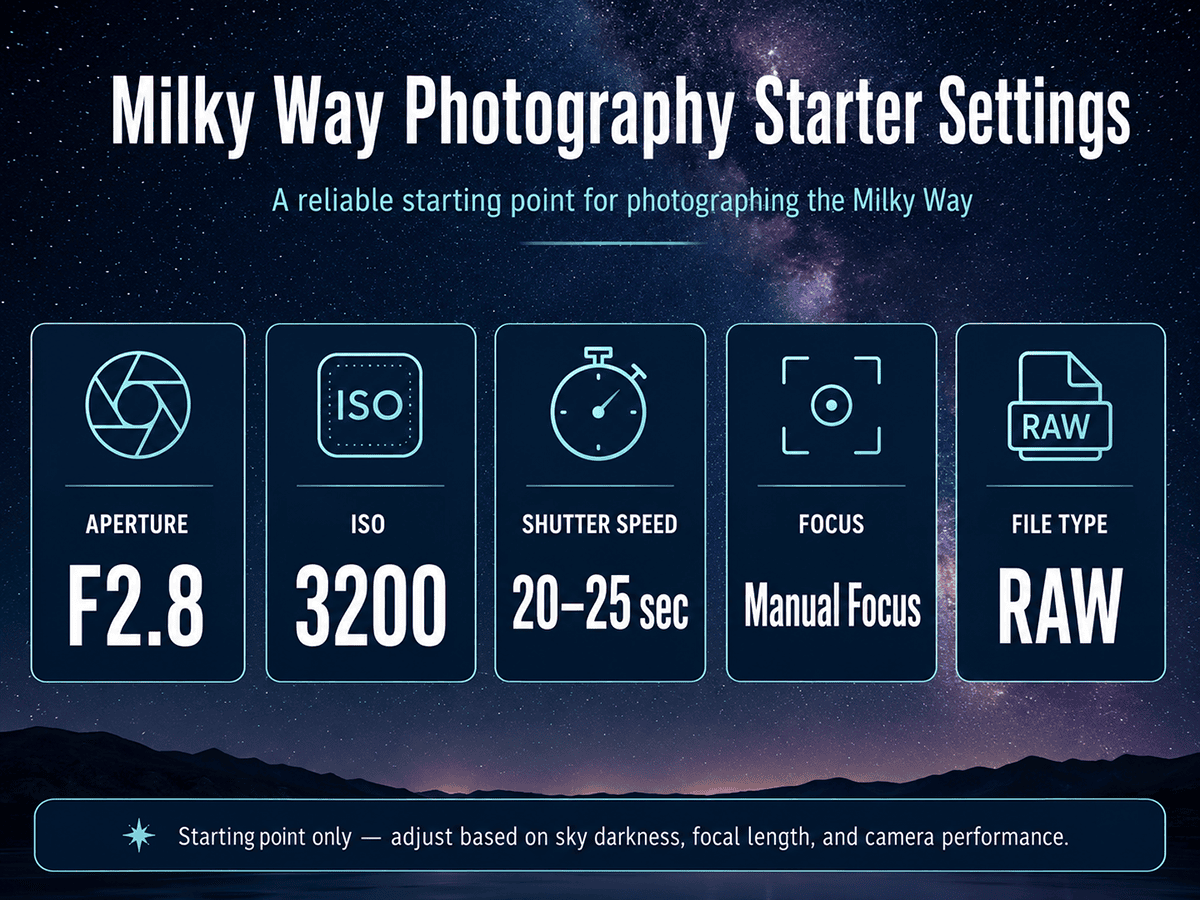
The best starting camera settings for Milky Way photography are F2.8, ISO 3200, and a shutter speed of 20-25 seconds on a wide-angle lens. Use manual mode, shoot RAW, turn off flash, disable autofocus, and set white balance around 3,500K-4,000K or adjust it later in post.
These settings are a baseline, not a rule. Your final exposure depends on your lens, camera sensor, sky darkness, focal length, and whether you want pinpoint stars or slight trailing is acceptable.
Start with:
- Aperture: F2.8 or wider
- ISO: 1600-3200
- Shutter speed: 20-25 seconds
- Focus: manual, set carefully on a bright star
- File type: RAW
- White balance: 3,500K-4,000K
For shutter speed, use the 500 Rule as a quick estimate: divide 500 by your full-frame equivalent focal length. For example, 500 ÷ 24mm = about 20 seconds. Wider lenses allow longer exposures; longer focal lengths require shorter shutter speeds. According to Photography Life’s guide on the 500 rule vs. NPF rule, beyond roughly 30 seconds even an ultra-wide lens will show noticeable star blur due to Earth’s rotation, and high-megapixel cameras may require stricter limits than the standard formula suggests.
For a deeper explanation of long exposure technique, read Tamron’s Long Exposure Photography Guide.
How to Focus on the Milky Way
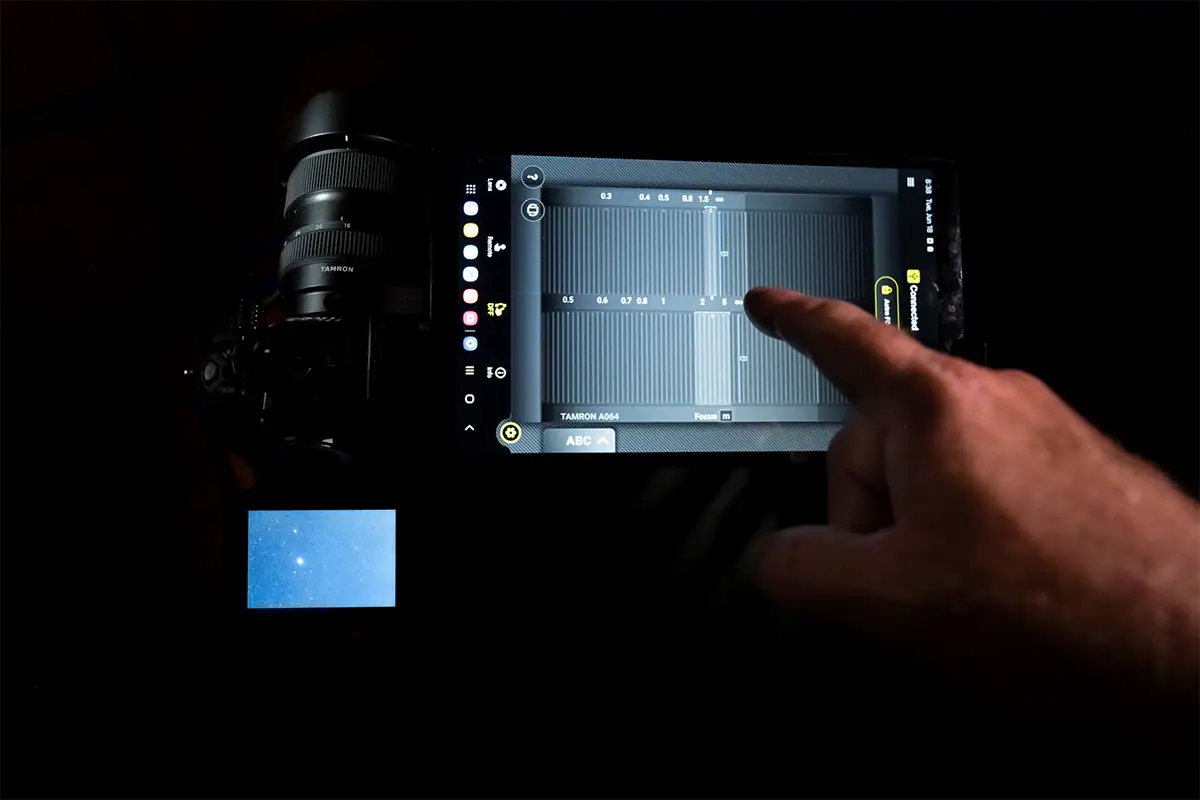
To focus for Milky Way photography, switch to manual focus, use live view, magnify a bright star, and adjust the focus ring until the star appears as small and sharp as possible. Do not rely on autofocus at night, because most cameras cannot focus accurately on stars in near-total darkness.
Infinity focus is the goal, but the infinity mark on a lens is not always exact. The best method is to zoom in digitally on a bright star or distant light, make tiny focus adjustments, and check sharpness before shooting a full sequence.
If your lens supports the TAMRON Lens Utility, using the Astro Focus Lock feature can help you solve one of the most common night sky problems: losing precise infinity focus in the dark. Learn more in the Astro Focus Lock Guide.
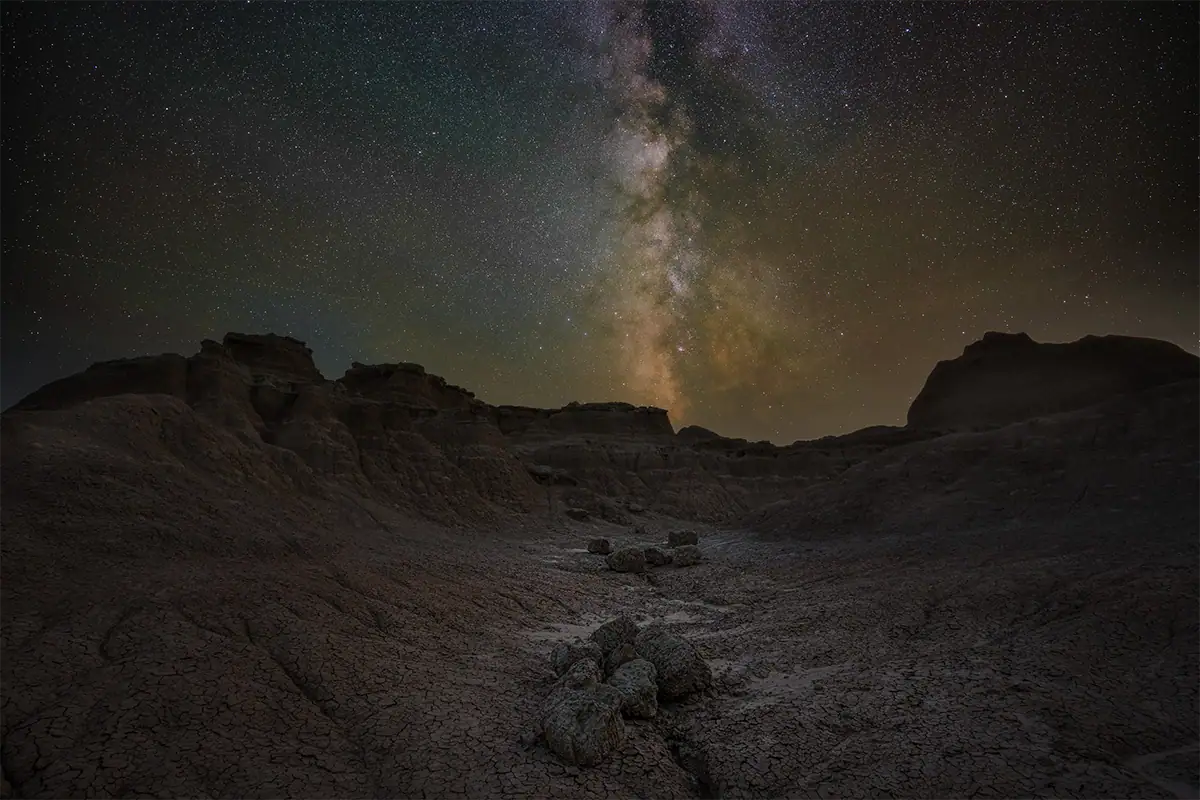
How to Compose the Galactic Core
Look for rocks, mountains, trees, water, roads, cabins, or silhouettes to anchor the scene beneath the galactic core. A strong composition needs both a clear galactic core and a foreground that gives the image structure — the foreground should lead the viewer into the frame rather than compete with the sky.
Use an app to predict where the galactic core will appear, then plan your foreground around that position. Vertical compositions work well when the Milky Way rises high above the horizon. Horizontal compositions work well when the galactic core stretches across the sky or when the landscape is wide.
Light painting can help reveal foreground detail but use it carefully. A small amount of soft, low-intensity light is often enough. Too much light can make the image look unnatural and distract from the night sky.
How to Edit Milky Way Photos
Milky Way editing starts with a RAW file and a natural-looking white balance. In Lightroom or Adobe Camera Raw, adjust temperature first, then lift shadows, control highlights, add contrast, reduce noise, and use clarity or texture carefully to bring out star and galactic core detail.
A good starting workflow is:
- Set white balance around 3,500K-4,500K.
- Increase exposure slightly if needed.
- Lift shadows to reveal foreground detail.
- Reduce highlights if bright areas are clipped.
- Add contrast or a gentle S-curve.
- Add modest texture and clarity.
- Apply luminance and color noise reduction.
- Use masking to adjust the sky and foreground separately.
Avoid pushing saturation, clarity, and sharpening too far. Over-processed Milky Way photos can look harsh, noisy, or unnatural. The goal is to reveal the galactic core while preserving the mood of the night scene.