Instant Savings
 Support
 Find a Dealer
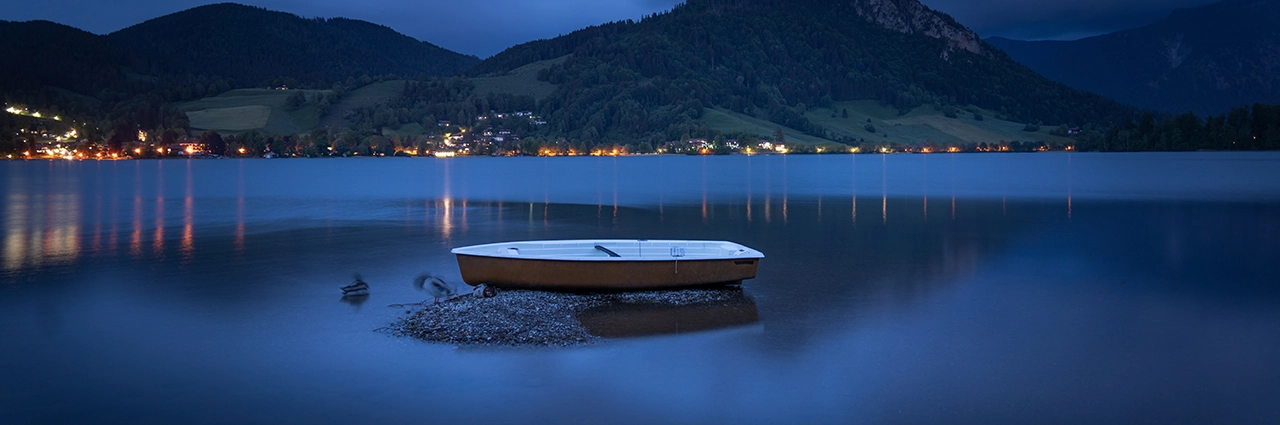
When photographers talk about the blue hour, they’re referring to one of the most breathtaking times of day to shoot. But what exactly does this term mean, and how does it compare to golden hour or the so-called magic hour? In this guide, we’ll explain the meaning of blue hour, how long it lasts, and how to capture incredible images using practical tips and techniques.
By Guest Contributor Ken Hubbard
What You’ll Learn In This Article:
- The blue hour meaning and how it differs from golden hour and magic hour
- How long blue hour lasts, and what time is blue hour in morning vs evening
- Essential blue hour photography tips, including camera settings for blue hour images and composition techniques
- How to balance natural twilight with artificial light for stunning cityscapes and landscapes
- The best Tamron lenses for blue hour photography and why they’re ideal for twilight shooting
What Is Blue Hour?
Twilight and Blue Hour
Before diving deeper, it’s helpful to understand the twilight meaning. Twilight is the time between day and night when the sun is just below the horizon, creating a mix of natural light and shadows.
Blue Hour Meaning in Photography
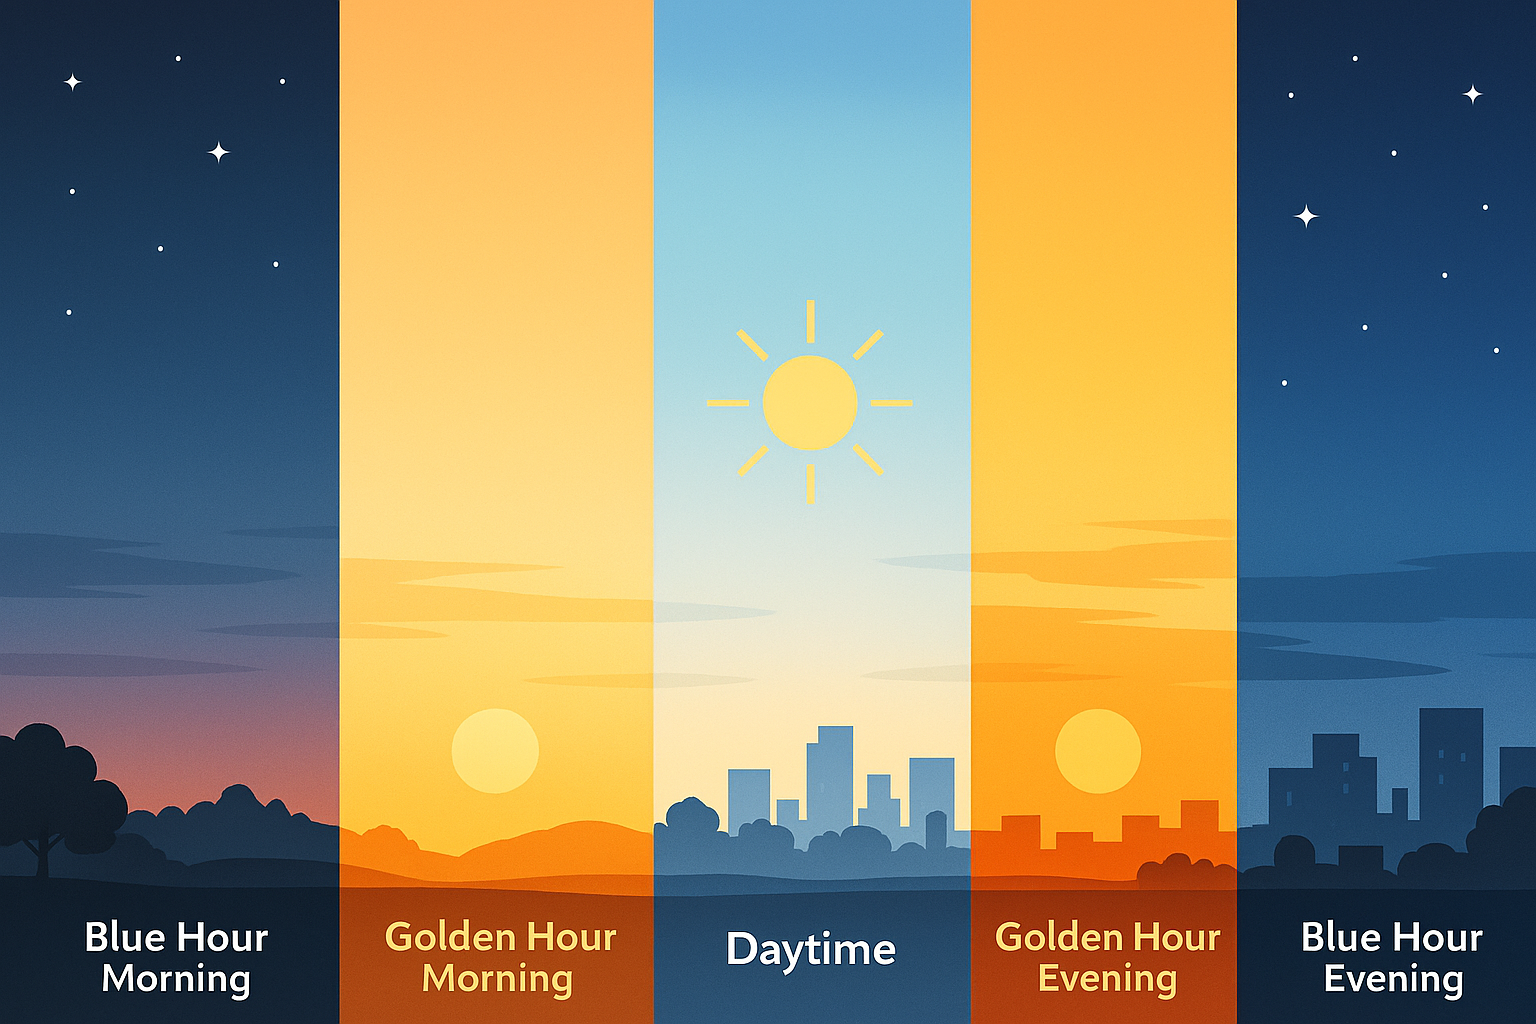
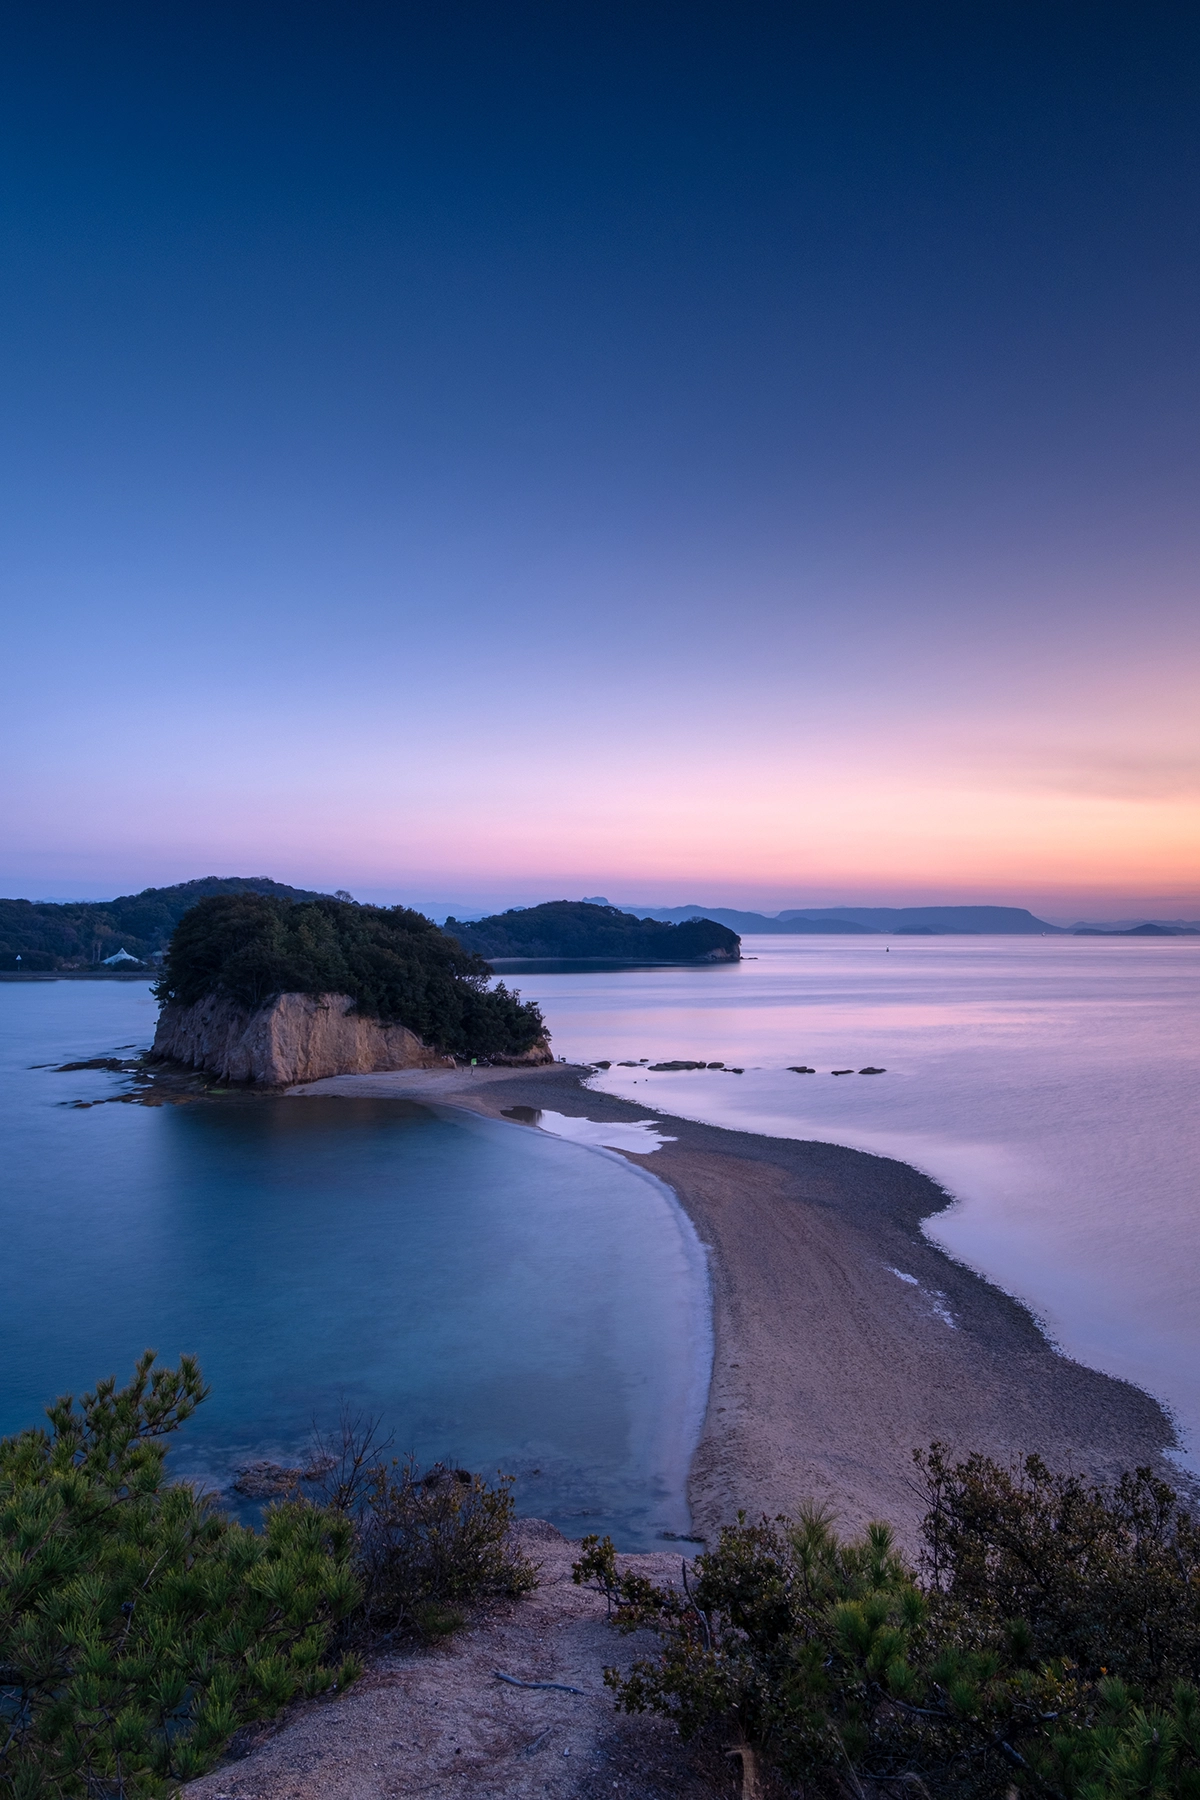
The blue hour meaning is simple: it’s the short period of twilight that occurs just before sunrise and just after sunset, when the sky takes on a rich blue hue. Unlike midday light, which can be harsh, or golden hour, which casts warm tones, blue hour light is soft, even, and cool in color temperature.
How Long Does Blue Hour Last?
Typically, blue hour lasts about 20–40 minutes, though the exact duration depends on your latitude, season, and weather. If you’ve ever wondered how long does blue hour last, the answer is—it’s brief, so preparation is key.
What Time Is Blue Hour? (Morning vs Evening)
Many beginners ask, when is blue hour or what time is blue hour. The exact blue hour time depends on your location, season, and weather conditions. In general, blue hour morning occurs just before sunrise, while blue hour evening happens just after sunset. Because this timing can shift daily, a blue hour calculator or photography app is the best way to determine the precise start and end times for your area.
Blue Hour vs Golden Hour vs Magic Hour
Golden Hour Meaning and Timing
Golden hour meaning: the period just after sunrise and before sunset when the sun casts warm, golden tones. Many beginners ask what time is golden hour, and the answer is—it depends on your location, season, and weather conditions. Typically, golden hour lasts about an hour after sunrise and an hour before sunset, providing the soft, flattering light photographers love.
Blue Hour vs Golden Hour — Key Differences
In the blue hour vs golden hour comparison:
- Golden hour gives warmth and glow
- Blue hour offers cooler, more even tones
Golden hour is ideal for portraits; blue hour excels in landscape photography.
What Is Magic Hour and How It Compares to Blue Hour
Many people ask what is magic hour. Some use it interchangeably with golden hour, while others mean the combination of golden and blue hour. In the magic hour vs blue hour discussion, both deliver magical results—it just depends on your creative goals.
Why Blue Hour Is Special for Photography

The Quality of Blue Hour Light
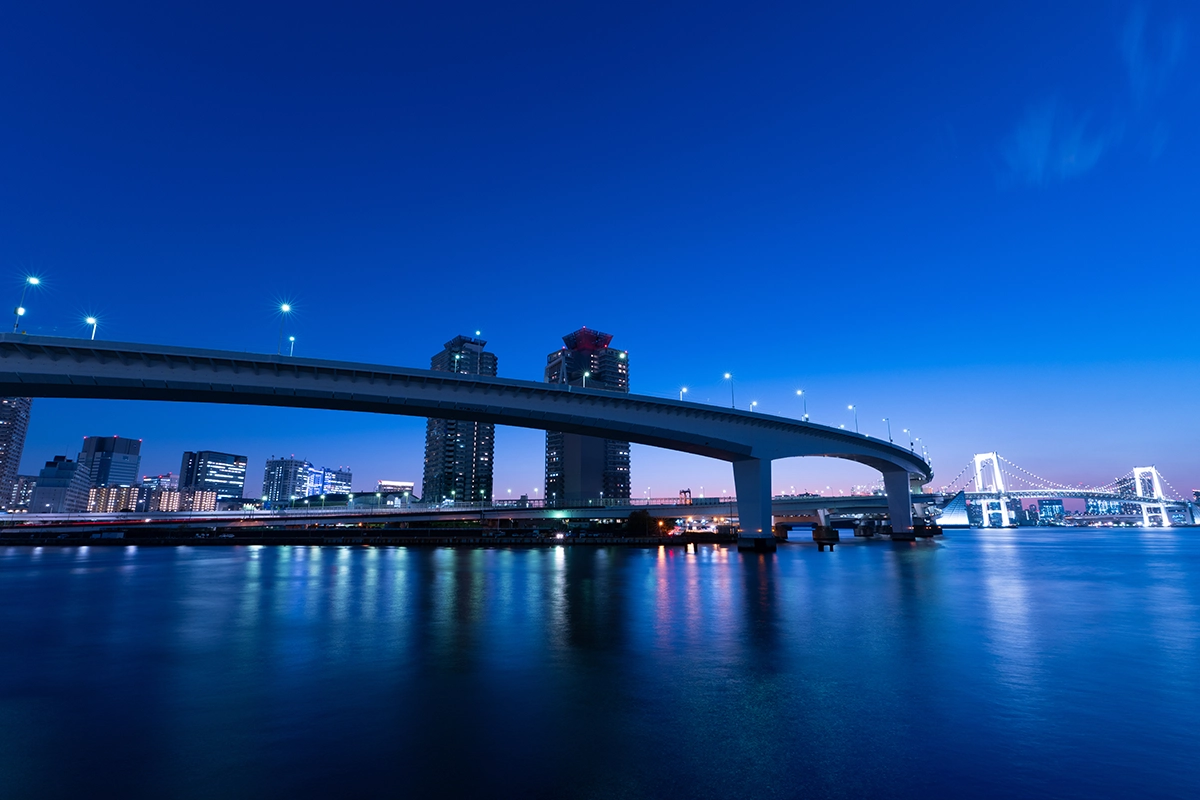
The light is cooler, softer, and beautifully balanced for capturing skies, reflections, and cityscapes. It’s perfect for highlighting architecture, landscapes, and water scenes.
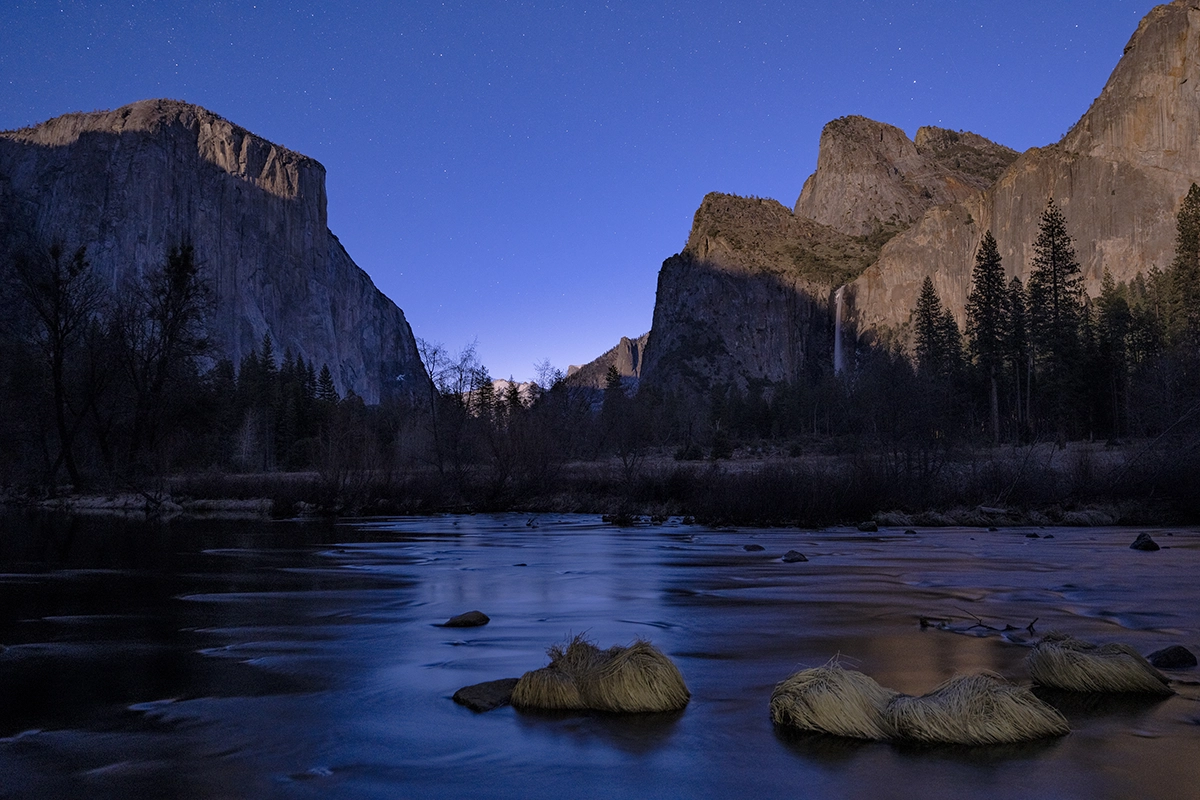
After Sunset Photography and Blue Hour Morning Scenes
After sunset photography benefits from glowing city lights against the deep blue hour sky. Meanwhile, blue hour morning scenes are calm, serene, and ideal for landscapes before the world wakes up.
Essential Blue Hour Photography Tips
TIP 1: Arrive at Your Location Early
Arrive before the hour begins to scout the best angles and compositions. Planning ahead ensures you don’t miss a moment as the blue hour light fades quickly.
TIP 2: Use Long Exposures
Longer shutter speeds are ideal for blue hour exposure settings. They gather more light and create dreamy effects like silky water or streaked clouds. Use a remote shutter or timer to prevent camera shake.
TIP 3: Blue Hour Composition Techniques
Strong blue hour composition techniques—like using leading lines, reflections, foreground elements, or symmetry —draw viewers in and make your images pop ensuring your images have depth and impact.
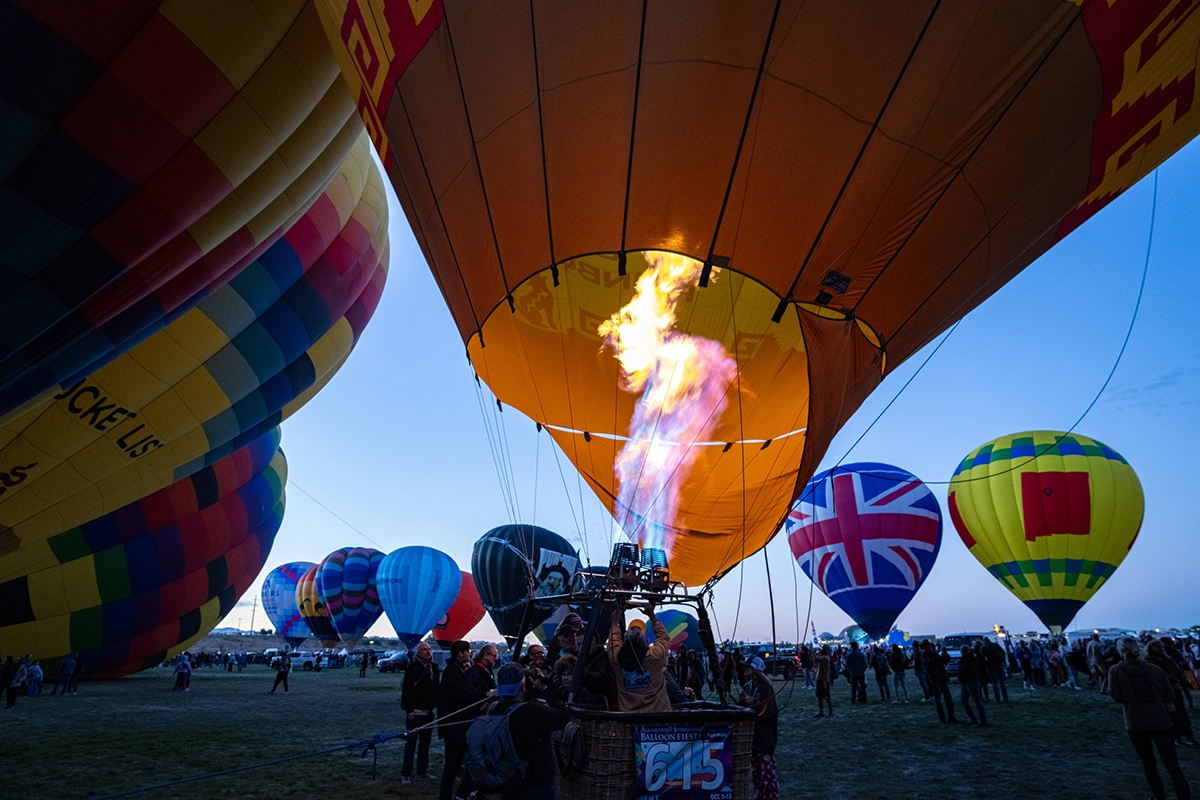
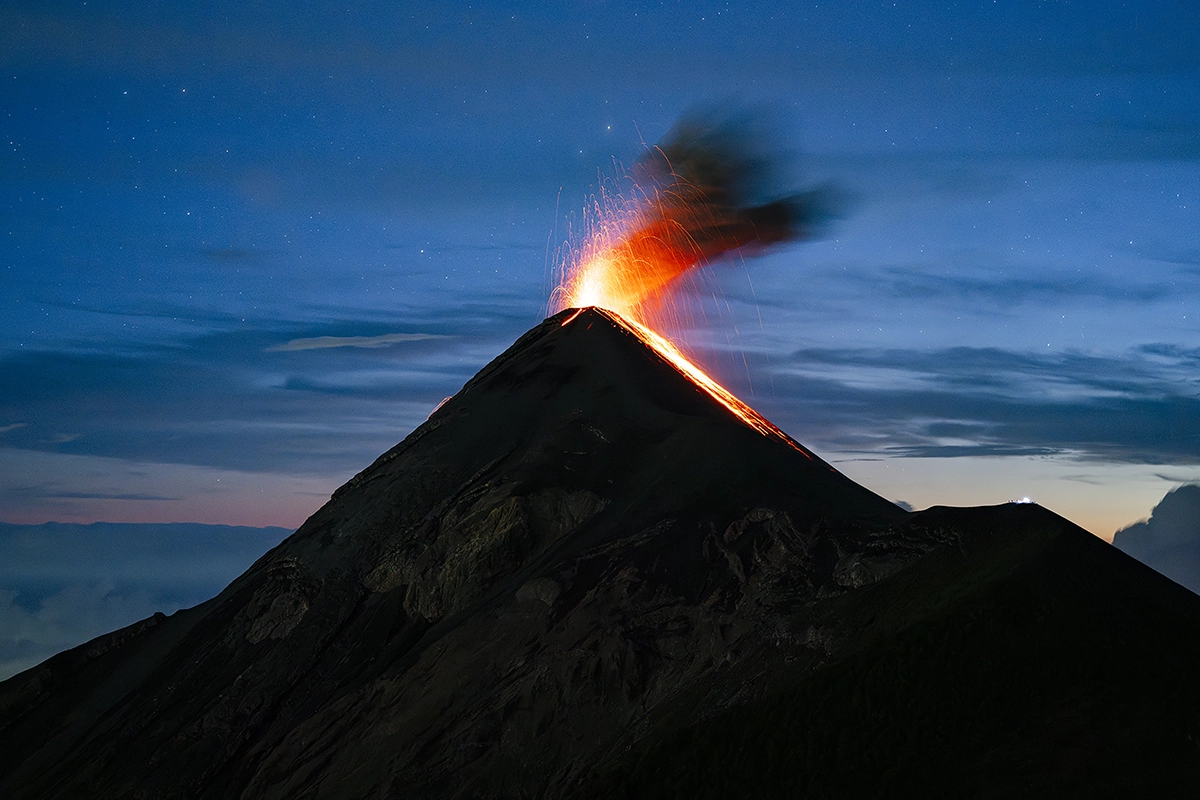
TIP 4: Include Artificial Lights
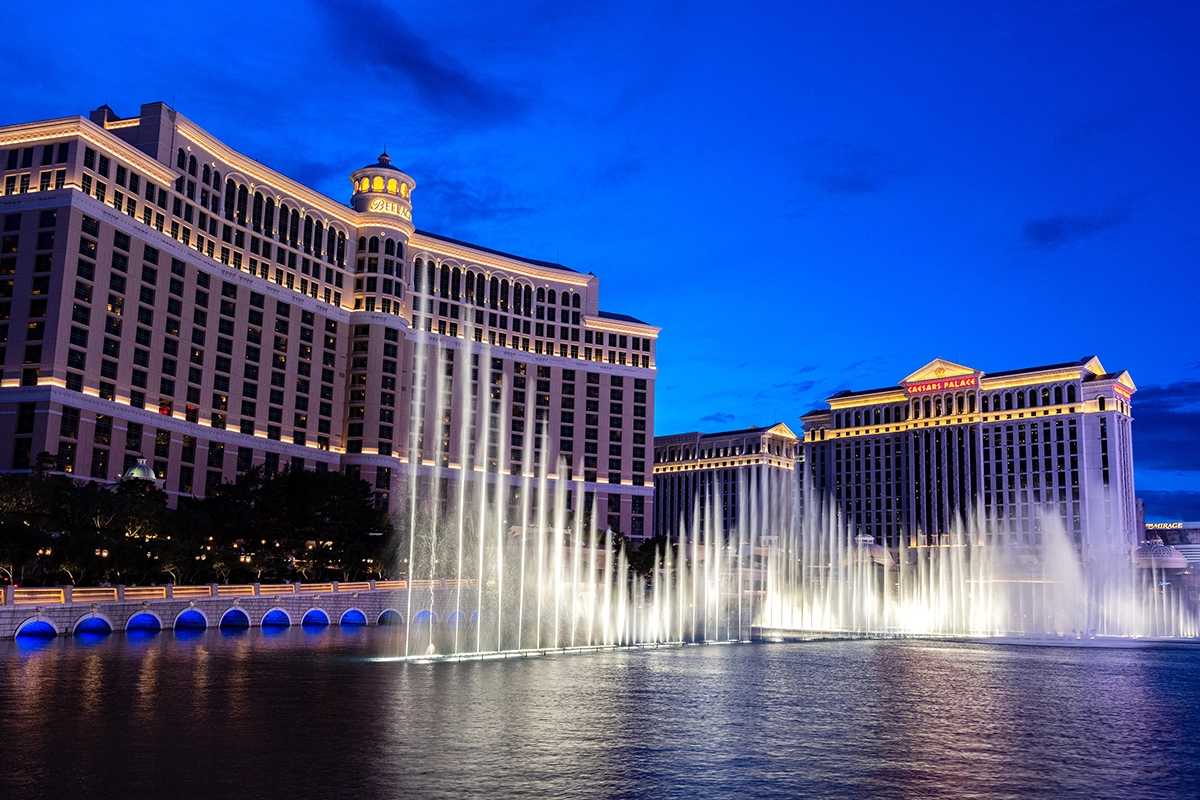
Streetlights, car trails, and illuminated buildings pop against the blue hour sky. They also add interest to your shots. Their warm glow adds contrast to the cool hues, creating beautifully balanced and dynamic images.
TIP 5: Other Gear for Blue Hour Photography: Use a Sturdy Tripod
Since blue hour photography settings often require slower shutter speeds, a sturdy tripod keeps your shots sharp and allows for creative long exposures. This makes it one of the most important pieces of gear for blue hour photography.
TIP 6: Ideas and Inspiration When Shooting Blue Hour
How to shoot blue hour is about creativity as much as technique.
- Experiment with exposure times to create different effects—from silky water to starry skies.
- Longer exposures enhance light trails and reflections.
- Also try silhouettes or contrasting warm/cool light sources.
Blue Hour Photography Settings
Recommended Blue Hour Camera Settings
For blue hour camera settings, start with ISO 100–400, aperture f/5.6–f/11 for landscapes, and long exposures to gather light. Adjust based on creative needs.
- ISO 100-400
- Aperture f/5.6 – f/11
These recommended settings for blue hour images provide a good baseline.
Blue Hour White Balance Tips
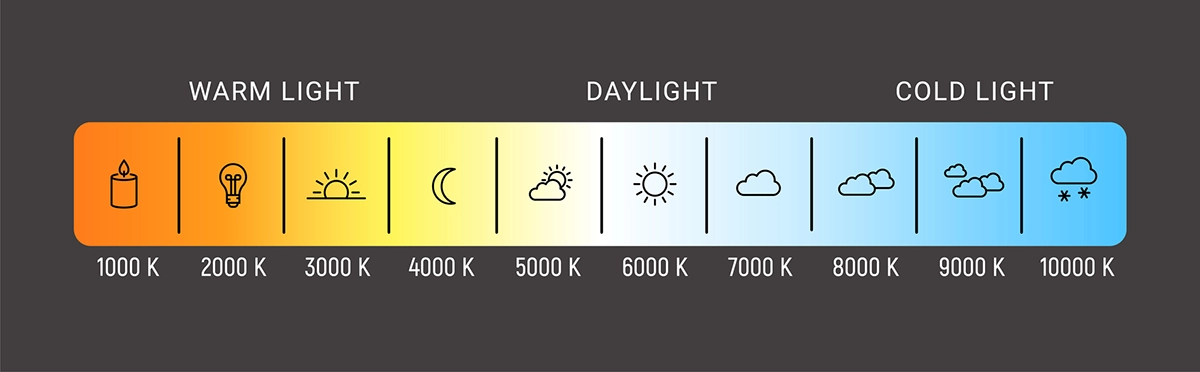
Try setting white balance manually instead of relying on auto. Cooler temperatures emphasize the natural blues, while warmer settings balance artificial lights.
- The cooler 5,000K~6,000K range emphasizes the deep blues and purples of the sky, enhancing the moody, atmospheric quality of the blue hour.
- If you move closer to 3,200K, you will add a touch of warmth, keeping city lights or skin tones from looking too cold while still preserving the blue ambiance.
Shoot in RAW Format
Shooting RAW captures more detail and flexibility than JPEGs. You’ll have greater control over blue hour white balance, exposure, and colors in editing.
Manual Focus for Precision
Autofocus can struggle in low light. Switch to manual focus, use live view, and zoom in for accuracy—especially important for wide apertures or long exposures.
These blue hour photography tips and settings will help you make the most of the fleeting twilight light.
Best Lenses for Blue Hour Photography
Choosing the right lens helps you take full advantage of twilight’s fleeting beauty. Here are some excellent Tamron blue hour lens recommendations:
For Full-Frame Mirrorless Cameras
- Tamron 16-30mm F/2.8 Di III VXD G2 (Model A064): Wide-angle with a bright f/2.8 aperture—ideal for blue hour landscape photography. For Sony E and Nikon Z.
- Tamron 17-50mm F/4 Di III VXD (Model A068): Portable, sharp, and lightweight—ideal for handheld after sunset photography. For Sony E.
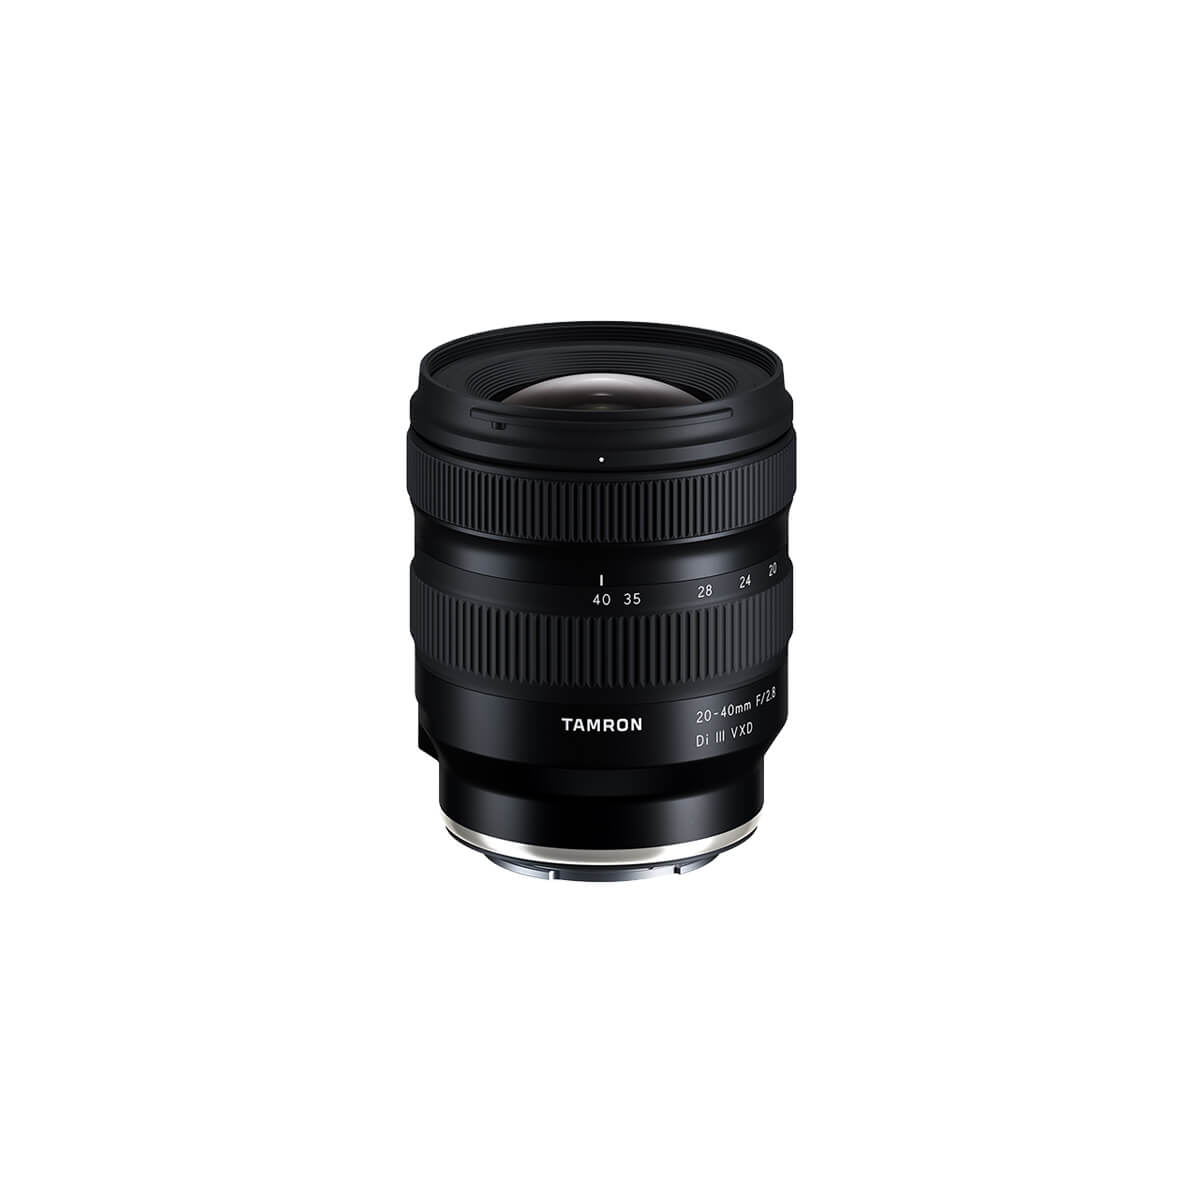
- Tamron 20-40mm F/2.8 Di III VXD (Model A062): Compact and powerful. Its focal range makes it perfect for travel, blue hour cityscapes. For Sony E.
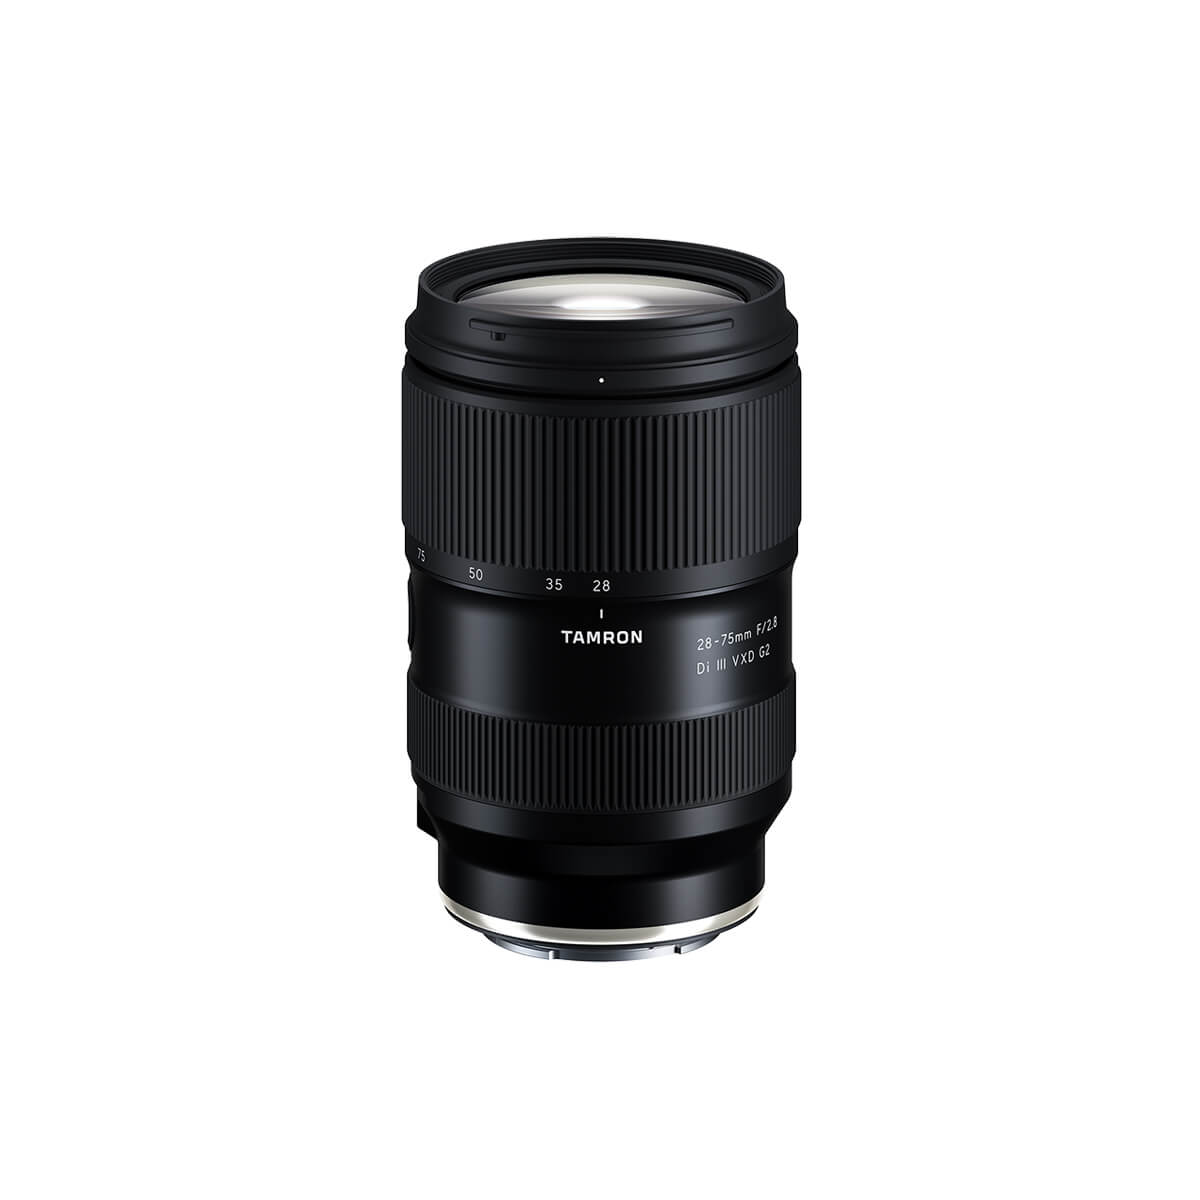
- Tamron 28-75mm F/2.8 Di III VXD G2 (Model A063): A versatile fast zoom lens with excellent sharpness and low-light performance, perfect for portraits and landscapes during twilight. For Sony E and Nikon Z.
- Tamron 28-300mm F/4-7.1 Di III VC VXD (Model A074): An all-in-one travel zoom covering wide to super-telephoto. Great for flexibility when shooting blue hour scenes that require both wide views and distant details. For Sony E.
For APS-C Mirrorless Cameras
- Tamron 11-20mm F/2.8 Di III-A RXD (Model B060): Ultra-wide, fast, and sharp—perfect for dramatic cityscapes and creative perspectives during twilight. For Sony E, Canon RF, and Fujifilm X APS-C mirrorless cameras.
- Tamron 17-70mm F/2.8 Di III-A VC RXD (Model B070): A bright, versatile zoom that excels in low light. Perfect for both portraits and landscapes during twilight. For Sony E and Fujifilm X.
- Tamron 18-300mm F/3.5-6.3 Di III-A VC VXD (Model B061): A versatile all-in-one zoom. Great for shooting blue hour when you want flexibility to capture both wide vistas and distant details. For Sony E, Canon RF, Fujifilm X, and Nikon Z.
Final Thoughts on Blue Hour Photography
The blue hour meaning in photography is more than just a time of day—it’s about using twilight’s fleeting light to create unforgettable images. Whether you’re exploring blue hour vs magic hour, planning blue hour landscape photography, or experimenting with blue hour photography tips, the secret lies in preparation, creativity, and the right gear.
With these techniques and the right Tamron lenses, you’ll be ready to capture twilight magic like never before.
Ready to give after sunset photography and blue hour landscape photography with these tips a try? Learn more about Tamron lenses perfect for blue hour photography at an authorized Tamron dealer near you or shop directly at the official TAMRON Store.
Frequently Asked Questions About Blue Hour
1. What is twilight meaning in photography?
The twilight meaning refers to the period after sunset and before sunrise when the sun is just below the horizon. It’s divided into civil, nautical, and astronomical twilight. The blue hour happens during civil twilight, when the sky glows with rich blue tones.
2. How long does blue hour last?
Blue hour typically lasts between 20–40 minutes, depending on your location, season, and weather conditions. Closer to the equator, it may be shorter, while higher latitudes experience longer blue hours.
3. What time is blue hour?
Blue hour morning occurs just before sunrise, and blue hour evening happens right after sunset. A blue hour calculator or photography app can give you exact times based on your location.
4. What is the difference between blue hour and golden hour?
In the blue hour vs golden hour comparison, golden hour produces warm, golden tones perfect for portraits, while blue hour creates cooler, even light that works beautifully for cityscapes, landscapes, and after sunset photography.
5. What are the best camera settings for blue hour?
Start with ISO 100–400, aperture f/5.6–f/11 for landscapes and longer shutter speeds to gather light. Adjust exposure and white balance depending on your creative vision.