Instant Savings
 Support
 Find a Dealer
Panning photography is a dynamic technique that gives your images a powerful sense of motion. By tracking a moving subject and creating background blur, a panning shot captures both speed and direction. While it may seem challenging at first, learning the right camera panning techniques and settings can transform your photos into vivid works of art.
What You’ll Learn In This Article:
- What panning is and how it creates motion blur
- Ideal shutter speeds and camera settings for panning
- How to hold and move your camera for sharper panning shots
- Tips for shooting different subjects like cars, sports, and animals
- Recommended Tamron lenses for stunning panning results
What is Panning in Photography?
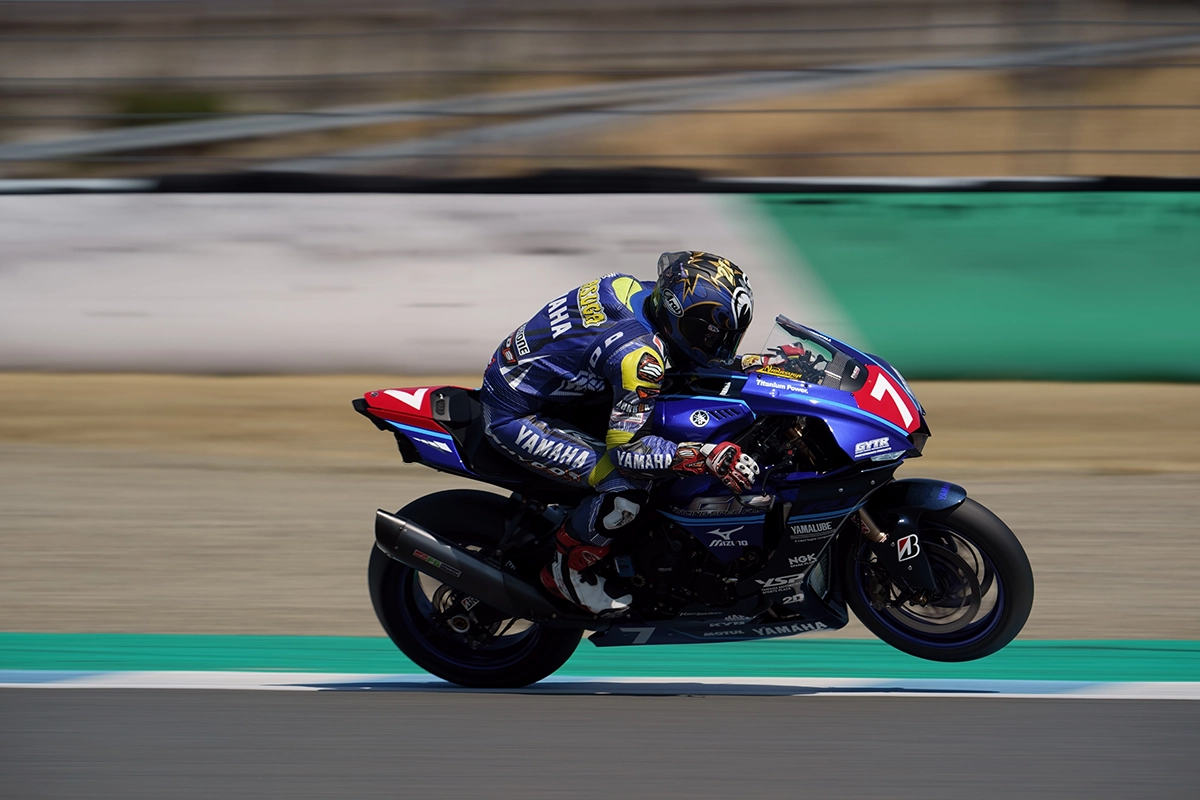
Panning definition: Panning in photography means following a moving subject with your camera so that the subject remains sharp while the background blurs. This panning effect conveys a strong sense of speed and energy — the hallmark of motion blur photography or blurred motion photography.
To achieve it, you move your camera smoothly at the same speed as the subject while releasing the shutter. Panning camera movement works best for subjects moving in predictable directions, such as cars, trains, runners, cyclists, or animals.
3 Reasons Why Panning Shots Fails
If your panning photo didn’t turn out as expected, you’re not alone. Beginners often struggle with panning photography settings, stability, or focus.
1. Incorrect Shutter Speed
Your panning shutter speed determines how much motion blur you capture. Too slow, and both background and subject blur; too fast, and you lose the effect.
- Start between 1/60 and 1/125 sec for best results.
- As you improve, experiment with slower speeds like 1/30 sec for stronger motion blur.
2. Unsteady Camera Movement
- Avoid moving the camera only with your wrists — this causes jerky results.
- Instead, rotate your entire upper body around your core for smooth, steady panning camera movement.
- Try using a monopod for extra stability.
3. Missed Focus
- Use continuous autofocus (AF-C) to track your subject.
- Choose Zone or Flexible Spot AF and focus on key details, such as a car’s headlights or a runner’s face.
How to Take a Panning Photo: 8 Key Tips

1. Use Shutter Priority or Manual Mode
For beginners, Shutter Priority (S or Tv) mode is ideal — you control the shutter speed, and the camera adjusts aperture. As you gain confidence, switch to Manual for full creative control.
2. Start Around 1/60 Second
Your shutter speed defines how “fast” or “flowing” the motion looks.
- Start around 1/60 sec.
- Then slow down to 1/30 sec or 1/15 sec for more dramatic motion.
3. Check Aperture and ISO
- Aperture (F-stop): F8–F11 for balanced sharpness and background blur.
- ISO: Keep around ISO 100–400 in bright light; raise if needed.
- Prevent Overexposure: Use an ND filter in bright conditions to prevent overexposure.
4. Use Continuous Autofocus
- Continuous AF helps maintain focus while tracking motion.
- Avoid eye-AF for panning; moving backgrounds may confuse the camera.
5. Shoot in Burst Mode (Continuous Shot)

Take multiple shots while following your subject in high or low burst mode. Begin pressing the shutter just before the subject enters your frame and continue through its motion.
6. Maintain Proper Form
- Stand firmly with your feet shoulder-width apart, elbows close to your body, and the viewfinder pressed lightly against your forehead.
- Rotate from your waist for smooth camera panning motion.
- Continue following the subject after pressing the shutter — this follow-through improves stability.
7. Compose and Anticipate
Consider the composition in advance, anticipating the moment the subject will pass by. Choose a background that enhances the panning effect — textured patterns like trees or cityscapes emphasize motion, while plain skies can look flat.
Observe lighting:
- Front light brings out color and texture.
- Backlight enhances silhouettes and drama.
8. Use a Monopod for Stability
If you’re shooting with a long or heavy lens, a monopod helps minimize vertical shake while allowing horizontal freedom. Keep it slightly lifted instead of pressing it into the ground for smooth tracking.
Panning Tips for 5 Different Subjects
Panning is a photography technique that can be used in a variety of scenes. Here are some tips for shooting five subject types.
1. Sports
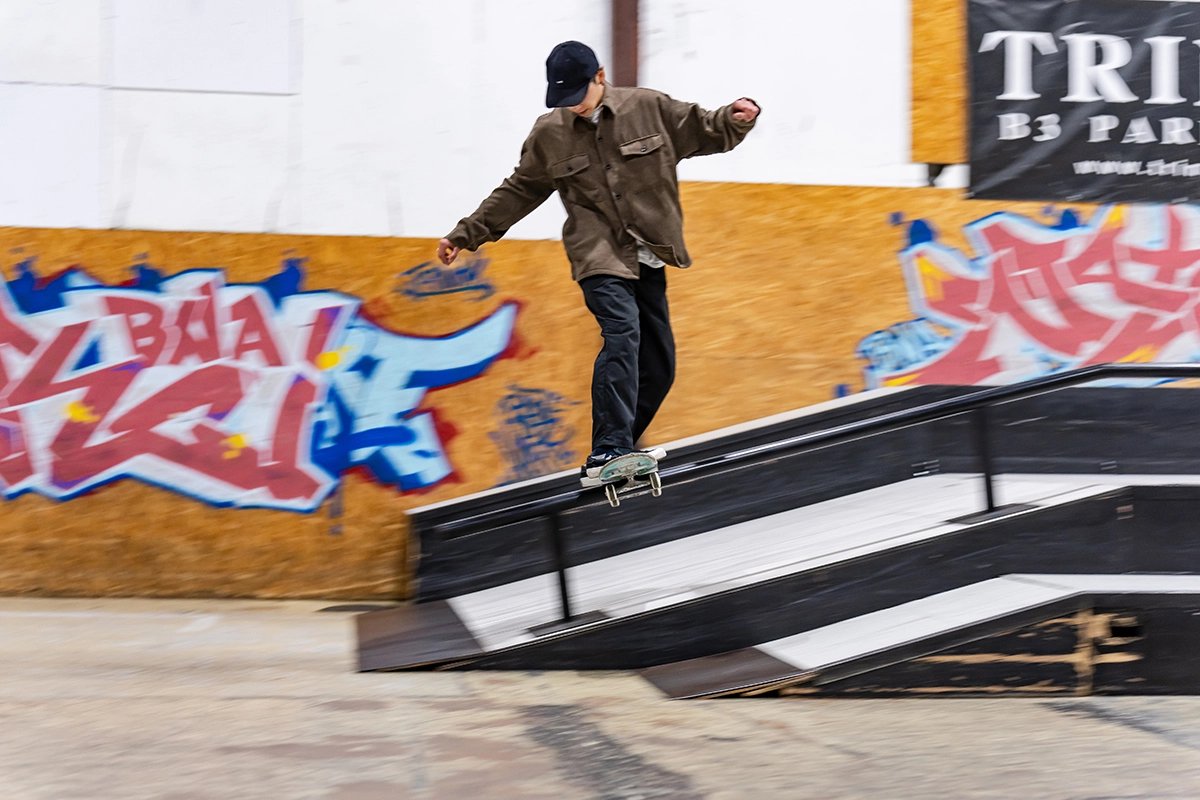
Sports offer ideal conditions for panning shots because athletes move predictably. Try 1/60–1/125 sec, anticipate their motion, and start shooting slightly before they enter the frame.
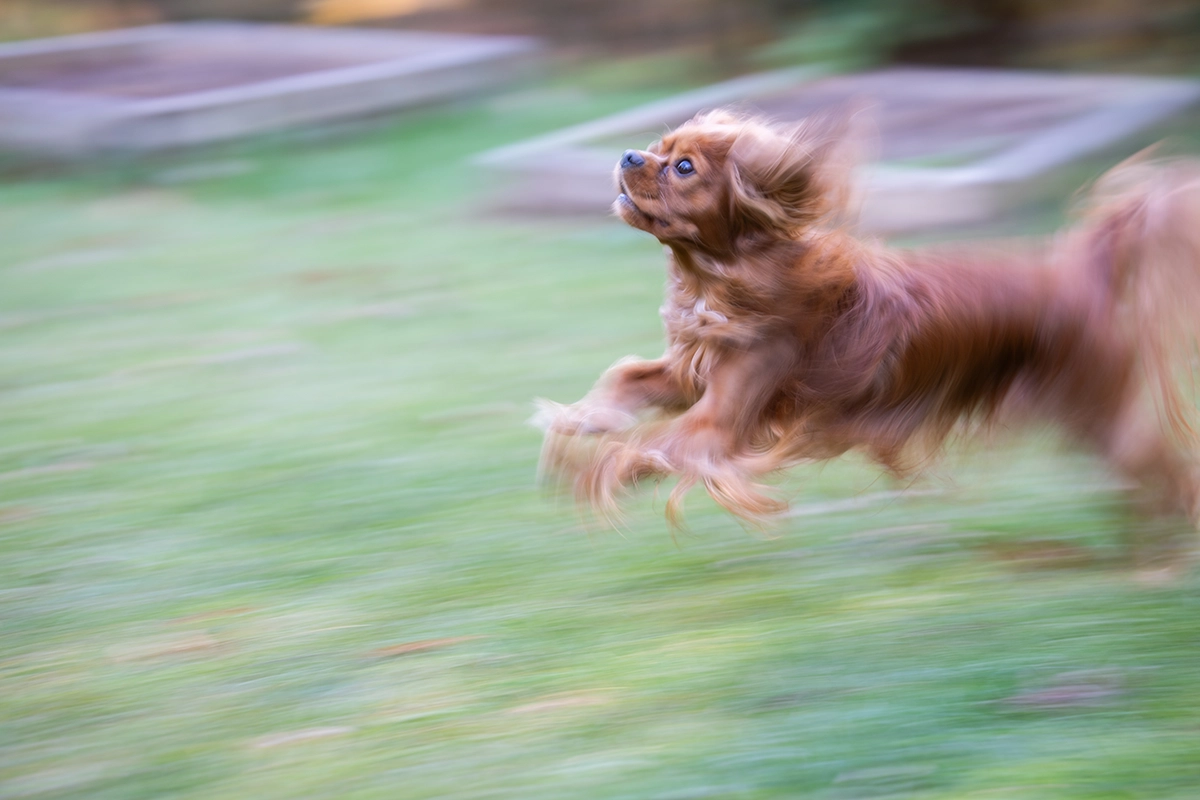
2. Children

Kids’ movements can be erratic, so pick predictable moments — swings, bikes, or slides. Try 1/60 sec and get to their eye level for emotional impact.
3. Trains
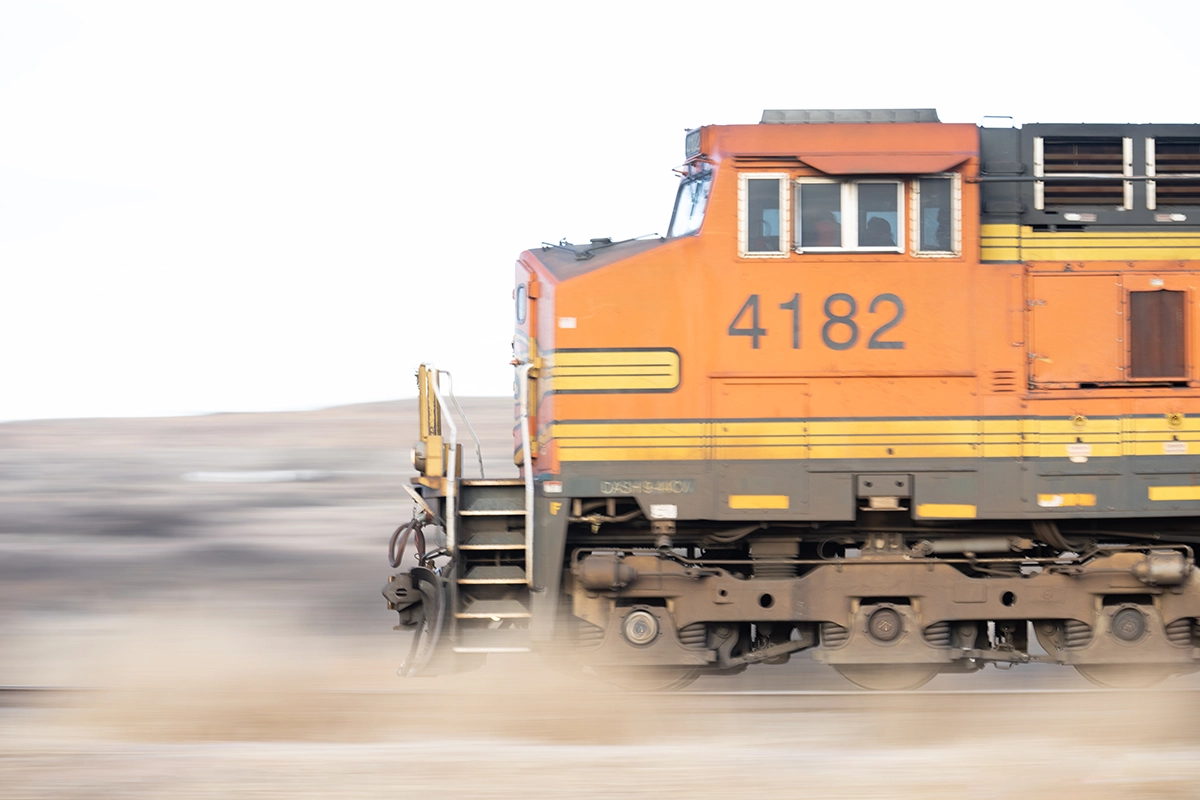
Trains are perfect for practice — consistent speed and direction. Use 1/30–1/125 sec depending on speed and distance. Track steadily, focus on the front car, and continue panning after it passes.
4. Motorsports
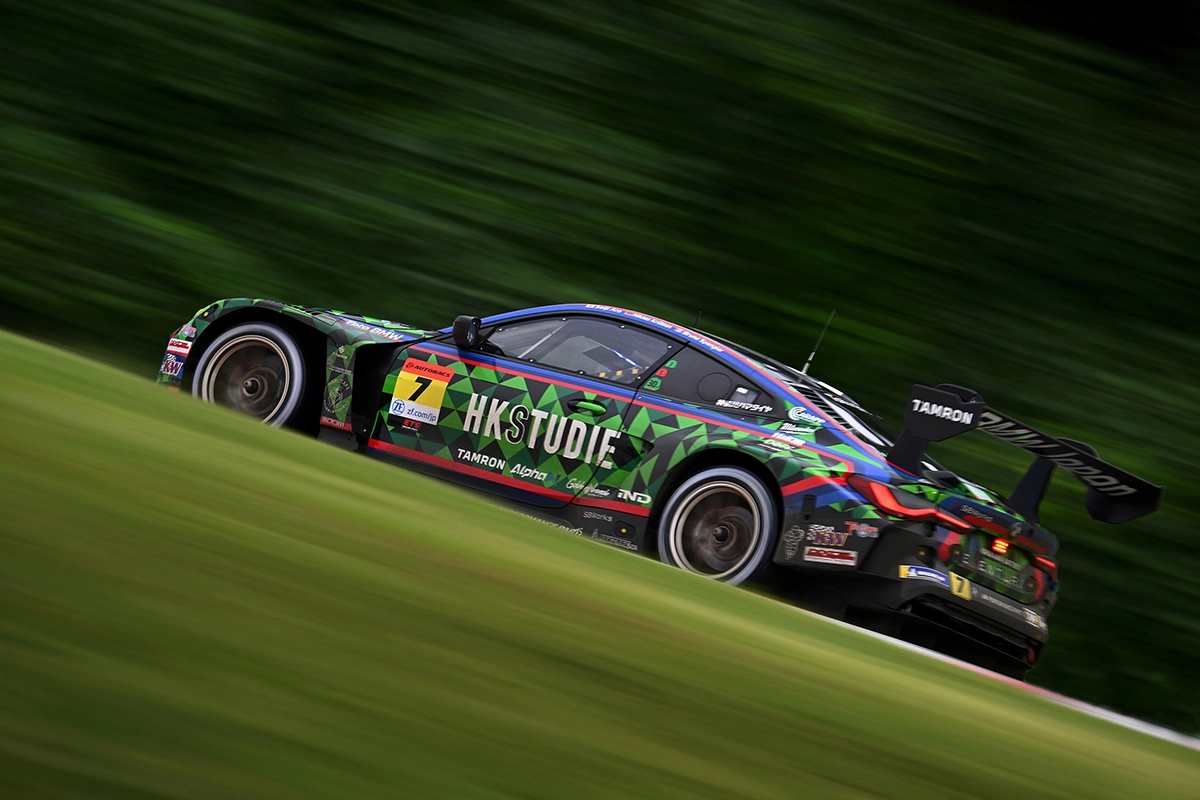
Race cars require precision. Start at 1/125 sec, then slow to 1/60 sec for stronger motion. Corners are great spots where cars slow slightly. Keep your arms close and rotate from your waist for fluid movement.
5. Animals
Wildlife adds unpredictability, but a zoo offers manageable practice. Use 1/60–1/125 sec, a telephoto lens, and a monopod for balance. Learn animal behavior to anticipate movement.
How to Choose the Right Lens for Panning Photography
Here are 5 features to consider when choosing a lens for panning.
- Focal Length: Match focal length to subject distance:
- Telephoto (200mm+) for wildlife and motorsports.
- Standard zoom (~50mm) for city scenes and close subjects.
- Maximum Aperture: A wide aperture (like F2.8) keeps subjects bright and sharp while isolating them from the background.
- Weight and Handling: Lighter, more compact lenses allow smoother tracking. Use a monopod for heavier telephotos.
- AF Speed: Choose lenses with fast, accurate autofocus to track subjects effectively. Quiet AF is useful for animals or sensitive environments.
- Image Stabilization: Lenses with VC (Vibration Compensation) or panning mode stabilization help reduce vertical shake while allowing horizontal motion.
Top Tamron Lenses Recommended for Panning
Tamron lenses are lightweight, compact, and feature high resolution. Their excellent AF tracking performance allows you to capture moving subjects without blur.
Standard Zooms
- 28-75mm F/2.8 Di III VXD G2 for Sony E and Nikon Z
- 35-150mm F/2-2.8 Di III VXD for Sony E and Nikon Z
- 17-70mm F/2.8 Di III-A VC VXD for Sony E, Canon RF, and Fujifilm X
Telephoto Zooms
- 50-400mm F/4.5-6.3 Di III VC VXD for Sony E and Nikon Z
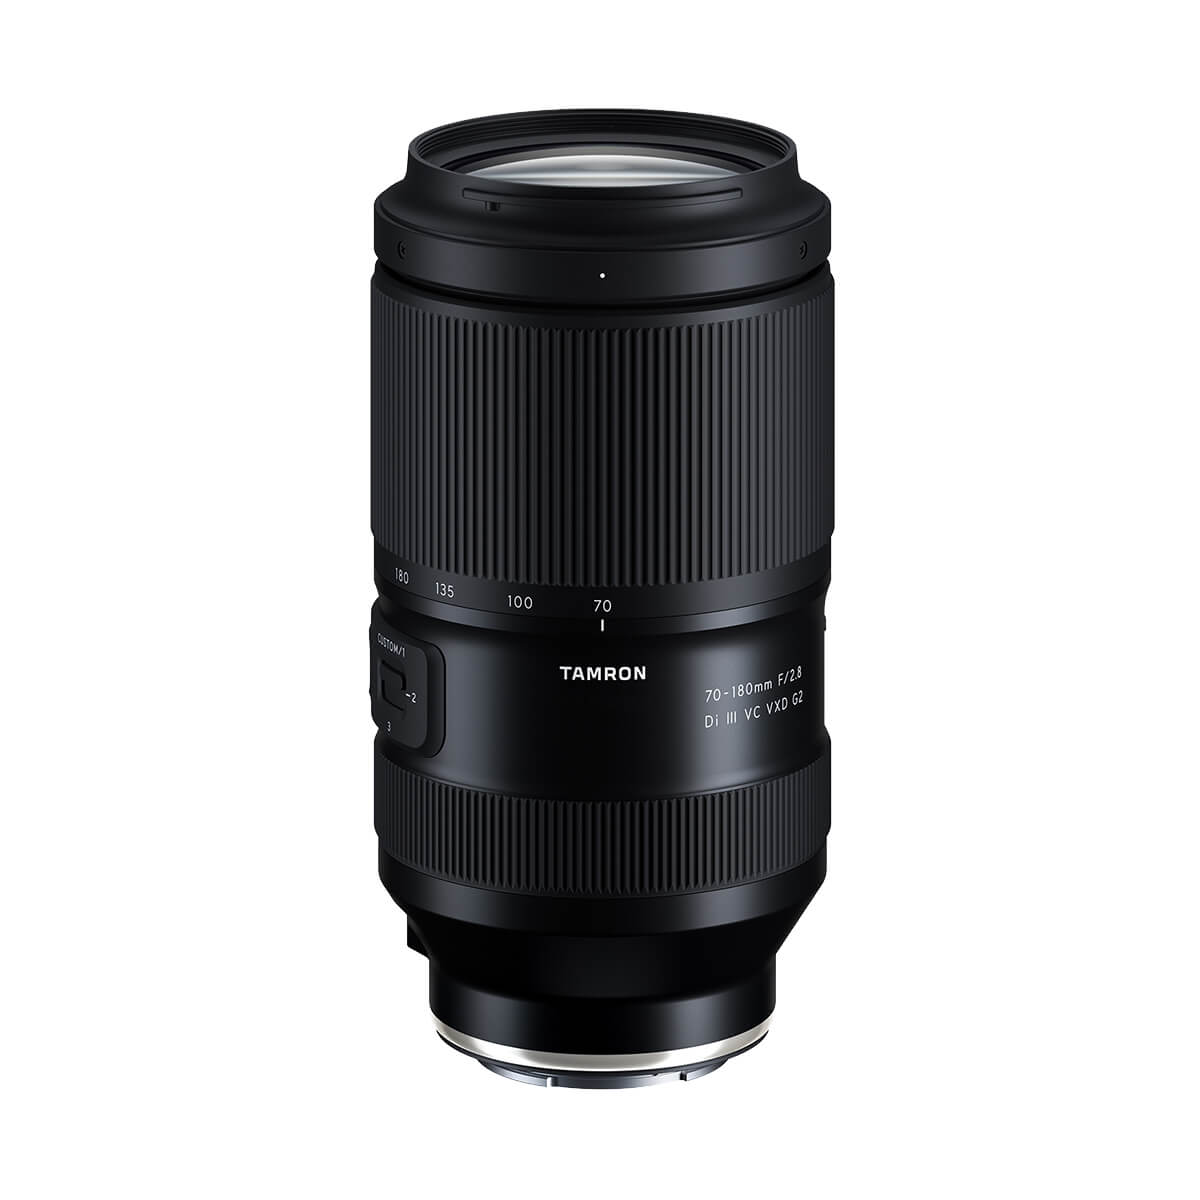
- 70-180mm F/2.8 Di III VC VXD G2 for Sony E and Nikon Z
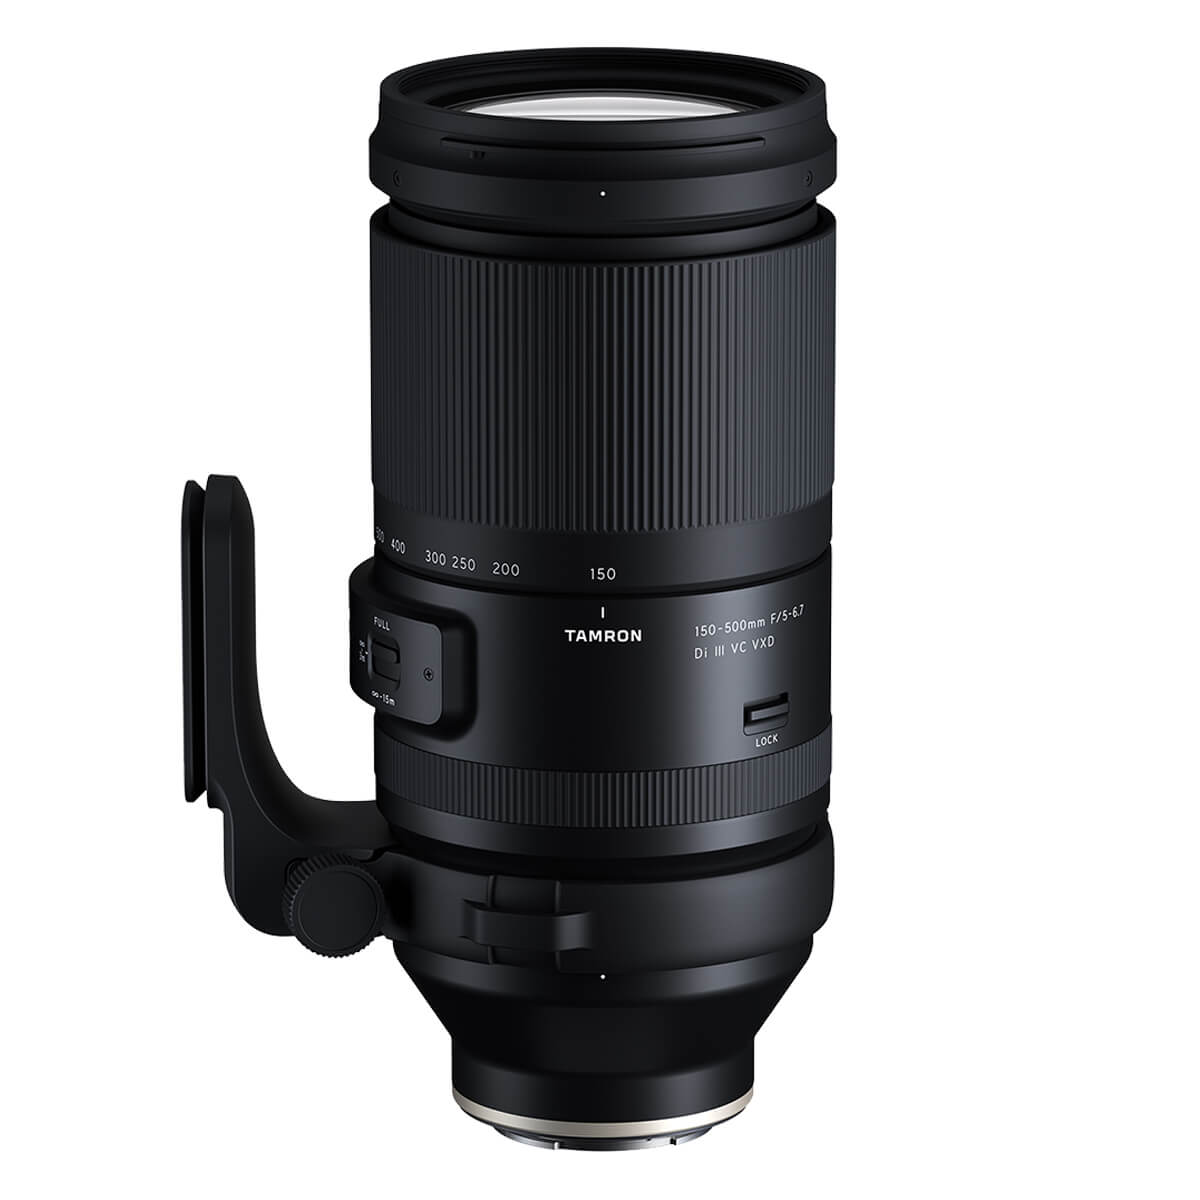
- 150-500mm F/5-6.7 Di III VC VXD for Sony E, Fujifilm X, and Nikon Z
All-In-One Zooms
- 25-200mm F/2.8-5.6 Di III VXD G2 for Sony E
- 28-300mm F/4-7.1 Di III VXD for Sony E
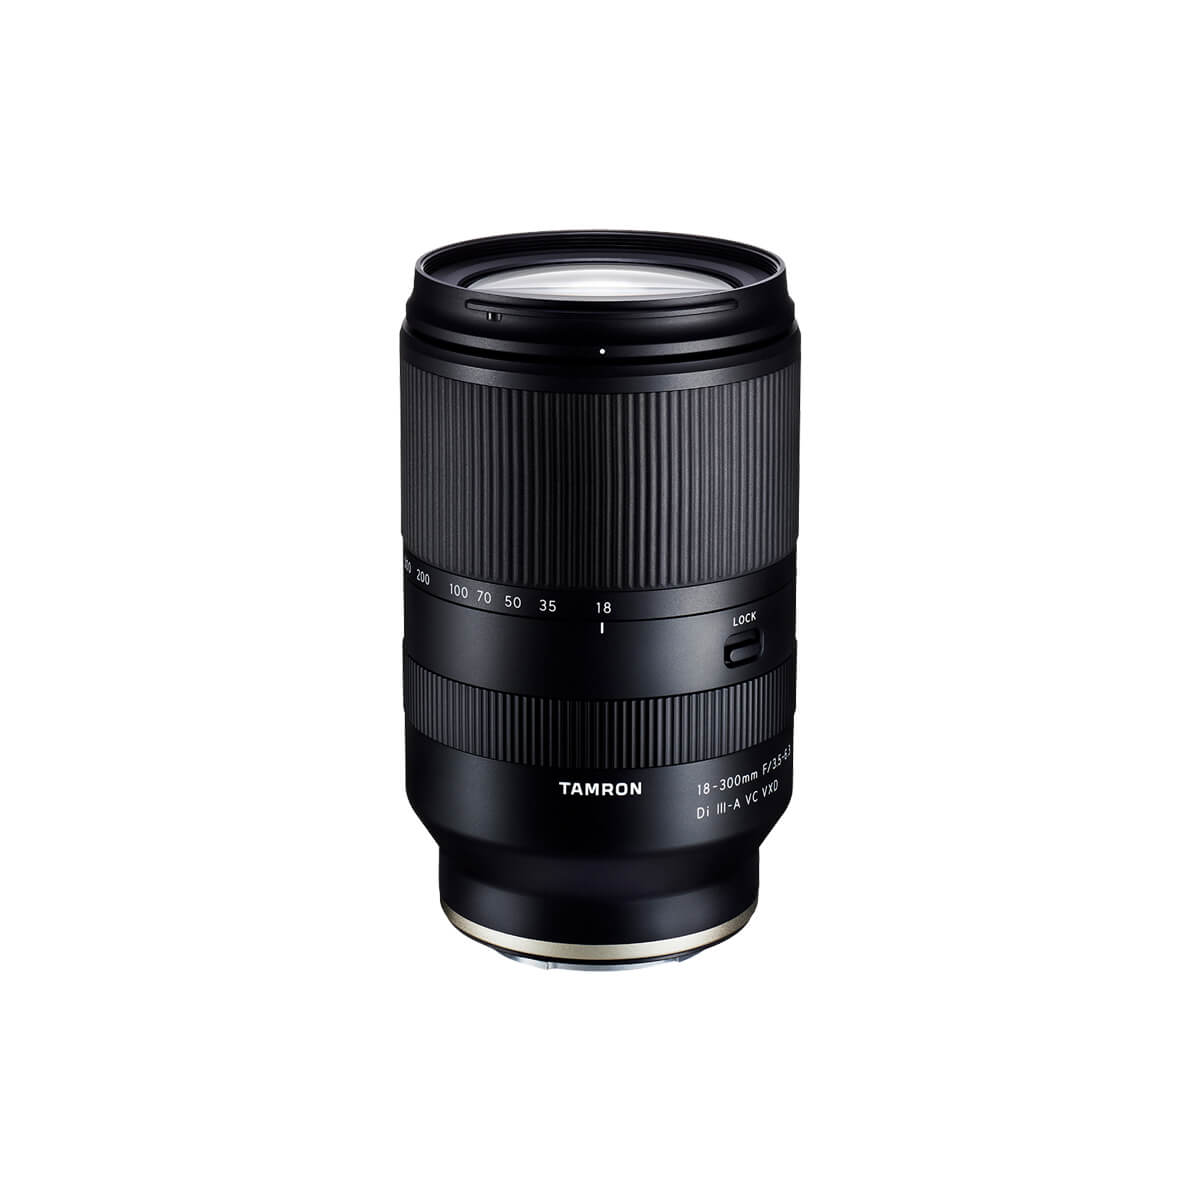
- 18-300mm F/3.5-6.3 Di III-A VC VXD for Sony E, Canon RF, Fujifilm X, and Nikon Z
Prime Lenses
- 90mm F/2.8 Di III MACRO VXD for Sony E and Nikon Z
All Tamron lenses feature moisture resistant construction, fluorine coating on the front element, and carry a six-year warranty with lots of perks.
Conclusion: Expand Your Creative Vision With Panning
Mastering panning takes patience and practice, but it opens new creative possibilities. Experiment with shutter speed, form, and composition until you capture that perfect sense of motion.
Explore more at an authorized Tamron dealer near you or shop directly at the official TAMRON Store.
Frequently Asked Questions About Panning Photography
1. What is panning in photography?
Panning is a technique where you move your camera along with a moving subject, creating a sharp subject and a blurred background that shows motion.
2. What is a panning shot?
A panning shot captures a subject in motion with a streaked background, emphasizing speed and direction.
3. How do I take a panning photo?
Use a slow shutter speed (1/60 sec), continuous AF, and follow the subject smoothly through the frame.
4. What shutter speed should I use for panning?
Start with 1/60–1/125 sec. Slow down gradually as you get more control.
5. What are the best panning photography settings?
Shutter Priority mode, ISO 100–400, F8–F11, continuous AF, and burst shooting mode.
6. How can I improve my camera panning technique?
Rotate from your waist, keep elbows tight, and follow through after pressing the shutter.
7. What is the difference between panning and motion blur photography?
Panning creates background motion blur while keeping the subject sharp; general motion blur photography may blur the subject itself.
8. What lenses are best for panning?
Fast-focusing zooms or telephotos like the Tamron 150-500mm F5-6.7 or 35-150mm F2-2.8 are ideal for flexibility and clarity.