 Instant Savings
 Support
 Find a Dealer
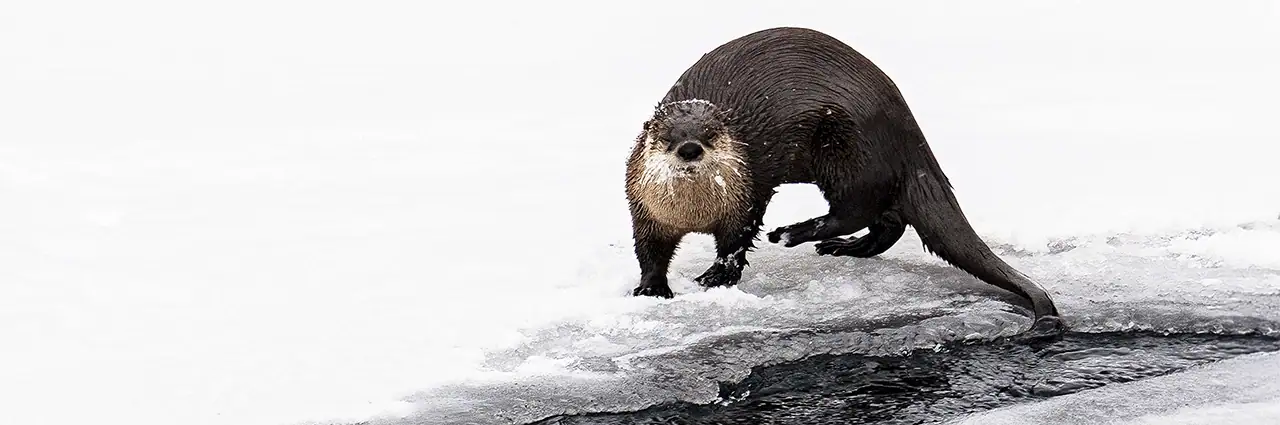
Photographing wildlife during winter offers unique challenges and rewards, whether you’re braving icy landscapes or exploring sun-drenched habitats. In cold weather, snow and frost create dramatic backdrops that highlight animal adaptations for survival. In warmer regions, wildlife photographers find a different kind of magic—where animals stay active and landscapes remain vibrant.
Each environment demands careful preparation, from protecting your wildlife photography gear to understanding animal behavior in different climates. Mastering these wildlife photography techniques not only improves your technical skills but also allows you to create images that tell a powerful seasonal story. With the right knowledge and patience, these winter wildlife photography tips can help you consistently capture stronger images in cold weather conditions.
If you’re new to the genre, reviewing foundational wildlife photography tips can help you build confidence before heading out into winter conditions.
By Guest Contributor Ken Hubbard
What You’ll Learn in This Blog Post:
By the end of this guide, you’ll know how to:
- Plan your winter shoot by researching active wildlife and seasonal behaviors
- Master the best wildlife photography settings for different lighting and environments
- Choose reliable and versatile wildlife photography gear for cold or warm climates
- Apply practical wildlife photography tips for beginners that improve results instantly
- Capture animals in their natural winter habitats while maintaining respect and safety
Top Winter Wildlife Photography Tips
TIP 1. Research What Animals Will Be Visible
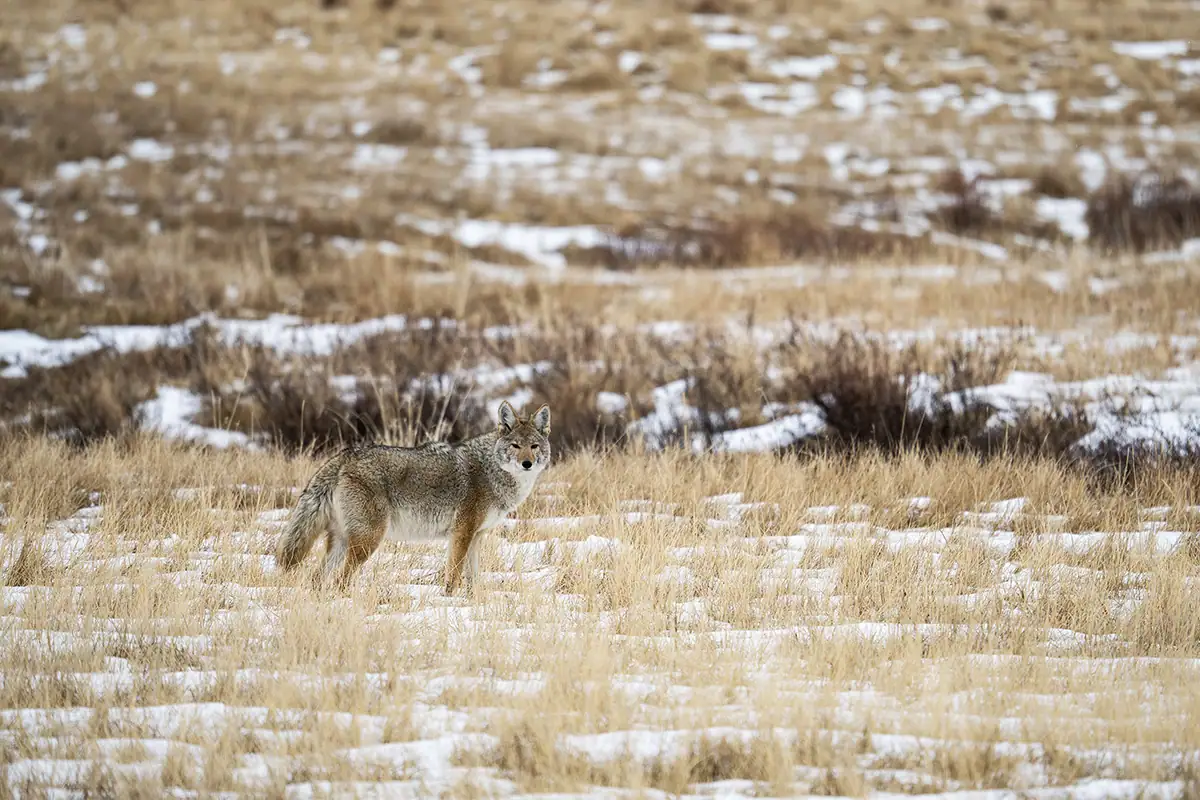
Before heading out, whether to a snowy national park or a warm coastal refuge, do your research. Learn which animals will be active during your visit. Many species, like bears, hibernate, while others—such as birds and elk—migrate. Understanding what’s around and when ensures you’re in the right place at the right time for exceptional images.
In snowy environments, learning to spot animal tracks in snow is one of the easiest ways to locate wildlife activity and understand where animals are moving across the landscape.
TIP 2. Look for Seasonal Interactions
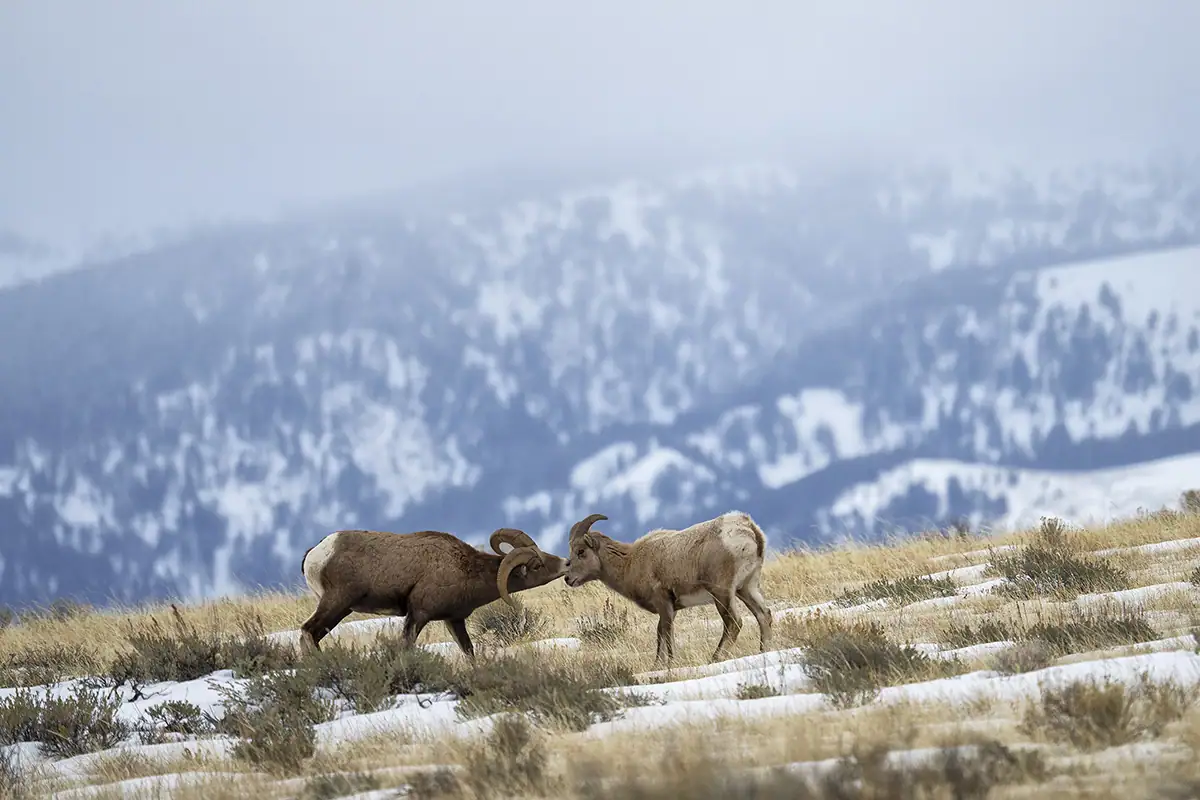
Great wildlife photographers know that timing is everything. Study animal habits—mating seasons, feeding schedules, and migration times—to anticipate activity. When you understand wildlife behavior, you can set up your shot rather than chase it. This preparation leads to more authentic storytelling in your wildlife photography.
TIP 3. Practice Before You Go
Preparation is key for wildlife photography beginners.
- Practice using your gear at local zoos or sanctuaries before venturing into the wild.
- Familiarize yourself with autofocus and exposure modes.
- Learn how your telephoto lens performs in different lighting.
Now, when an animal appears for just a few seconds, you’re ready to capture the moment with precision.
TIP 4. Use a Long Telephoto Lens
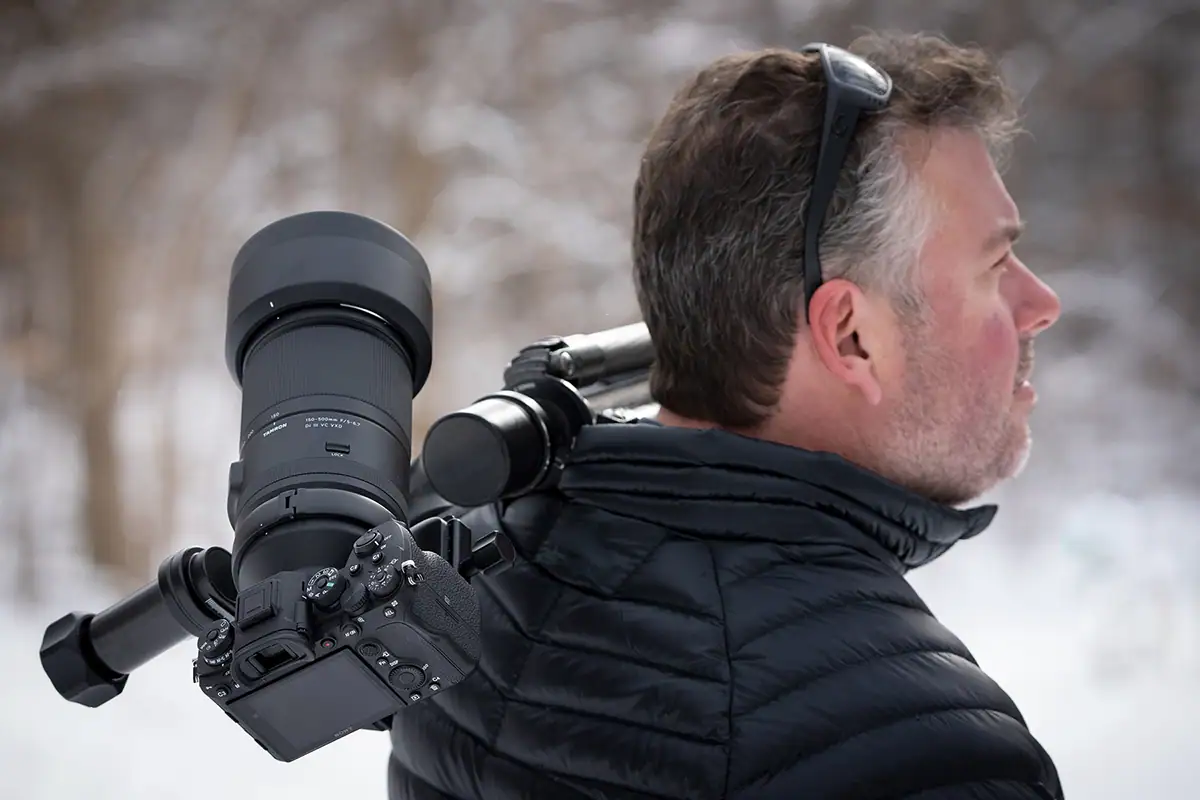
Every wildlife photographer relies on a good telephoto lens. Long focal lengths like those found in the Tamron 150-500mm or Tamron 50-400mm let you keep a safe distance while filling the frame with detail. Both of these Tamron lenses are excellent options for winter wildlife photography, offering advanced optics, dependable image stabilization, and durable, weather-sealed designs.
TIP 5. Look for the Good Light
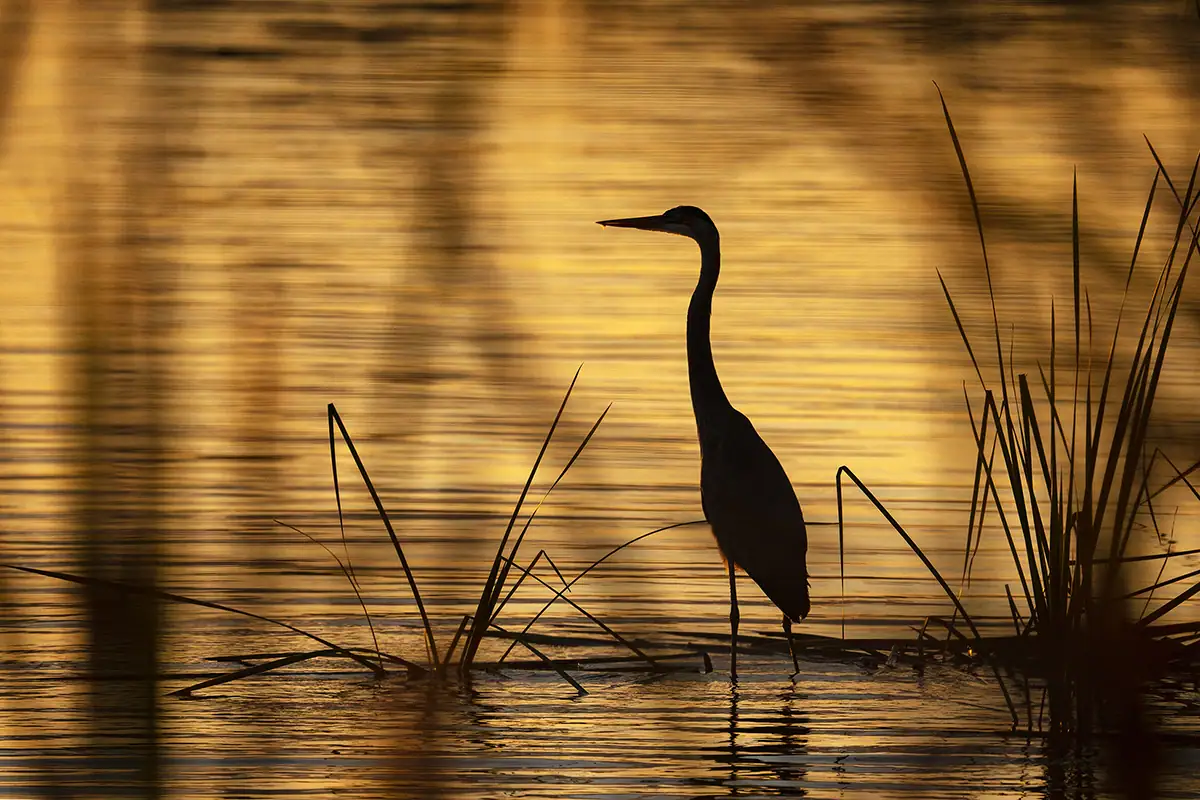
Lighting can make or break any photo. Wildlife is most active during the golden hours—just after sunrise and before sunset—when soft, warm tones enhance fur textures and snow reflections.
Try these wildlife photography techniques:
- Backlighting birds for glowing silhouettes.
- Use low-angle light to highlight patterns in frosty landscapes.
These moments elevate your wildlife photography to professional quality.
TIP 6. Capture Wildlife in Their Element
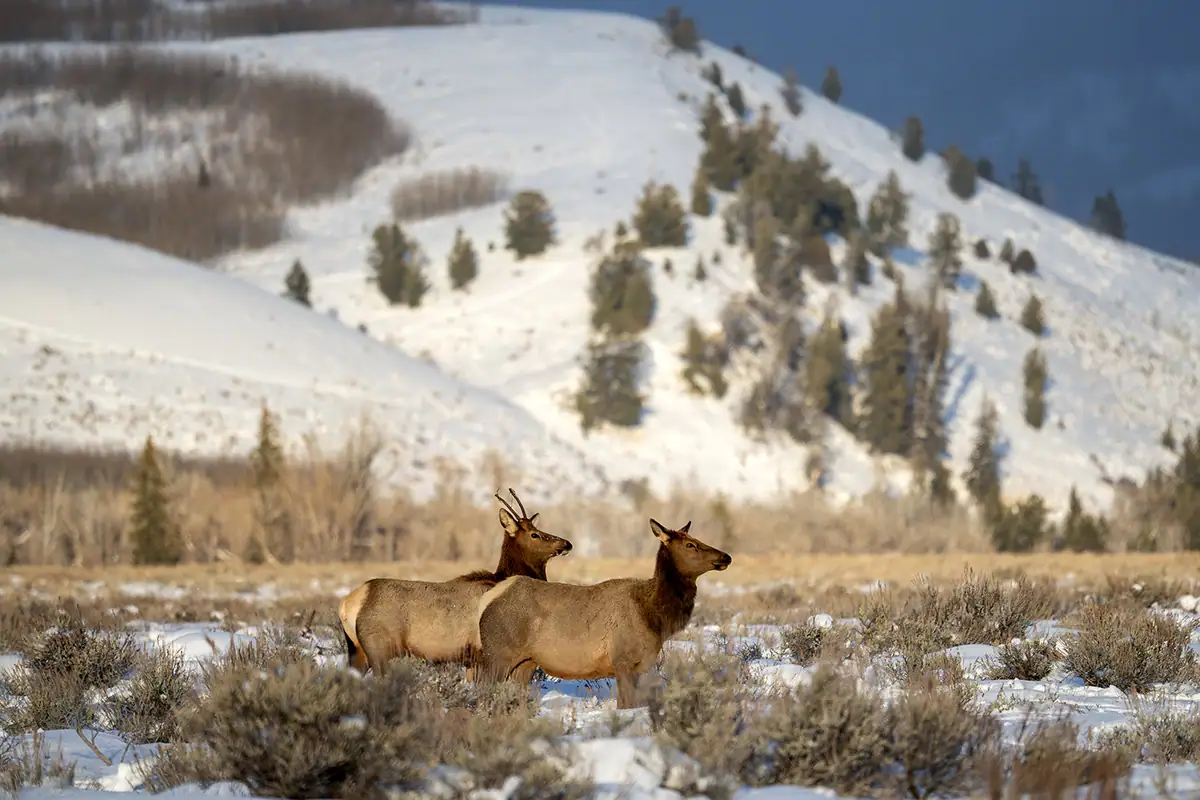
While close-ups are powerful, don’t forget to pull back. Showing animals in their surroundings adds context and emotion. Incorporate trees, snowdrifts, or reflections to tell a richer story. This is one of the most effective wildlife photography techniques for turning simple portraits into environmental narratives.
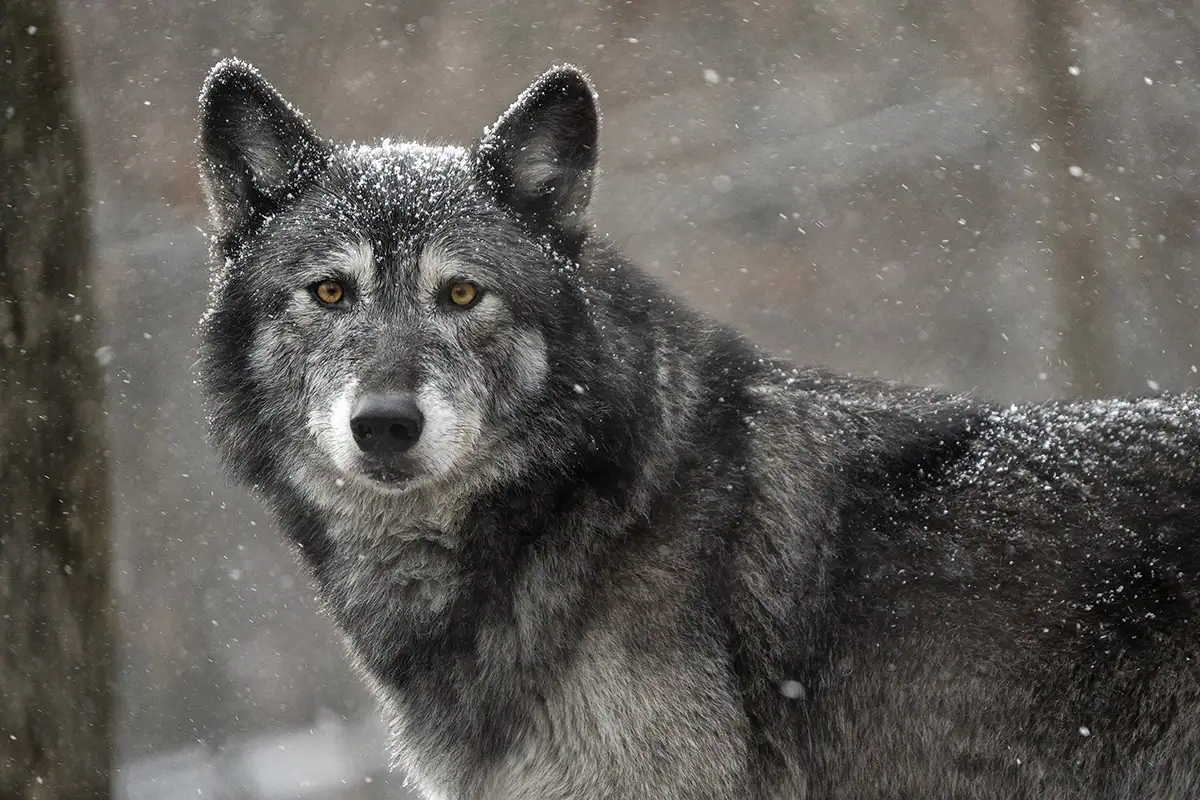
TIP 7. Focus on the Eyes
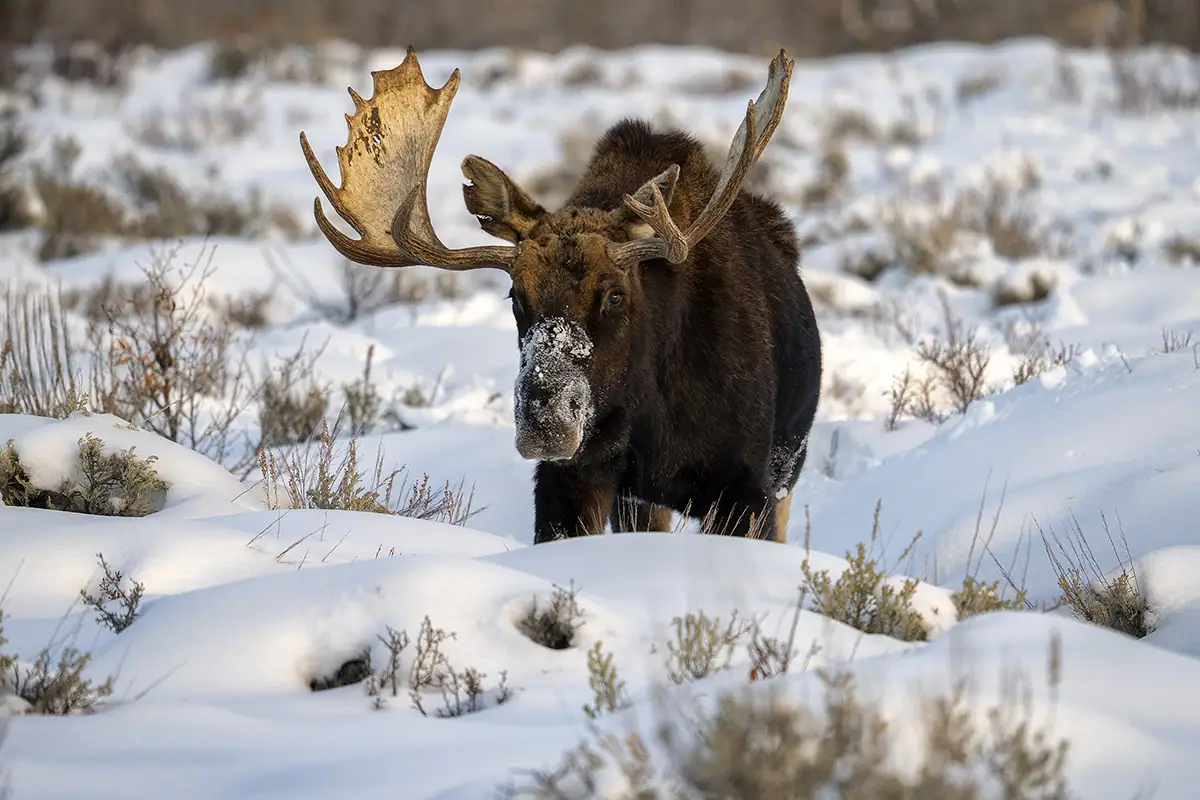
In wildlife photography, nothing draws the viewer in like sharp, expressive eyes. Keeping the eyes tack-sharp builds instant connection and impact.
Pro Tip: Autofocus wildlife photography settings for sharp eyes — Use single-point autofocus and continuous tracking to maintain focus as animals move.
TIP 8. Be Patient and Still
Patience separates casual shooters from skilled wildlife photographers. Even with the best preparation, animals don’t always appear when expected. Stay still, move slowly, and wait for your subject to step into good light. Remaining calm also prevents startling wildlife—ensuring natural, ethical photography and safer encounters.
TIP 9. Protect Your Gear
Whether you’re in frigid or damp conditions, keeping your equipment safe is critical for successful winter wildlife photography.
Top wildlife photography gear protection tips:
- Use a rain shield: Keep shooting through snow or drizzle while shielding your camera and lens from moisture.
- Store equipment in padded wraps or pouches: Protect lenses and bodies from condensation, bumps, and cold shock when moving between environments.
- Keep spare batteries warm: Cold weather dramatically reduces battery performance. Store extra batteries in an inner pocket close to your body or use hand warmers in your bag to maintain their charge longer. Swap them frequently to ensure you always have a warm, charged battery ready.
- Let gear acclimate gradually: When moving from cold outdoor air to a warm indoor space, leave your camera in its sealed bag until it reaches room temperature to prevent condensation inside the lens and body.
Managing condensation prevention, battery performance, and understanding how to protect your camera in cold weather ensures your gear performs reliably in winter wildlife photography conditions.
Pro Tip: Lithium-ion batteries lose efficiency as temperatures drop because chemical reactions inside them slow down. Keeping them warm helps maintain voltage and prevents rapid power loss. Rotating warm spares in and cold ones out ensures uninterrupted shooting in the field.
Camera Settings for Snow
Snow can easily fool your camera’s meter, often resulting in underexposed images with dull, gray tones. Understanding the right camera settings for winter photography is essential for capturing bright, clean snow while maintaining detail in your subject.
Best camera settings for snow photography:
- Use exposure compensation (+1 to +2 stops) to keep snow looking white instead of gray
- Shoot in aperture priority or manual mode for better control
- Keep shutter speeds high (1/1000 or faster) for moving wildlife
- Adjust ISO as needed to maintain proper exposure without introducing excessive noise
These winter camera settings help you avoid common issues like overexposure in snow while improving subject visibility and contrast in bright environments.
Exposure in Snow: Avoiding Common Mistakes
Snow reflects a significant amount of light, which can confuse your camera’s exposure system.
- Watch your histogram to avoid blown highlights
- Slightly underexpose if highlights are clipping
- Use highlight warnings (“blinkies”) if available
Learning how to shoot in snow without overexposure will help you retain detail in both the snow and your subject.
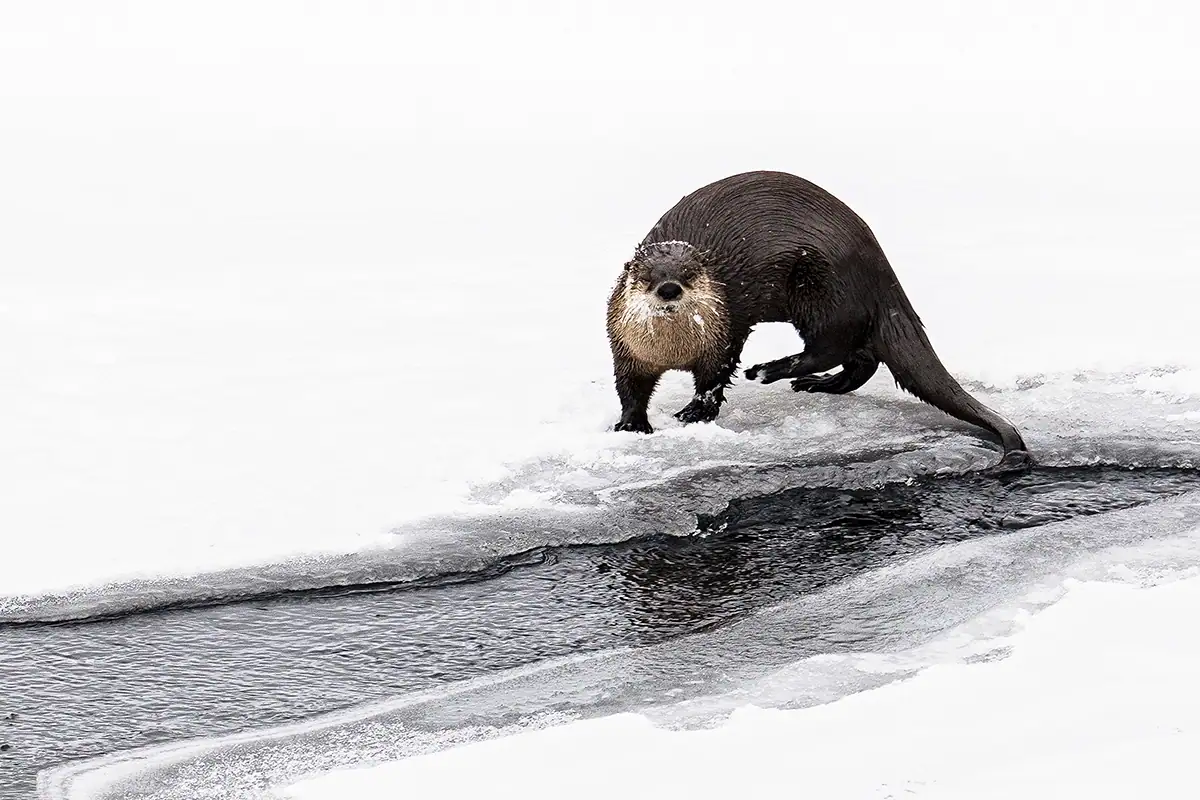
Using Snow to Track Wildlife
Fresh snow makes it easier to spot animal movement and locate subjects.
- Look for fresh tracks early in the morning
- Follow movement patterns to anticipate direction
- Focus on areas near water or shelter
Snow conditions make it easier to identify movement. This is where tracking becomes incredibly valuable—learning how to track animals can dramatically improve your success in winter wildlife photography.
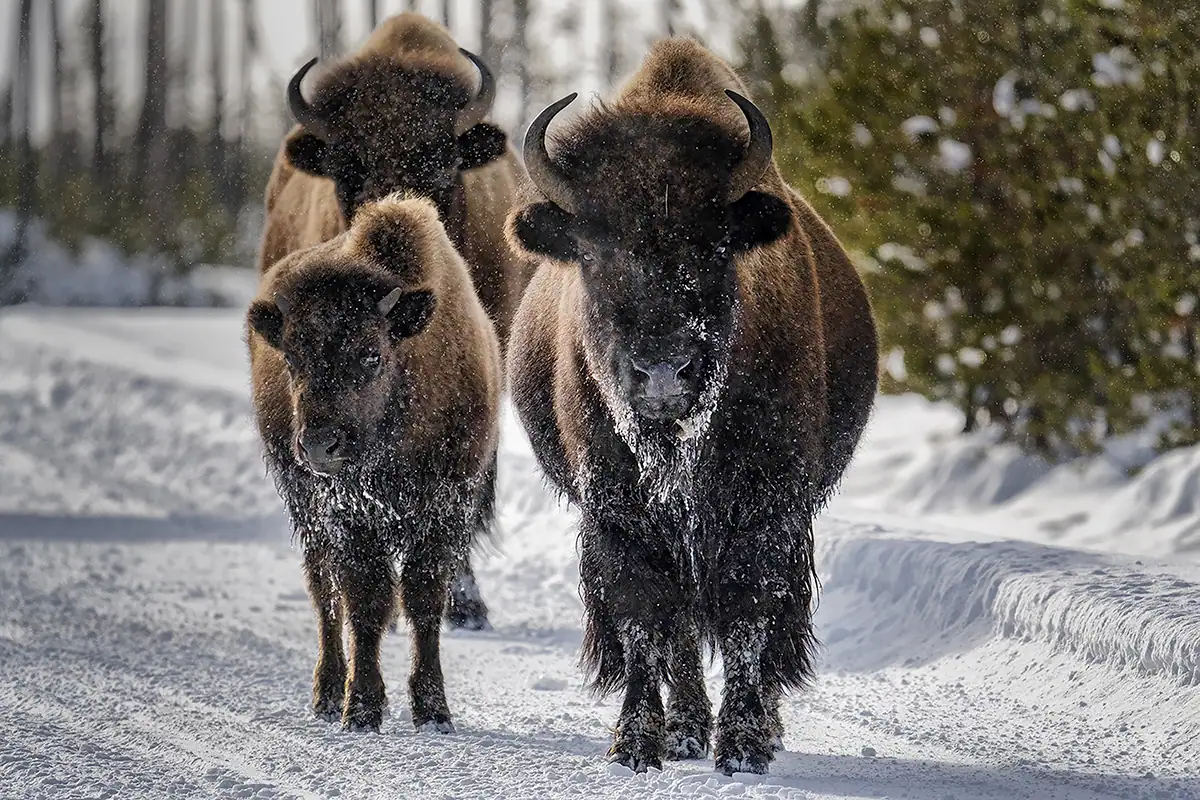
Photographing Animals in Snow
Snow-covered environments offer a unique advantage for wildlife photographers. Tracks, movement patterns, and contrast all become easier to see.
Photographing animals in snow allows you to more easily spot wildlife movement, track behavior, and position yourself for better compositions.
Choosing the Right Lens for Winter Wildlife
Winter often requires shooting from a distance to avoid disturbing animals.
A telephoto zoom like the Tamron 150-500mm F5-6.7 Di III VC VXD allows you to:
- Capture distant wildlife without intrusion
- Adapt quickly to changing compositions
- Maintain sharpness with built-in stabilization
If you’re deciding on gear, explore the best Tamron lens for wildlife photography to find the right option for your needs.
People Also Ask
What are the best camera settings for winter photography?
Use exposure compensation (+1 to +2), fast shutter speeds, and adjust ISO to maintain proper exposure in bright snow conditions.
How do you photograph animals in snow without overexposure?
Increase exposure compensation and monitor highlights to keep snow white while maintaining detail in your subject.
How do you protect your camera in cold weather?
Use weather-sealed gear, keep batteries warm, and allow your camera to acclimate slowly to avoid condensation.
What is the best time of day for winter wildlife photography?
Early morning and late afternoon provide soft light, better contrast, and increased wildlife activity.
How can you find animals in winter conditions?
Look for animal tracks in snow, movement patterns, and areas near food or water sources to locate wildlife.
Closing Thoughts on Our Winter Wildlife Photography Techniques and Tips
Winter offers a breathtaking stage for any wildlife photographer—from beginners to seasoned pros. By researching, practicing, and mastering essential wildlife photography settings and techniques, you’ll capture powerful images that celebrate nature’s resilience in the coldest months.
With the right wildlife photography tips for beginners, a thoughtful mindset, and the right wildlife photography gear, your next winter shoot could produce your most unforgettable images yet.
Where to Buy Tamron Lenses
Learn more about Tamron lenses for winter wildlife photography at an authorized Tamron dealer near you or shop directly at the official TAMRON Store.
FAQs About Winter Wildlife Photography
What are the best winter wildlife photography tips for beginners?
Start by researching active animals, using proper camera settings for snow, and practicing patience in the field.
How do you photograph wildlife in cold weather?
Use fast shutter speeds, adjust exposure for snow, and protect your gear from moisture and temperature changes.
Why is exposure compensation important in snow photography?
Cameras often underexpose snow scenes, so increasing exposure ensures snow appears bright and natural.
What gear is best for winter wildlife photography?
Weather-sealed cameras and lenses, telephoto zooms, and spare batteries kept warm are essential for cold conditions.
How do animal tracks help with winter wildlife photography?
Tracks reveal movement patterns and recent activity, helping you position yourself for better wildlife encounters.