 Instant Savings
 Support
 Find a Dealer
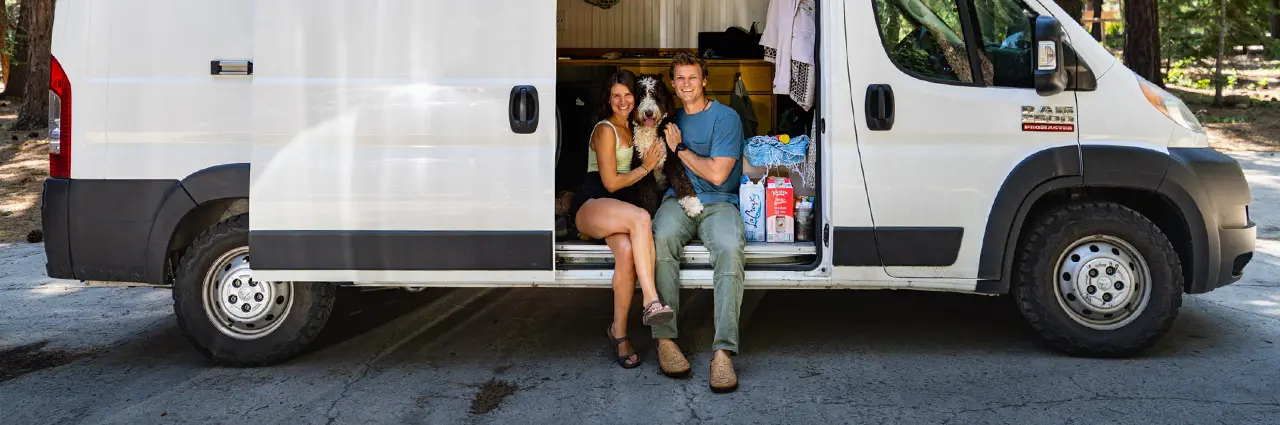
Once your road trip vehicle of choice is packed and your home is shrinking in the rearview mirror as you bounce down the road, there are two things left to do; enjoy your trip and take great photos. Hopefully, you have created a trip itinerary you are going to enjoy, but if not, I can’t help you there. However, if you are looking for road trip photography tips, I have you covered.
For the last 10 years, I have built a photography career on road trips, so I have a few road trip photography tips and tricks to help you bring home stunning photos from your next road trip that you’ll want to share.
By Guest Contributor Dalton Johnson
What You’ll Learn In This Article:
- How to choose the most versatile and space-saving camera gear for life on the road.
- Creative techniques to photograph yourself and your travel companions without help.
- Ways to use a theme to craft a compelling visual story of your trip.
- Why capturing small details matters as much as shooting sweeping landscapes.
- Tips for being ready to catch spontaneous, once-in-a-lifetime moments.
The Gear You Need For The Best Road Trip Photographs
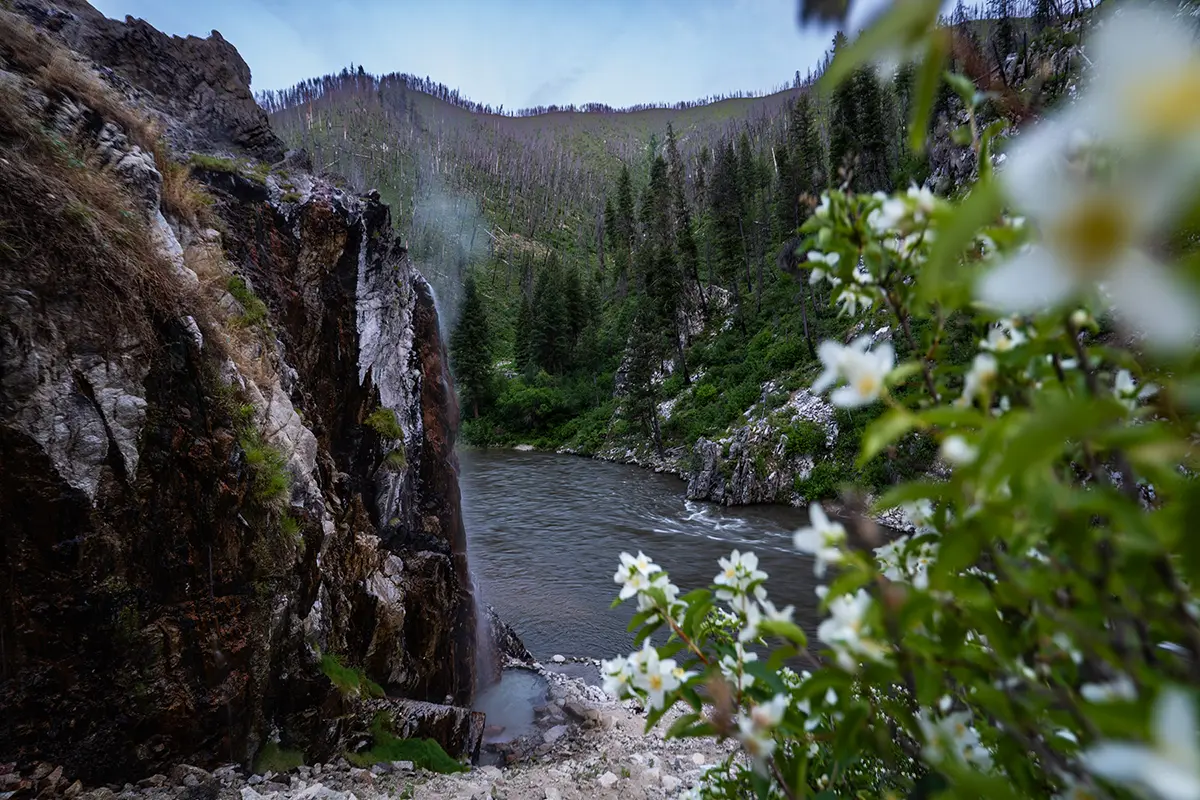
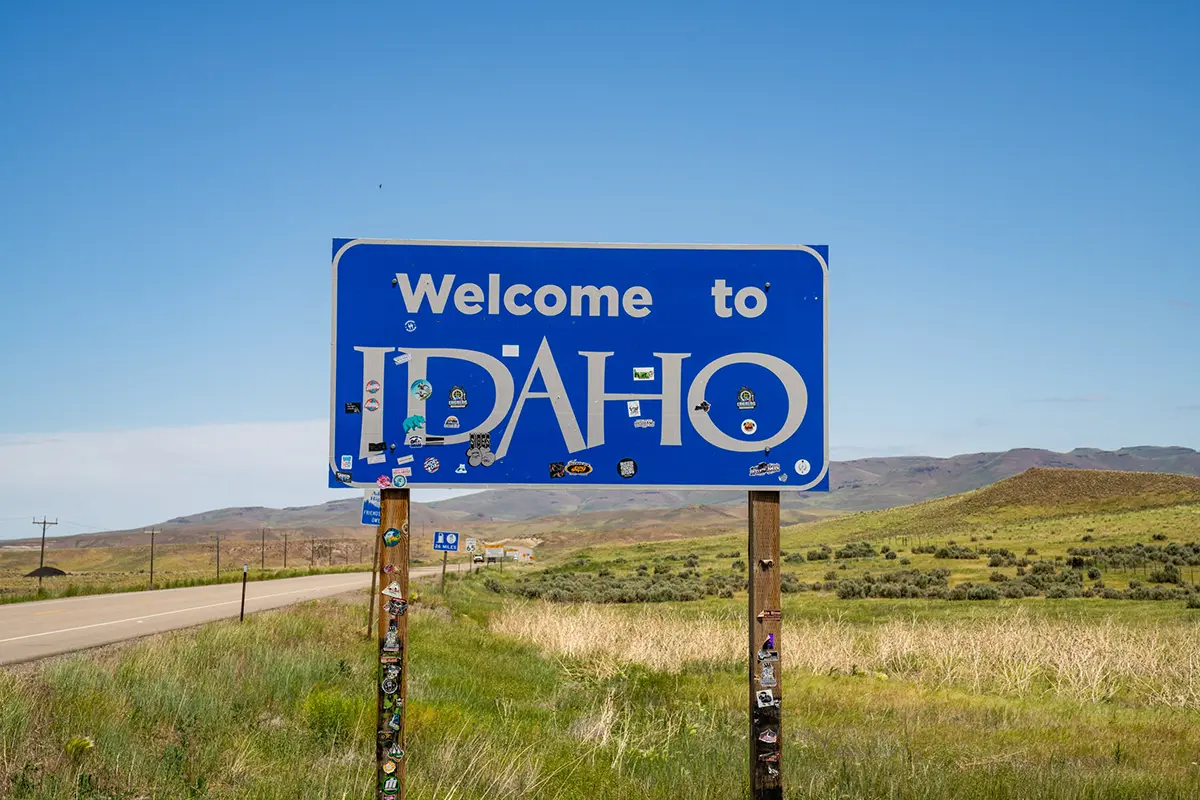
Let’s start out talking about gear. I just got back from a two week road trip around Idaho’s hot spring highway with my life partner, Kristin, and my adventure pup, Chestnut. The goal of the road trip was to adventure, relax, and discover a new place together. To make sure this happened, we wanted to bring a portable photography kit that wouldn’t take up too much space.
Here’s What I Packed:
- Sony a7r4 with a few batteries and memory cards
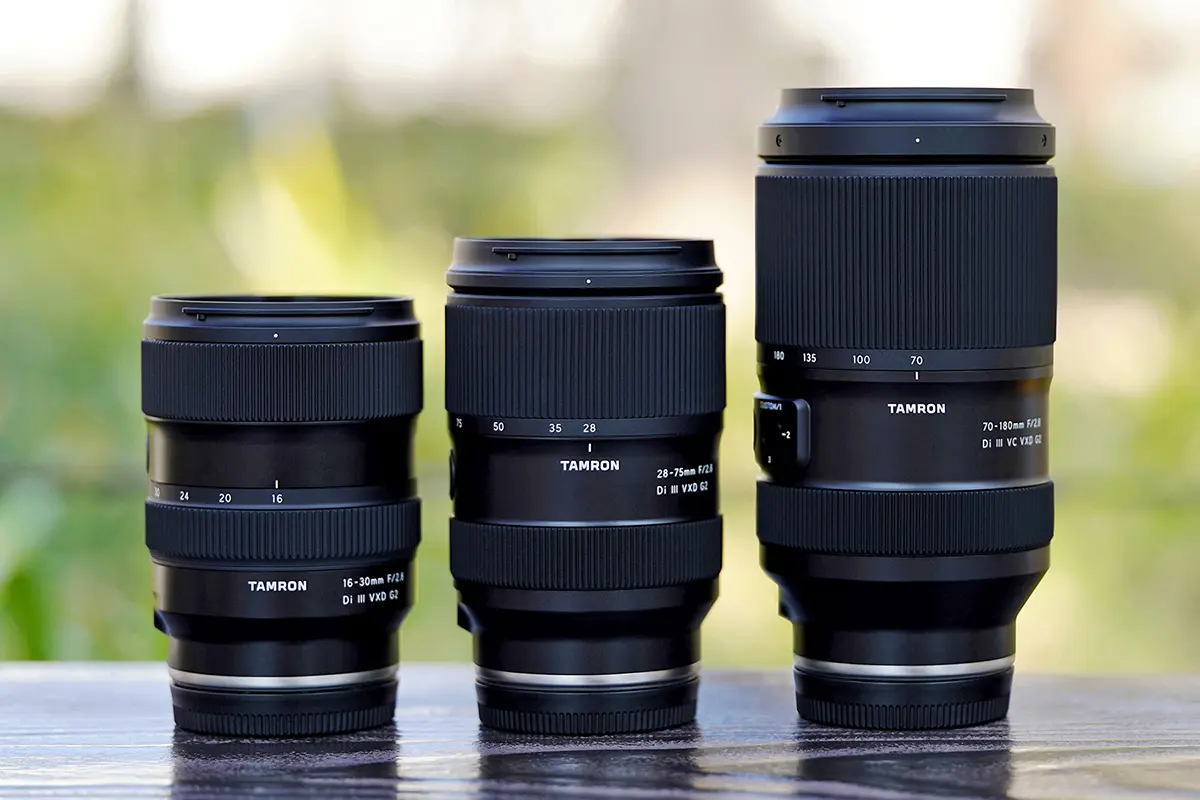
- Tamron 16-30mm F/2.8 Di III VXD G2 (Model A064)
- Tamron 28-75mm F/2.8 Di III VXD G2 (Model A063)
- Tamron 70-180mm F/2.8 Di III VC VXD G2 (Model A065)
- Peak Design Travel Tripod
Yup, like I said, my go-to road trip photography gear is compact, wide-ranging, and always ready to grab when those stunning, spontaneous moments are happening.
So, how did I decide on this road trip photography gear? Simple, trial and error. With hundreds of road trips under my belt, I have had ample opportunity to figure out how to take better travel photos with the least amount of camera gear.
Let’s Break Down Why Each Piece of Camera Gear is In My Kit
- Camera body of choice, the Sony a7r4: On road trips, you need a camera body that can take a beating as it bounces around in the back of a car, at your feet, or in a backpack, and I can vouch, the Sony mirrorless camera bodies are durable for any road trip photography.
- Primary camera lens, the Tamron 16-30mm G2: If you want to take great road trip images, you need a good lens that can cover a wide focal range. This 16-30mm lens by Tamron has exceeded my expectations on my latest road trip because the wide angle zoom allowed me to create images from inside the vehicle, stunning landscapes, and during any adventure. With such a wide range packed in a small lens my creativity is boosted, so this lens is attached to my camera body 60 to 70 percent of the time.
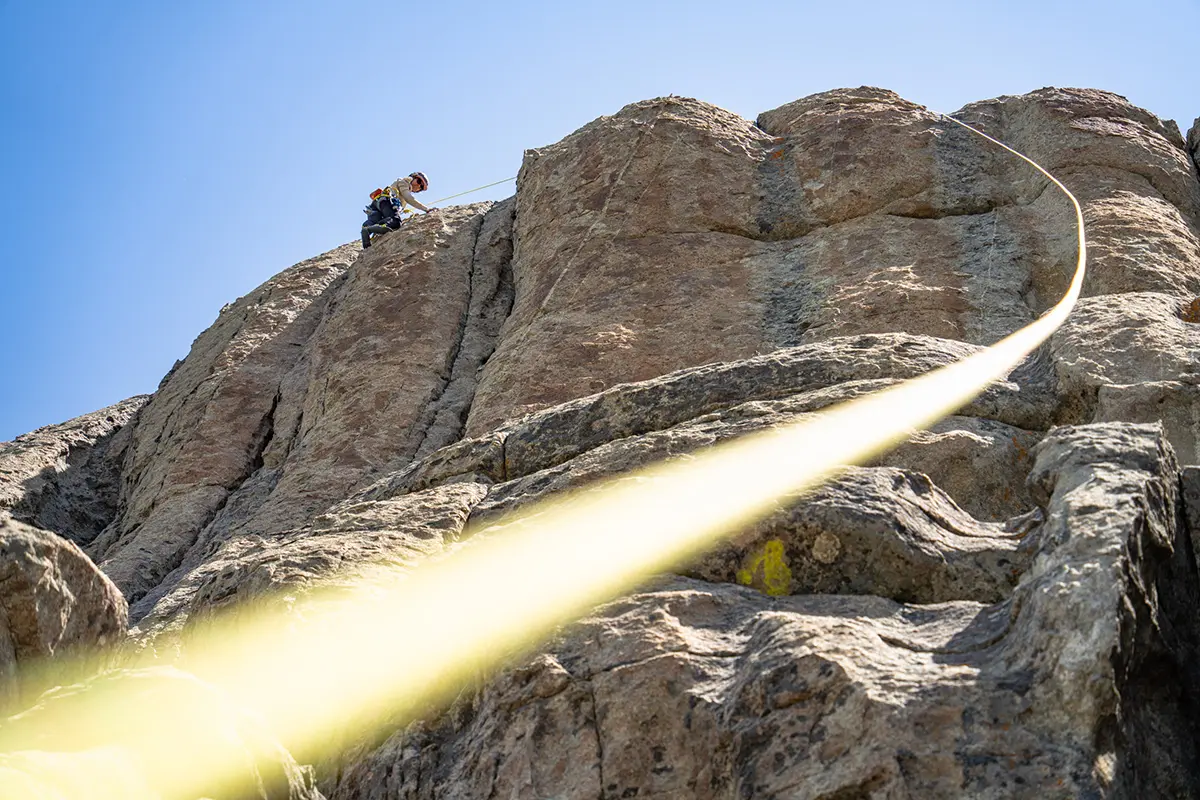
- Second camera lens, the Tamron 28-75mm G2: As I favor the Tamron 16-30mm, my usage of the 28-75mm is reducing to 30% of the road trip images I create. However, this was my first focal length lens I ever had and think it is the best one out there for general use. At this focal length, you can take portraits, capture wildflowers, and action. The lens is also great for action photographs–like rock climbing, surfing, trail running, and hiking–while on the road.
- Third camera lens, the Tamron 70-180mm G2: While this lens is my least used of the quiver, that doesn’t mean the Tamron 70-180mm isn’t important. This lens is critical for capturing road trip pictures of wildlife, long distance photographs, and picking out details in the landscape. Without this lens, my photo-essays would be missing the detailed images that provide context to viewers when I got home.
- Peak Design Travel Tripod: I’ll explain in more detail the importance of the tripod later, but the Peak Design travel tripod is incredibly study and a great investment for your next road trip. On this last road trip, I used this tripod every day. Yup, every day this tripod helped me create memorable road trip images.
Four Road Trip Photo Tips You Need To Know Before Leaving

Road trip photography is about the journey. Cliche, maybe, but all those little stops add up to create something unique, your road trip. The best images will be the ones that help you share that story once you return home. So, below are four road trip photography tips to help you create a series of images that help you tell your story.
TIP 1: Learn How To Photograph Yourself Before Hitting The Road

Remember when I said the tripod would be important? Here’s why. To photograph yourself, using a tripod is the easiest way, so make sure you pack one. However, capturing fun road trip photos takes a little bit more than just a tripod. Adding in some action, like a water fight at the edge of a lake, is a great way to add a little bit of energy into the story. Also, it’s just fun.
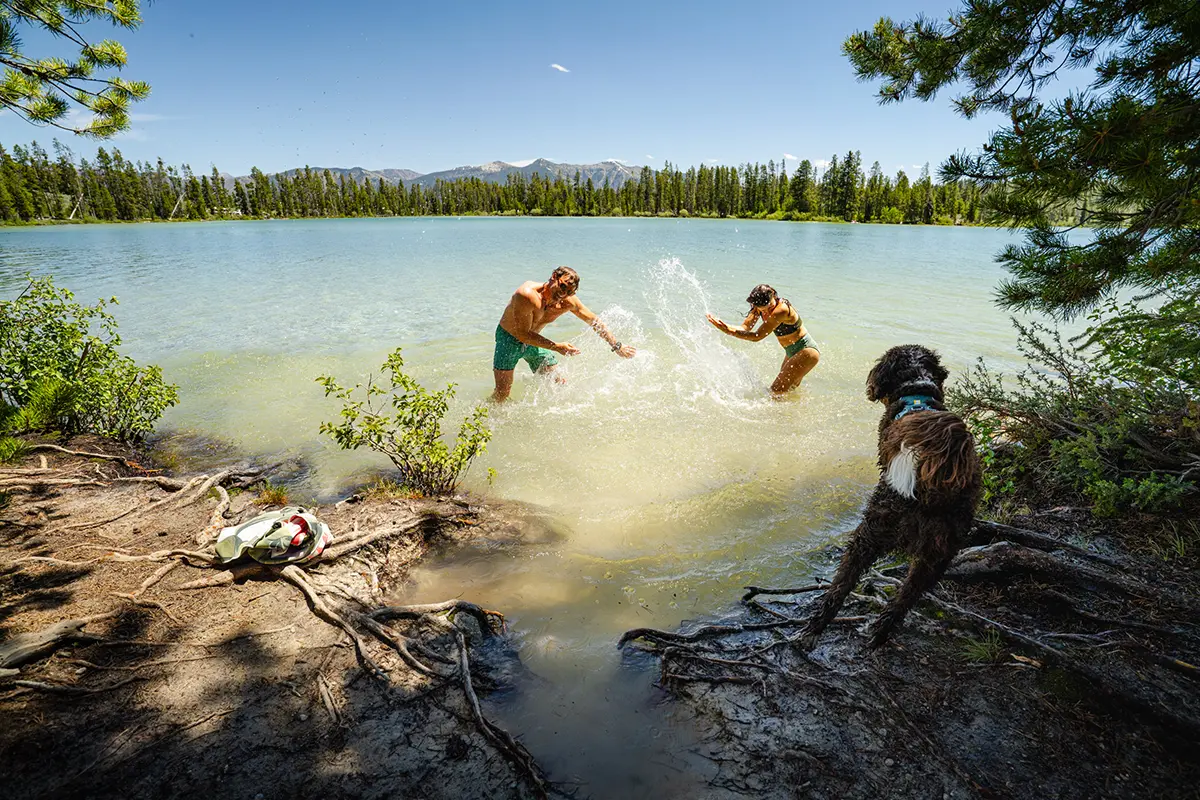
Pro Tip: Use the intervalometer instead of the countdown timer to allow for more spontaneous action. I like to set my interval to 1 second then forget about the camera.
TIP 2: Utilize A Theme To Create A Story Behind Your Images

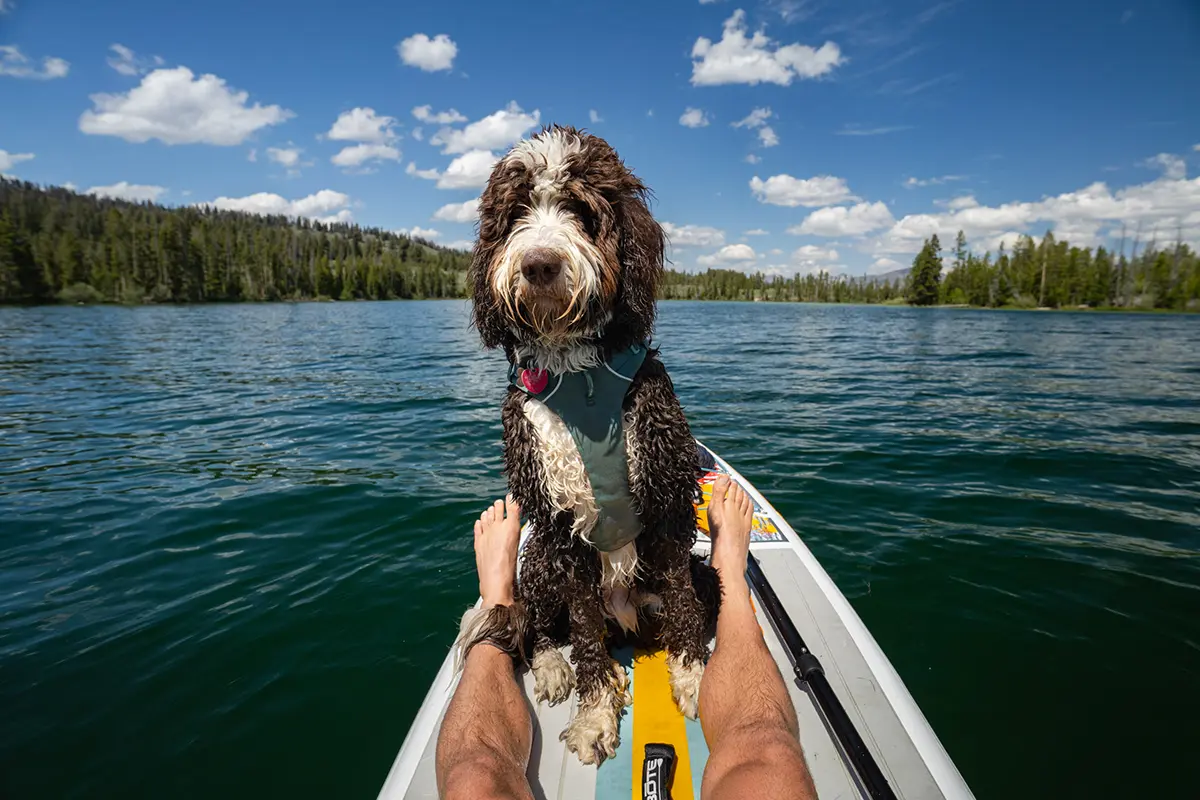
Picking a theme allows you to know when to pull out the camera and when to enjoy the moment. On this road trip to Idaho, the goal was adventure and hot springs, so, I brought the camera with me on every adventure and to every hot spring. Also, having a theme makes it easy to look up related road trip photo ideas to take before leaving your home. I’ve found that previsualizing the potential images is very helpful to creating a story.
TIP 3: Focus On The Details, Not Just The Big Landscapes
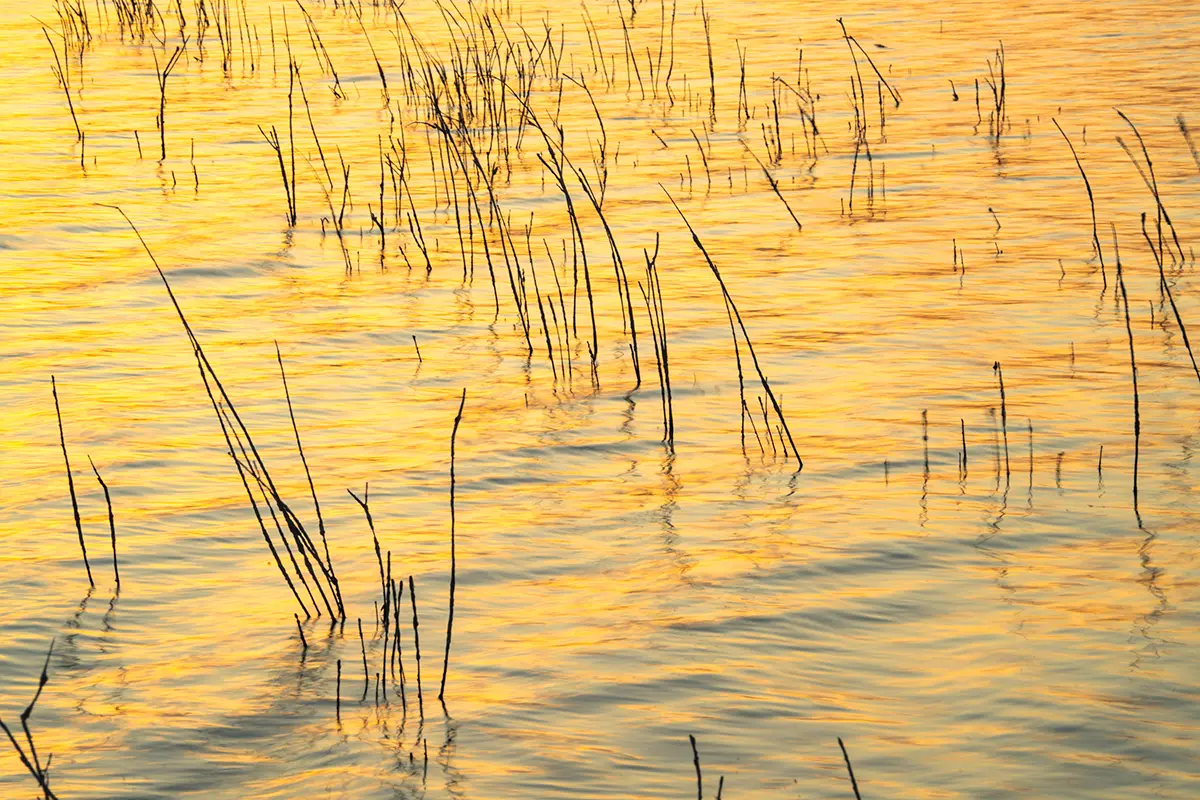


While none of the above images are “good” they tell the story of a road trip. Everything from watching the sunrise reflect on a lake to being so exhausted you don’t do the dishes to getting trapped in the car while it rains. These images are detailed images that help tell the story of your road trip, set the mood, make people laugh, and relate to what you did on your journey. Don’t forget to snap these images!
TIP 3: Be Ready To Capture The Unexpected
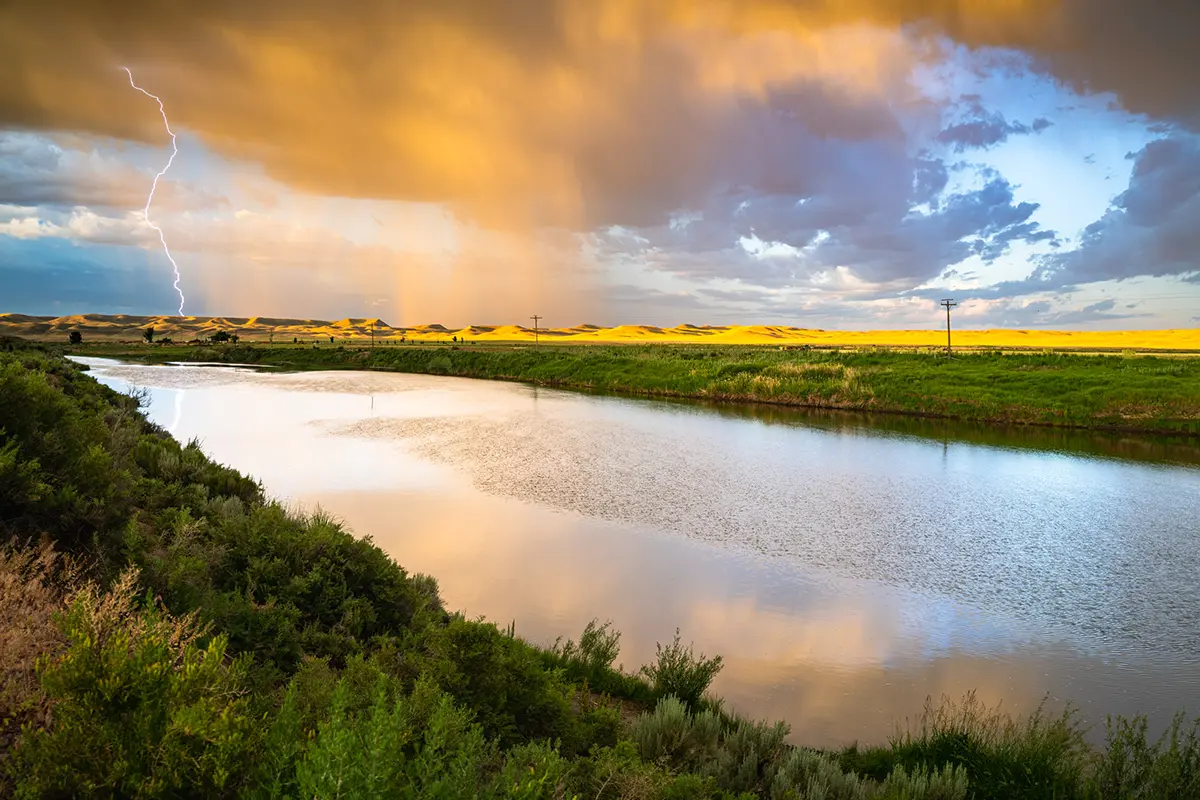
The unexpected is omnipresent, so be ready. Have your camera handy with a charged battery and a lens you often use. For me, the lens of choice is the wide angle Tamron 16-30mm G2. This lens came in a pinch when a lightning storm broke out over some farm land in the middle of nowhere USA.

The same lens was also the perfect lens to capture a spontaneous pulse from the northern lights. Both weather events were unexpected but made the road trip unforgettable.
Final Thought on These Road Trip Photography Tips
When embarking upon your next road trip, I hope these photography tips for travelers stay in the back of your mind and help you bring home some stunning memories. I know having a camera along with me on almost a decade of road trips has created a body of work filled with images full of stories I get excited to share with friends and family. My hope with this article is to bestow some of my hard-earned learnings to you before you set off on your next adventure.
Learn more about Tamron the lenses Dalton Johnson recommends for road trip photography at an authorized Tamron dealer near you or visit the TAMRON Store.
About Dalton Johnson
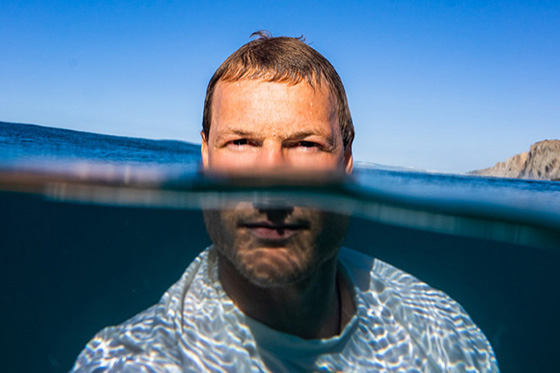
Dalton Johnson is a commercial and documentary photographer/videographer who specializes in authentic content that tells a story. While most of Dalton’s portfolio comes from hard to reach places in the mountains and the ocean, he is no stranger to creating content that connects with the average Joe. Notching over 100 campaigns in his belt, for clients like Ford, Men’s Journal, B.F. Goodrich, Surfline, Patagonia, and many more, Dalton’s vast body of work has one thing in common, authenticity. Website | Instagram