 Instant Savings
 Support
 Find a Dealer
Zoo photography is one of the best ways to practice wildlife photography skills close to home. It gives you the chance to work on timing, animal behavior, composition, and camera control without the unpredictability of photographing wildlife in the field.
Zoo photography refers to photographing animals in controlled environments such as zoos, aquariums, and wildlife parks. While access is easier than in the wild, challenges like glass, fences, and artificial backgrounds require specific techniques.
In this guide, you will learn how to photograph animals at the zoo, what camera settings to use, how to reduce reflections, how to shoot through enclosures, and how to choose the best lens for zoo photograph
Why Zoo Photography Is Great Practice for Wildlife Photography
Zoo photography helps photographers build wildlife skills in a more controlled setting. You can study how animals move, practice tracking subjects, and work on clean composition without traveling far from home.
Practicing zoo photography improves skills used in wildlife photography, including timing, subject tracking, and background control.
Because zoo environments vary from bright outdoor habitats to darker indoor exhibits, photographing at the zoo teaches you how to adapt quickly to changing light and conditions.
Best Lens for Zoo Photography
The best lens for zoo photography depends on distance to the subject, lighting conditions, and how much flexibility you need. Most photographers benefit from a telephoto zoom or a versatile all-in-one lens.
The best lens for zoo photography depends on distance to the subject, lighting conditions, and how much flexibility you need. Most photographers benefit from a telephoto zoom or a versatile all-in-one lens.
Best Telephoto Zoom Lenses for Zoo Photography
A telephoto zoom is often the best lens for zoo photography when you want to isolate animals and remove distractions.
Telephoto lenses allow you to photograph animals from a distance while creating background blur and tighter compositions.
They are especially useful for:
- Animal portraits
- Shooting through fences or barriers
- Compressing busy backgrounds
- Photographing animals in large enclosures
Lenses like the Tamron 50-400mm F4.5-6.3 Di III VC VXD (Model A067) provide a wide range of focal lengths, making them effective for both close and distant subjects.
For a lighter setup, the Tamron 70-300mm F4.5-6.3 Di III RXD (Model A047) offers portability while still giving enough reach for many zoo situations.
Best All-in-One Zoom for Zoo Photography
An all-in-one zoom lens is ideal for zoo photography when you want versatility without changing lenses.
Zoos often require quick adjustments between wide scenes and tighter shots, and a single-lens solution helps you respond faster.
All-in-one zooms are best for:
- Travel-style shooting
- Family visits
- Capturing both animals and surroundings
- Minimizing gear changes
The Tamron 18-300mm F3.5-6.3 Di III-A VC VXD (Model B061) is a flexible option that covers a wide focal range in one lens designed for APS-C cameras.
Best Lenses for Indoor Exhibits and Low Light
Indoor zoo photography requires lenses that perform well in low light and through glass.
Look for lenses that:
- Maintain good autofocus in dim conditions
- Allow wider apertures when needed
- Include image stabilization for hand-held shooting
These features help you maintain sharp images without excessive noise.
The Tamron 70-180mm F/2.8 Di III VC VXD G2 (Model A065) is a compact fast tele zoom that is easy to carry with you all day and provide beautiful bokeh, or separation of your subject from the background for a professional look.
Choosing the Right Lens for Your Style
There is no single best lens for zoo photography—only the best lens for your shooting style.
If you prioritize subject isolation, choose a telephoto zoom. If you prioritize convenience, choose an all-in-one zoom. Many photographers use both depending on the situation.
Camera Settings for Zoo Photography
The best camera settings for zoo photography balance sharpness, motion control, and exposure in changing light.
1. Aperture for Subject Separation
A wide aperture helps blur backgrounds and reduce distractions in zoo photos.
Use a wide aperture when:
- Backgrounds are busy
- Shooting through glass or fences
- Isolating the subject
2. Shutter Speed for Active Animals
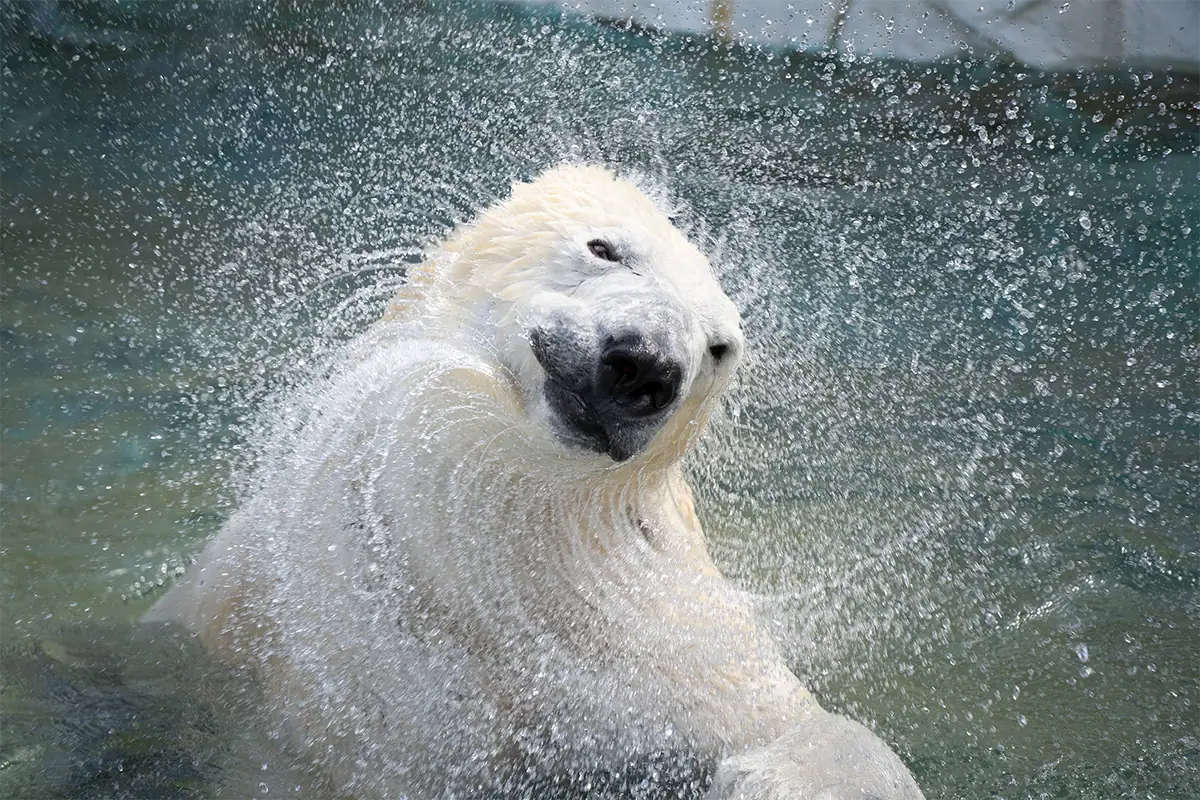
A fast shutter speed is essential for capturing sharp images of moving animals.
Start with:
- 1/500 sec for slower movement
- 1/1000 sec or faster for active animals
3. ISO for Indoor Exhibits and Low Light
ISO controls brightness and helps maintain shutter speed in low-light zoo environments.
Use:
- ISO 400 in bright outdoor light
- ISO 800–1600 indoors
- Higher when needed for motion
4. Autofocus and Drive Mode Settings
Continuous autofocus and burst mode improve your chances of capturing sharp animal photos.
Use:
- Continuous AF
- Burst shooting
- Subject detection if available
- RAW format
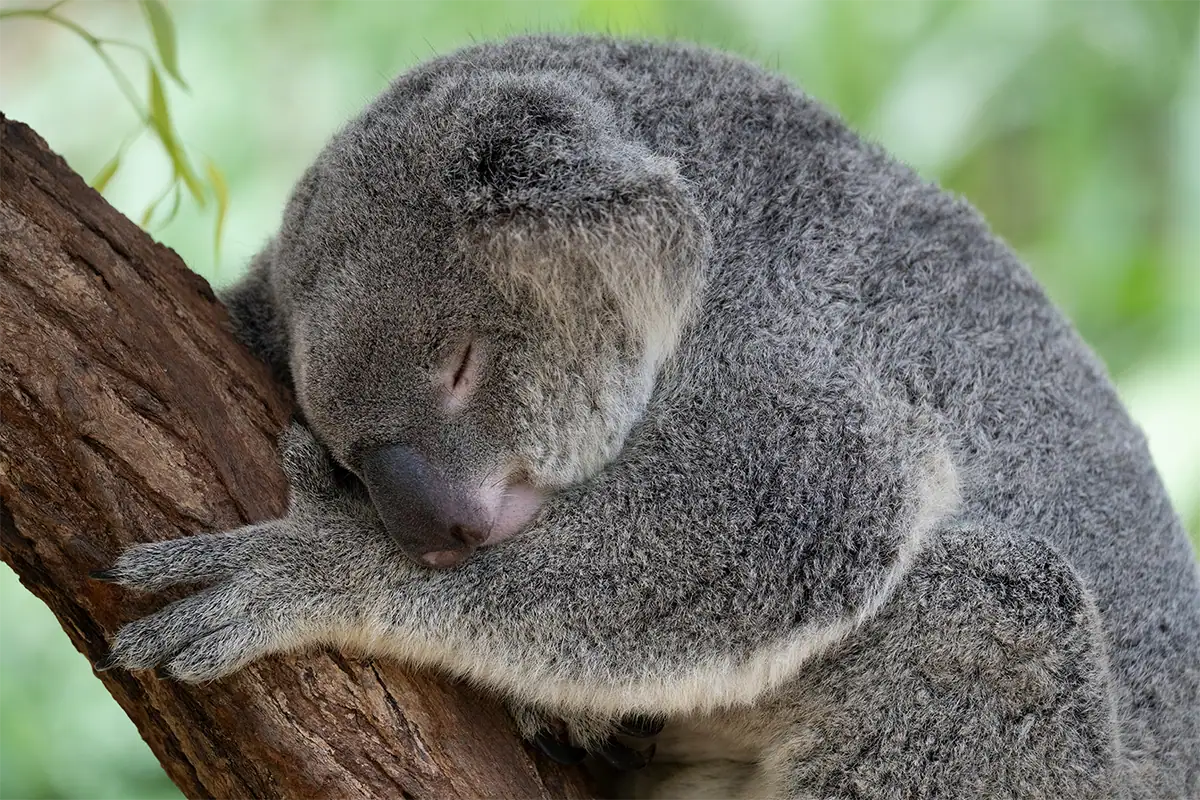
How to Photograph Animals at the Zoo
To photograph animals at the zoo effectively, focus on behavior, timing, and clean composition. These core zoo photography techniques help you create more natural-looking images even in controlled environments.
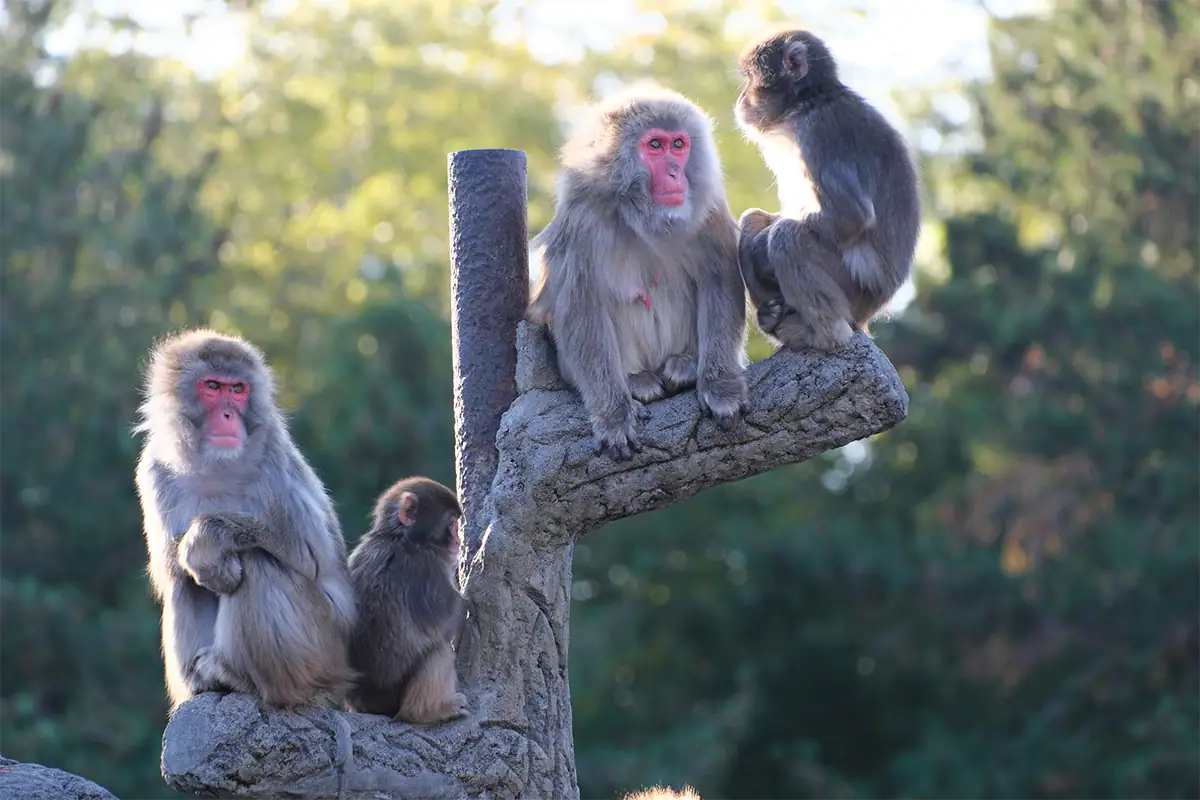
Watch Behavior Before You Shoot
Animals often repeat movements or return to specific areas. Observing first helps you anticipate better moments.
Pay attention to patterns like pacing, feeding, or interaction with other animals. These behaviors often repeat, giving you multiple chances to capture stronger compositions.
Position yourself ahead of the action rather than reacting late—this is one of the most effective ways to improve timing in zoo photography.
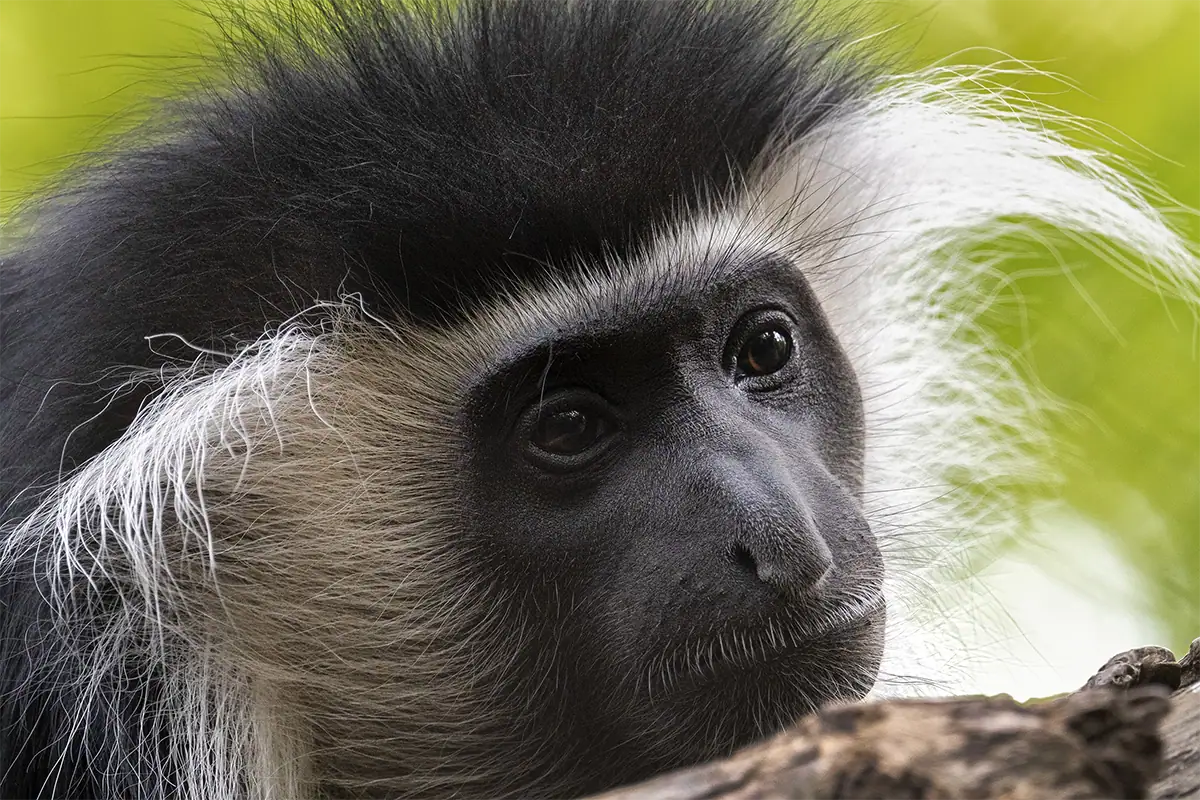
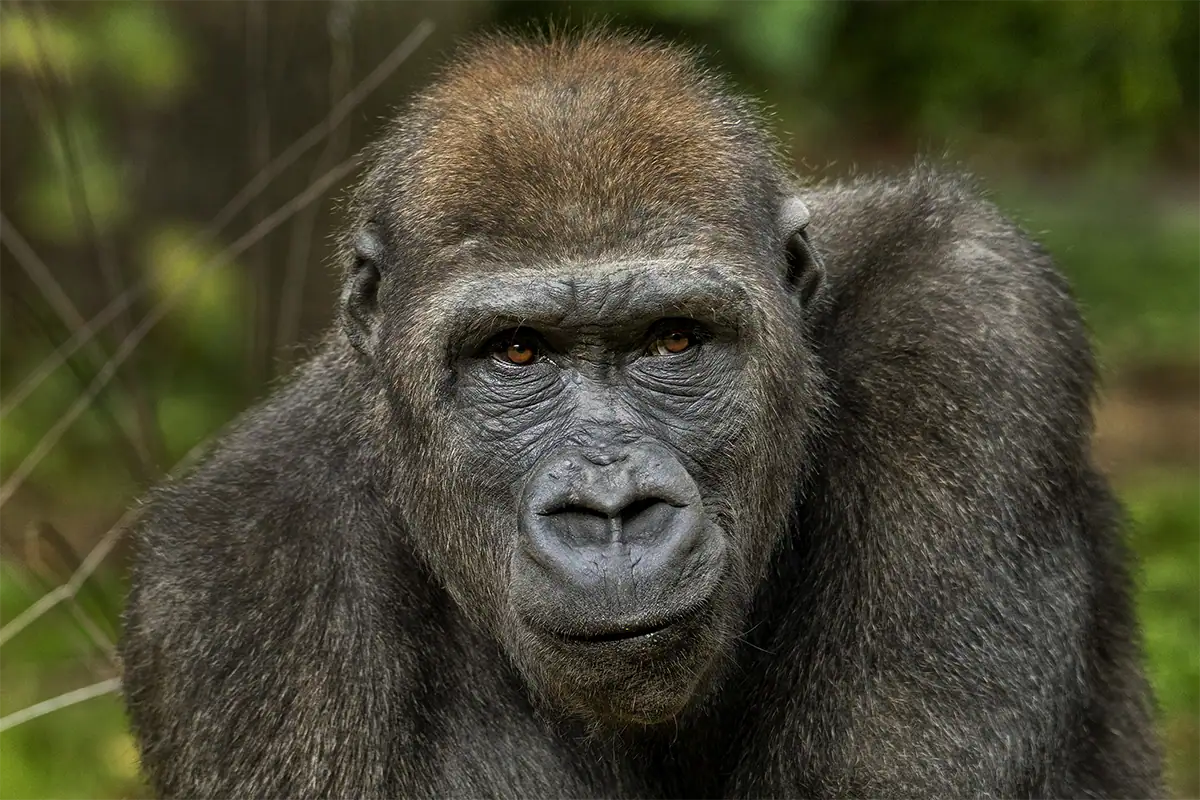
Focus On the Eyes and Expressions
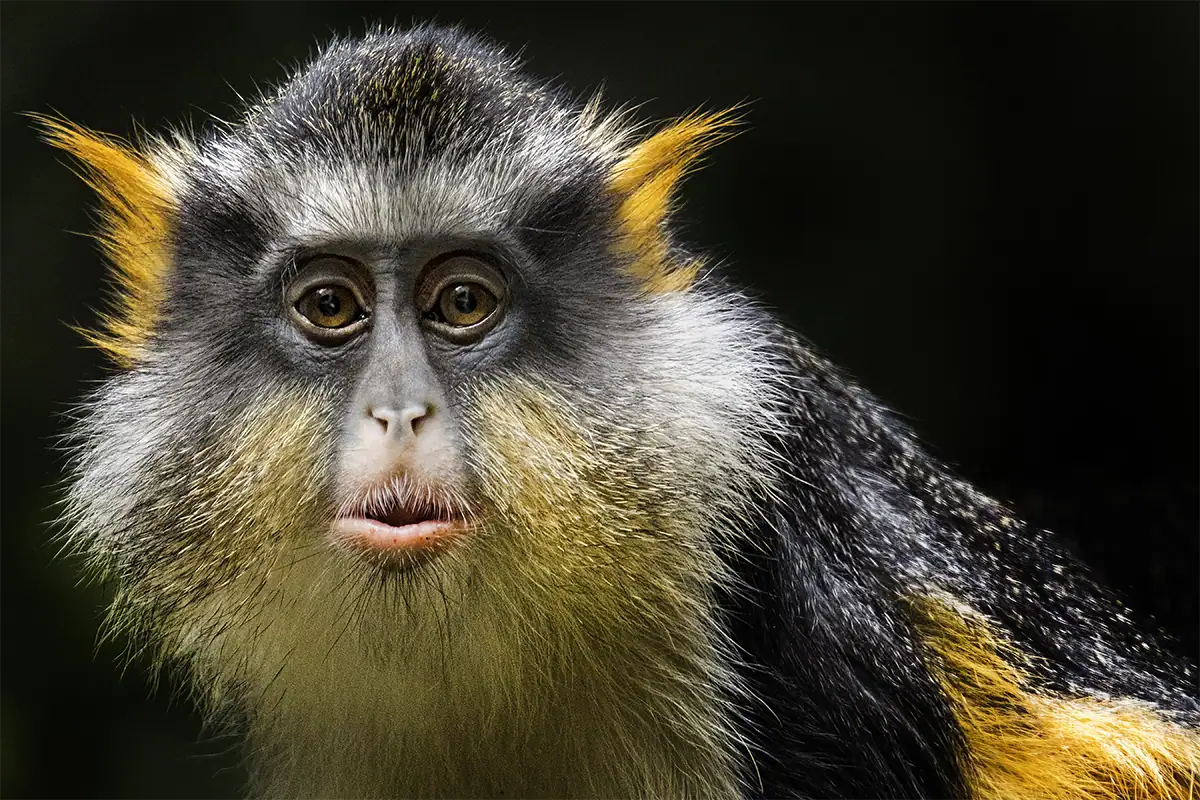
Sharp eyes are one of the most important elements in animal photography.
Whenever possible, make sure the eyes are in sharp focus and well-lit. Even slight softness in the eyes can make an otherwise strong image feel less impactful.
Wait for moments of expression—subtle changes in posture, gaze, or interaction can turn a simple photo into a storytelling image.
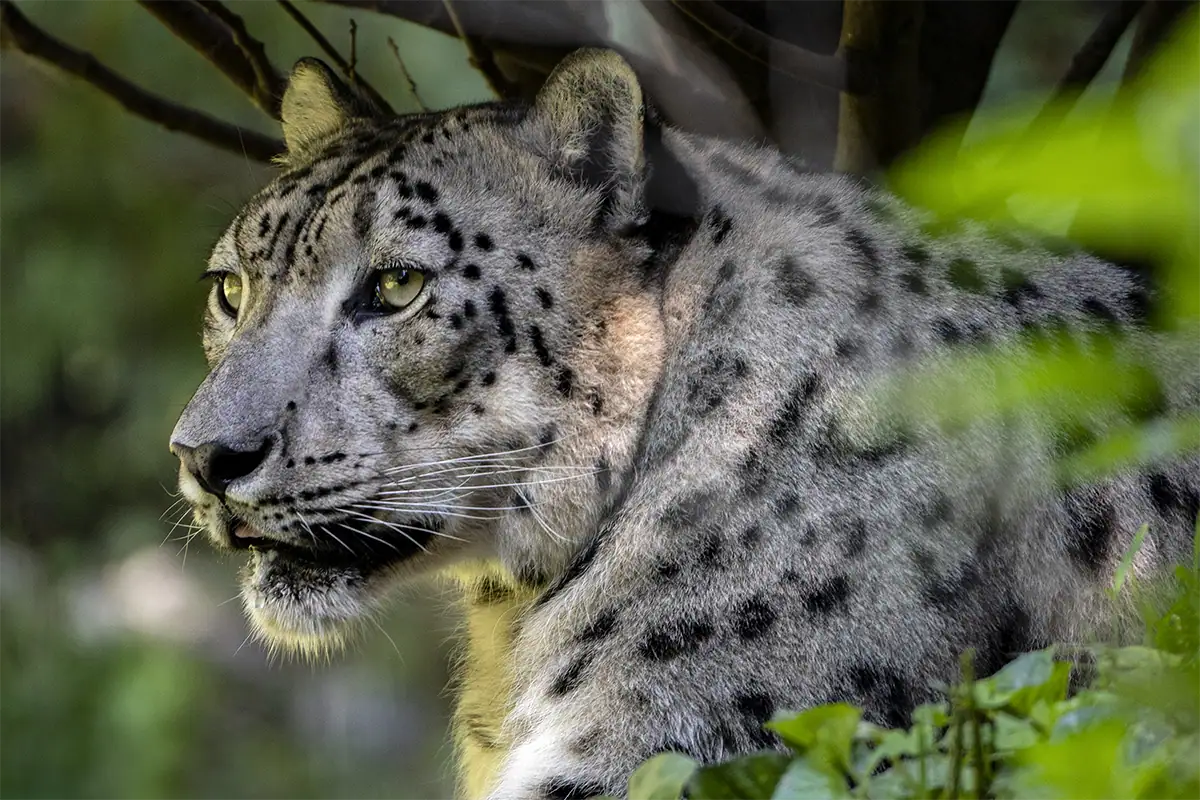
Simplify the Background
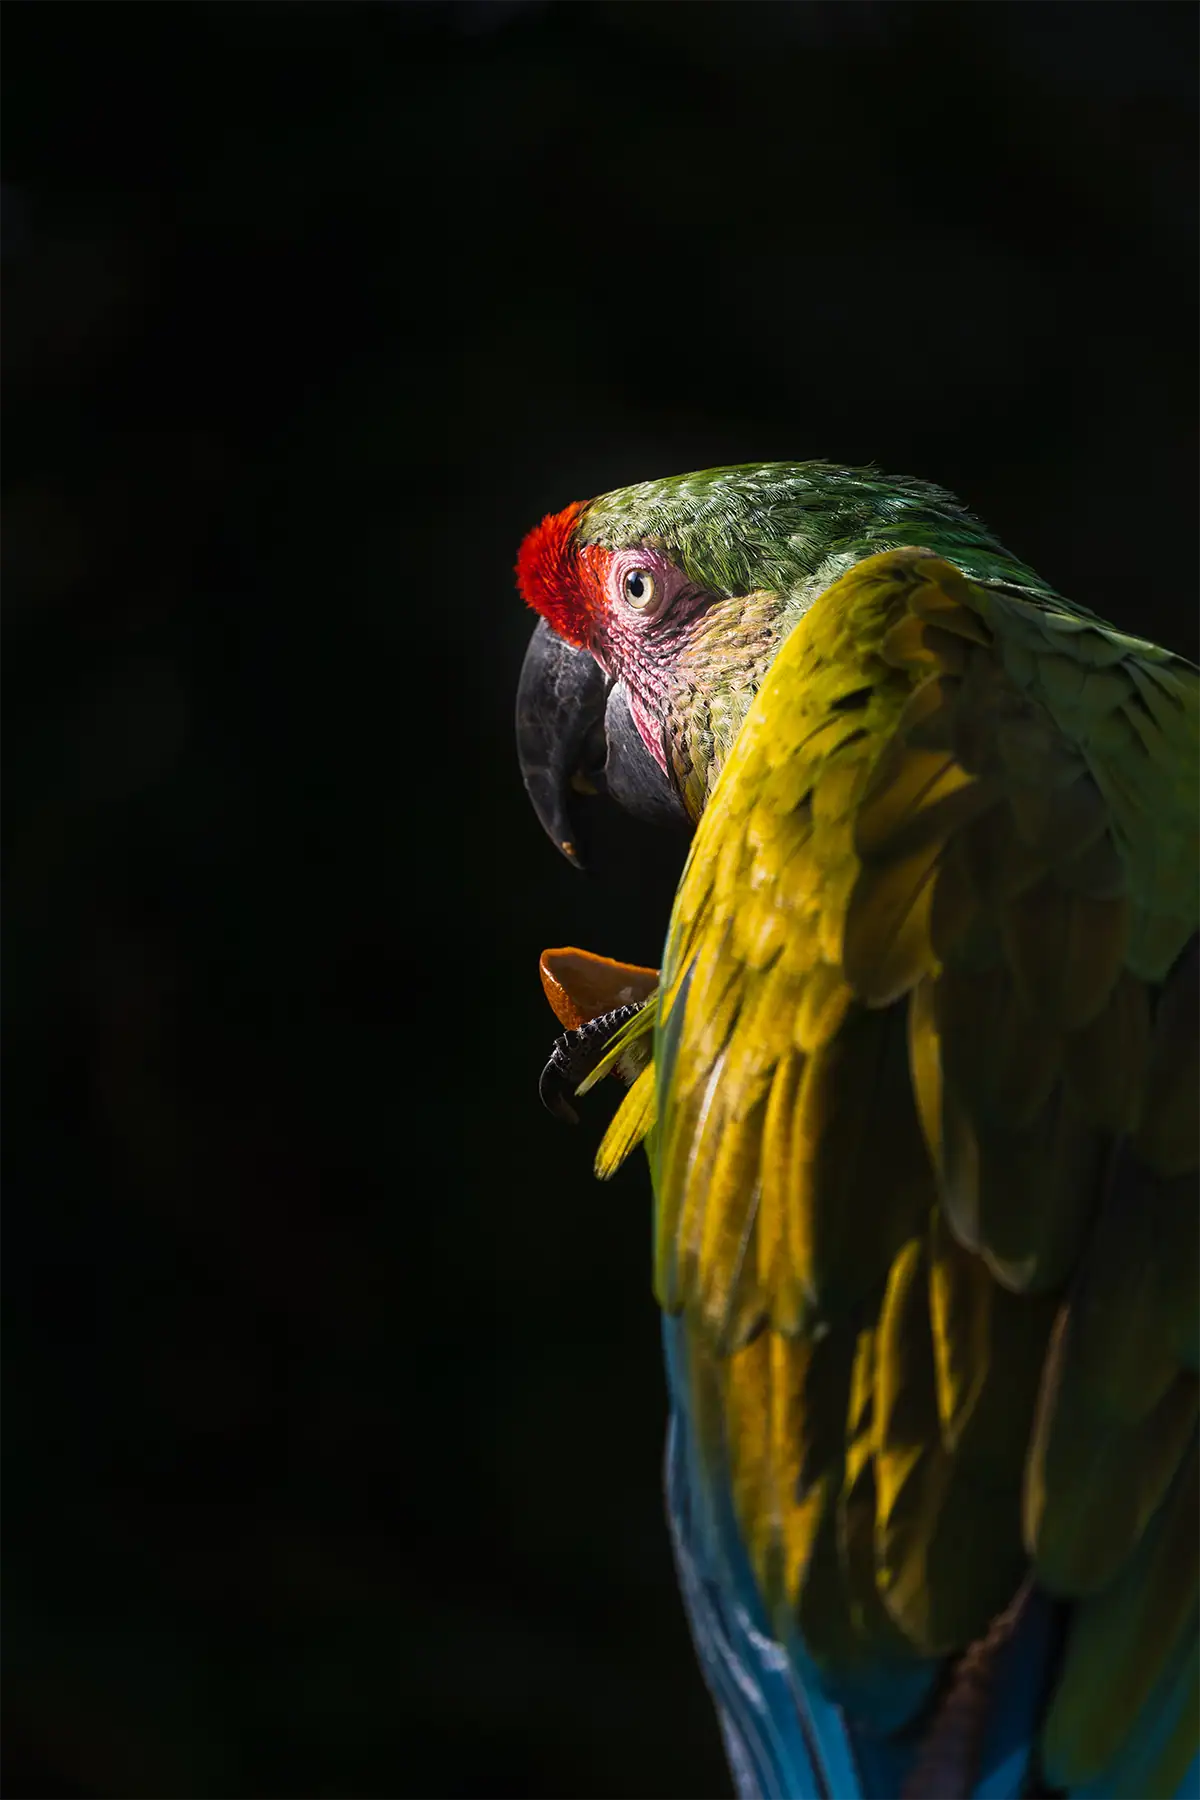
Clean backgrounds make zoo photos look more natural and less distracting.
Busy enclosures, fencing, and artificial elements can quickly make zoo photos look cluttered. Simplifying the background is one of the fastest ways to elevate your images.
Adjust by:
- Changing position
- Zooming in
- Using a wide aperture
- Shooting from a lower or side angle to eliminate distracting elements
- Waiting for the animal to move into a cleaner part of the frame
Shooting Through Glass Without Reflections
Shooting through glass without reflections is one of the most important zoo photography techniques.
Glass can introduce glare, reflections, smudges, and loss of contrast, all of which reduce image quality if not handled carefully.
How to Avoid Reflections in Zoo Photography
To avoid reflections in zoo photography, reduce light between your camera and the glass.
Use these methods:
- Move close to the glass
- Change your angle
- Block light with your hand or clothing
- Use a lens hood
- Shoot at an angle instead of straight on to reduce direct reflections
- Avoid bright clothing that can reflect in the glass
- Look for shaded areas where reflections are naturally minimized
The closer your lens is to the glass, the more reflections disappear—this is one of the most effective techniques in zoo photography.
Photographing Animals Through Glass in Dark Exhibits
Low-light exhibits increase reflections but can produce dramatic images when handled correctly.
Use:
- Wide apertures
- Higher ISO
- Careful positioning
- Turn off flash to avoid harsh reflections and distractions
- Stabilize your camera or use image stabilization to maintain sharpness in low light
These environments are ideal for capturing moody, natural-looking wildlife images when reflections are controlled.
How to Shoot Through Fences and Barriers
Shooting through fences in zoo photography requires controlling depth of field and positioning.
- How to make fences disappear: Fences can be minimized by placing the lens close to the barrier and using a wide aperture.
- When to use manual focus: Use manual focus when autofocus locks onto the barrier instead of the animal.
Fences and barriers are common in zoo environments, but with the right technique, they can become almost invisible in your photos.
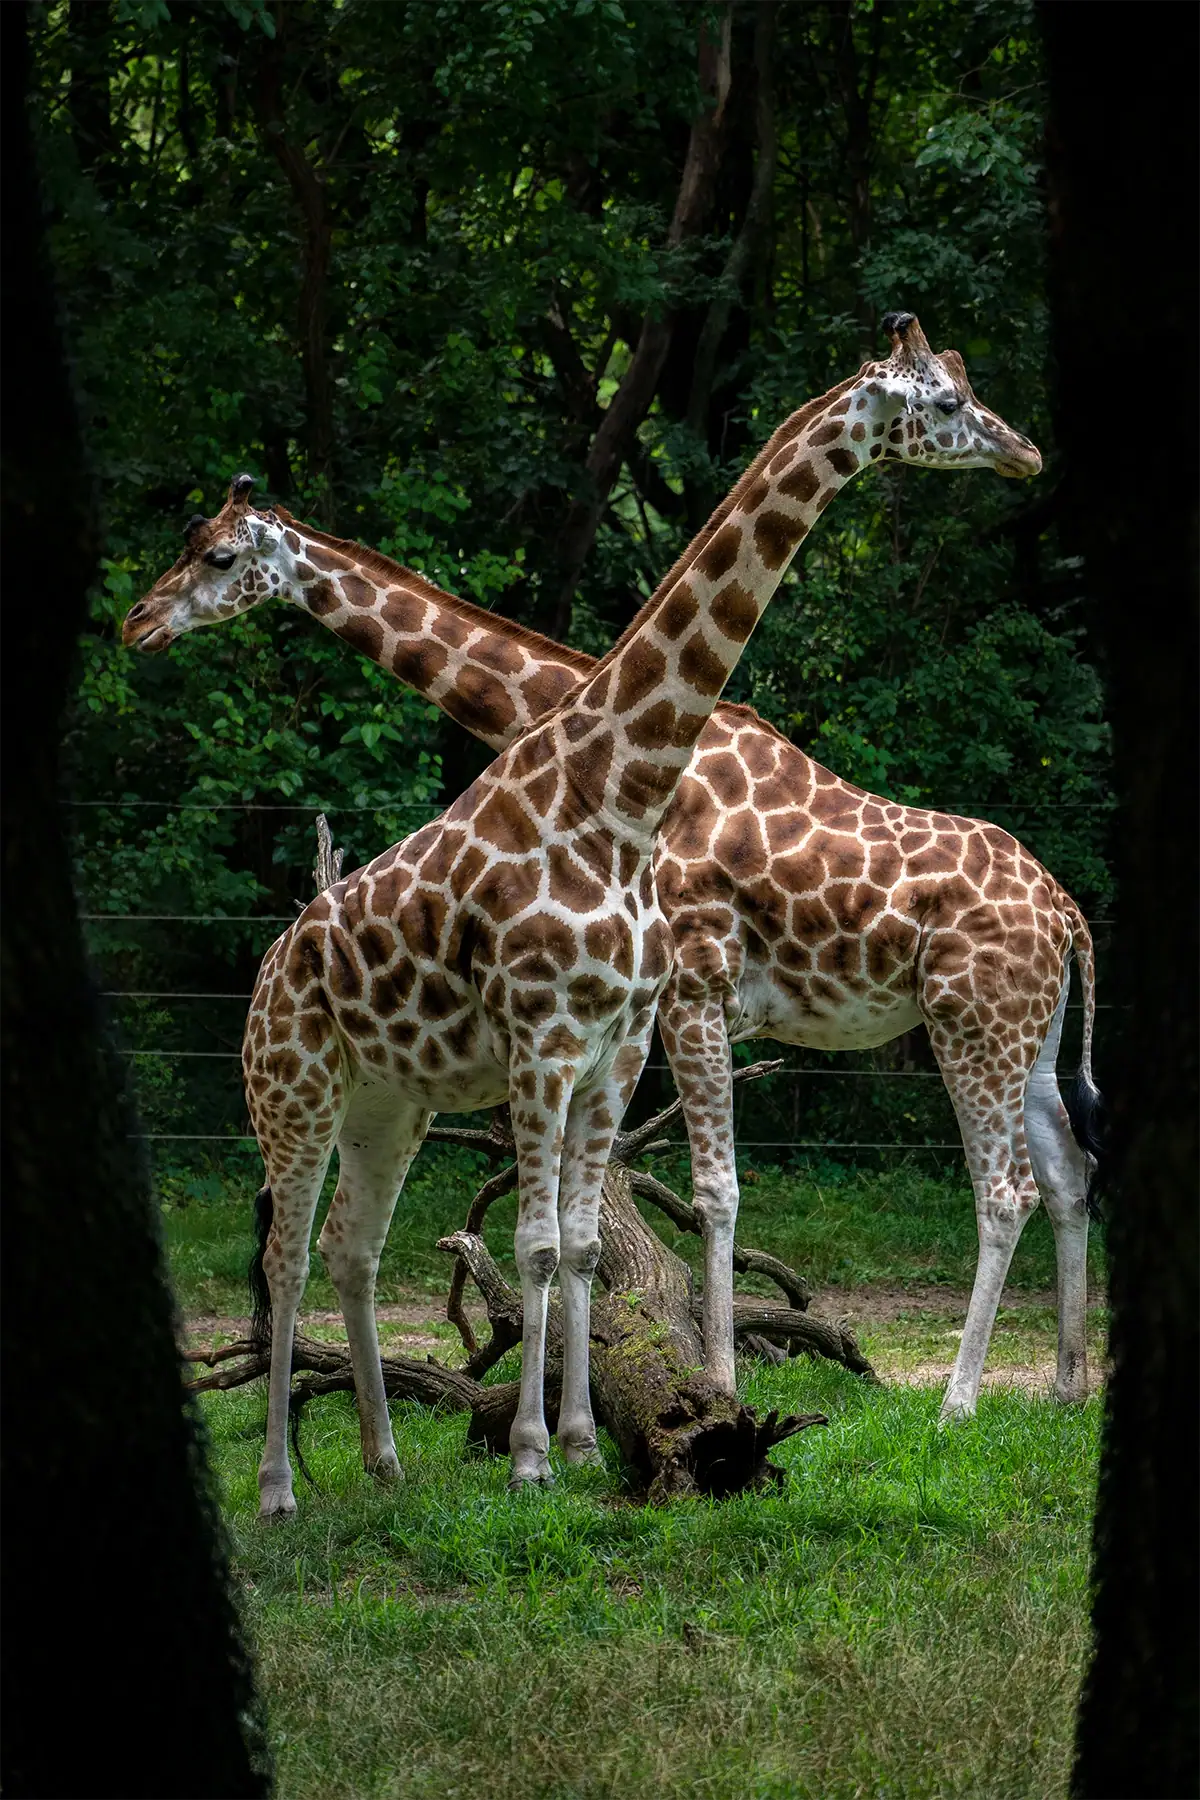
Best Angles at the Zoo for Better Photos
The best angles for zoo photography reduce distractions and create a more natural perspective.
- Shoot at eye level: Eye-level photos create stronger emotional connection with the subject.
- Move to cleaner backgrounds: Small position changes can significantly improve composition.
- Use side angles to hide distractions: Side angles help reduce reflections and enclosure elements.
Composition Tricks for Better Zoo Photos
Strong composition improves zoo photos by guiding attention to the animal and minimizing distractions from enclosures and backgrounds.
1. Rule of Thirds and Negative Space
Using the rule of thirds helps position animals in a more dynamic way instead of centering every shot. Place the subject slightly off-center and leave negative space in the direction the animal is looking or moving to create a more natural composition.
2. Framing and Leading Lines
Framing and leading lines help direct the viewer’s eye toward the subject. Use elements like branches, rocks, or enclosure features to subtly frame the animal, and look for lines or shapes that guide attention without overpowering the scene.
3. Timing and Storytelling Moments
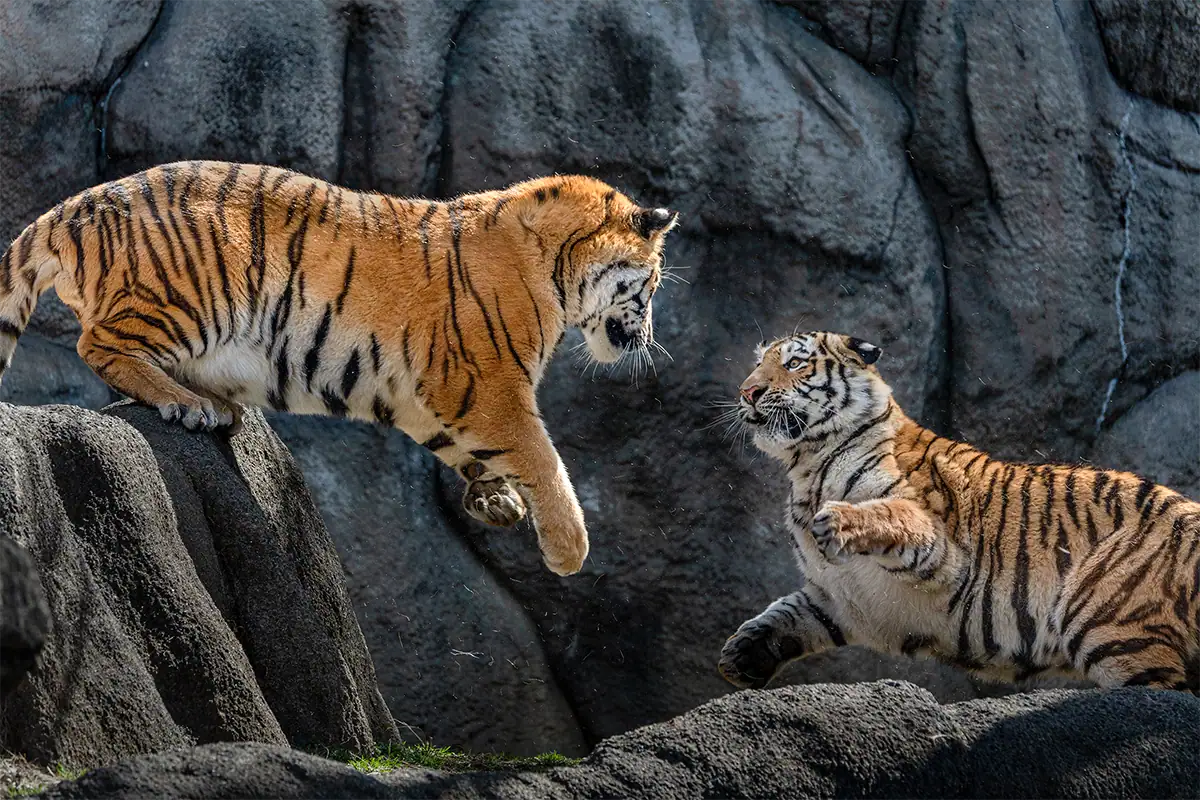
The best zoo photos often capture behavior, not just appearance. Wait for moments like movement, interaction, or expression to add a storytelling element that makes the image feel more engaging and less like a static snapshot.
Best Time of Day for Zoo Photography
The best time for zoo photography is early morning or late afternoon.
These times offer:
- Softer light
- More active animals
- Fewer visitors
Ethical Zoo Photography Tips
Ethical zoo photography prioritizes animal welfare and respectful behavior.
- Do not tap on glass
- Do not try to provoke animals
- Follow zoo rules
- Respect viewing spaces
People Also Ask About Zoo Photography
What is the best lens for zoo photography?
The best lens for zoo photography is typically a telephoto zoom because it allows you to photograph animals from a distance and blur distracting backgrounds.
What camera settings should I use for zoo photography?
Use a wide aperture, fast shutter speed, and adjust ISO based on lighting conditions. Continuous autofocus helps track movement.
How do you take pictures through zoo glass without reflections?
Move close to the glass, change your angle, and block light using a lens hood or dark clothing.
How do you photograph animals behind fences?
Use a long focal length, shoot with a wide aperture, and place your lens close to the fence so it blurs out.
When is the best time to take zoo photos?
Early morning and late afternoon provide the best light and animal activity.
Keep Practicing Zoo Photography to Improve Wildlife Skills
Zoo photography is a practical way to improve wildlife photography skills, especially when learning how to handle challenging lighting, barriers, and composition.
Explore more wildlife photography tips in our hub, read our bird photography guide for capturing fast-moving subjects, and browse general photography techniques to continue improving.
Where to Buy Tamron Lenses
Learn more about Tamron lenses at an authorized Tamron dealer near you or shop directly at the official TAMRON Store.