Instant Savings
 Rebate Claims
 Support
 Find a Dealer
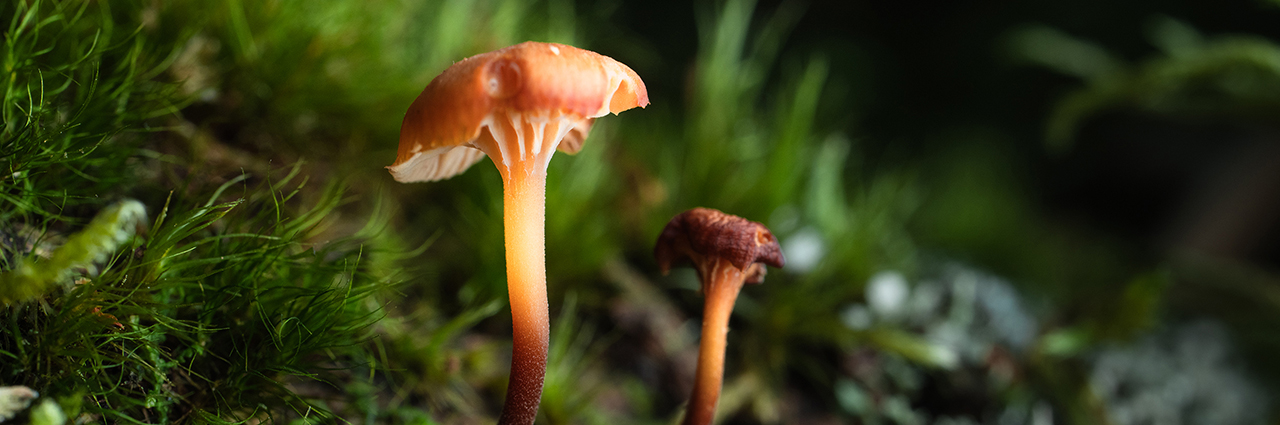
Macro photography is extreme close-up photography that reproduces a subject at a 1:1 magnification ratio or greater on the camera sensor. Creating successful macro images requires the right gear, carefully selected camera settings, and controlled lighting that reveals fine detail while minimizing camera shake, missed focus, and harsh shadows.
Macro subjects can be found almost anywhere, from insects and flowers to frost, food, jewelry, stamps, and small everyday objects. However, photographing these subjects at high magnification introduces challenges that are less noticeable in other types of photography. Depth of field becomes extremely shallow, small movements appear magnified, and both the camera and photographer may cast shadows across the subject.
Understanding magnification, working distance, focusing techniques, lighting, and stability will help you produce sharper and more visually engaging macro photographs. This guide explains the essential techniques and settings you can use to photograph small subjects with greater accuracy and creative control.
Table of Contents
- What Is Macro Photography?
- Understanding Magnification Ratios and Working Distance
- Essential Gear for Macro Photography
- Camera Settings for Macro Photography: Aperture, Focus, and Focal Length Tips
- Lighting and Diffusion Techniques for Macro Photography
- Stability and Composition Techniques for Sharper Macro Shots
- Macro Videography: Capturing Motion
- Common Macro Photography Mistakes to Avoid
- Explore the Macro Cluster
- Macro Photography FAQs: Common Questions Answered
What Is Macro Photography?
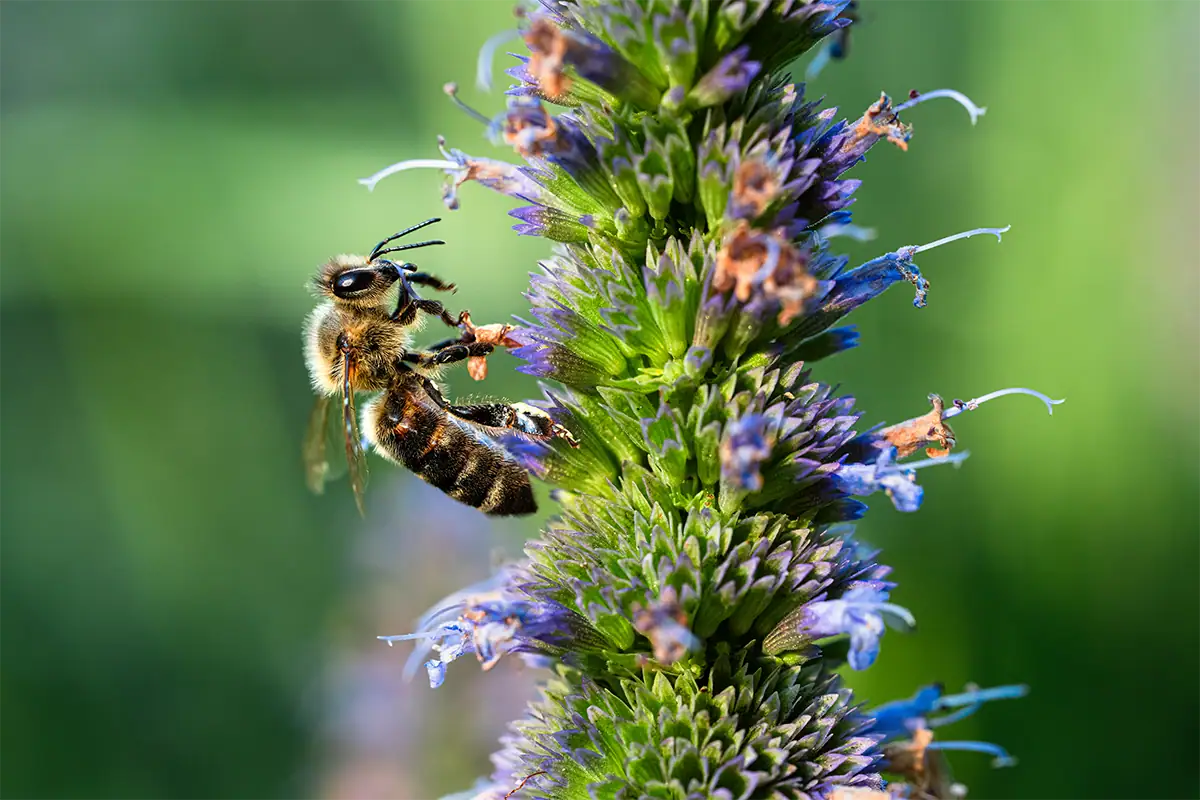
Macro photography is the practice of photographing very small subjects at high magnification so their details appear life-size or larger on the camera sensor. Technically, true macro photography begins at a 1:1 reproduction ratio, although the word “macro” is also commonly used to describe close-up images that do not reach this threshold.
At close focusing distances, ordinary subjects can reveal patterns, colors, and textures that are difficult to notice with the unaided eye. The surface of a flower petal, the compound eye of an insect, the crystalline structure of ice, or the engraved details on a stamp can become the primary subject of an image.
Macro photography is not limited to nature. It is also used for product photography, scientific documentation, food photography, fine-art projects, jewelry, collectibles, and other subjects requiring precise reproduction of small details.
What Counts as “True” Macro Photography?
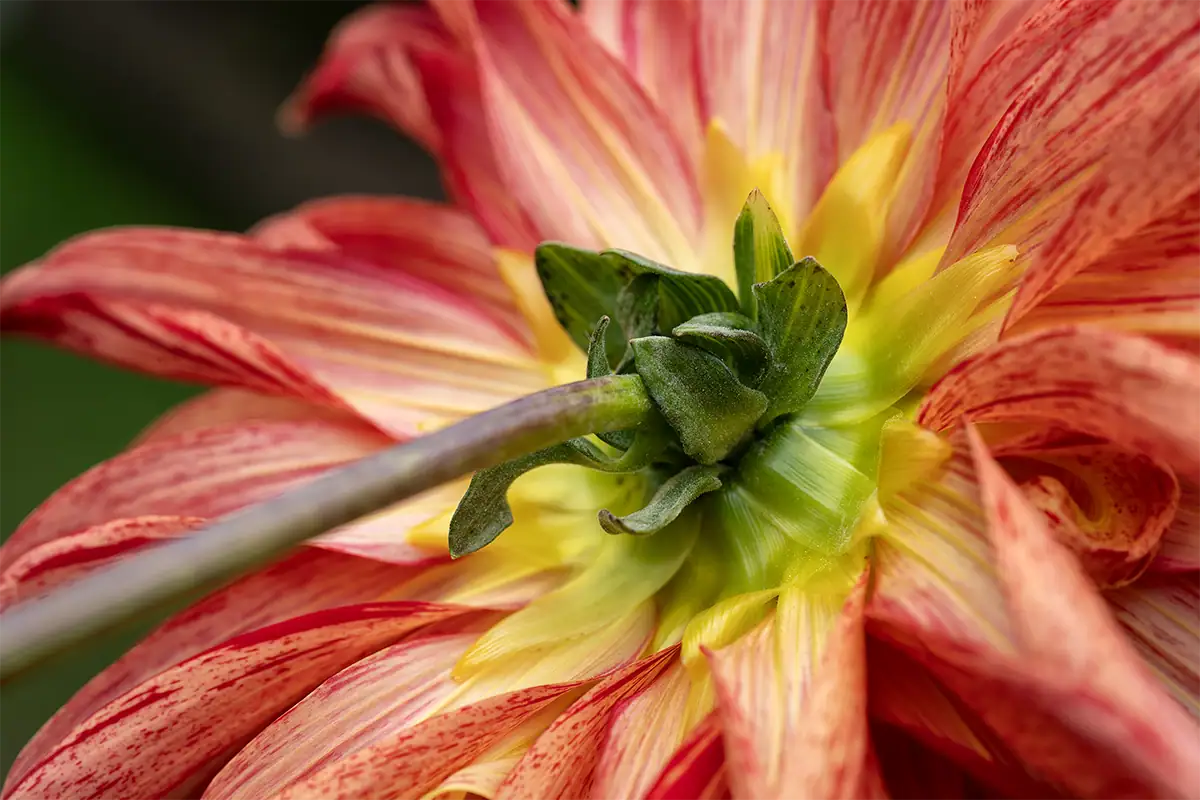
True macro photography renders a subject at a 1:1 magnification ratio or greater on the camera sensor. At 1:1, a subject that measures 10 millimeters in real life is projected onto the sensor at 10 millimeters, allowing extremely small details to occupy a substantial portion of the final photograph.
The 1:1 ratio is widely accepted as the technical threshold for true macro photography because it describes the actual physical relationship between the subject and its projected image. It does not refer to how large the subject looks on a computer monitor or print, since those displays can enlarge any photograph.
For example, a small insect photographed at 1:1 may fill much of the sensor even though the insect remains tiny in the real world. When the photograph is displayed on a large screen, the insect can appear many times larger than life.
Some lenses and cameras use the term “macro” more loosely for close-focusing capabilities that produce ratios such as 1:2 or 1:3. These lenses can create excellent close-up images, but they do not technically reach life-size reproduction.
Learn more about what makes a lens a true macro lens, including how minimum focusing distance and maximum magnification affect close-up performance.
Macro vs. Micro Photography: What’s the Difference?
Macro and micro photography are sometimes used interchangeably, but they traditionally describe different levels of magnification. Macro photography generally begins at 1:1 magnification and can be accomplished with a camera and macro lens, while micro photography refers to imaging subjects through a microscope at magnifications beyond the capabilities of a standard macro lens.
The terminology can be confusing because lens manufacturers have not always used the same naming conventions. Some close-focusing lenses have historically been labeled “Micro,” while others offering similar capabilities are labeled “Macro.” In these cases, the name does not necessarily indicate that a microscope is required.
For most flowers, insects, jewelry, food details, stamps, textures, and small products, a conventional macro lens provides enough magnification. Microscope-based photography becomes necessary when the subject or detail is too small to be resolved effectively by a macro lens, such as cells, microorganisms, or microscopic material structures.
Understanding Magnification Ratios and Working Distance
Magnification ratio describes how large the subject appears on the camera sensor, while working distance describes the physical space between the front of the lens and the subject. Together, these measurements determine how much detail you can capture, how tightly you can frame the subject, and how closely you must position the camera.
Understanding both concepts is especially important when photographing live subjects. A lens may provide sufficient magnification but place the camera so close that an insect flies away, the photographer blocks the available light, or the lens interferes with the intended composition.
What Is a Magnification Ratio and Why Does It Matter?
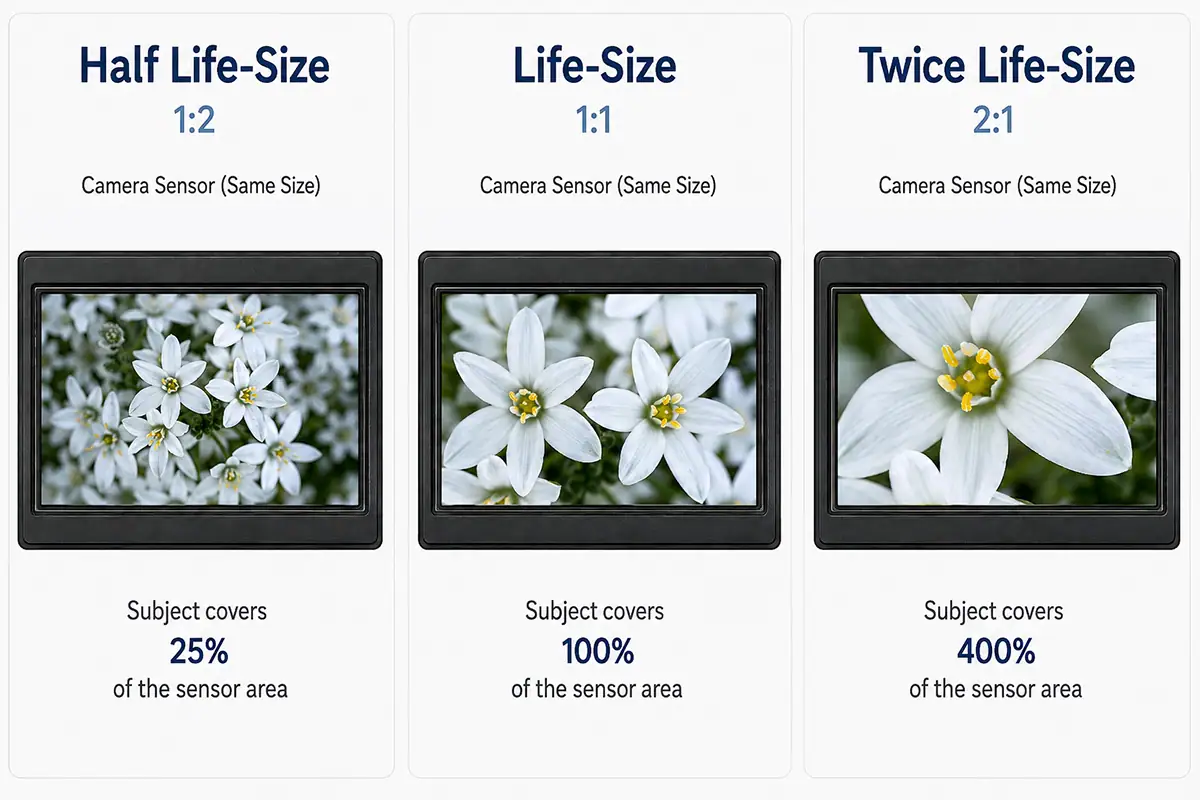
A magnification ratio compares the size of a subject’s projected image on the sensor with the subject’s actual size. A 1:1 ratio records the subject at life-size, while a 1:2 ratio records it at half life-size. True macro lenses reach at least 1:1, and specialty lenses may reach 2:1, 5:1, or greater.
At 1:2 magnification, a subject measuring 10 millimeters projects an image measuring 5 millimeters onto the sensor. At 1:1, the same subject projects an image measuring 10 millimeters. At 2:1, its projected image measures 20 millimeters, making it larger on the sensor than it is in real life.
Higher magnification makes it possible to record increasingly fine detail, but it also magnifies every technical challenge. Depth of field becomes thinner, camera shake becomes more visible, and tiny movements by the subject can move the intended focus point out of the sharp area.
Beginners do not always need to begin at the maximum possible magnification. Starting at 1:2 or a slightly wider framing can make it easier to locate the subject, establish focus, and create a balanced composition before moving closer.
Why Working Distance Matters for Skittish Subjects
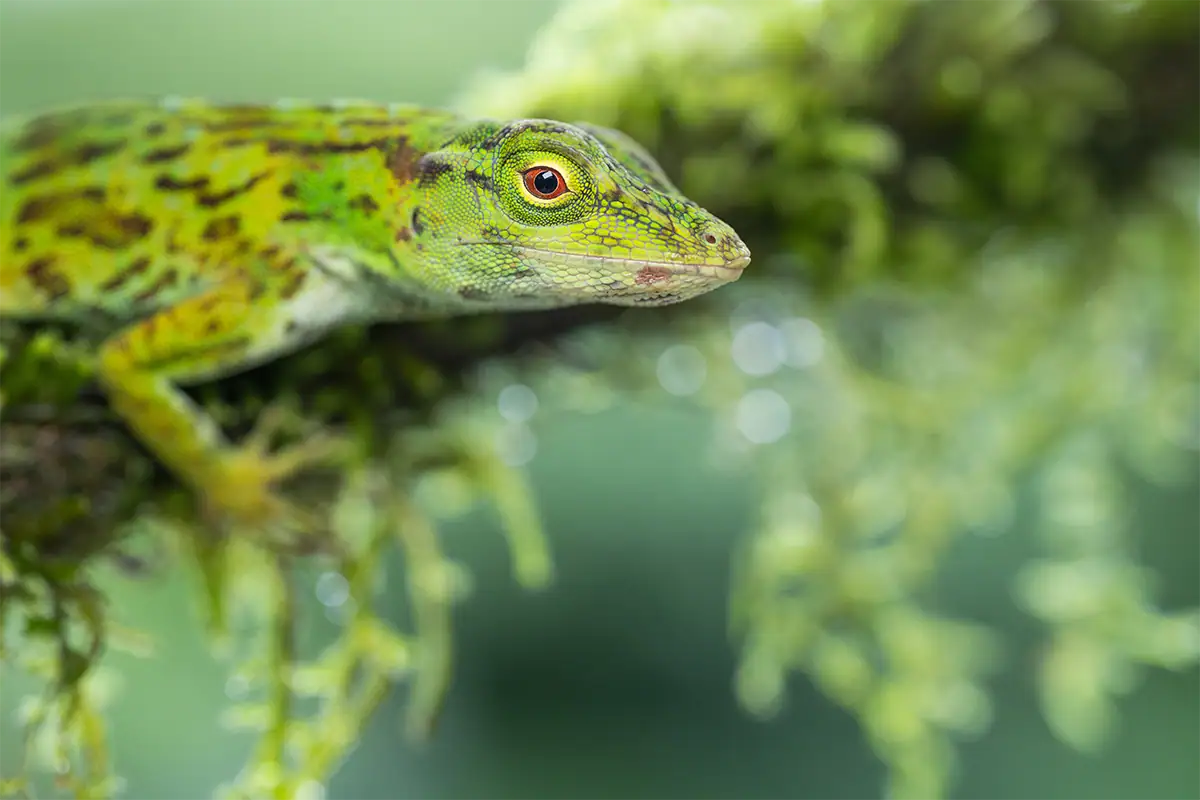
Working distance is the space between the front of the lens and the subject at the closest focusing position. It matters because insects, small animals, and other easily startled subjects often require more physical space than a short focal length macro lens provides, making longer focal lengths easier to use without disturbing them.
Working distance should not be confused with minimum focusing distance, which is usually measured from the camera’s sensor plane rather than from the front of the lens. A lens may list a seemingly generous minimum focusing distance while leaving much less usable space between its front element and the subject.
Shorter macro lenses in the 50 to 65mm range generally require the photographer to work closer. Lenses in the 90 to 105mm range provide a more moderate distance, while lenses in the 150 to 200mm range allow photographers to stay farther from timid animals and insects.
Additional working distance also makes it easier to position lights and diffusers without crowding the subject. However, longer lenses are generally larger and can make precise handheld framing more difficult.
For a practical look at shooting macro outdoors in the field, consider how subject behavior, wind, background placement, and changing natural light affect the shooting process.
Essential Gear for Macro Photography
Essential macro photography gear includes a close-focusing lens or magnification accessory, a stable camera-support system, and lighting that can be positioned or diffused near the subject. The ideal equipment depends on the subject, since flowers and products allow close positioning while insects and other skittish subjects usually require greater working distance.
Gear does not replace good technique, but the right tools can make focusing, lighting, and composition much easier. Before choosing equipment, consider whether the subject moves, how much magnification is required, how much working room is available, and whether the image will be created indoors or outdoors.
Explore these macro lens shooting tips for additional examples of how lens position, focusing distance, lighting, and subject selection influence macro images.
Choosing a Macro Lens by Focal Length
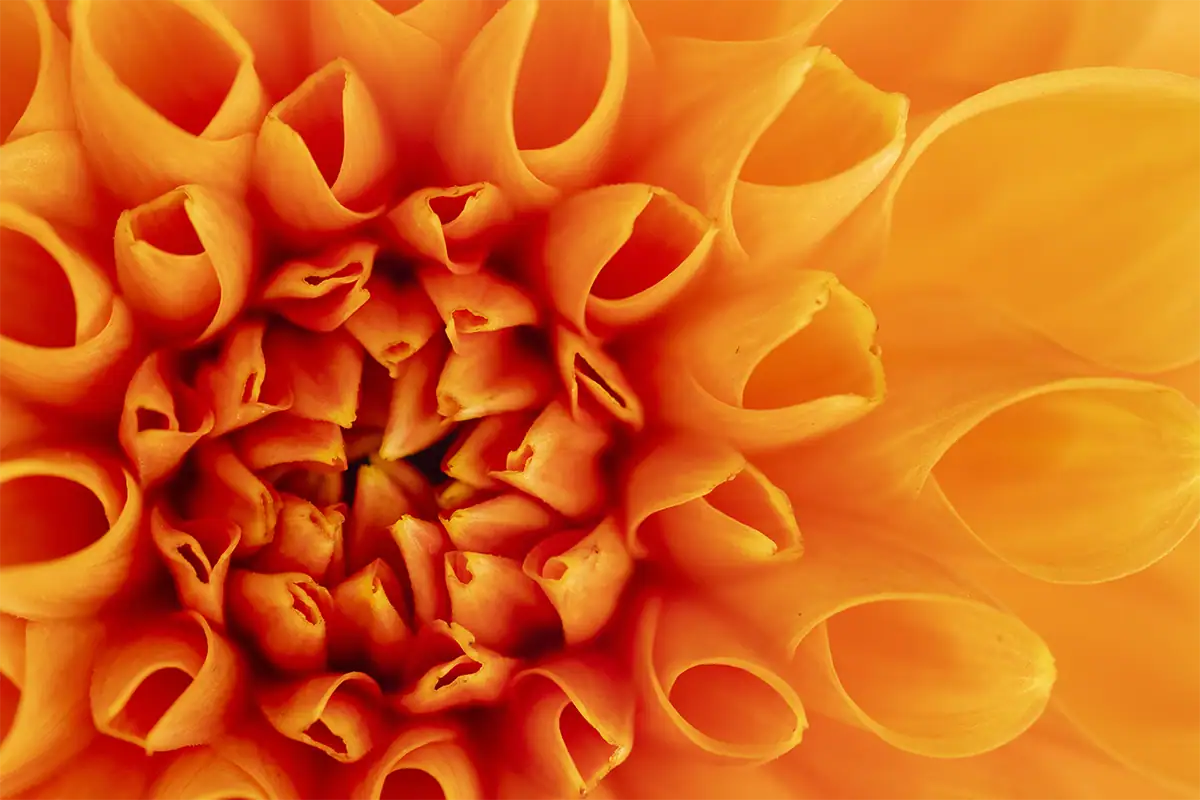
True macro lenses provide a 1:1 reproduction ratio and generally fall into three focal length ranges: 50 to 65mm, 90 to 105mm, and 150 to 200mm. Each range can provide life-size magnification, but the focal length changes the working distance, perspective, background appearance, and subjects the lens is easiest to photograph.
Neither option automatically creates the same working distance, focusing experience, or optical performance as a true macro lens. However, both can provide an affordable entry point for learning close-up composition, lighting, and focus control.
Camera Settings for Macro Photography: Aperture, Focus, and Focal Length Tips
Effective macro photography settings balance depth of field, shutter speed, and image quality. Begin around f/8 to f/13, focus manually on the most important detail, and use at least 1/200s when shooting handheld. Adjust ISO as needed to maintain that shutter speed, especially when photographing insects or subjects moving in the wind.
There is no single exposure setting that works in every situation. A stationary product photographed from a tripod allows slower shutter speeds and lower ISO values, while a moving insect may require a faster shutter speed, additional light, and a higher ISO.
Best Aperture Settings for Macro Photography (f/8 to f/13)
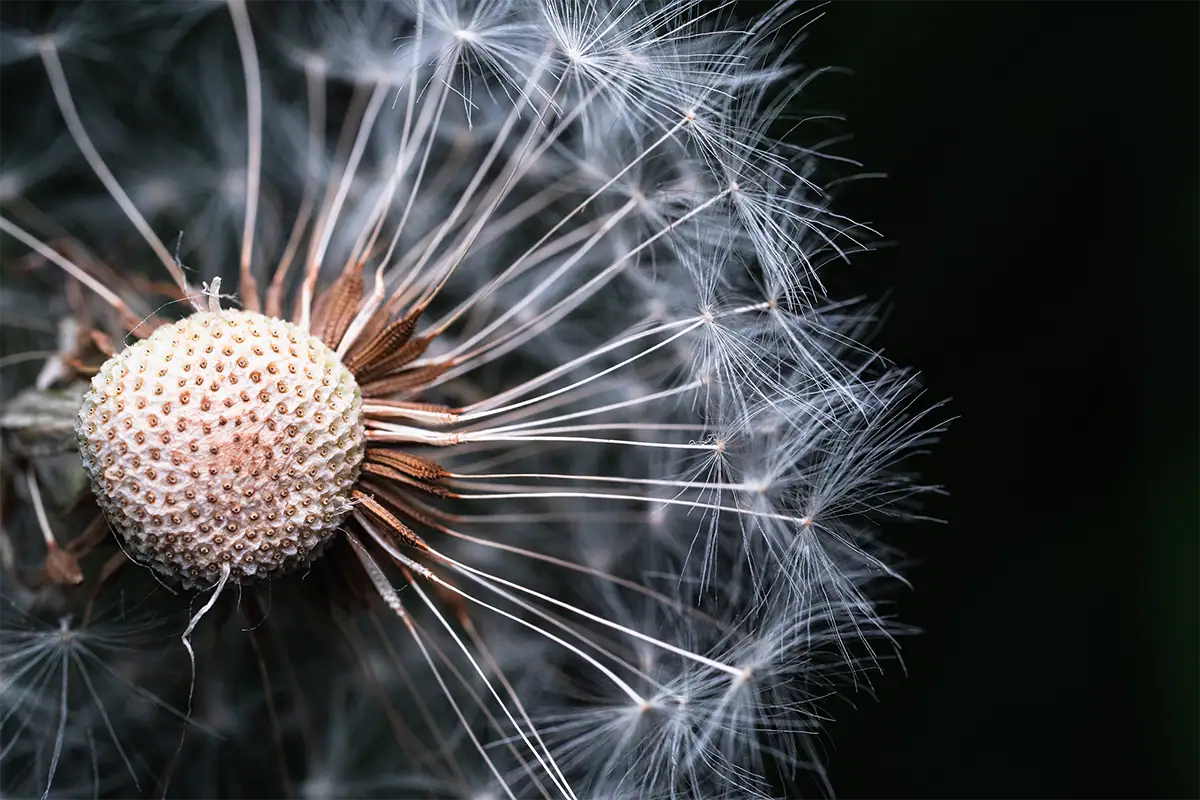
The aperture sweet spot for macro photography is f/8 to f/13, which provides a practical balance between depth of field and overall sharpness. Close focusing produces an extremely shallow focus range, so moderately narrow apertures help keep more of the subject sharp without introducing the stronger diffraction softness that can appear past f/16.
Depth of field becomes thinner as magnification increases. Even at f/8 or f/11, only a narrow slice of a small subject may appear sharp when photographing at or near 1:1.
Whenever possible, position the camera so the sensor plane is parallel to the most important surface of the subject. For example, when photographing a butterfly with open wings, aligning the camera with the wings may bring more of both wings into the focus plane without requiring an extremely narrow aperture.
Apertures smaller than f/16 may increase the apparent depth of field, but diffraction can reduce fine detail throughout the image. When the subject requires more sharpness than a single frame can provide, focus stacking is often a better solution.
See these macro photography settings in practice for additional ways to balance aperture, shutter speed, ISO, and subject movement.
Manual Focus: Why It Wins for Macro Work
Manual focus often outperforms autofocus in macro photography because the extremely shallow depth of field at close range can cause autofocus systems to hunt, shift between competing details, or lock onto the wrong point. Manual control lets the photographer place sharpness precisely on an insect’s eye, a flower’s center, or a product’s defining feature.
Focus peaking can highlight high-contrast edges that appear sharp, making it easier to identify the approximate focus plane. Magnified live view provides even greater precision by enlarging a small portion of the frame on the camera screen or electronic viewfinder.
Some modern autofocus systems perform well with recognizable subjects and strong light. Continuous autofocus may also help with insects that are moving gradually. However, manual focus remains more predictable when the camera is close to the minimum focusing distance or when the subject has overlapping details.
The Rocking Technique for Precise Focus
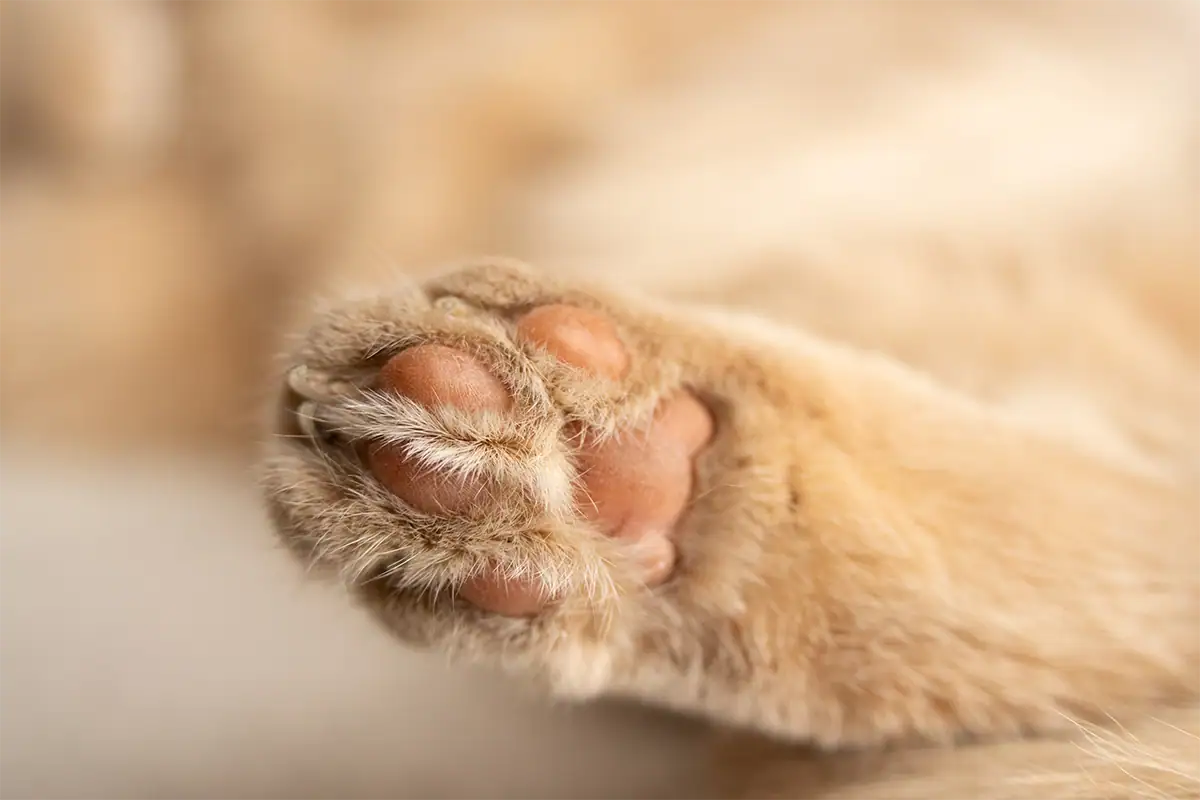
The Rocking Technique means setting focus manually and then physically rocking your body or camera slightly forward and backward until the intended subject detail snaps into sharp focus. Instead of repeatedly turning the focus ring, the photographer moves the entire camera by a very small amount to shift the focus plane through the subject.
To use the Rocking Technique:
- Set the lens to manual focus.
- Choose the desired magnification or focusing distance.
- Frame the subject and identify the detail that must be sharp.
- Hold the camera as steadily as possible.
- Rock slightly forward and backward rather than turning the focus ring.
- Watch the intended detail move into and out of focus.
- Press the shutter when the detail appears sharpest.
- Capture several frames to improve the chance of obtaining perfect focus.
The movement should be extremely small. At high magnification, shifting the camera by only a few millimeters can move the focus plane from an insect’s eye to its antenna or from the front of a flower’s center to the rear.
Burst shooting can make the technique more effective with handheld subjects. As you move gently through the focus plane, capture a short sequence rather than relying on a single frame.
Focus Stacking for Extended Depth of Field
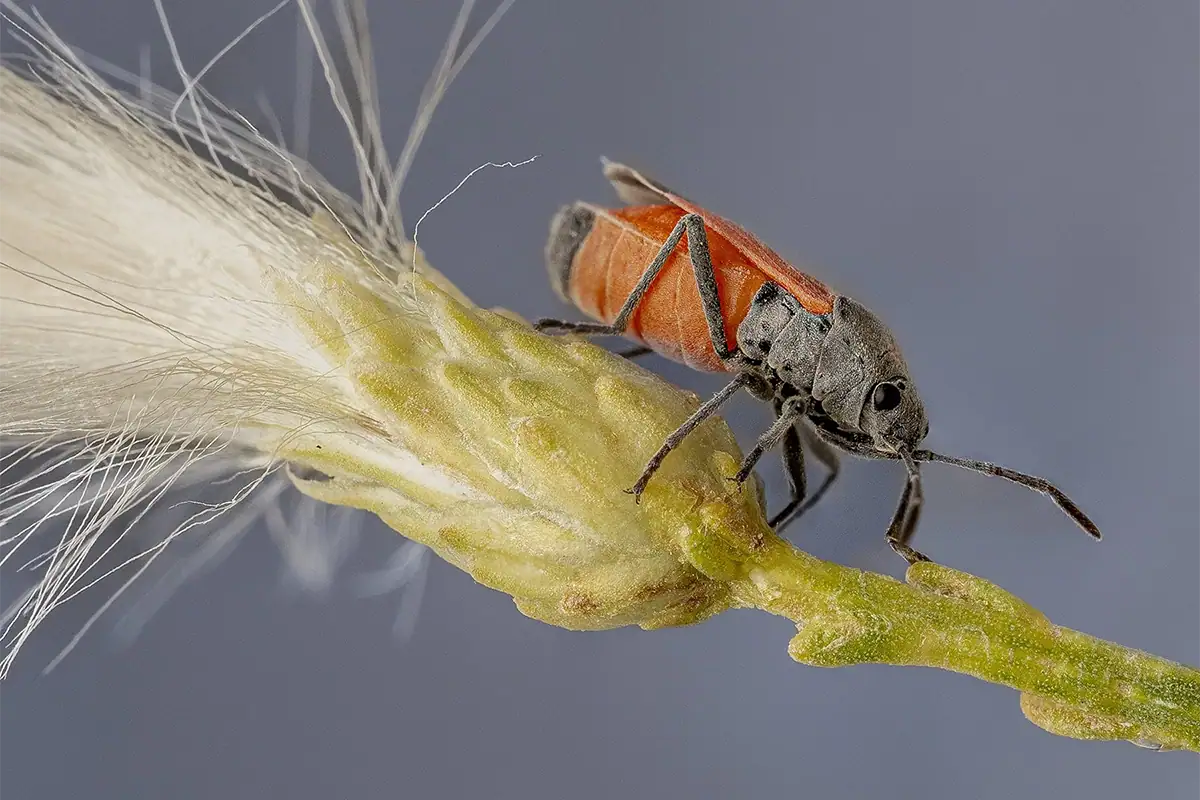
Focus stacking combines multiple photographs of the same subject captured at slightly different focus points. The sharp areas from those frames are merged during post-processing, producing one image with much greater depth of field than a single macro exposure can provide at the same magnification and aperture.
This technique is particularly effective for flowers, products, jewelry, stamps, coins, food, and other subjects that remain completely still. A tripod and focusing rail can help maintain consistent framing while the focus plane moves gradually from the nearest part of the subject to the farthest.
Focus stacking is less practical for moving insects, windblown flowers, or scenes in which the lighting changes between frames. Movement can make the individual images difficult to align and may create visible blending artifacts.
Read how Sydney Carnevale-Baker focus stacks her macro images and get a complete explanation of capture intervals, focusing rails, frame alignment, and image blending.
Lighting and Diffusion Techniques for Macro Photography
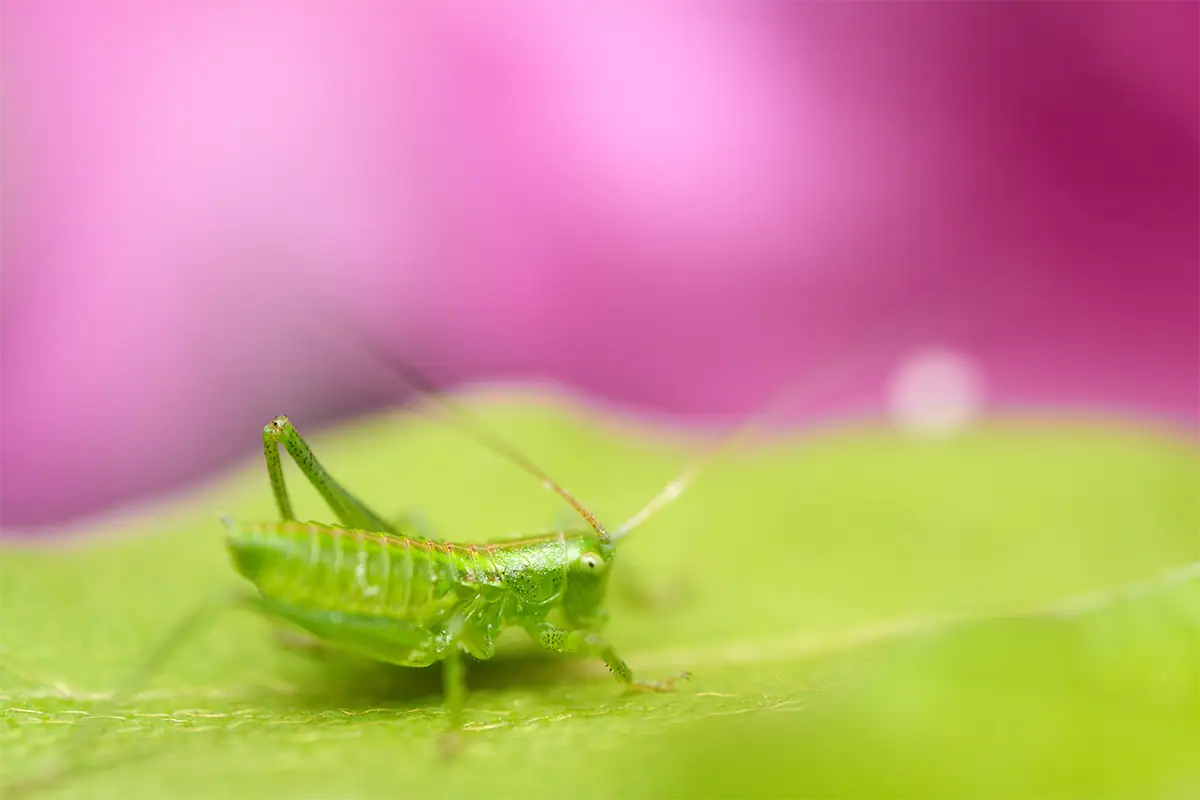
Macro lighting must be soft, directional, and close enough to illuminate a very small subject without producing harsh reflections or blocked shadows. Off-camera flash with diffusion is the standard solution for freezing movement, while continuous LED lighting is easier to preview and can be effective for stationary subjects, tabletop scenes, and video.
Because the lens is positioned close to the subject, ordinary light may be blocked by the camera, lens, photographer, or nearby equipment. Small subjects can also have reflective surfaces that create distracting highlights when illuminated directly.
Off-Camera Flash and Diffusers for Macro Shots
Off-camera flash paired with a diffuser is a standard macro lighting setup because it adds controlled fill light and freezes movement without producing the harsh, flat shadows associated with direct built-in flash. Moving the flash away from the camera axis creates more dimensional light, while diffusion softens highlights and shadow transitions.
A small softbox, diffusion panel, translucent plastic, white fabric, foam material, or purpose-built macro diffuser can spread the light across a larger apparent surface. The closer the diffuser is to the subject, the larger and softer the light appears relative to that subject.
Position the flash slightly above or to one side of the lens rather than pointing it directly forward. This angle can reveal texture while reducing flat illumination. For highly reflective insects, jewelry, or polished products, move the light and diffuser until bright reflections no longer obscure important detail.
Flash duration can also help freeze movement from an insect, windblown flower, or slightly unsteady handheld camera. The surrounding ambient exposure should still be monitored so the background does not become unnaturally dark.
Continuous LED Lighting vs. Flash for Macro
Continuous LED lighting shows the position of highlights and shadows before the photograph is taken, making it intuitive for beginners and useful for stationary subjects. Flash provides more power and a much shorter burst of light, making it better for freezing camera movement, active insects, and handheld macro photography at smaller apertures.
LED lights can be positioned close to a small subject, but they may require higher ISO settings or slower shutter speeds when used at f/8 to f/13. Flash usually provides enough output to maintain a faster shutter speed and lower ISO while preserving a useful aperture.
Stability and Composition Techniques for Sharper Macro Shots
Sharp macro photographs require both physical stability and deliberate composition. A tripod and focusing rail provide the most repeatable control for stationary subjects, while handheld photographers should maintain a shutter speed of at least 1/200s. Shooting at the subject’s eye level and controlling shadows can make the resulting image feel more natural and engaging.
At high magnification, vibrations that would be insignificant in a landscape photograph can create obvious softness. Stability therefore depends on more than simply holding the camera still. Subject movement, wind, shutter movement, and changes in photographer position can all affect sharpness.
Tripods, Focusing Rails, and Handheld Shutter Speed Minimums
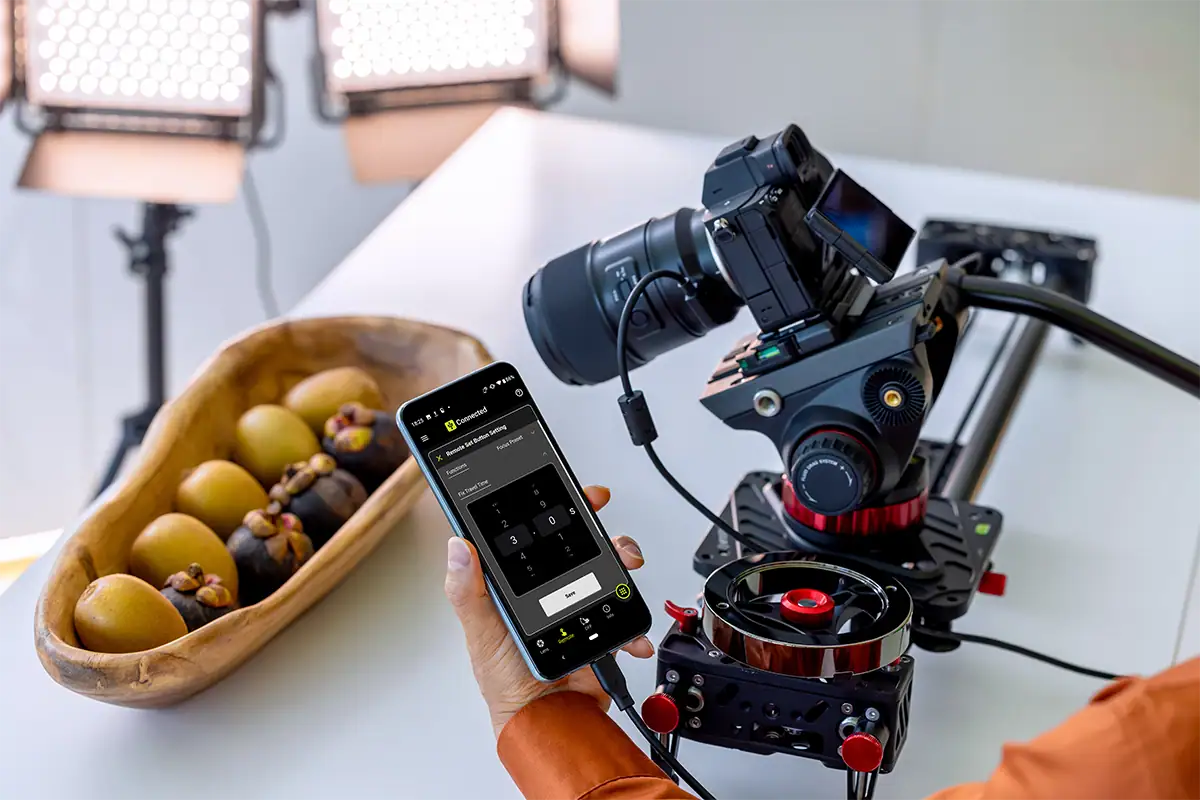
A tripod with a focusing rail provides the sharpest and most repeatable macro results, but handheld shooting remains practical when the shutter speed stays at 1/200s or faster. The tripod stabilizes the camera, while the rail moves it forward or backward in precise increments without changing the lens’s focus setting or disturbing the composition.
Focusing rails are particularly useful for high-magnification work and focus stacking. Instead of rotating the focus ring, the photographer moves the entire camera in small, controlled steps so the focus plane progresses consistently through the subject.
A tripod is ideal for products, flowers indoors, coins, jewelry, stamps, food, and other stationary subjects. It may be less useful for active insects that change position before the camera can be adjusted.
When shooting handheld, treat 1/200s as the minimum starting point rather than a guarantee. Faster speeds may be necessary when the subject is moving, the magnification is high, or the photographer cannot brace against a stable surface. Raise the ISO or add flash rather than allowing the shutter speed to fall below a dependable handheld range.
Composition and Shadow Management at Eye Level
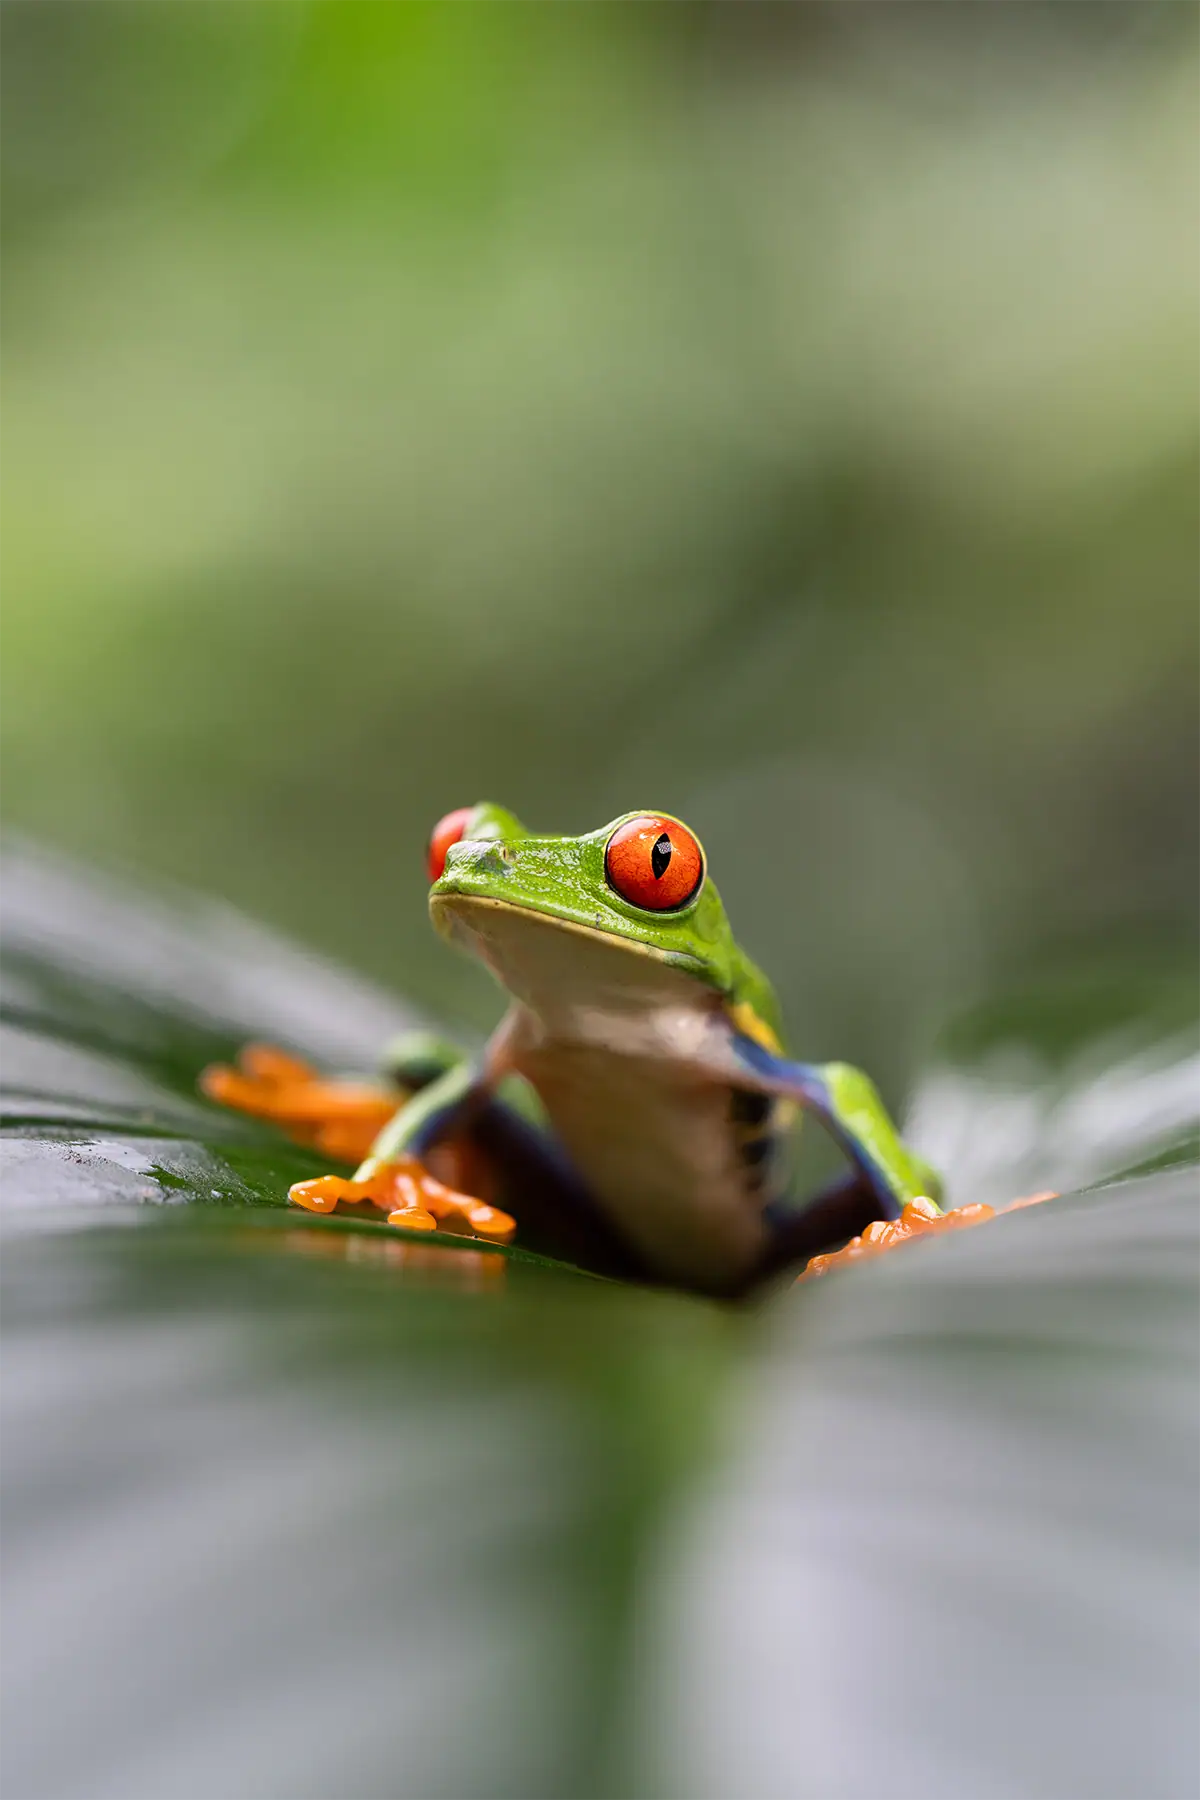
Shooting at the subject’s eye level creates a more engaging macro composition because the viewer enters the small subject’s world instead of looking down on it. Photographers must also manage their own shadow carefully, since short working distances place the camera, lens, hands, and lighting equipment close enough to block the available light.
For insects and small animals, eye-level framing can make the subject appear more expressive and dimensional. Focus on the nearest visible eye whenever possible, particularly when depth of field is too shallow to render the entire subject sharply.
Look beyond the subject before taking the photograph. A small change in camera angle may replace a distracting stem or bright patch with a cleaner background. Because longer focal lengths show a narrower angle of view, they can make it easier to isolate the subject against distant colors and soft shapes.
Watch the direction of the natural light as you approach. Moving to the opposite side, lowering the camera, or repositioning the diffuser may prevent your shadow from falling across the subject.
Macro Videography: Capturing Motion
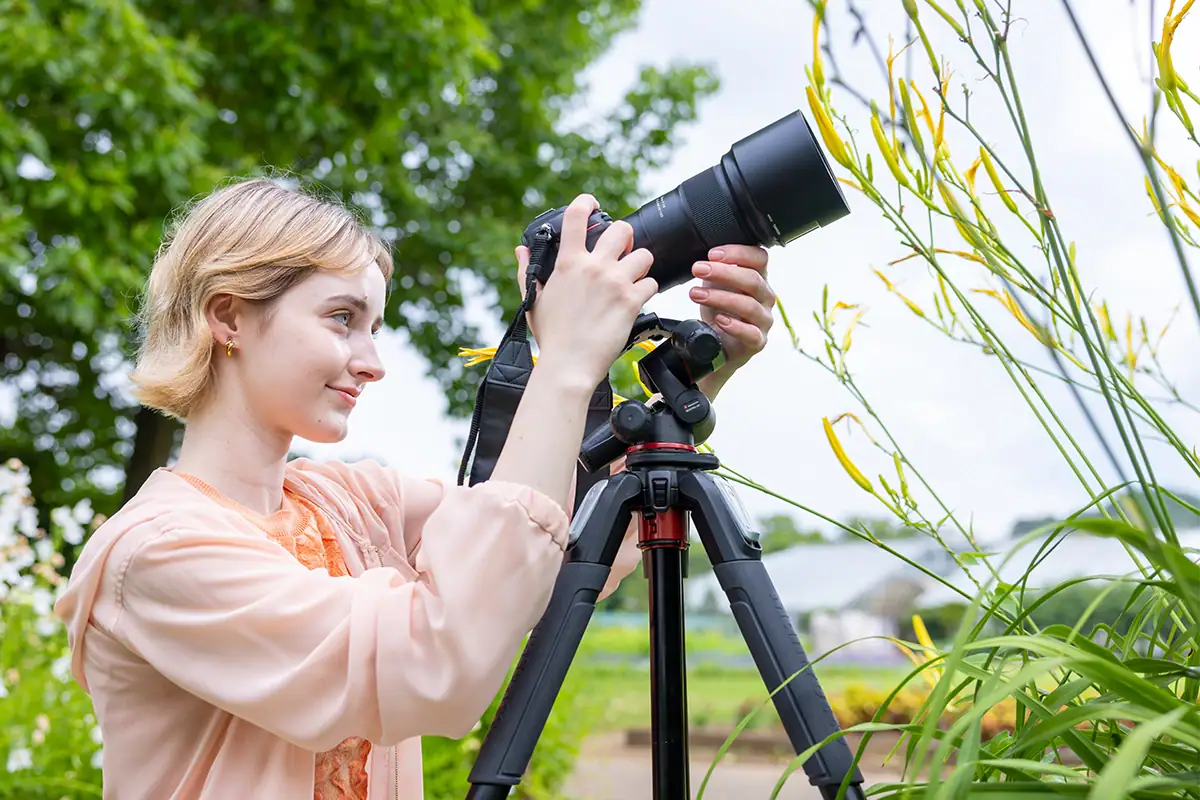
Macro videography applies the same close-focusing principles as macro photography but adds subject movement, camera movement, and changing focus. Stable support from a tripod, gimbal, or slider is especially important, and continuous lighting is generally required because flash cannot illuminate an ongoing video clip in the way it illuminates a still frame.
A tripod works well for stationary compositions, demonstrations, and controlled product scenes. A slider can introduce a slow, deliberate camera movement that reveals surface texture or changes the relationship between foreground and background. A gimbal may be useful when following a moving subject, although balancing a close-focusing setup requires care.
Continuous LED lighting allows the photographer to see the final light pattern throughout the recording. Diffusion remains important because reflective shells, leaves, metal, glass, and wet surfaces can produce distracting highlights.
Focus should also be planned before recording. At macro distances, even slight movement can pull the subject out of the narrow focus plane. Manual focus, controlled camera movement, and repeated takes often produce more consistent results than allowing autofocus to shift unpredictably.
Explore the complete process for shooting macro video, including support systems, lighting, movement, and focusing techniques.
Common Macro Photography Mistakes to Avoid
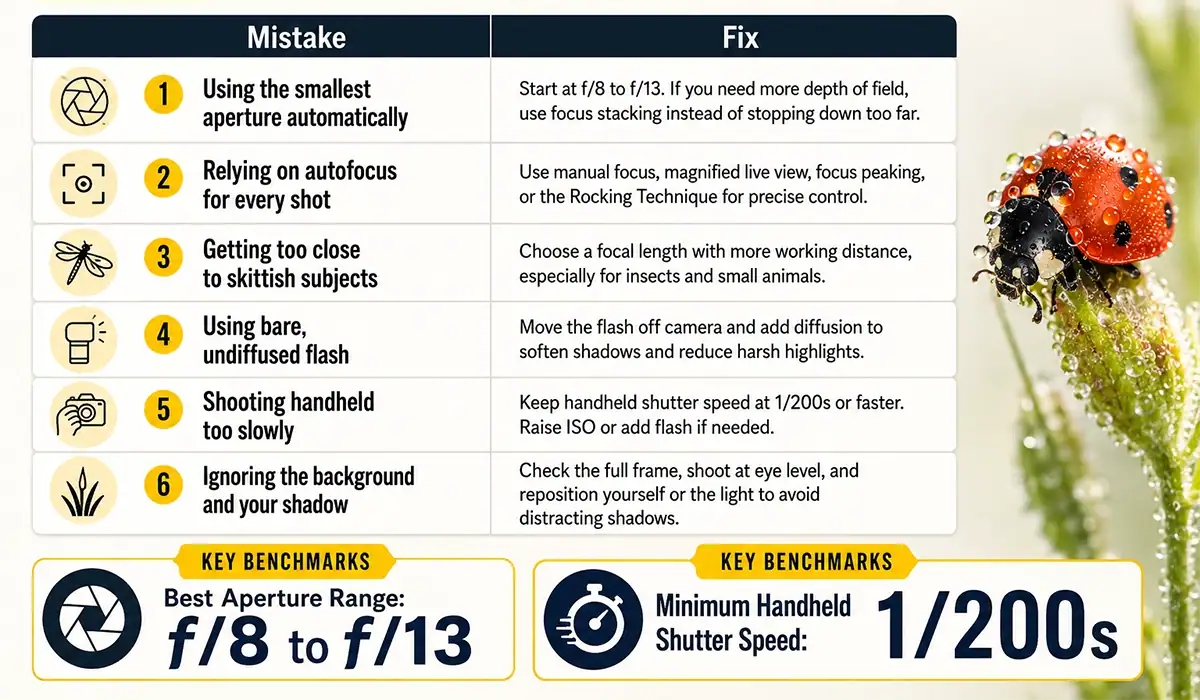
The most common macro photography mistakes are using apertures beyond the practical sharpness range, relying entirely on autofocus, choosing too little working distance for skittish subjects, using undiffused flash, and shooting handheld below 1/200s. Each mistake reduces sharpness, disrupts the subject, or makes the final lighting appear unnatural.
- Mistake: Automatically using the smallest available aperture.
Fix: Begin between f/8 and f/13. Going past f/16 can introduce diffraction softness, so use focus stacking when additional depth of field is required. - Mistake: Allowing autofocus to select the wrong detail.
Fix: Use manual focus, focus peaking, magnified live view, or the Rocking Technique to place the focus plane precisely. - Mistake: Moving too close to a skittish subject.
Fix: Choose a focal length that provides enough working distance. The 150 to 200mm range can be especially useful for timid insects and small animals. - Mistake: Pointing a bare flash directly at the subject.
Fix: Move the flash off the camera axis and add a softbox, panel, or other diffuser to soften shadows and specular highlights. - Mistake: Letting the handheld shutter speed fall too low.
Fix: Keep the shutter speed at 1/200s or faster. Raise the ISO or add flash when the available light cannot support that speed. - Mistake: Ignoring the background and the photographer’s shadow.
Fix: Check the entire frame, photograph the subject near eye level, and adjust your camera or lighting position before your shadow blocks the light.
Macro photography becomes easier when each technical choice supports the subject. Start with a manageable magnification, identify the detail that must be sharp, stabilize the camera, and shape the light before pressing the shutter.
Explore the Macro Cluster
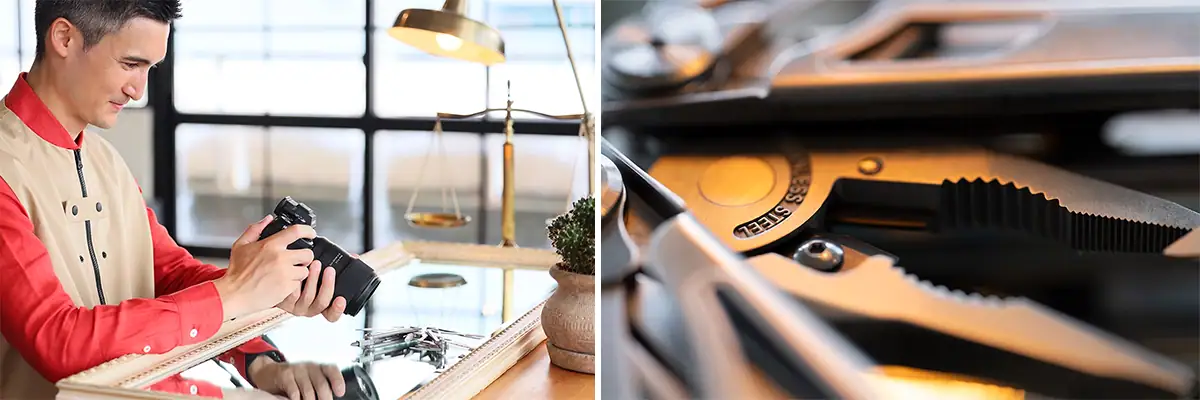
The Tamron macro photography collection provides additional guidance for specific subjects and shooting situations. After learning the core principles of magnification, working distance, focus, lighting, and stability, explore these subject-based guides to see how the same techniques can be adapted for flowers, ice, rainforest details, stamps, and small collectibles.
Macro photography by subject:
- Photographing flowers with a macro lens
- Backyard flower photography
- Photographing ice and frost up close
- Macro photography in the rainforest
- Photographing stamps and small collectibles
Where to Buy Tamron Lenses
Tamron lenses are available through authorized Tamron dealers and the official TAMRON Store. Purchasing through an authorized source ensures that the lens is intended for the region and is supported by applicable Tamron Americas service and warranty policies.
Find an authorized Tamron dealer near you or shop directly at the official TAMRON Store.
Macro Photography FAQs: Common Questions Answered
Macro photography frequently raises questions about equipment, magnification, stability, lighting, and camera settings. You can begin without a dedicated macro lens, but understanding the 1:1 threshold, f/8 to f/13 aperture range, 1/200s handheld minimum, and differences between flash and continuous light will make your results more consistent.
Can you shoot macro photography without a macro lens?
Yes, you can create macro or strong close-up images without a dedicated macro lens by using extension tubes or close-up filters with an existing lens. Extension tubes reduce the lens’s focusing distance by moving it farther from the sensor, while close-up filters attach to the front and provide additional magnification.
These accessories are useful for learning close-up technique, although their working distance, ease of focusing, and image quality may differ from those of a true 1:1 macro lens.
What is the difference between macro and close-up photography?
True macro photography records a subject at a 1:1 magnification ratio or greater on the camera sensor, while close-up photography describes tightly framed images that may not reach life-size reproduction. Many images are casually called macro because they show small subjects prominently, even when their actual magnification is 1:2, 1:3, or lower.
Both approaches can produce compelling images. The distinction matters primarily when evaluating magnification specifications or deciding how much detail a lens can reproduce.
What settings should I use for macro photography?
Start with an aperture between f/8 and f/13, use manual focus, and maintain a shutter speed of at least 1/200s when shooting handheld. Adjust ISO as needed to support the selected aperture and shutter speed. For stationary tripod-mounted subjects, you can use a slower shutter speed and lower ISO.
Use flash when you need to freeze motion or add enough light for a narrow aperture. Consider focus stacking when a single frame cannot provide enough depth of field.
Do I need a tripod for macro photography?
A tripod is not required for every macro photograph, but it provides the greatest stability and repeatability for products, flowers, food, jewelry, stamps, and focus-stacked images. Handheld shooting is often more practical for active insects, provided the shutter speed remains at 1/200s or faster and the camera is held steadily.
A focusing rail can be added to a tripod when precise forward-and-backward camera movement is required.
What is the best lighting for macro photography?
Off-camera flash with a diffuser is the most versatile macro lighting setup because it can freeze subject movement, support apertures between f/8 and f/13 and produce softer shadows than direct built-in flash. Continuous LED lighting is easier to preview and works particularly well for stationary subjects, focus stacking, and macro video.
Whichever light source you use, place it close enough to shape the subject without allowing the camera or lens to block it.
What is a good magnification ratio for beginners?
A ratio between 1:2 and 1:1 is a practical starting range for beginners. At 1:2, the subject is recorded at half life-size and is generally easier to locate, frame, illuminate, and keep in focus. Photographers can then progress toward true 1:1 macro as their focusing and stability techniques improve.
Higher ratios such as 2:1 or 5:1 reveal smaller details but make depth of field, camera movement, lighting, and subject movement substantially more difficult to control.