Techniques for Photographing City Lights
As night falls, cityscapes come alive with dazzling lights, from glowing skyscrapers to festive holiday displays. Learning how to take pictures of city lights at night opens up endless creative possibilities, but it also comes with unique challenges.
Mastering the right techniques—such as controlling exposure, using long shutter speeds, and selecting the right gear—can help you create stunning, dynamic images that capture the magic of city lights. Whether you’re shooting holiday decorations or neon-lit streets, this guide will help you make the most of night cityscape photography.
Images and tips by André Costantini
What You Will Learn in This Article:
- How to take pictures of city lights at night using long exposures to create dynamic light trails and capture movement with stunning clarity.
- Essential gear setup for successful night cityscape photography, including camera, lenses, tripods, and creative accessories like star filters.
- Creative techniques such as multiple exposure and using star filters to enhance visual impact and produce artistic effects.
- How to use ambient city light for portraits, taking advantage of neon signs, street lamps, and festive decor to illuminate your subjects.
- Tips for capturing mood and story by observing changing light sources, reflections, and contrasting elements across the urban landscape.
Urban night photography can be both fun and challenging. It offers countless opportunities to experiment with light and composition, resulting in stunning and dynamic images. Here are some techniques you can try to creatively capture beautiful city lights at night.
Preparing Your Gear for Night Cityscape Photography
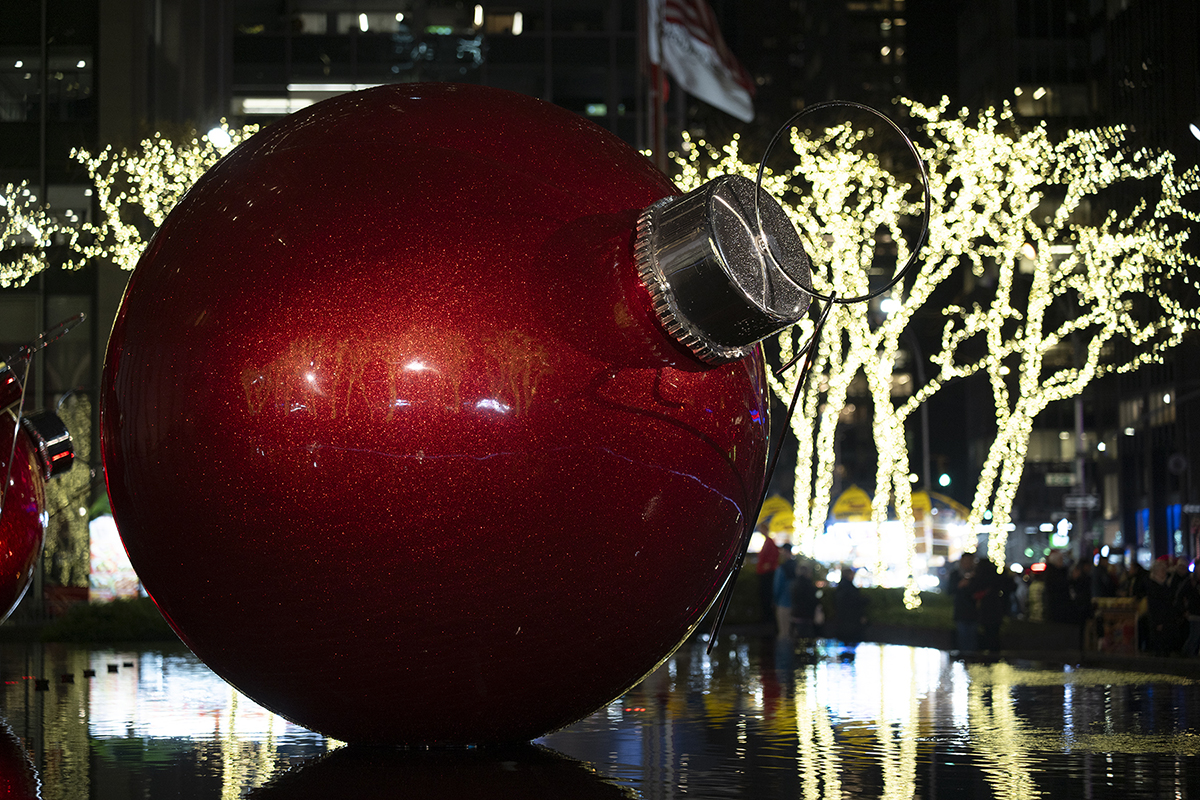
Before you head out to capture those mesmerizing night cityscapes, it’s essential to prepare your gear. Here are some must-have tools:
- Camera: A mirrorless camera with manual mode settings is ideal.
- Lens: A wide-angle or standard zoom lens with a fast aperture is perfect for capturing city lights. The Tamron 16-30mm F/2.8 Di III VXD G2 or the 28-75mm F/2.8 Di III VXD G2 are perfect lenses for this type of photography.
- Tripod: Essential for stabilizing your camera during long exposures.
- Remote Shutter Release: Reduces camera shake when taking photos.
- Star Filter: Enhances the twinkle effect of lights.
- Extra Batteries and Memory Cards: Cold weather can drain batteries faster, so prepare extra batteries and memory cards.
Why Do City Lights Twinkle at Night?
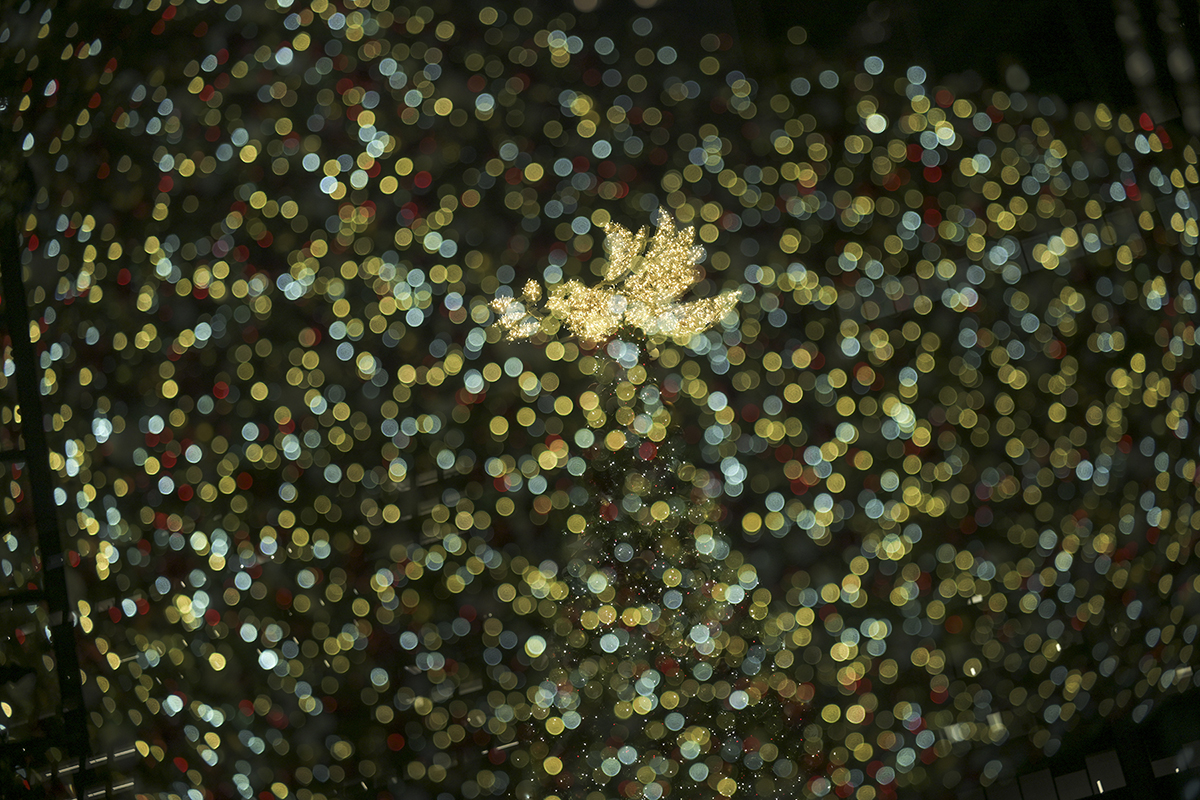
City lights twinkle due to atmospheric turbulence. Various layers of air with different temperatures and densities compose the Earth’s atmosphere. As light from the cityscape travels through these layers, it bends and scatters, causing the twinkling effect. While this can be a beautiful effect to capture, it also presents challenges for photographers aiming for sharp images.
How to Take Pictures of City Lights at Night
Photographing city lights at night requires a balance of technical skill and creativity. Here are some tips to get you started:
TIP 1: Long Exposure
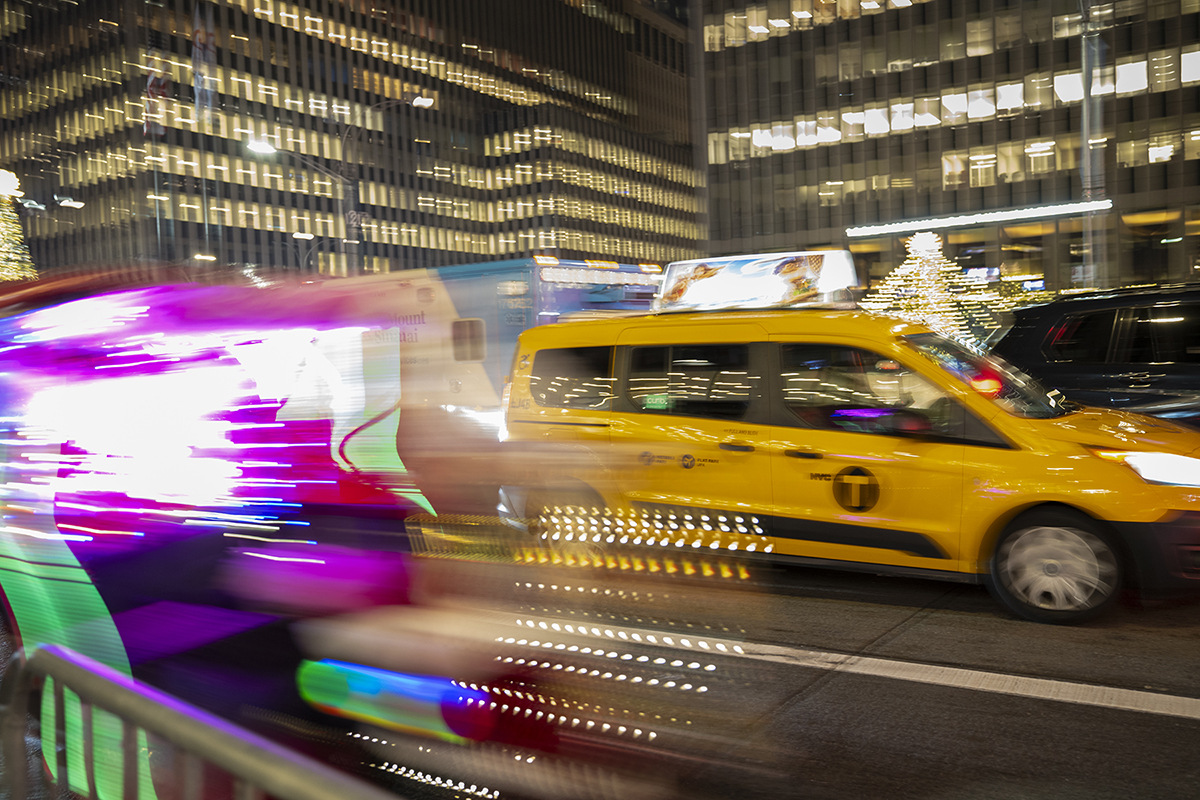
Long exposure is an essential technique for capturing the magic of urban nights. Use a tripod to stabilize your camera, allowing you to keep the shutter open for extended periods. This technique, using slow shutter speeds, captures motion such as light trails from passing cars or the blur of people moving through the frame and “paints” your image with light, creating a unique and vibrant scene.
TIP 2: Multiple Exposure
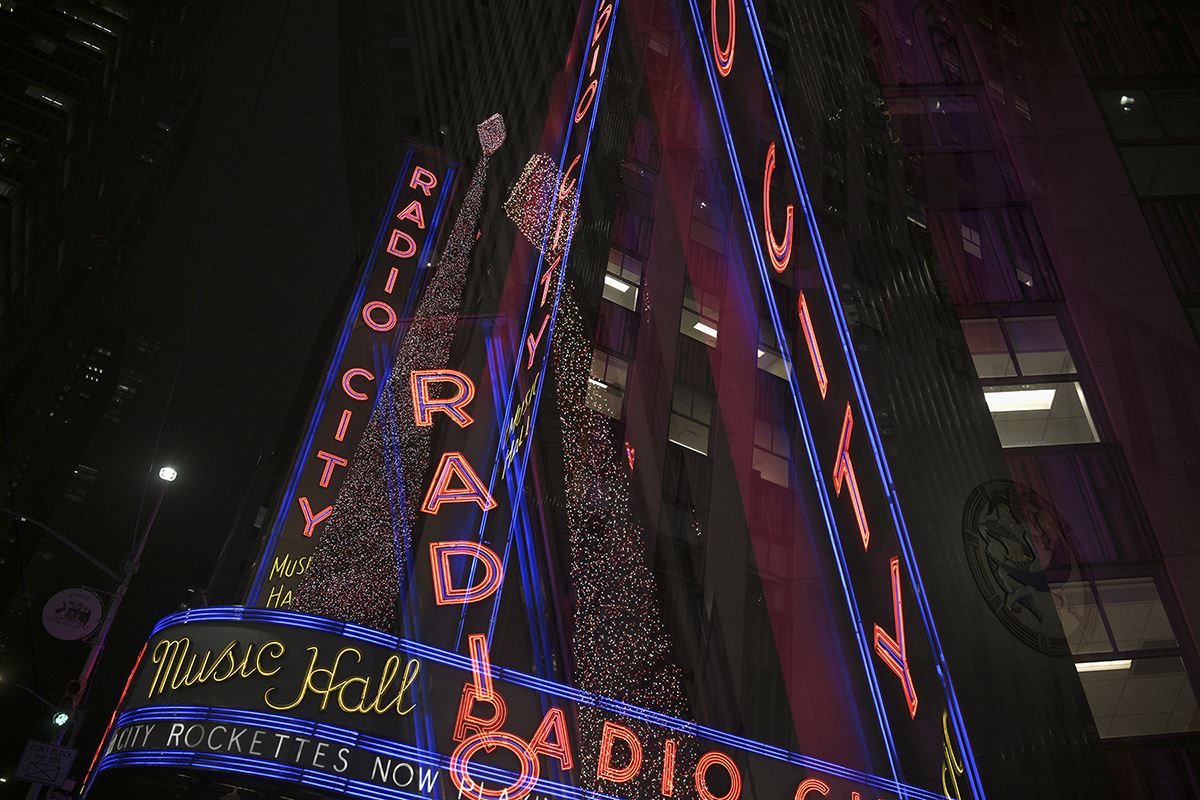
Many mirrorless digital cameras feature in-camera multiple exposure modes. This technique involves layering multiple images into a single frame. It works particularly well at night when there’s plenty of negative space to fill creatively.
Try using this feature to mix urban elements. You can include city street lights at night, neon signs, and silhouettes. This will create dramatic effects.
How to Use Multiple Exposure on Your Camera
Select Multiple Exposure Mode: If your camera supports it, navigate to the multiple exposure settings.
- Choose Your Settings: Decide how many exposures you want to combine. Typically, 2-3 exposures work well for cityscapes.
- Capture Your Images: Begin with a clear base image, like a bright street. Then, add extra elements such as festive lights or fireworks. Then shoot multiple exposures of your subject.
- Adjust and Review: Review your combined image and make necessary adjustments to exposure settings or composition.
By mastering multiple exposure, you can create unique and captivating cityscapes that stand out.
TIP 3: Cross Filter (Star Filter)
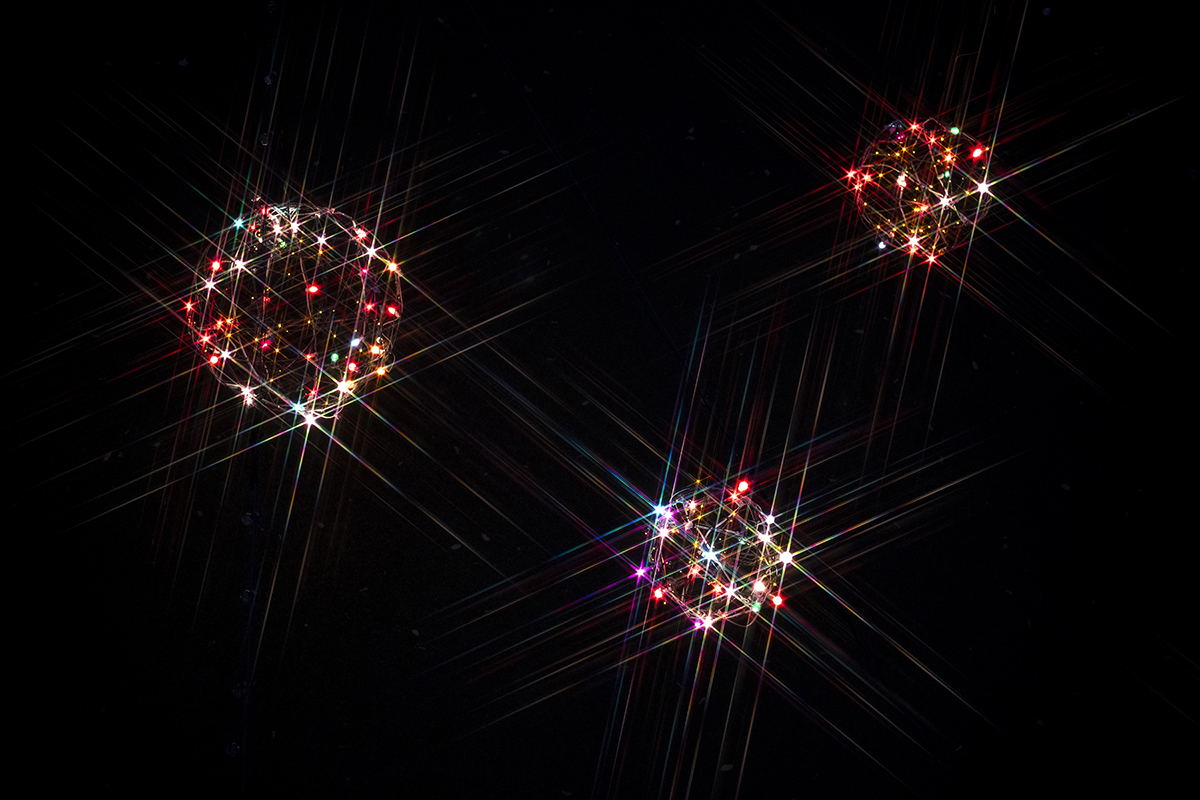
Using a star filter on your camera lens is a great way to create a dazzling effect around bright light sources in your photos. Urban settings often feature numerous light sources, such as streetlights, lit signs, and vehicle headlights. Using a star or cross filter on your lens can emphasize these lights, transforming them into radiant, star-like bursts. This effect can highlight light sources as key subjects in your composition, adding a touch of magic to your shots.
Here’s How to Use a Star Filter
- Choose the Right Star Filter: Star filters come in different types. They group according to the number of light rays they create, like 4-point, 6-point, or 8-point stars. Ensure the filter matches the diameter of your lens (check the thread size printed on your lens).
- Attach the Filter: Screw the filter onto the front of your lens, aligning it with the threads. Be gentle to avoid cross-threading.
- Adjust Your Scene and Lighting: Use bright point light sources (e.g., candles, streetlights, or sunlight reflecting on shiny surfaces). The filter works best when the light source is small and intense.
- Camera Settings for Best Results:
- Aperture: Use a narrow aperture (e.g., f/11 or f/16). A smaller aperture enhances the starburst effect.
- Shutter Speed: Adjust based on your lighting. Use a slower shutter speed in low-light conditions.
- ISO: Keep ISO low to reduce noise (e.g., ISO 100 or 200).
- Focus: Focus on the light source or your main subject.
- Use a Tripod: To avoid camera shake, especially with slower shutter speeds.
- Compose Your Shot: Position light sources where you want the star effects to appear. Experiment with angles and compositions to enhance the creative impact.
Tip 4: Portraits

Night photography isn’t just about cityscapes; it’s also a fantastic time to capture portraits. Utilize available light sources, such as neon signs, streetlights, or headlights, to illuminate your subject.
Position your subject close to the camera and use a wide-open aperture (like f/2.8) to achieve a shallow depth of field. This creates a beautiful bokeh effect in the background, enhancing the mood and focus of your shot.
Tip 5: Snapshots
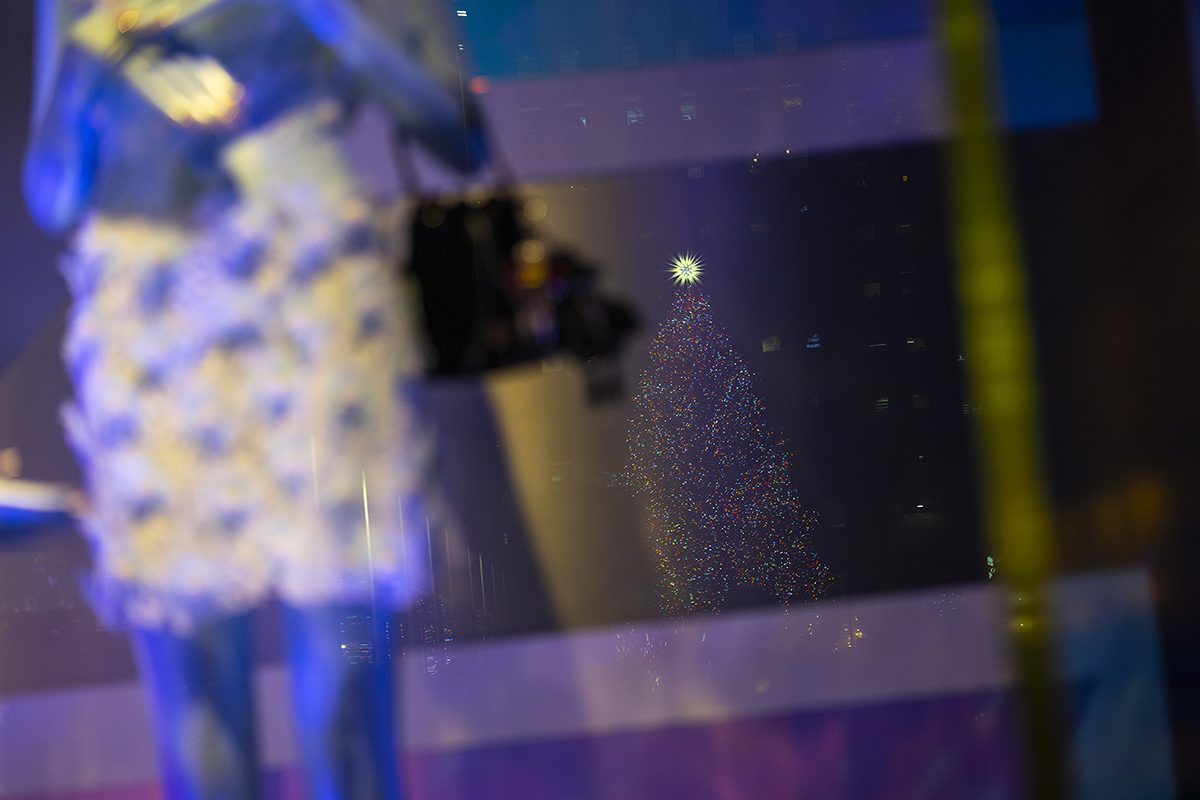
The urban night is full of hidden stories and dramatic contrasts. Walk around and observe how the interplay of light and shadow creates unique relationships between objects, people, and architecture. Even simple snapshots can reveal intriguing compositions that people might overlook during the day.
Tip 6: Shifting Moods
The mood of a subject can dramatically change depending on the light source. For example, a building can look very different with a bright red neon sign. It can look even cooler under a blue light from another source.
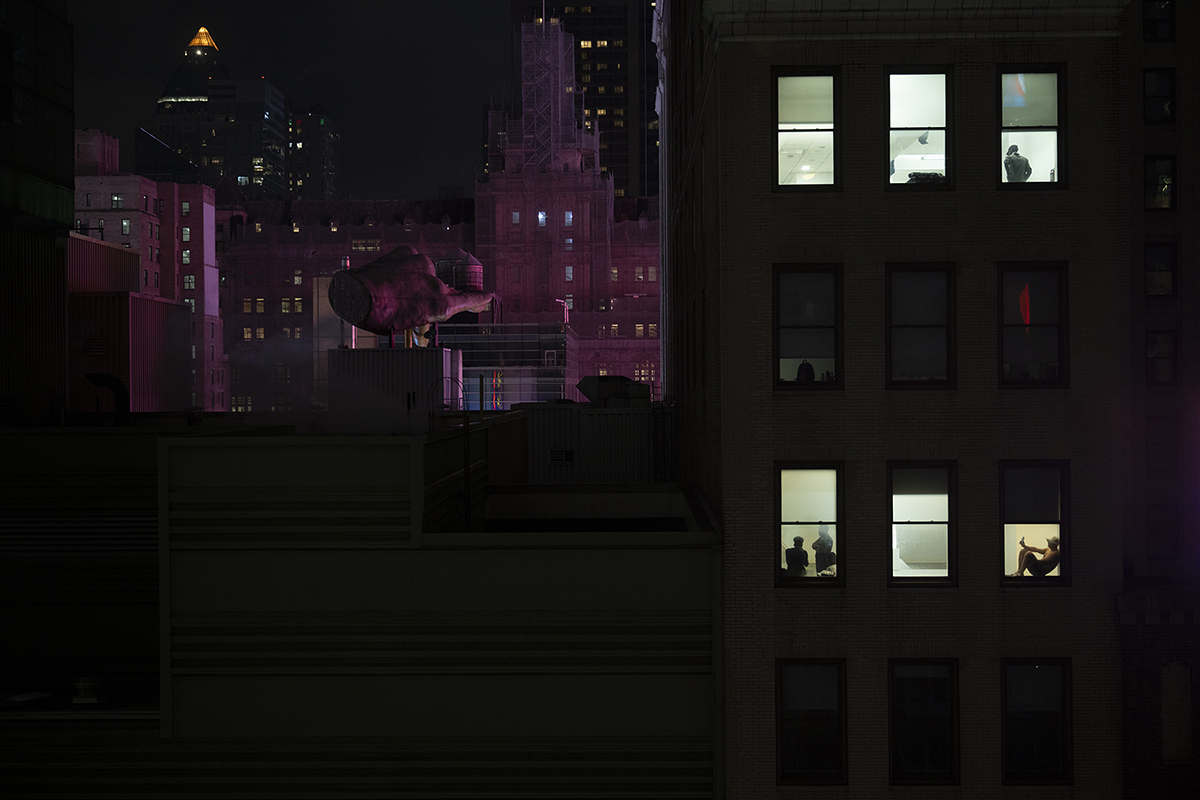
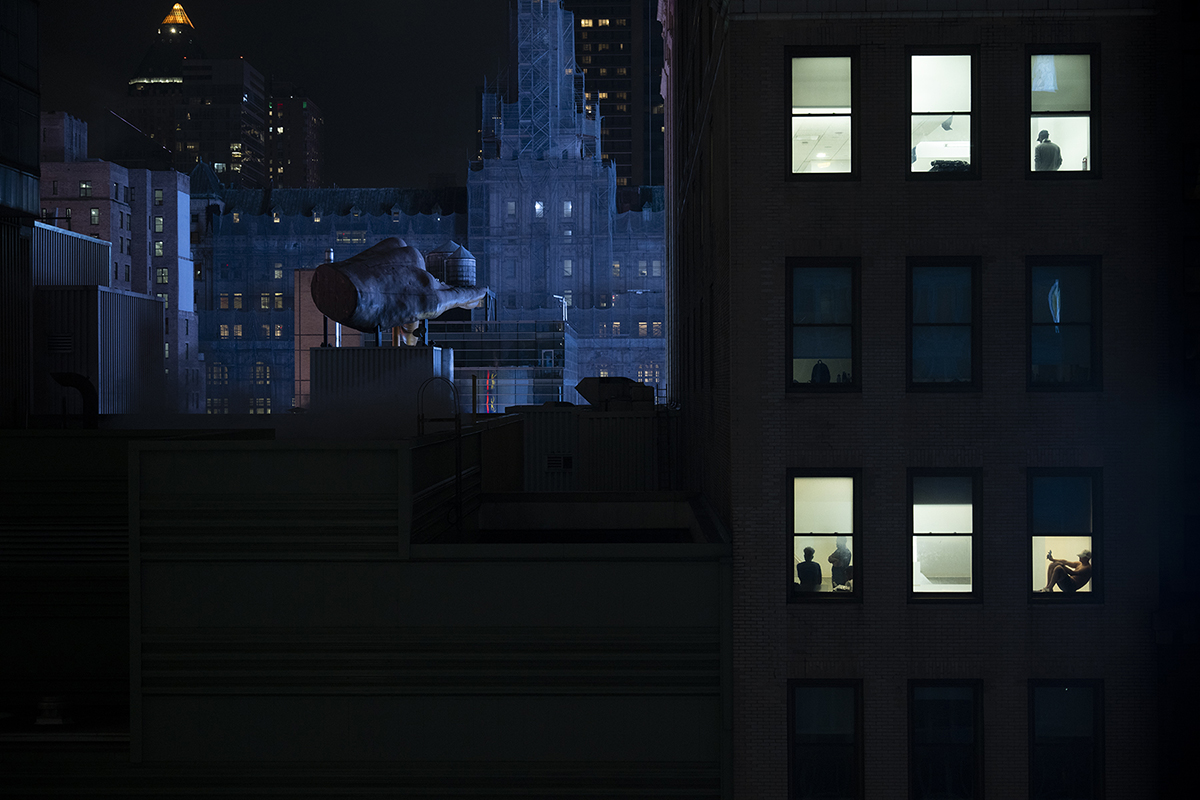
Experiment with capturing the same subject under varying lighting conditions to tell a diverse story with your images. This is particularly effective when photographing buildings with lit windows or people silhouetted against vibrant backdrops.
Capturing Iconic Cityscapes: New York City Lights at Night
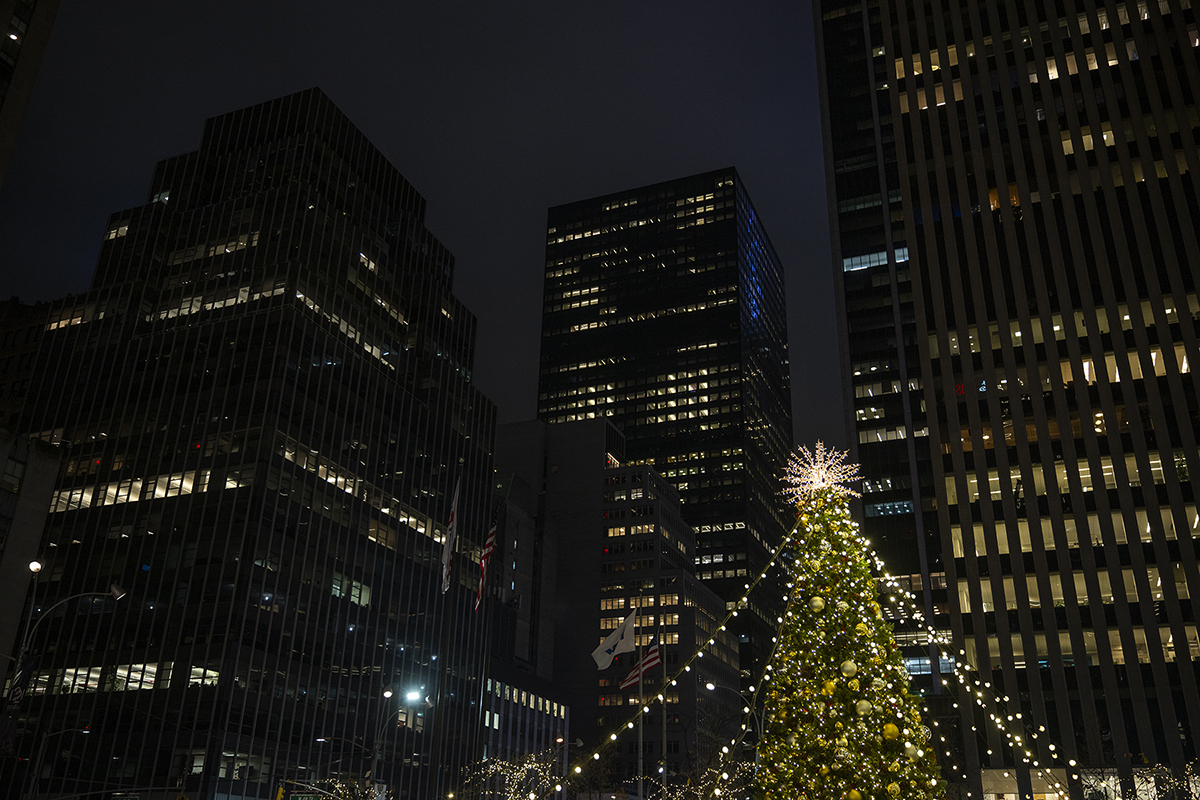
New York City has a famous skyline and busy streets. It offers many chances for night photography during Christmas. Here’s how to capture the magic of NYC lights:
- Scout Your Locations: Iconic spots like Times Square, Rockefeller Center, and Brooklyn Bridge offer breathtaking views. Arrive early to find the best angles.
- Consider the Weather: Snowfall can add a magical touch to your photos but be prepared for cold conditions.
- Play with Reflections: Use water or wet streets to capture city lights’ reflections. This adds depth to your images.
- Capture the Action: Use longer exposures to blur moving cars and create light trails, showcasing the city’s energy.
- Focus on Details: Don’t only take wide shots. Zoom in on specific things like decorations or window displays for a new view.
Final Tips for Stunning Night Cityscapes
- Shoot in RAW: This format retains more image data, allowing for better post-processing.
- Use Manual Focus: Autofocus may struggle in low light, so switch to manual focus for sharper images.
- Check the Histogram: Watch your histogram to ensure you don’t blow out your highlights.
- Experiment and Have Fun: Night photography is an art; feel free to experiment with different settings and compositions.
Urban night photography lets you see the city in a new light—literally! Whether you’re painting with light through long exposures or crafting surreal scenes with multiple exposures, learning how to take pictures of city lights at night provides endless possibilities for capturing brilliant illumination images.
Bring your creativity, patience, and a willingness to experiment, and you’ll soon capture breathtaking nighttime images.
Visit an authorized Tamron dealer in your area or visit the TAMRON Store today to learn more about Tamron lenses.
