Capturing the Drama & Adventure of Winter with Jose Mostajo
Author: Jenn Gidman
Images: Jose Mostajo
Share Article
Creating dramatic winter photography demands both technical skill and artistic vision to capture its raw beauty. Jose’s tips explore essential techniques for winter photography, from maximizing ultra-wide angles to leveraging negative space.
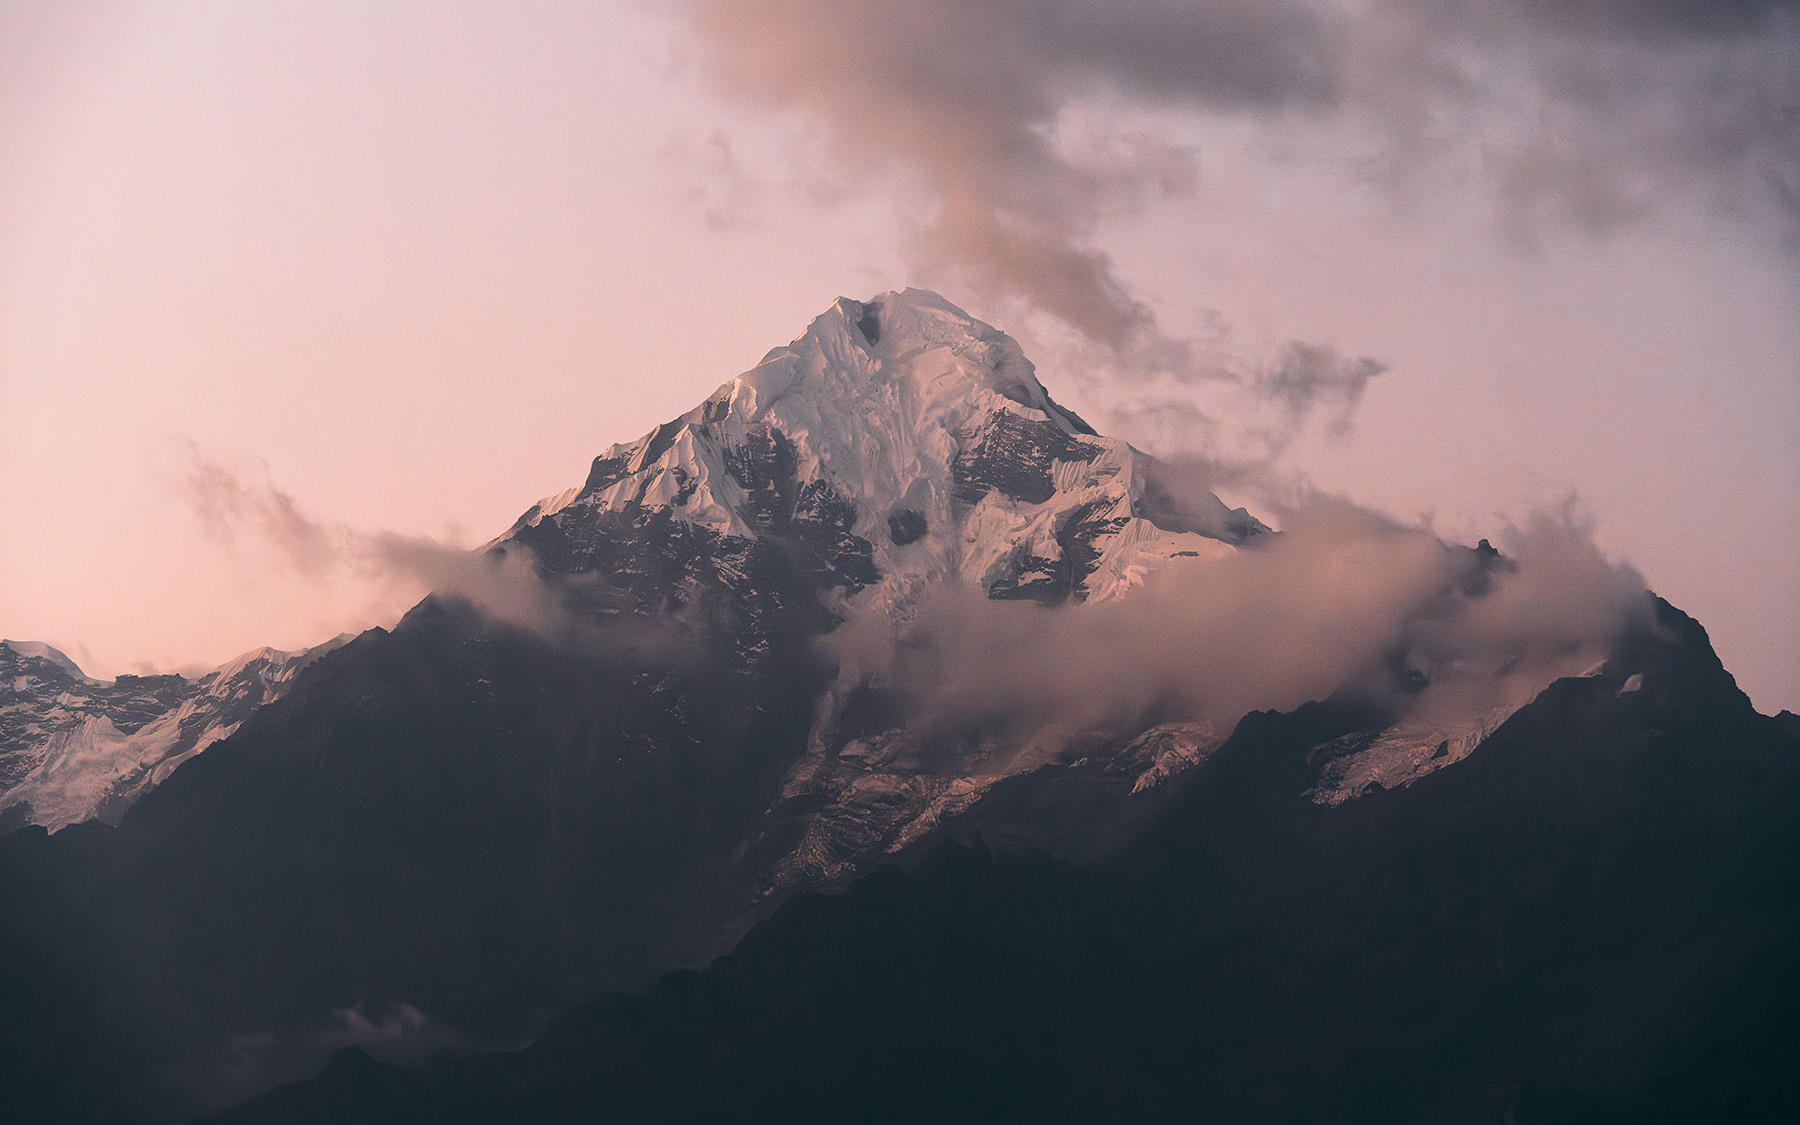
TIP 1: Fill the frame
This is an example where filling the frame with what you want to show is key. I could’ve gone wider and included more sky and more of the mountain, but at this moment, I think the textures of the snow/terrain was what I wanted to highlight. The goal with this tip is to ask yourself if everything that is being included in the shot is worth keeping, or are there unnecessary elements that could potentially detract or distract from the photo. If so, you can zoom in tighter or walk closer and capture what you want in more detail.
TIP 2: Use Negative Space
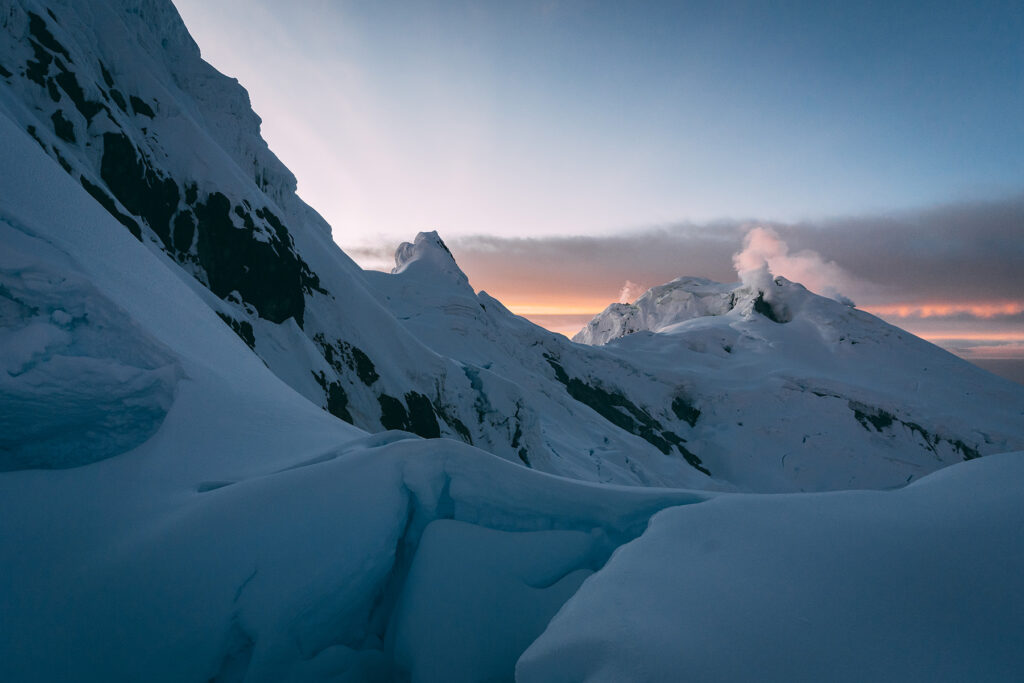
Due to how detailed and busy the mountain was, I decided to use the clear sky as negative space in this image. By doing so, you create a cleaner frame that makes it easier to hone in on your subject. In this case, using the rule of thirds to frame the climber helped in creating an effective composition with that negative space. Had I included more of the mountain from the bottom, the detail in that section would have made it more difficult for the climber to stand out.
TIP 3: Shoot Blue Hour
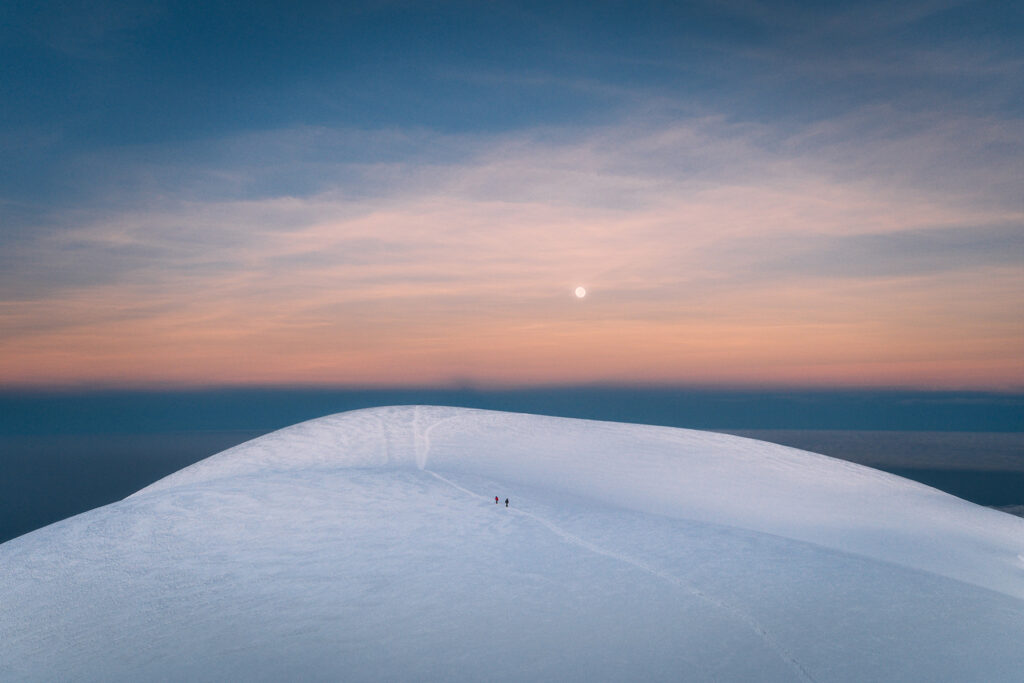
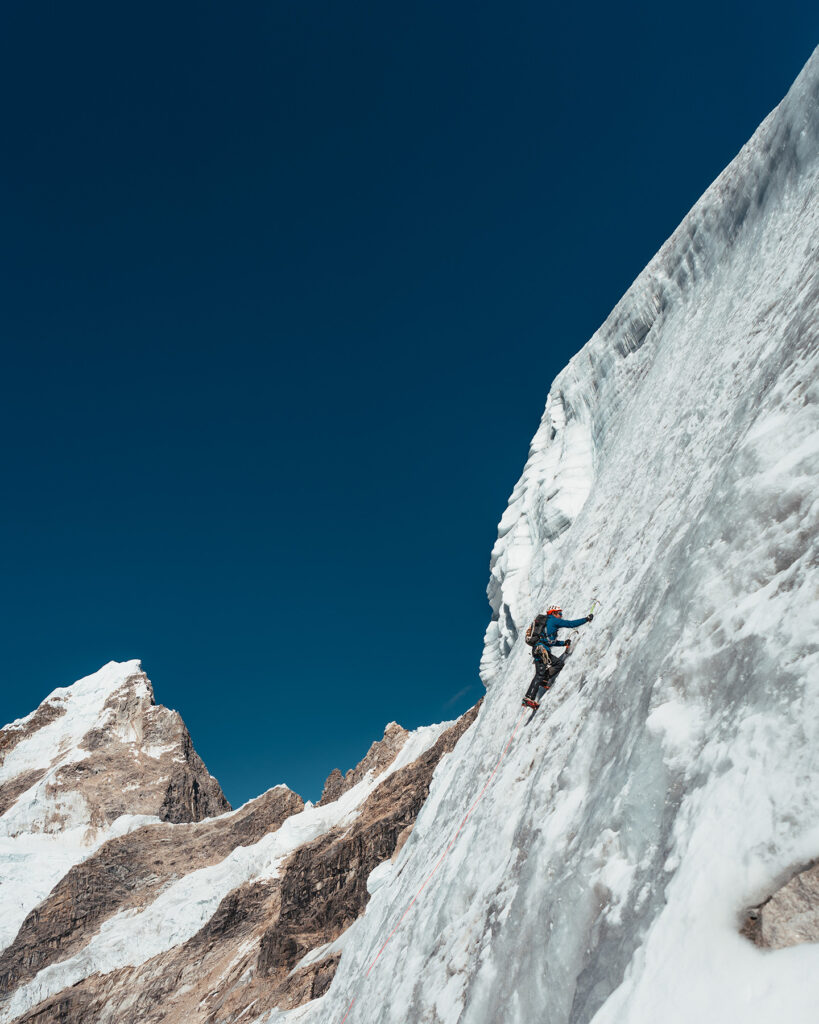
Keep shooting after sunset. A lot of people get fixated on getting golden hour and forget that blue hour can also provide amazing moments. The light gets soft and gives you a totally different feeling to the scenery. Even though I shot this handheld, I’d recommend having a tripod available if you plan to shoot in this light because it gets dark fast, and with telephoto focal lengths you want to close down the aperture to have a wider depth of field.
TIP 4: Ultra-Wide Angle Advantage
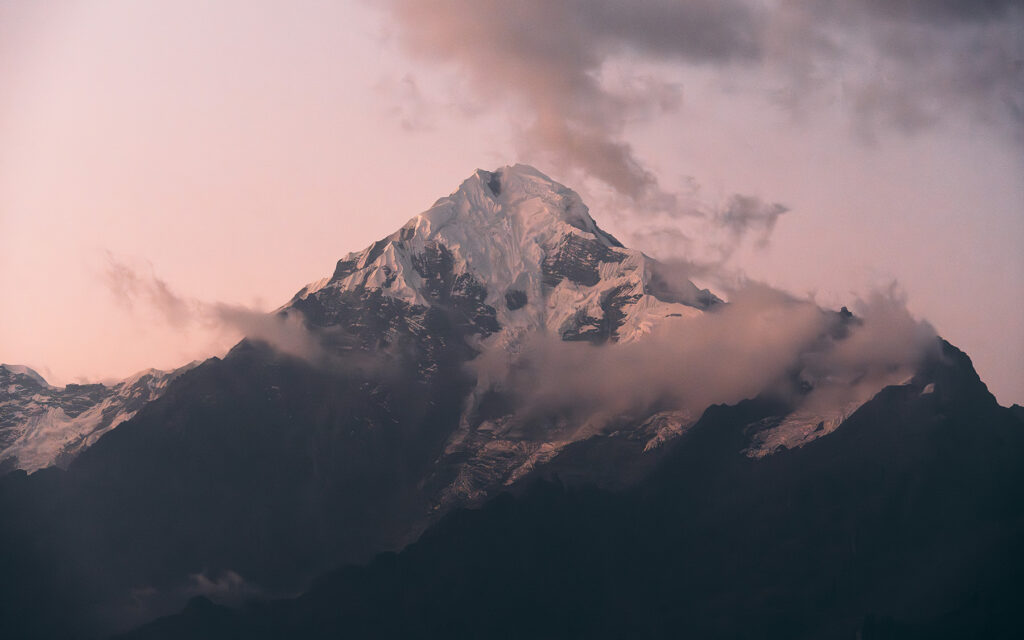
When photographing in the mountains, an ultra-wide angle zoom lens can be key to capture the terrain you’re on. Due to safety, you often can’t roam around freely to get the right shots, and you’re navigating through crevasses and cool peaks, so capturing as much as you can in one frame can be advantageous. In a shot like this, a standard lens starting at 24mm or 28mm wouldn’t have been able to give a true sense of what we were walking on.
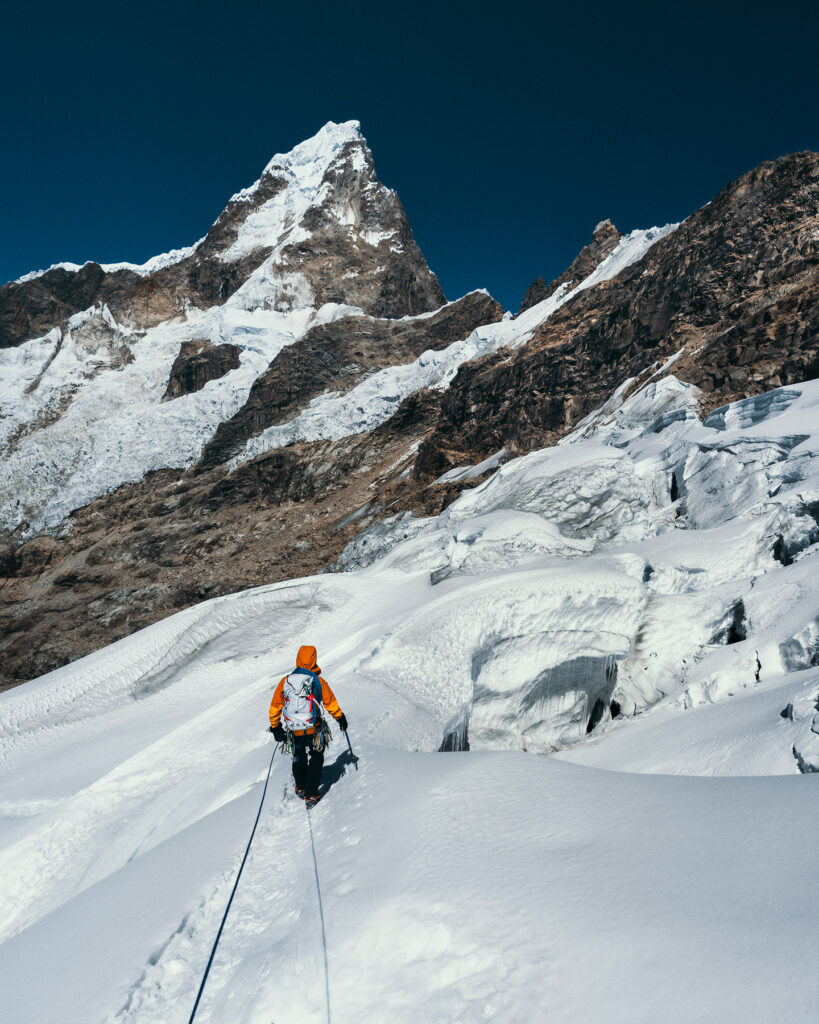
TIP 5: People for Scale
With mountain peaks, it’s easy to lose sense of the size of what you’re seeing. A summit could be a few feet wide or 500. By introducing people into the frame, the viewer can take in the true scale of the scenery. In this photo I decided to keep the climbers quite small and capture as much of the summit to emphasize how large it was.
