Instant Savings
 Support
 Find a Dealer
Behind The Shot: Breaking Down My Street Photography Moments
Author & Images: Ian Jones
Share Article
Street photography is all about capturing raw moments, dynamic compositions, and creative use of light. Elevate your shots with thoughtful framing, intentional focus, and a keen awareness of reflections and architectural elements.
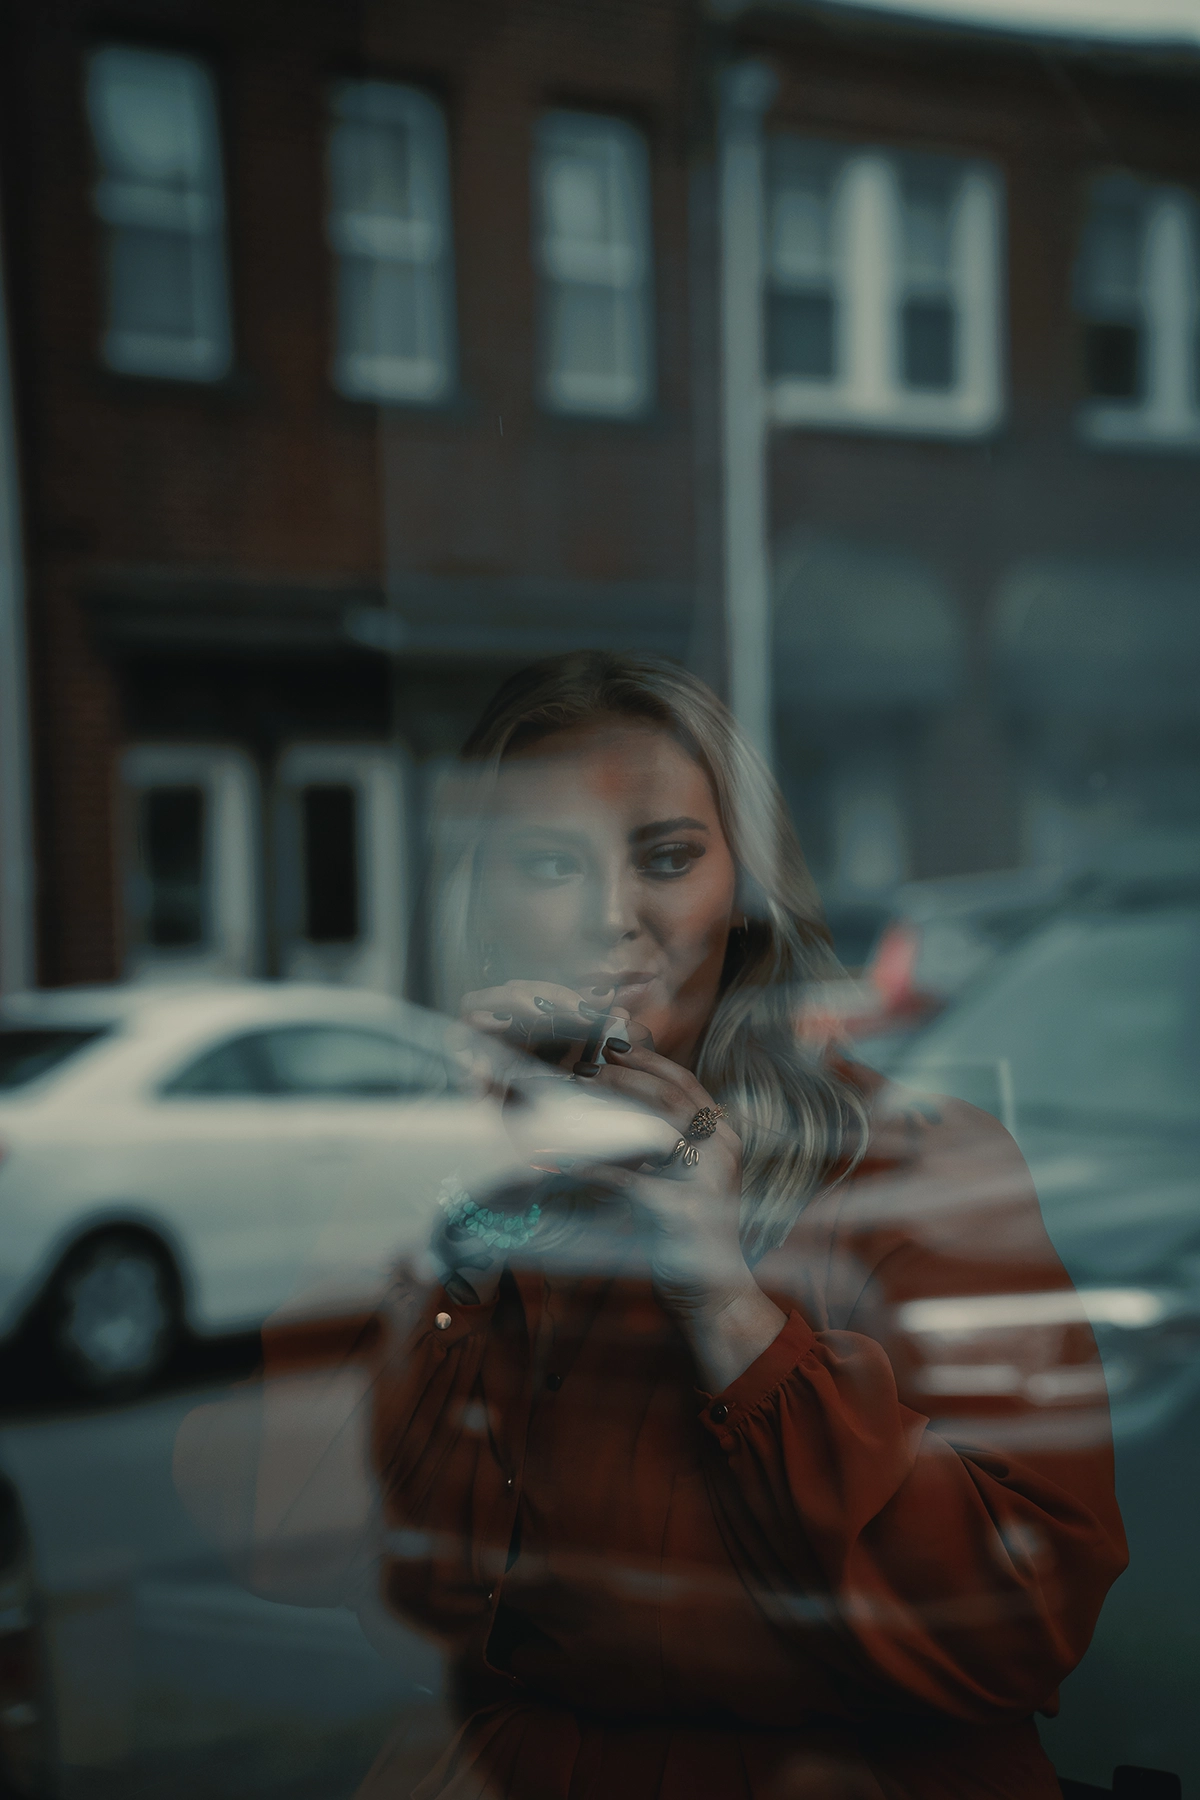
TIP 1: Nailing Focus & Outsmarting Reflections.
This image was shot through glass, capturing layered reflections, a shallow depth of field, and muted teal-orange tones giving it a cinematic feel, almost like a scene from a movie. Shooting through glass with heavy reflections can be tricky, and nailing focus is crucial to make the subject stand out. In fast-paced street photography like this, having a customizable button to quickly switch between manual and autofocus is important. For this shot, I didn’t use a polarizer, so I had to be mindful about positioning her face where the reflections wouldn’t cover her face. My goal was to capture the street elements, reflections, and overall tone while keeping the exposure balanced on her, allowing her to remain the clear focal point of the image, all while remaining in complete focus.
TIP 2: How to Capture Cinematic Overhead Street Shots
To capture a clean, cinematic overhead street shot, find a high vantage point like a parking garage with a clear view of the street. Shoot during blue hour (just after sunset or before sunrise) when the city lights turn on and the cooler tones set the mood. Look for visual anchors like cars, pedestrians, or street markings to draw the viewer’s eye. In this shot, I centered the white car turning into the parking garage, making it the focal point. Tilting the camera created leading lines, with the orange street markings pulling the eye to the center. For a more cinematic feel, I underexposed the shot to add mood and boosted the colors in Lightroom to highlight those leading lines, making the scene feel more dynamic.

TIP 3: Finding a Low Vantage Point
To capture a skyscraper shot, start by finding a low vantage point directly beneath the building to achieve the “look up” view. The lower the angle, the more intense the effect making the already tall building seem like it goes into infinity. Use a wide-angle lens, in this case the Tamron 17-28 was perfect to exaggerate the height and perspective, making the structure appear even more towering. Frame the shot with perfect symmetry, making sure the building is centered, and the lines converge evenly at the top for a balanced composition. In post I edited with a mute cold tone and hit a lot of the glass with the dodge tool in photoshop to make reflections and highlights pop, giving the building even more of a gradient from dark at the bottom until it fades into the sky. If you look, there is a security camera which was the intended focal point, dead center while also having leading lines into the sky. The 17-28 is my ideal lens for shots like this.

TIP 4: Play with Symmetry
To get an interesting stairwell shot, position yourself at the top, standing dead center, and use a wide lens like the Tamron 17-28mm to capture the full space and emphasize the descent. Look for leading lines, such as the handrail. In this shot, I placed my lens directly on the rail at the top, giving the perspective a point-of-view feel, almost as if you’re about to fall into the steps. Positioning the lens in a way that mimics a viewpoint your eyes wouldn’t naturally have adds extra interest. If the shot was taken at eye-level, it wouldn’t have the same impact. This creates a good flow, leading the viewer’s eye through the frame. In post, I highlighted elements like the stairs, TVs, and subway lights, while keeping the surrounding space darker to add contrast. Luckily there were people walking at the bottom of the stairs which adds a sense of height and scale to the viewer. Making sure you keep perfect symmetry in mind, particularly with the handrail, brings the viewer’s eye smoothly from top to bottom.

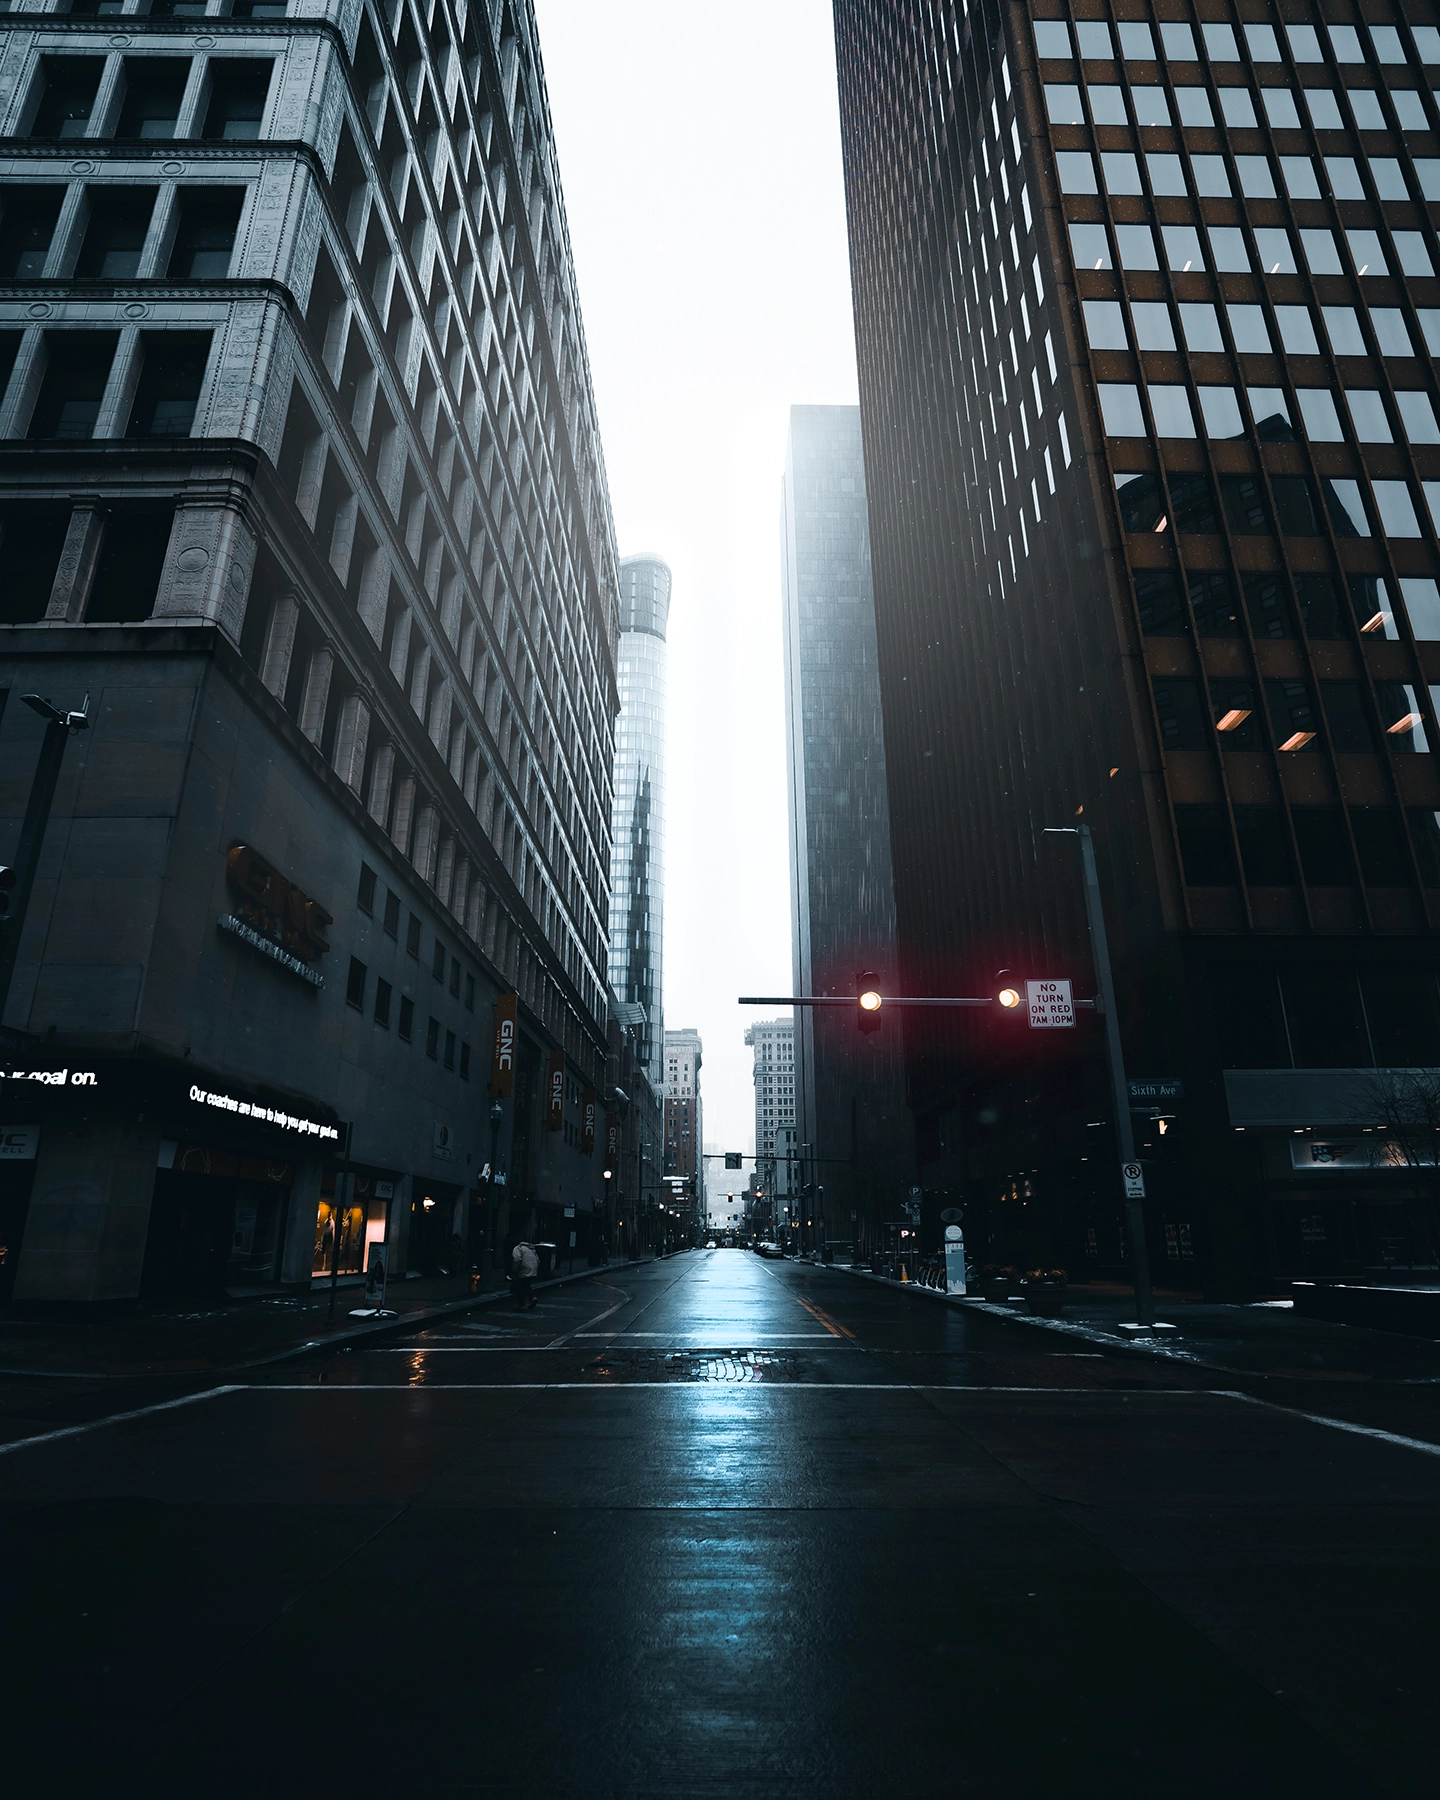
TIP 5: Frame with Architecture
To get this “Surreal” cityscape, start by positioning yourself at street level and shooting between tall buildings to naturally frame the shot. This creates a sense of depth and guides the viewer’s eye down the street. The 28-75mm lens helps compress the scene, keeping everything in focus while giving you that sense of depth. Taking advantage of the fog allows you to diffuse the light, adding a moody, atmospheric effect. The cool tones enhance the fog and deepen the overall mood of the scene. For exposure, make sure to capture both the buildings and the sky without losing detail, avoiding overexposure. In post, focus on bringing out highlights like the wet street, window reflections, and streetlights to make the scene pop and add dimension. Framing with architecture adds authenticity, texture, and detail, as well as scale and perspective, and real-life composition, making the image immersive.
TIP 6: Towering Vantage Effect
The Towering Vantage Effect is a photography technique that emphasizes the scale of architectural subjects. You can achieve this by using a wide-angle lens like the Tamron 17-28mm at its widest focal length, this creates a dramatic perspective distortion where vertical lines converge, making buildings appear to soar above the viewer. Positioning yourself at a building’s corner enhances this effect, creating a V-shaped composition that draws the eye upward. Shooting from a low angle further amplifies the building’s height. For the best results, capture this shot during overcast conditions or blue hour to ensure soft, diffused lighting that enhances the moody aesthetic. Editing techniques like desaturation, cool color grading, and increased contrast can reinforce the moody feel while enhancing architectural textures.