 Instant Savings
 Support
 Find a Dealer
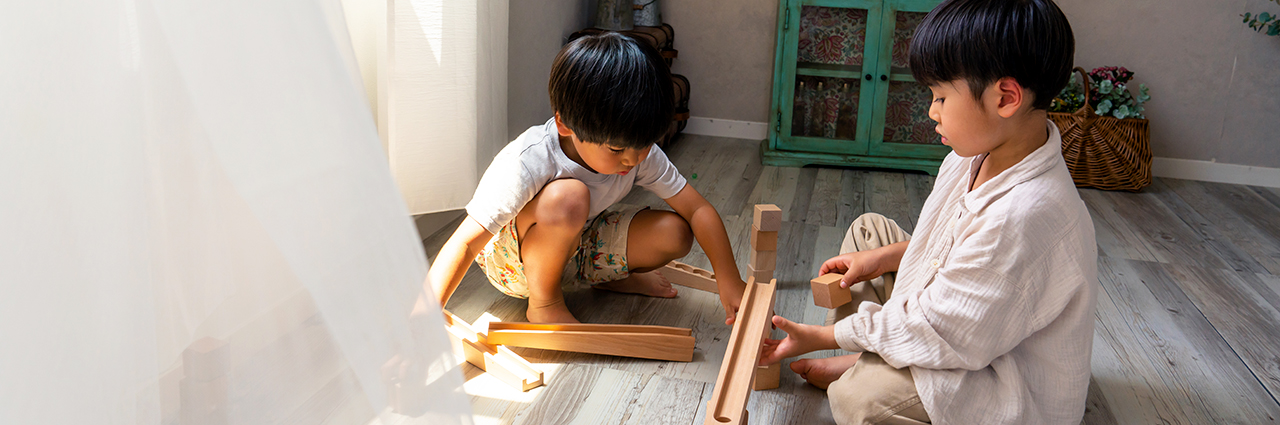
Why the Tamron 28-75mm G2 Lens is a Perfect Choice for Indoor Photos
Mastering indoor photography requires both an eye for composition and a deep understanding of light. Whether you’re capturing moments with natural light streaming through a window or adjusting to artificial sources, applying the right indoor photography tips can make all the difference. Lighting is the defining element of a photo, shaping clarity, tone, emotion, and the overall aesthetic of the image.
For photographers, mastering light indoors can be challenging, especially when natural light is limited. Unlike outdoor settings, where light is abundant, indoor photography often requires creative techniques to achieve well-lit images. That’s where window light photography comes in. This article will explore how to use window light effectively to enhance your indoor photography, allowing you to capture beautifully lit shots without relying on flash.
In this article, you will learn:
- Essential indoor photography tips to improve your shots in natural light.
- How to use window light effectively for well-lit, natural-looking images.
- Why the Tamron 28-75mm lens is a great choice for indoor photography.
- Techniques for managing shadows and highlights to create balanced compositions.
- Camera settings and accessories to enhance your indoor photography results.
Whether you’re shooting portraits, still life, or casual family moments, these tips and tools will help you when using natural light indoors.
Why Window Light is Ideal for Indoor Photography
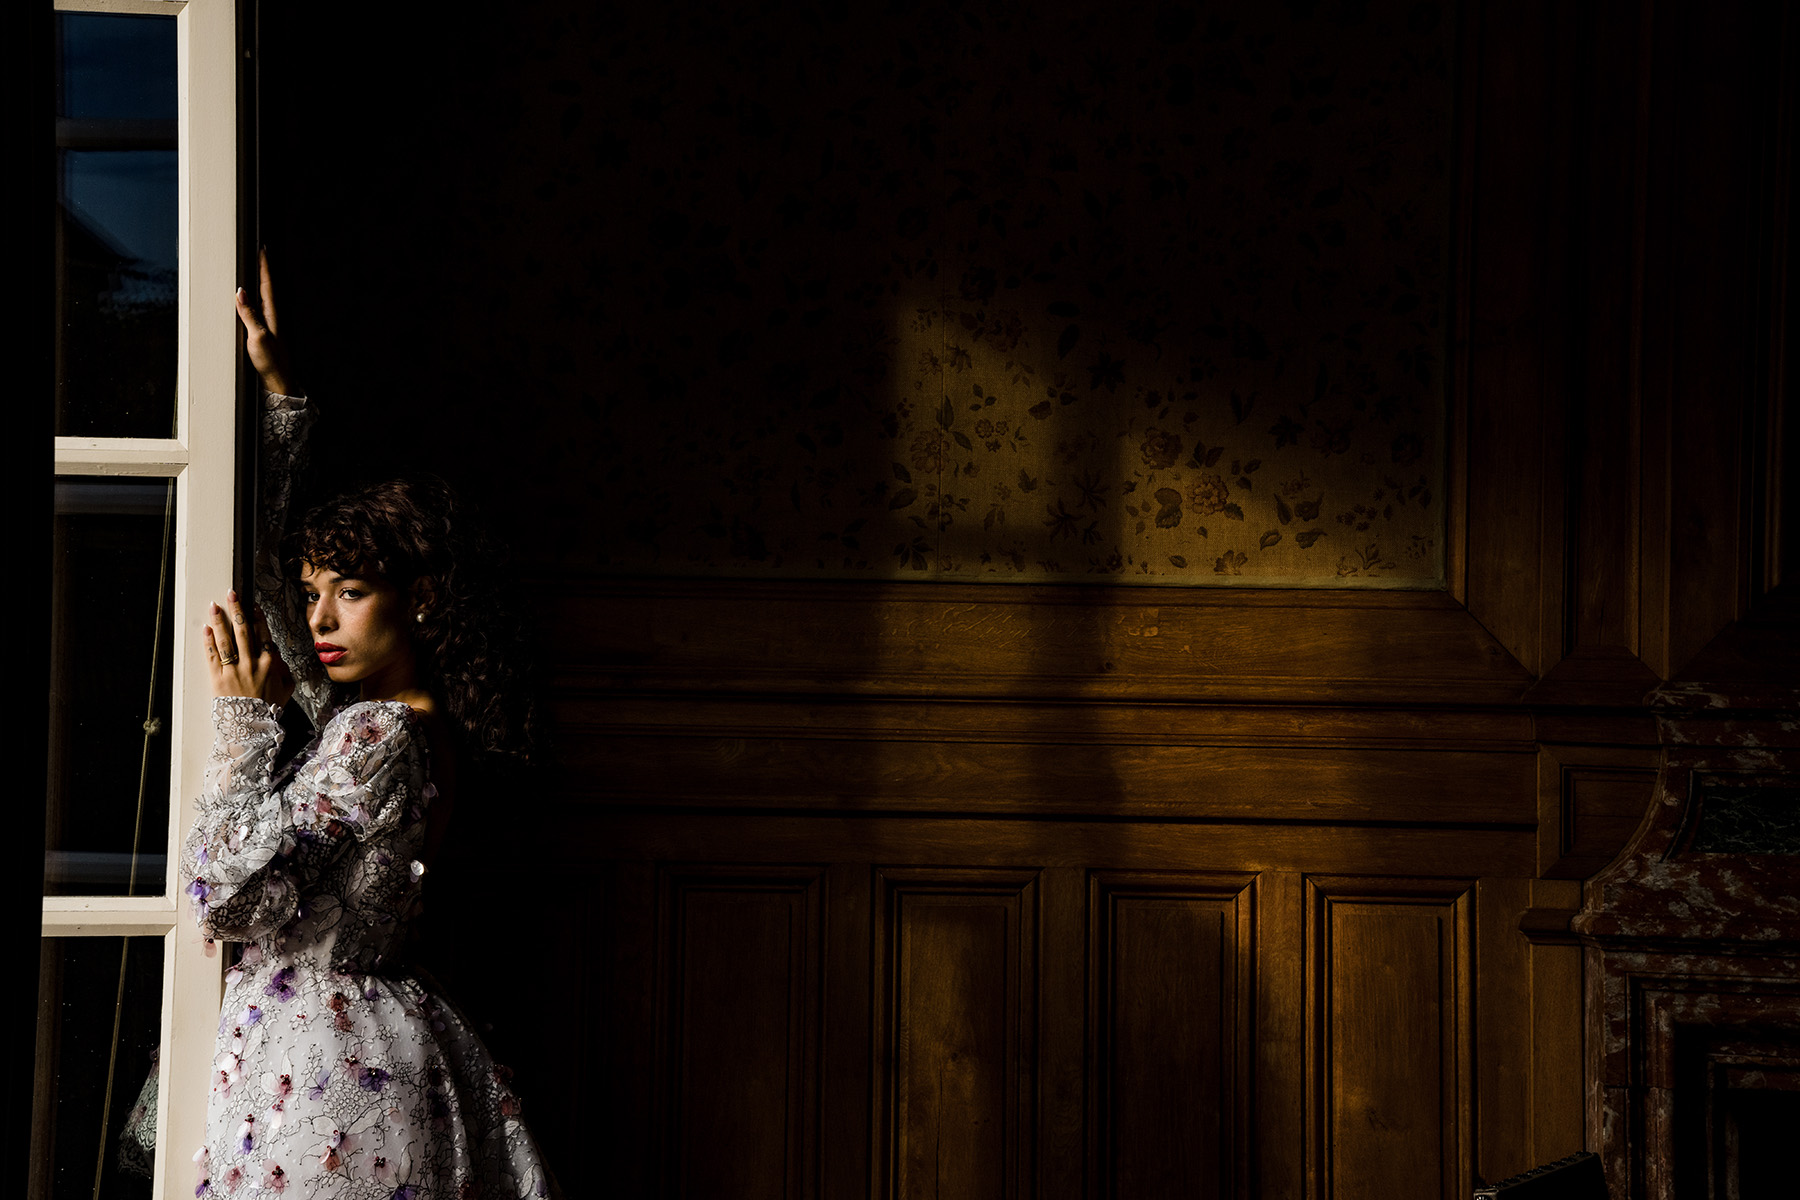
Window light is one of the most accessible and beautiful sources of natural soft light for indoor photography. It provides a soft, diffused glow that can illuminate your subject evenly, creating a natural and flattering look.

Unlike harsh artificial lighting, window light allows for more control and versatility, enabling you to experiment with shadows, highlights, and tones.
Here are some reasons why window light photography is a favorite among photographers:
- Soft and Natural: When diffused by sheer curtains or blinds, window light creates a soft and even illumination that minimizes harsh shadows.
- Versatile: You can control the intensity of window light by adjusting your subject’s position relative to the window or modifying the light’s direction with curtains or reflectors.
- Mood Enhancing: Natural light often brings out the true colors and textures in your subject, enhancing the overall mood and aesthetic of the photo.
Indoor Photography Tips for Using Window Light

To make the most of window light, carefully position your subject. The size of the window plays a significant role in the lighting quality. Large windows allow more light to flood the room, creating a broader and softer light source that evenly illuminates your subject. On the other hand, a smaller window can provide more directional light, resulting in stronger contrasts and shadows.
Here are some key tips:
1. Position Your Subject Wisely
- Time of Day: Shooting during the early morning or late afternoon often provides the best window light for indoor photography, as the light is softer and more diffused compared to midday.
- Avoid Direct Sunlight: Harsh sunlight streaming directly through the window can create overexposed areas and unflattering shadows. Instead, aim for soft, diffused light by shooting during overcast weather or using sheer curtains to filter the light. West facing windows provide beautiful light.
- Experiment with Angles: Try different angles to see how the light interacts with your subject. Side lighting can add depth and dimension, while front lighting creates an even and balanced look.
- Maintain Proximity: Place your subject close enough to the window to benefit from the light but not so close that it becomes overpowering. This balance ensures proper exposure and avoids harsh contrasts.
2. Use Reflectors for Balanced Lighting
Reflectors are a great way to bounce window light onto your subject and reduce shadows. You can use professional reflectors or household items like white foam boards or aluminum foil. Place the reflector opposite the window to fill in any dark areas and achieve a more even illumination.
3. Use Curtains or Blinds to Diffuse Light

If the natural light from the window is too strong, use sheer curtains or blinds to diffuse it. Angling blinds upward can also help bounce light off the ceiling, creating a softer and more even ambient light throughout the room.
4. Avoid Backlighting (Unless Intentional)
Placing your subject with their back to the window often results in an underexposed subject and an overexposed background. While this can create interesting silhouettes, it’s not ideal for most indoor photography. Instead, position the subject to face the window or at an angle to capture balanced lighting.
5. Minimize Flash Usage
Flash can often produce harsh shadows, red-eye, and glare, detracting from the natural look of your photo. Avoid using your camera’s built-in flash indoors unless absolutely necessary. Instead, rely on window light or external lighting setups for more pleasing results.
6. Work With Evening and Nighttime Lighting

When shooting indoors at night or in spaces with limited window light, you’ll need to rely on artificial lighting. Here’s how to handle these situations:
- Turn on as many light sources as possible to create even ambient lighting.
- Switch your camera off AUTO mode, as it will often activate the flash.
- Use a combination of higher ISO, wider aperture, and slower shutter speed to compensate for low light levels.
The Tamron 28-75mm Lens: A Must-Have for Indoor Photography

When it comes to indoor photography, having the right lens can make all the difference. The Tamron 28-75mm F/2.8 Di III VXD (Model A063) full-frame lens for Sony E and Nikon Z mirrorless cameras is a fantastic choice for its versatility, exceptional performance, and ability to handle various lighting conditions. Here’s why it is the best lens for indoor photography:
- Versatile Focal Range: The 28-75mm focal length range makes this lens ideal for a wide range of indoor photography scenarios. Whether you’re capturing group portraits, individual close-ups, or detailed shots of objects, this lens delivers sharp and vibrant results.
- Wide Aperture for Low Light: With a maximum aperture of f/2.8 (or as low as f/3.5 on some models), the Tamron 28-75mm lens excels in low-light environments. A wide aperture lets in more light, reducing the need for higher ISO settings and minimizing noise.
- Compact and Sturdy Design: The Tamron 28-75mm is lightweight yet feels substantial, making it easy to handle during extended indoor shoots. Its robust build ensures durability, while its compact design makes it convenient for everyday use.
- Sharpness and Image Quality: This lens is renowned for its sharpness and ability to produce crisp images with excellent color rendering and contrast. It’s particularly effective when paired with natural window light, bringing out rich textures and tones in your subject.
- Perfect for Creative Freedom: The lens’ versatility eliminates the need for frequent lens changes. You can seamlessly switch between wide-angle shots and detailed close-ups, giving you creative freedom without interrupting your workflow.
Best Camera Settings for Indoor Photography with Natural Light

Choosing the right camera settings is critical for achieving the best results when shooting indoors with natural light. Here are some tips to guide you:
- ISO Settings: Set your ISO to a level that allows enough light into the camera without introducing excessive noise. Start with ISO 400 for most indoor environments and increase it gradually if the lighting is particularly dim. Modern cameras often handle higher ISOs (e.g., 1600 or 3200) very well, so don’t hesitate to experiment.
- Aperture (f-stop): Using a wide aperture (low f-stop number, such as f/2.8 or f/3.5) is essential for letting in as much light as possible. This is especially useful for creating a shallow depth of field, making your subject stand out against a softly blurred background.
- Shutter Speed: Choose a shutter speed that balances exposure while avoiding motion blur. For still subjects, 1/60 or slower can work if your camera is stabilized. If your subject is moving, opt for faster shutter speeds like 1/125 or higher to freeze motion.
- White Balance: Set your white balance to match the natural light conditions. The “Daylight” preset works well for sunny window light, while the “Cloudy” preset is ideal for overcast conditions. For more precision, use a custom white balance setting by taking a reading off a neutral white or gray card.
- Focus Mode: Use single-point autofocus to ensure your subject is sharp, particularly when working with a wide aperture. For portraits, focus on the eyes to create a strong connection in your images. Using eye-AF can help achieve sharp focus on the eyes.
- Shoot in RAW: Shooting in RAW format allows for greater flexibility in post-processing, especially when adjusting exposure, white balance, and color tones. This is highly recommended for indoor photography with natural light.
Combining Window Light with the Right Lens

Using window light effectively and pairing it with a versatile lens like the Tamron 28-75mm can transform your indoor photography. Here are some ways to maximize their potential:
- Experiment with Composition: Use the zoom range to explore different compositions, from wide shots that incorporate the environment to close-ups that highlight intricate details.
- Play with Shadows and Highlights: Window light allows you to experiment with shadows and highlights, creating dynamic and visually engaging images.
- Capture Natural Moments: The combination of soft window light and the lens’ performance ensures that candid moments are captured beautifully, with a natural and timeless feel.
Conclusion
Shooting indoors with natural light doesn’t have to be a struggle. You can take great photos indoors when you learn how to use window light for photography.
Use window light and a flexible lens, like the Tamron 28-75mm for portraits and interior photography. This will help you achieve professional-quality results. Experiment with light, composition, and camera settings to find what works best for your unique style and vision.
These indoor photography tips and tools will help you take your indoor window light photography to new heights.