Motorcycle photography tips can help you capture the speed, power, and personality of two-wheeled machines in motion. Whether you’re shooting from a vehicle, using creative techniques like panning or light painting, or exploring the best times of day to shoot, this guide will elevate your motorcycle action shots. Learning how to photograph motorcycles takes practice—but with the right methods and gear, you can get dramatic and professional-quality results.
In This Article, You Will Learn:
- How to photograph motorcycles from a moving vehicle
- Techniques for panning and dragging the shutter for motion blur
- Why low angles work best in motorcycle photography
- The benefits of shooting during golden hour
- How to apply light painting for striking visual effects
Images and Tips by Aaron Anderson
Pro Motorcycle Photography Tips: Master Action Shots, Panning Techniques, and Creative Lighting
If you’re looking for motorcycle photography tips that help you capture the speed, energy, and design of bikes in motion, this guide is for you. Whether you’re photographing motorcycles on the street, on the track, or off-road, using techniques like panning, shutter drag, and light painting will take your motorcycle action shots to the next level.
Here’s how to photograph motorcycles like a pro.
TIP 1: Shoot From a Moving Vehicle to Track Your Subject
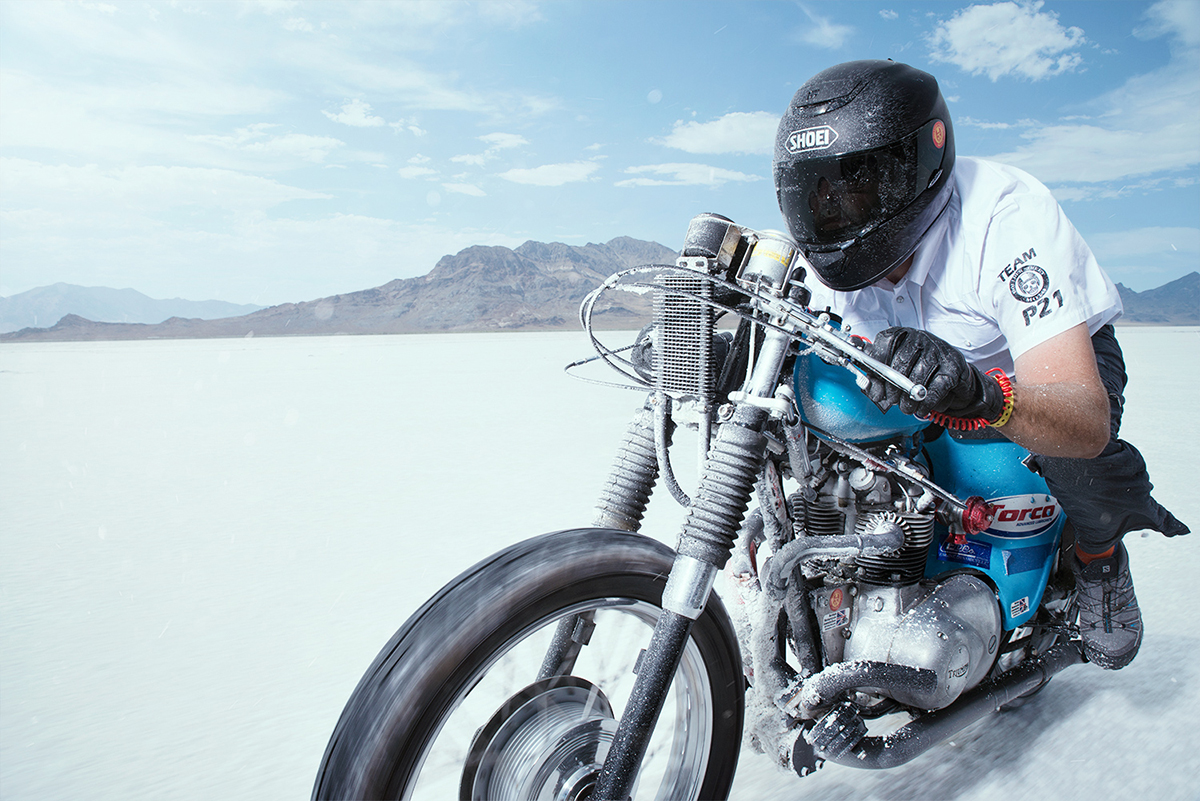
Shooting from a car will allow you to track your subject at a similar speed, making focusing and dragging the shutter much easier—essential for great motorcycle action photography. While any car will work, we recommend an SUV or something with four-wheel drive so you can move around easier and keep pace with your subject.
TIP 2: Use Panning and Shutter Drag for Motion Blur

Adding a bit of blur to your image can really communicate the speed of your subject. This can be achieved by dragging the shutter, which means using slower shutter speeds. Typically, 1/30–1/125th works well, but we recommend experimenting to find what works best for your style of motorcycle photography.
Blur can also be created through panning photography—standing still and swiveling your camera to match the speed of the rider as they pass by. This technique takes practice but delivers dynamic results when shooting motorcycles in motion.
TIP 3: Get Low for Powerful Motorcycle Angles
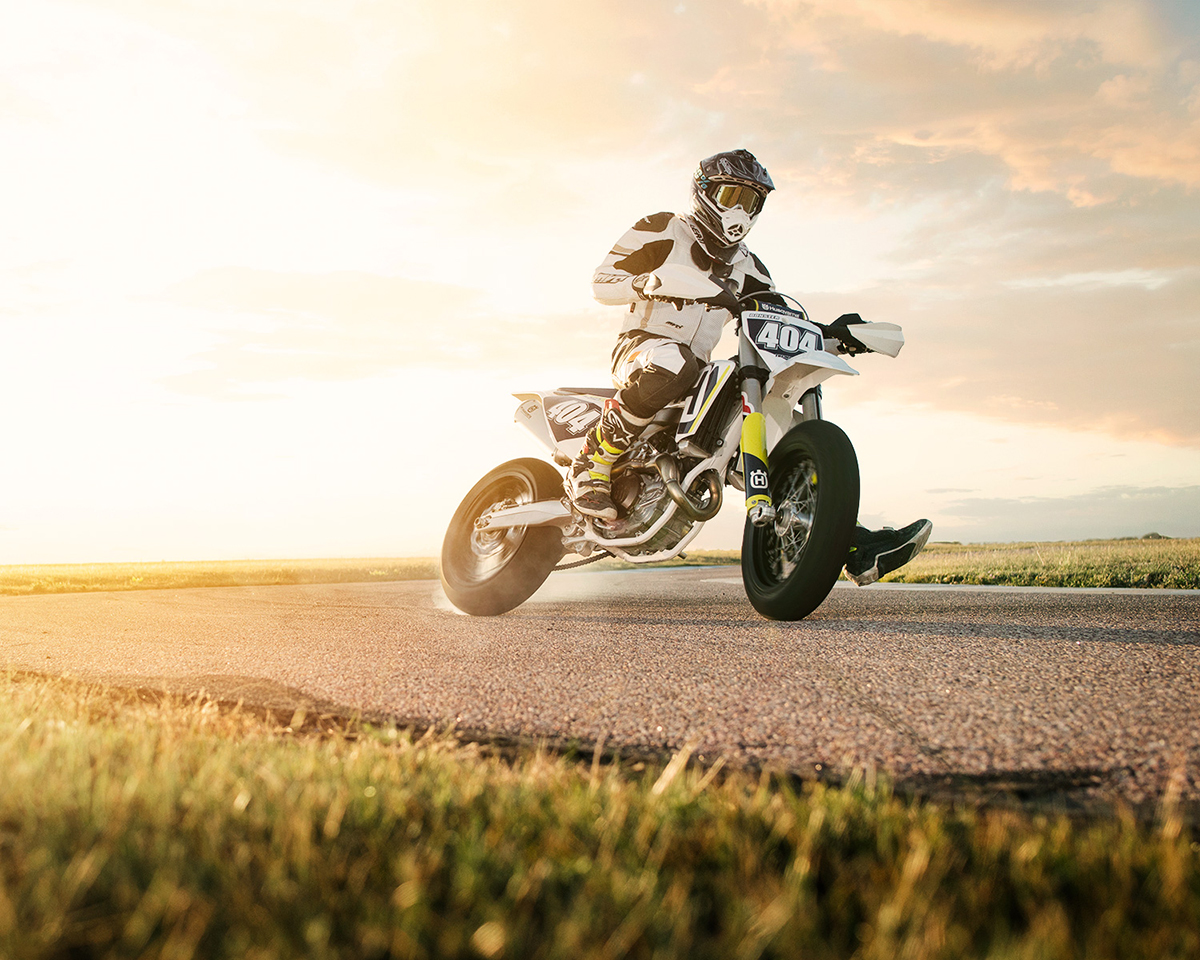
Like other forms of automobile photography, motorcycles look more dramatic when photographed from a low angle. This enhances the sense of speed and power while also capturing reflections and the bike’s design details. Either get low yourself or position your subject higher than you and your camera.
TIP 4: Shoot During Golden Hour for the Best Natural Light
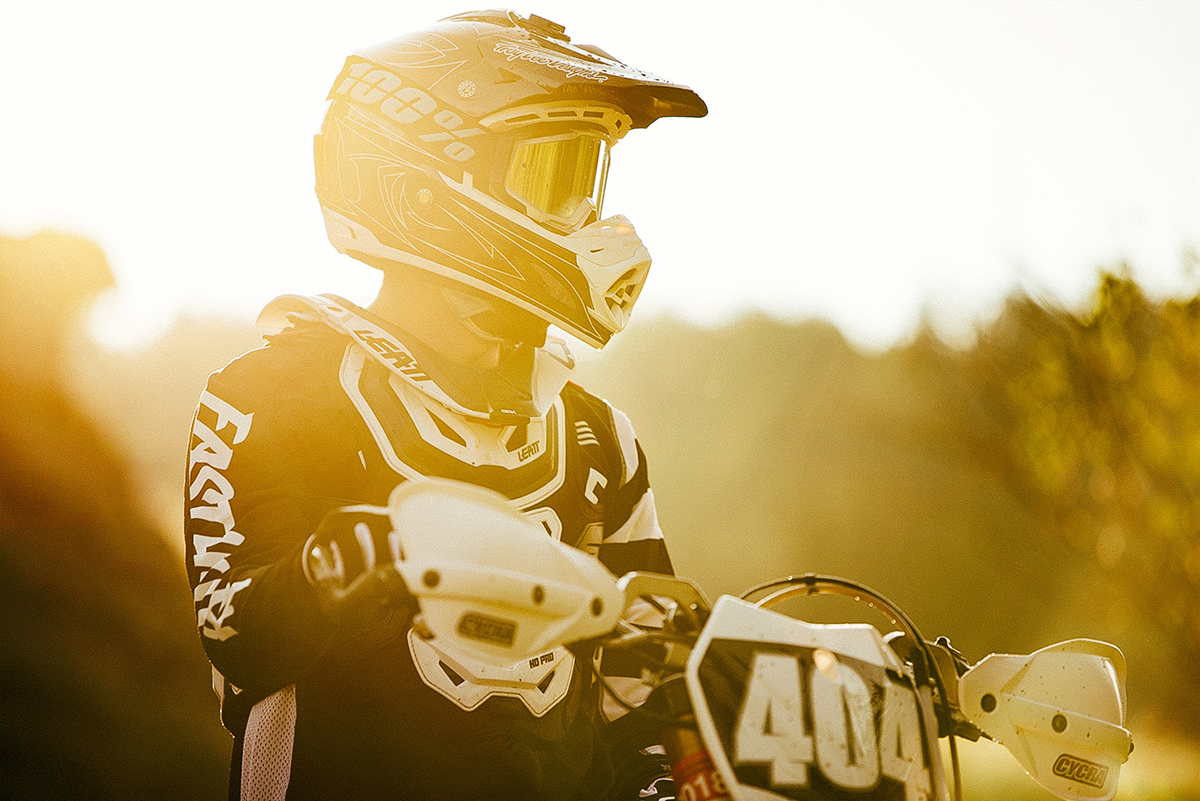
If you’re not shooting in a studio, it’s crucial to use the best natural lighting available. Golden hour—just after sunrise and before sunset—offers warm, flattering light that brings out the colors and contours of the motorcycle. Great light is a simple but critical element in effective motorcycle photography.
TIP 5: Try Light Painting for Creative Effects
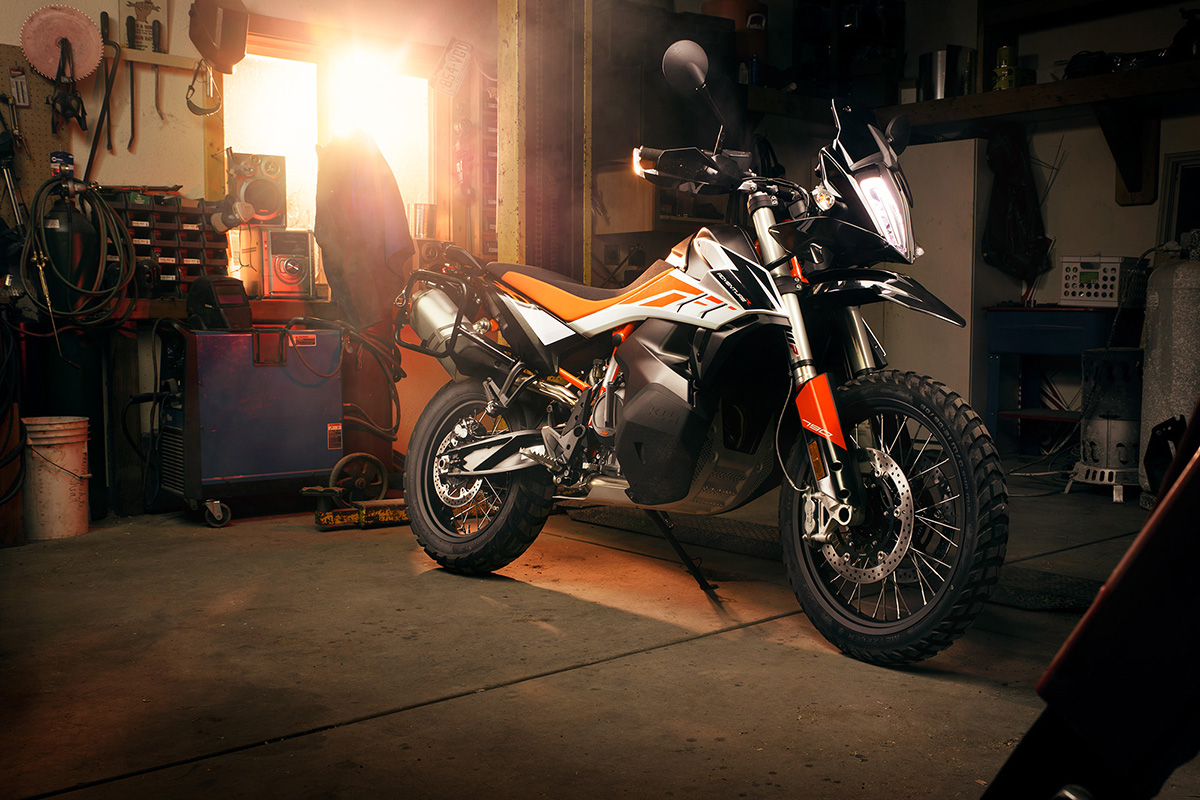
Light painting photography is a creative technique that uses long exposures and bright lights to highlight parts of the bike. By shining light directly on different areas for 1–2 seconds, you can emphasize key features and add dramatic visual effects. It’s an advanced but powerful tool in your motorcycle photography toolkit, especially when combined with a dark environment and a tripod.
Conclusion: Elevate Your Motorcycle Photography with the Right Techniques
By applying these professional motorcycle photography tips, you’ll be better equipped to capture the thrill of the ride in every frame. From mastering panning to experimenting with light painting, learning how to photograph motorcycles is as much about technique as it is about timing and creativity. Whether you’re an enthusiast or an aspiring pro, these tips will help you shoot like a seasoned motorcycle photographer.
Learn about Tamron lenses at an authorized Tamron dealer in your area or visit the TAMRON Store today.
More Photo Tips | Watch Videos | Learn More About Tamron Lenses | Photo Gallery
