Instant Savings
 Support
 Find a Dealer
Low light photography can be a challenge. It’s a test of your understanding of light, your gear, and your creativity. Yet, it’s also an opportunity. Learning how to photograph in low light conditions can yield some of the most stunning and dramatic images. In this article, we’ll explore low light photography tips with a focus on using Tamron lenses. Tamron lenses are renowned for their versatility and performance when shooting in low light conditions. We’ll delve into the techniques and settings that can help you capture beautiful low light images. From understanding your camera’s settings to mastering the art of composition, we’ve got you covered. Choosing the right lens for low light photography is crucial. Tamron offers a range of lenses that are well-suited for this task. These lenses have a reputation for their high-quality optics and excellent low light performance.
In this article, you will learn:
- Essential low light photography tips to master exposure, composition, and creative use of available light.
- How to choose the best Tamron lenses for low light photography, focusing on wide apertures and image stabilization.
- Camera settings secrets: balancing ISO, aperture, and shutter speed for optimal low light images.
- Techniques to prevent blur, including stabilization tools like tripods, monopods, and Tamron’s VC technology.
- Pro methods for focusing in the dark and post-processing tricks to reduce noise and enhance image quality.
Understanding Low Light Photography
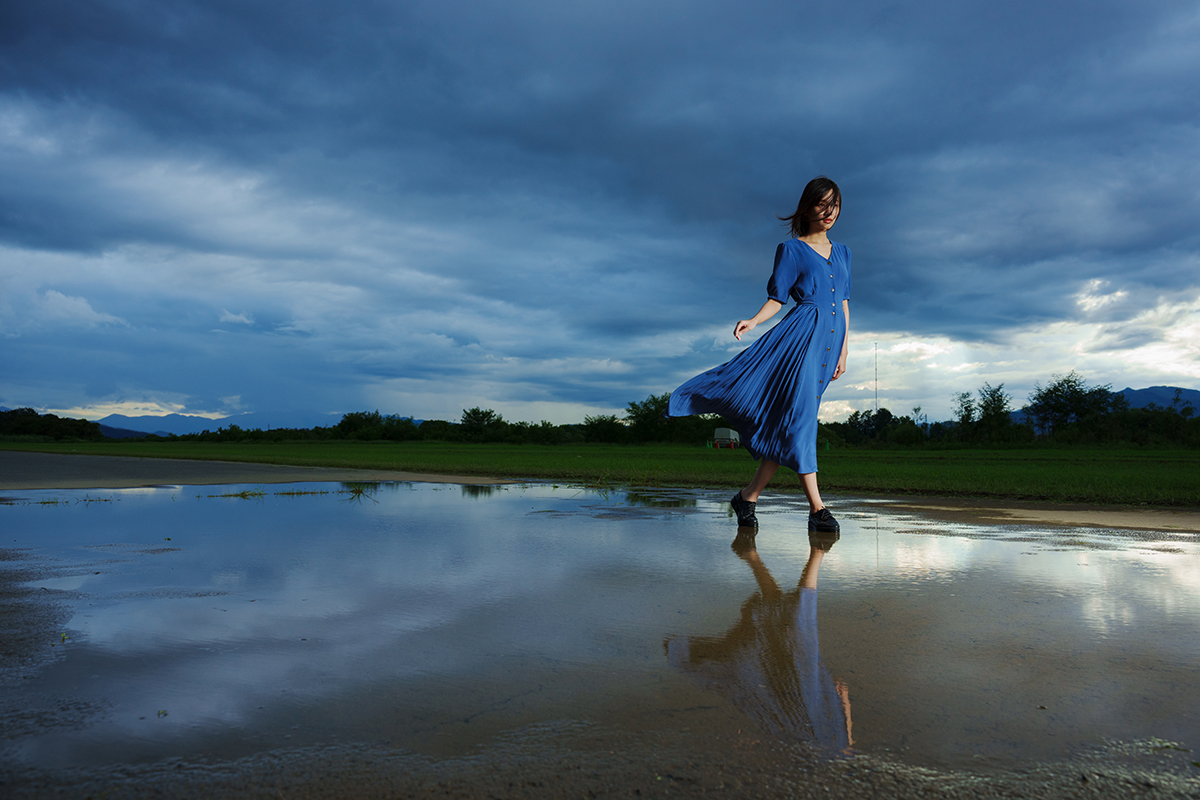
Low light photography is the art of capturing stunning images when natural or artificial light is limited. Whether you’re shooting indoors, at dusk, or under the stars, it’s about working creatively with the light you have rather than waiting for perfect conditions. Mastering low light photography tips will help you control exposure, reduce noise, and bring out the beauty hidden in the shadows.
Photographing in low light can be challenging because it pushes your camera’s sensor and lens optics to perform at their best. You’ll need to skillfully balance ISO, aperture, and shutter speed to achieve a clear, well-exposed image without introducing too much grain or motion blur. Having the right gear—such as fast lenses with wide apertures and stabilization technology—can make a significant difference in these conditions.
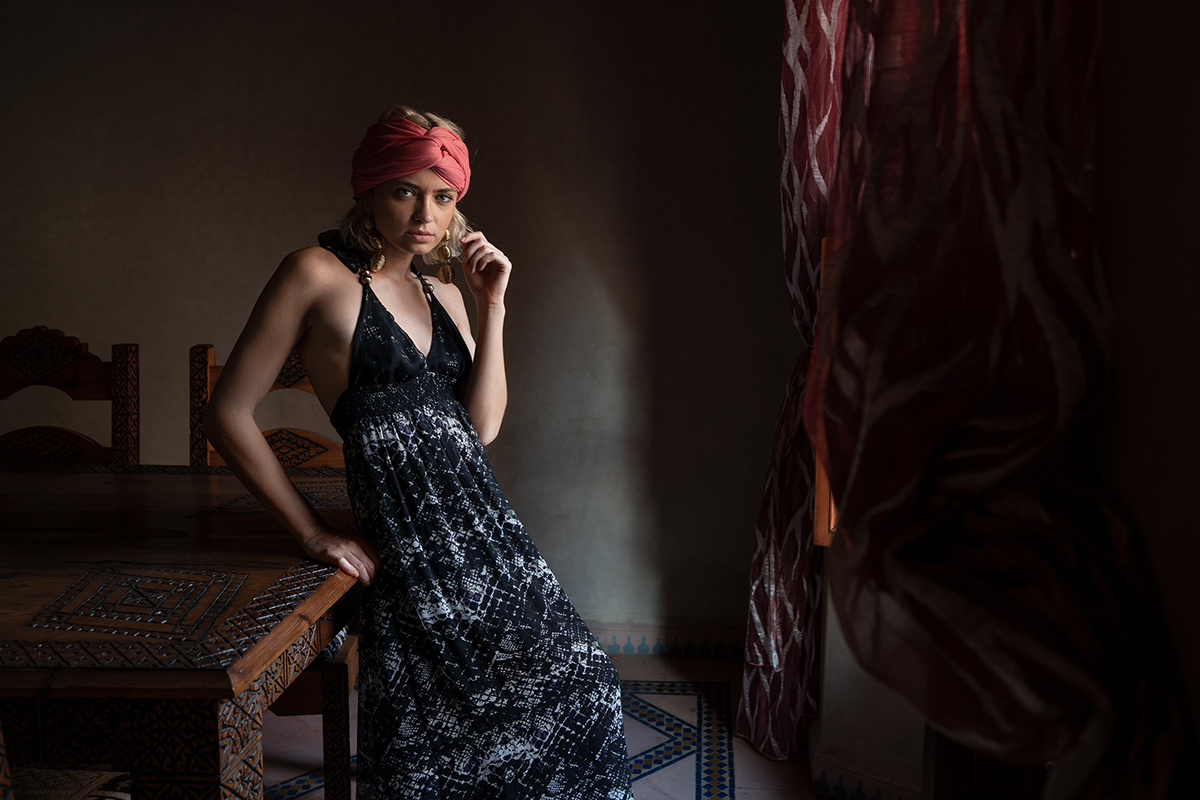
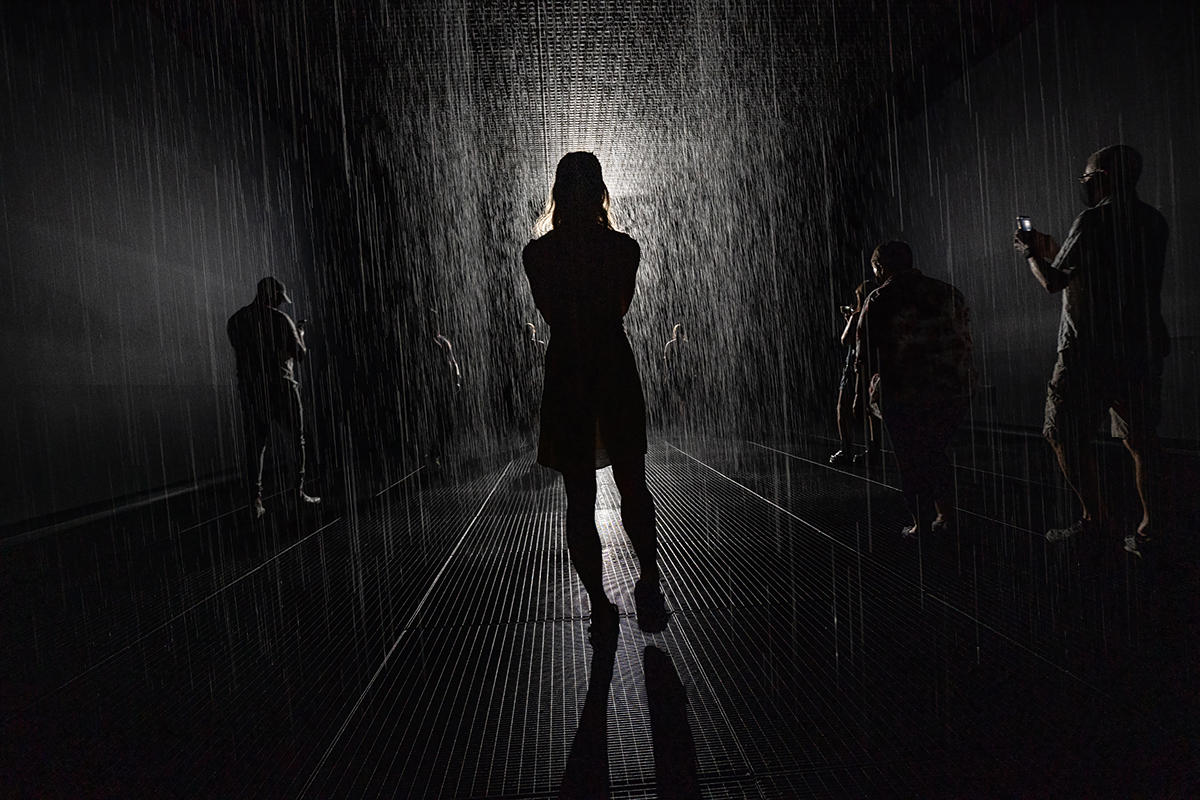
However, the real magic of low light photography lies in its creative possibilities. Limited lighting can create powerful mood, depth, and emotion in an image. Dramatic shadows, vibrant highlights, rich contrasts, and soft, ambient glows are all tools you can use to tell a story or evoke a feeling that would be hard to capture in bright daylight.
Understanding low light photography is not just about technical mastery—it’s about seeing differently. With practice, the darkness becomes a canvas where even the smallest light sources can define your subject and transform an ordinary scene into something extraordinary. Learning the right low light photography tips will help you unlock new creative horizons and capture breathtaking images in every lighting condition.
Choosing a Lens for Low Light Photography
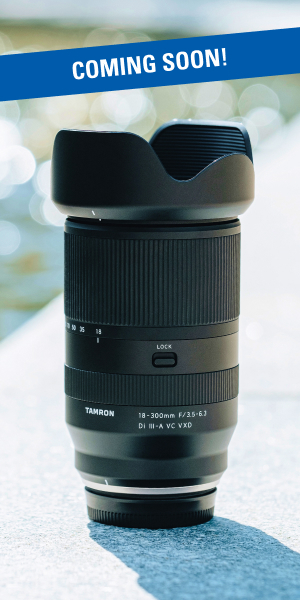
One key feature to look for in a low light lens is a wide maximum aperture. This allows more light to enter the camera, which can help to offset the lack of ambient light. Following essential low light photography tips, choosing a lens with a fast aperture is critical for achieving sharp, well-exposed images. Tamron’s line of fast zoom lenses, such as the 35-150mm F2-2.8 for Sony E and Nikon Z mounts, are excellent choices for low light photography. Another important feature is image stabilization. This can help to reduce the effects of camera shake, which is more pronounced in low light conditions. Tamron’s VC (Vibration Compensation) technology is highly effective at minimizing camera shake.
Best Tamron Lenses for Low Light Photography
Tamron offers a range of popular zoom lenses with wide apertures designed for both full-frame and crop-sensor mirrorless cameras. These lenses are highly sought after by photographers and filmmakers who frequently shoot in challenging lighting conditions. A wide aperture is one of the most valuable low light photography tips, as it allows more light to reach the sensor, helping to create brighter, sharper images even when ambient light is minimal. Tamron’s lenses not only deliver exceptional brightness but also provide the flexibility and optical performance needed to capture stunning visuals in low light situations, whether you’re photographing handheld at dusk or filming in dimly lit environments.
17-28mm F/2.8 Di III RXD (Model A046) for Sony E full-frame mirrorless
The Tamron 17-28mm F/2.8 Di III RXD is a lightweight ultra-wide zoom that’s perfect for capturing expansive low light scenes like cityscapes and architecture. Its constant f/2.8 aperture ensures ample light intake throughout the zoom range, and the fast, quiet RXD autofocus motor makes it easy to nail sharp shots even when light is scarce. Compact and highly portable, it’s an ideal choice for handheld low light photography.
20-40mm F/2.8 Di III VXD (Model A062) for Sony E full-frame mirrorless

The Tamron 20-40mm F/2.8 Di III VXD is a compact, high-performance zoom that’s tailor-made for dynamic low light photography. Its fast constant f/2.8 aperture provides excellent light-gathering ability, ideal for everything from environmental portraits to night cityscapes. Thanks to the versatile 20-40mm focal range, you can easily capture wide scenes or tighten your composition without changing lenses. The VXD autofocus motor delivers quick, quiet, and precise focusing, even in challenging lighting conditions. Lightweight and travel-friendly, the 20-40mm F/2.8 is a perfect companion for photographers who want speed, sharpness, and flexibility when shooting in low light.
28-75mm F/2.8 Di III VXD G2 (Model A063) for Sony E and Nikon Z full-frame mirrorless
The 28-75mm F/2.8 Di III VXD G2 is a versatile standard zoom designed for everyday shooting, especially in low light environments. With an updated optical formula and the fast VXD autofocus system, it delivers crisp, vibrant images even in challenging conditions. Its wide f/2.8 aperture across the entire zoom range helps maintain excellent exposure without sacrificing shutter speed or ISO performance.
35-150mm F/2-2.8 Di III VXD (Model A058) for Sony E and Nikon Z full-frame mirrorless
The Tamron 35-150mm F/2-2.8 Di III VXD stands out for its unprecedented fast aperture and broad focal range, making it a powerhouse for low light photography. At 35mm, its remarkable f/2 maximum aperture lets in a tremendous amount of light, perfect for dramatic portraits and event photography. The VXD motor ensures fast, accurate focusing even when lighting is dim, and the lens’s exceptional optical quality maintains sharpness from edge to edge.
70-180mm F/2.8 Di III VC VXD G2 (Model A065) for Sony E full-frame mirrorless

Designed for capturing distant subjects in less-than-ideal lighting, the 70-180mm F/2.8 Di III VC VXD G2 combines a fast f/2.8 aperture with Tamron’s advanced VC stabilization system. Whether shooting handheld indoors or at dusk outdoors, this lens delivers sharp, clear images with reduced motion blur. The upgraded VXD motor offers responsive focusing, making it a great option for low light action, weddings, or nighttime portraits.
11-20mm F/2.8 Di III-A RXD (Model B060) for Sony E, Canon RF, Fujifilm X crop-sensor mirrorless
Ultra-wide and ultra-bright, the 11-20mm F/2.8 Di III-A RXD is a dream for crop-sensor users shooting in low light. The constant f/2.8 aperture allows photographers to capture stunning night skies, interiors, or dramatic low angle shots without ramping up the ISO too much. Its compact size and RXD stepping motor also make it perfect for handheld shooting in tight or dynamic low light scenarios.
17-70mm F/2.8 Di III-A VC RXD (Model B070) for Sony E and Fujifilm X crop-sensor mirrorless

The 17-70mm F/2.8 Di III-A VC RXD is a flexible, all-purpose zoom designed to thrive in low light conditions. Its fast f/2.8 aperture and integrated VC (Vibration Compensation) system help minimize blur from camera shake, even when shooting handheld at slower shutter speeds. Perfect for travel, street, and event photography, this lens balances excellent optical performance with everyday practicality.
Camera Settings for Optimal Exposure: Balancing Light and Noise
Getting the right exposure in low light can be tricky. It’s a balancing act between ISO, aperture, and shutter speed. These three elements form the exposure triangle, a fundamental concept in photography. Mastering these low light photography tips is essential for achieving properly exposed images without introducing excessive noise or blur.
ISO
ISO controls the sensitivity of your camera’s sensor to light. In low light photography, you’ll often need to increase your ISO to capture enough light. A higher ISO lets you capture more light, but it also increases the noise in your image. This can result in a grainy appearance, especially in the darker areas of the image. Learning how to fine-tune ISO settings is one of the key low light photography tips, as finding the right balance is crucial for maintaining image quality.
Quick Tip: When possible, use the lowest ISO setting that still provides a properly exposed image to minimize noise.
Aperture
Aperture maximizes light intake. And it refers to the size of the opening in your lens. A wider aperture (lower f-number) allows more light in and is crucial for low light photography. Allowing more light to enter the camera helps to compensate for the lack of ambient light and achieve cleaner, sharper shots. Tamron offers several lenses with wide maximum apertures, making them excellent choices for photographers looking for reliable low light photography gear.
Quick Tip: Choose lenses with an f/2.8 aperture or faster to maximize your ability to shoot in low light conditions.
Shutter speed
Shutter speed is the length of time your camera’s shutter is open. In low light conditions, you may need to use a slower shutter speed to allow more light to hit the sensor. However, this can result in blurry photos if the subject is in motion. If you do not hold the camera steady, it can also cause blurriness. Using a tripod is a key low light photography tip to reduce camera shake at slow shutter speeds. Additionally, many Tamron lenses feature advanced image stabilization technology, which can further help to minimize blur and ensure sharper images.
Quick Tip: When shooting handheld, try to keep your shutter speed faster than your lens’s focal length (e.g., 1/50s for a 50mm lens) to reduce motion blur.
By mastering the interplay between ISO, aperture, and shutter speed, you’ll have the foundation needed to unlock your full creative potential in any low light photography situation.
Stabilization Techniques to Prevent Blur
Blur can be a major issue in low light photography, especially when working with slow shutter speeds. Camera shake is a common culprit, but fortunately, there are several effective stabilization techniques to prevent blur and improve your results. Mastering these low light photography tips will help ensure sharper, cleaner images even when light is limited.
Tripod
One of the most effective methods is to use a tripod. A tripod is essential for low light photography, as it keeps your camera steady and allows you to use slower shutter speeds without introducing blur. When choosing a tripod for low light shooting, look for one that’s sturdy, durable, and has a good weight capacity to securely support your camera and lens.
Pro Tip: Use a remote shutter release or your camera’s self-timer to avoid introducing vibration when pressing the shutter button.
Monopod
Another option is to use a monopod. While a monopod isn’t as stable as a tripod, it offers enhanced portability and can be a great tool in situations where setting up a tripod isn’t practical. A monopod helps reduce camera shake, making it one of the smart low light photography tips for fast-paced environments or crowded spaces where you need quick adjustments.
Pro Tip: Press the monopod firmly into the ground and use your body to stabilize it further for extra support when shooting.
Image Stabilization
Many Tamron lenses feature built-in image stabilization technology called VC (Vibration Compensation). This advanced feature significantly reduces camera shake, allowing you to shoot at slower shutter speeds without sacrificing image sharpness. Image stabilization is particularly valuable for handheld low light photography and can be a lifesaver when a tripod or monopod isn’t available.
Pro Tip: When using image stabilization, turn it off if your camera is mounted on a tripod to prevent unnecessary mechanical movement
Remember, though, that image stabilization can’t fully compensate for subject movement. If your subject is moving, you’ll still need to use a fast enough shutter speed to freeze the action and maintain crisp, detailed photos.
Focusing in Low Light
Focusing in low light can be a challenge. The lack of light can make it difficult for your camera’s autofocus system to lock onto your subject. Following smart low light photography tips, such as adjusting your focus technique, can make a big difference. This is where Tamron lenses can come in handy. Tamron lenses feature quick and precise autofocus systems, like the VXD linear motor focus mechanism, which can be a major advantage in low light situations. However, even the best autofocus systems can struggle in very low light. In these situations, one of the most effective low light photography tips is to switch to manual focus. This gives you complete control over the focus, allowing you to fine-tune it until it’s just right.
Pro Tip: Activate your camera’s focus peaking feature when using manual focus—it highlights the areas in sharp focus, making it much easier to achieve perfect clarity in dark conditions.
Manual vs. Autofocus in the Dark
Autofocus can be a great tool in many situations. But in low light, it can sometimes struggle to find the focus. That’s when manual focus can come to the rescue. With manual focus, you have complete control. You can adjust the focus ring until your subject is sharp. This can be particularly useful for night photography, where your subject might not be well lit. Manual focus requires practice. It can be tricky to get right, especially when you’re just starting out.
Back-Button Focus Technique
Another technique that can be useful in low light is back-button focus. Assign the autofocus function to a button on the back of your camera instead of the shutter button. With back-button focus, you can lock the focus once and then take multiple shots without the focus changing. This can be a big advantage in low light, where focusing can be difficult. You may need some time to adjust to back-button focus. But once you’ve mastered it, you might find it a valuable tool in your low light photography toolkit.
Creative Composition and Use of Light
In low light photography, it’s not just about capturing the subject — it’s also about conveying the mood and atmosphere of the scene. In fact, some of the most powerful images rely on how effectively you use light as part of your creative composition. With the right low light photography tips and techniques, you can turn even the dimmest environment into a visually stunning story.
First, observe how the available light interacts with your surroundings. The light itself can become a key element in your composition, creating mood, depth, and intrigue. Use it creatively to enhance your image, not just to illuminate your subject. Look for interesting shapes and patterns in the shadows, and don’t hesitate to move around to find the most compelling angles.
Additionally, using the contrast between light and dark can produce a dramatic effect that draws the viewer’s eye and evokes emotion. By adjusting your perspective and experimenting with different camera positions, you can uncover unique viewpoints that transform a simple scene into a work of art.
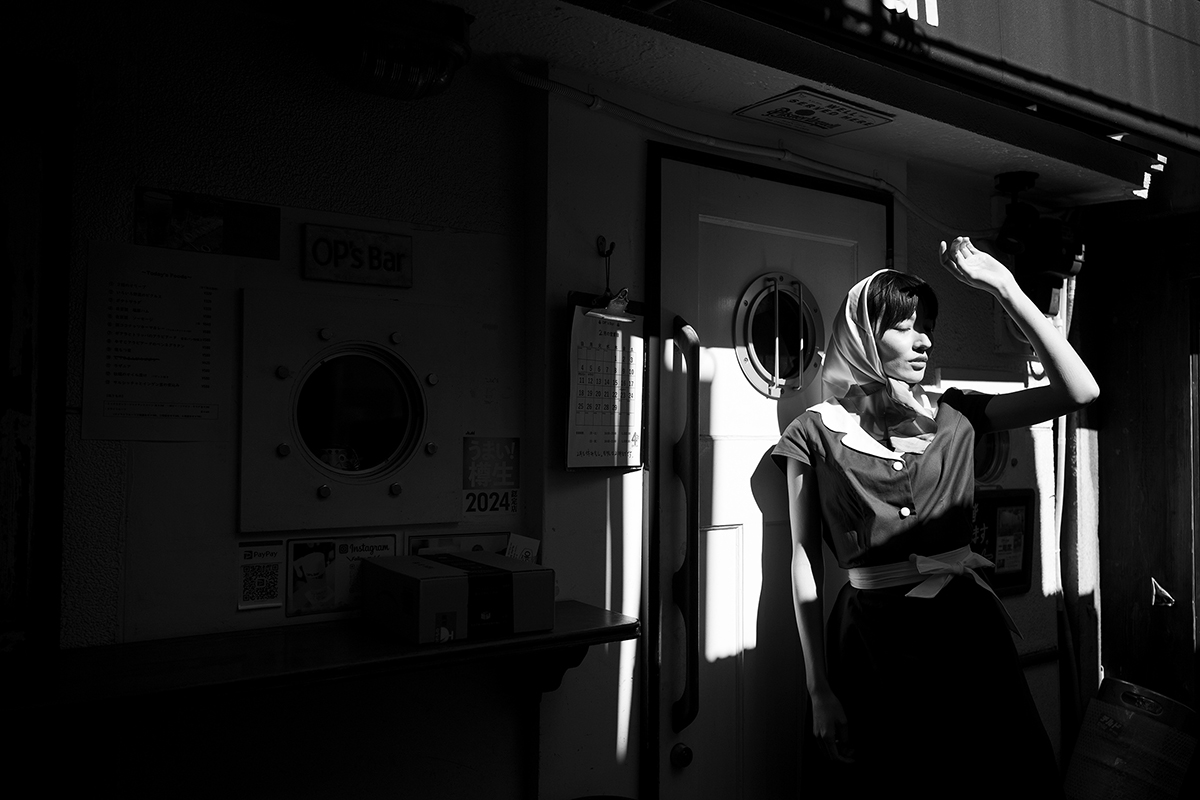
Pro Tip: When practicing your low light photography skills, try switching to black and white mode to better visualize contrast, shapes, and patterns — this can sharpen your eye for dramatic compositions even in the darkest settings.
Low Light Photography Tips for Finding and Using Available Light

In low light situations, any available light can become a valuable asset for creating compelling images. It’s not necessarily about having a lot of light, but rather about using the light you have effectively — a key concept when applying low light photography tips in real-world scenarios.
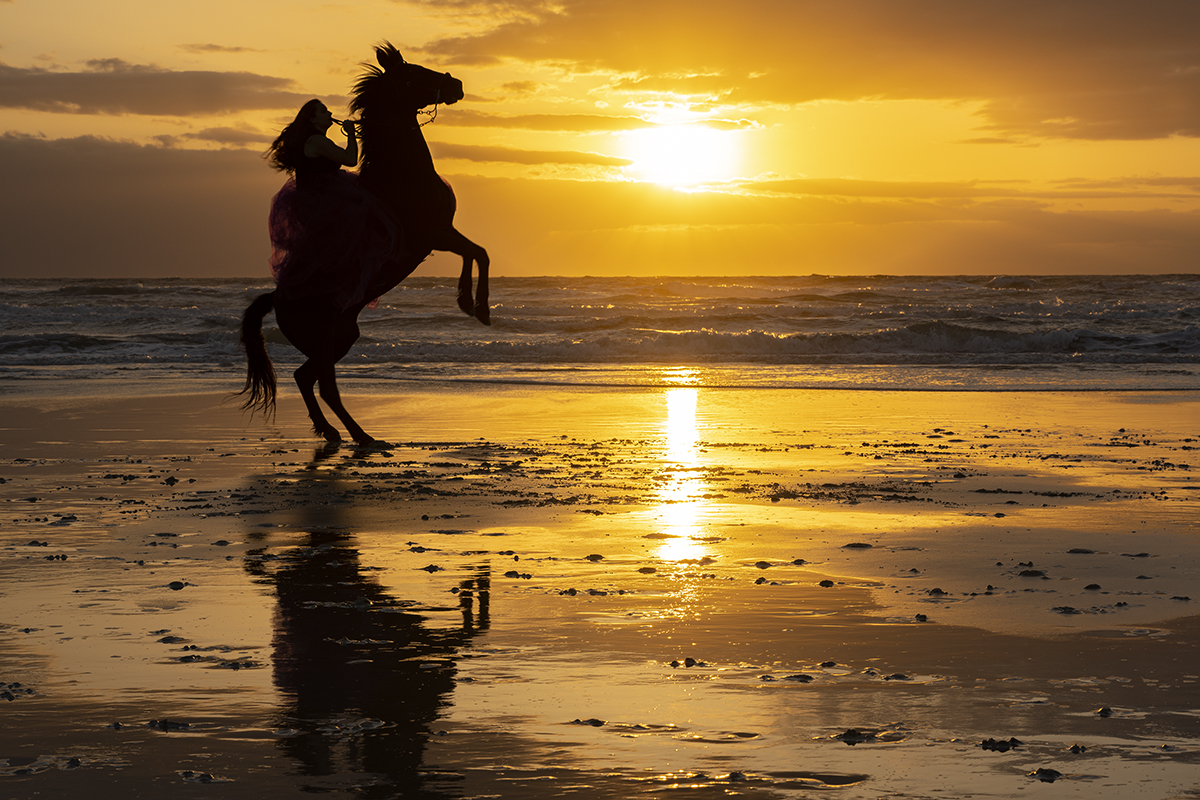
First, carefully observe your surroundings and seek out natural or artificial light sources such as streetlamps, neon signs, candles, car headlights, or even the soft glow of the moon. These elements can become powerful compositional tools. For instance, during an urban night shoot, a neon sign can add vibrant color and atmosphere to a portrait. At an indoor event, candles or string lights can create a warm, intimate mood. Even a beach scene illuminated only by moonlight can transform into a dramatic, ethereal image with the right low light techniques.
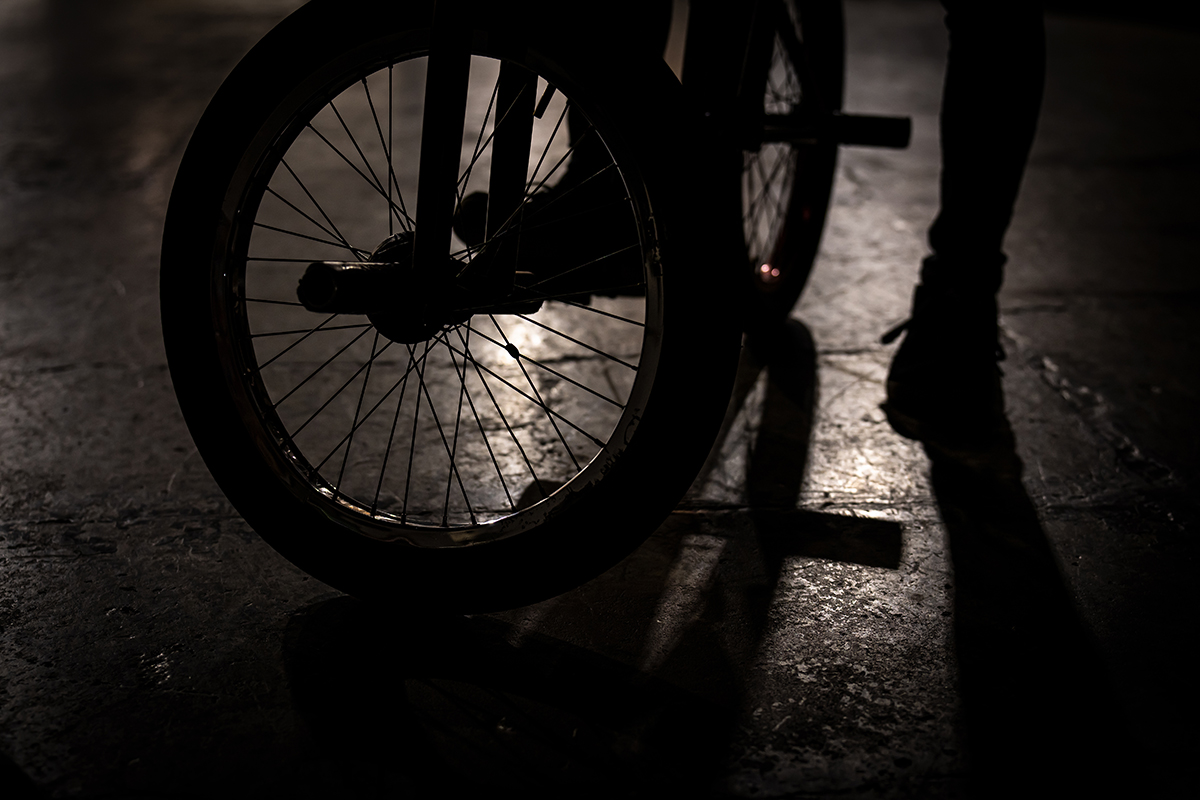
Rather than trying to overpower the darkness, embrace it by allowing available light to guide your creative decisions. You can use these light sources to directly illuminate your subject or weave them into your composition to form interesting light patterns, reflections, or silhouettes that add depth and visual interest.
Pro Tip: When shooting in low light, experiment with positioning your subject so that available light hits them from the side or behind—this technique creates stunning rim lighting effects and enhances the three-dimensional feel of your low light images.
Where to Practice Using Available Light:
- City streets after sunset: Neon signs, headlights, and storefronts offer endless creative possibilities.
- Indoor concerts and events: Stage lights and ambient lighting create dramatic scenes.
- Festivals or fairs: Colorful lights and crowds provide dynamic low light environments.
- Candlelit dinners or cafes: Perfect for practicing warm, intimate compositions.
- Beaches or parks under the moonlight: Capture serene and moody nighttime landscapes.
Artificial Lighting and Light Painting
Sometimes, you might want to add your own light to the scene to enhance your low light photography results. You can do this using a flash, a torch, or any portable light source. Adding light intentionally is one of the advanced low light photography tips that can dramatically elevate your images.
One creative lighting technique you can try is light painting. This involves moving a light source around while the shutter is open, creating captivating light trails or illuminating specific parts of your subject. Light painting can transform an ordinary low light scene into a work of art, giving you full control over how and where the light appears in your image.
However, when using artificial light, it’s crucial to balance it with the existing ambient light. You don’t want your artificial source to overpower the natural mood of the scene — instead, use it to subtly enhance the atmosphere and highlight your subject. Proper balancing creates a more cohesive, professional-looking photograph.
Pro Tip: Use a low-powered flashlight with a diffuser, or bounce your flash off a wall or ceiling, to create softer, more natural-looking light when working in low light scenes.
Where to Practice Adding Light:
- Abandoned buildings: Great for practicing light painting in completely dark environments.
- Nighttime outdoor portraits: Use a handheld flash to gently illuminate your subject while maintaining background mood.
- Forest trails or parks at dusk: Create magical, glowing light trails among the trees.
- City alleyways or streets: Combine ambient urban light with a small LED panel for creative night portraits.
Post-Processing Low Light Photography Tips
After you’ve captured your low light images, the work isn’t over. Post-processing is a crucial part of low light photography. With the right editing techniques, you can enhance your images, correct any exposure issues, and reduce noise. This can make a big difference in the final result.
Noise Reduction and Detail Preservation
One of the main challenges in low light photography is dealing with noise. But with the right post-processing techniques, you can reduce noise without losing detail. Use noise reduction tools sparingly. Too much noise reduction can make your image look soft or blurry. It’s about finding the right balance. Preserving detail is just as important as reducing noise. So always zoom in and check your image at 100% when applying noise reduction.
Exposure and Color Adjustments
In low light photography, getting the exposure right can be tricky. But with post-processing, you can correct any exposure issues and bring out the details in your image. Use the histogram to fine-tune your adjustments. It’s best to slightly underexpose when taking photos and fix it later, rather than overexpose and lose details. Color adjustments can also help to enhance your image. Adjust the white balance to achieve the desired mood and use color grading tools to enhance or change the colors in your image.
Practice Makes Perfect
Mastering low light photography is a journey. It’s about understanding the basics, experimenting with different techniques, and learning from your mistakes. Every lighting situation is unique. Don’t be afraid to try different settings and approaches. The more you practice, the better you’ll get. In the end, it’s not just about capturing a well-exposed image. It’s about capturing the mood and atmosphere of the scene and telling a story through your photography. Keep shooting, keep learning, and keep pushing your creative boundaries.
Learn about these lenses and more at an authorized Tamron dealer in your area or visit the TAMRON Store today.
More Photo Tips | Watch Videos | Learn More About Tamron Lenses | Photo Gallery