Instant Savings
 Support
 Find a Dealer
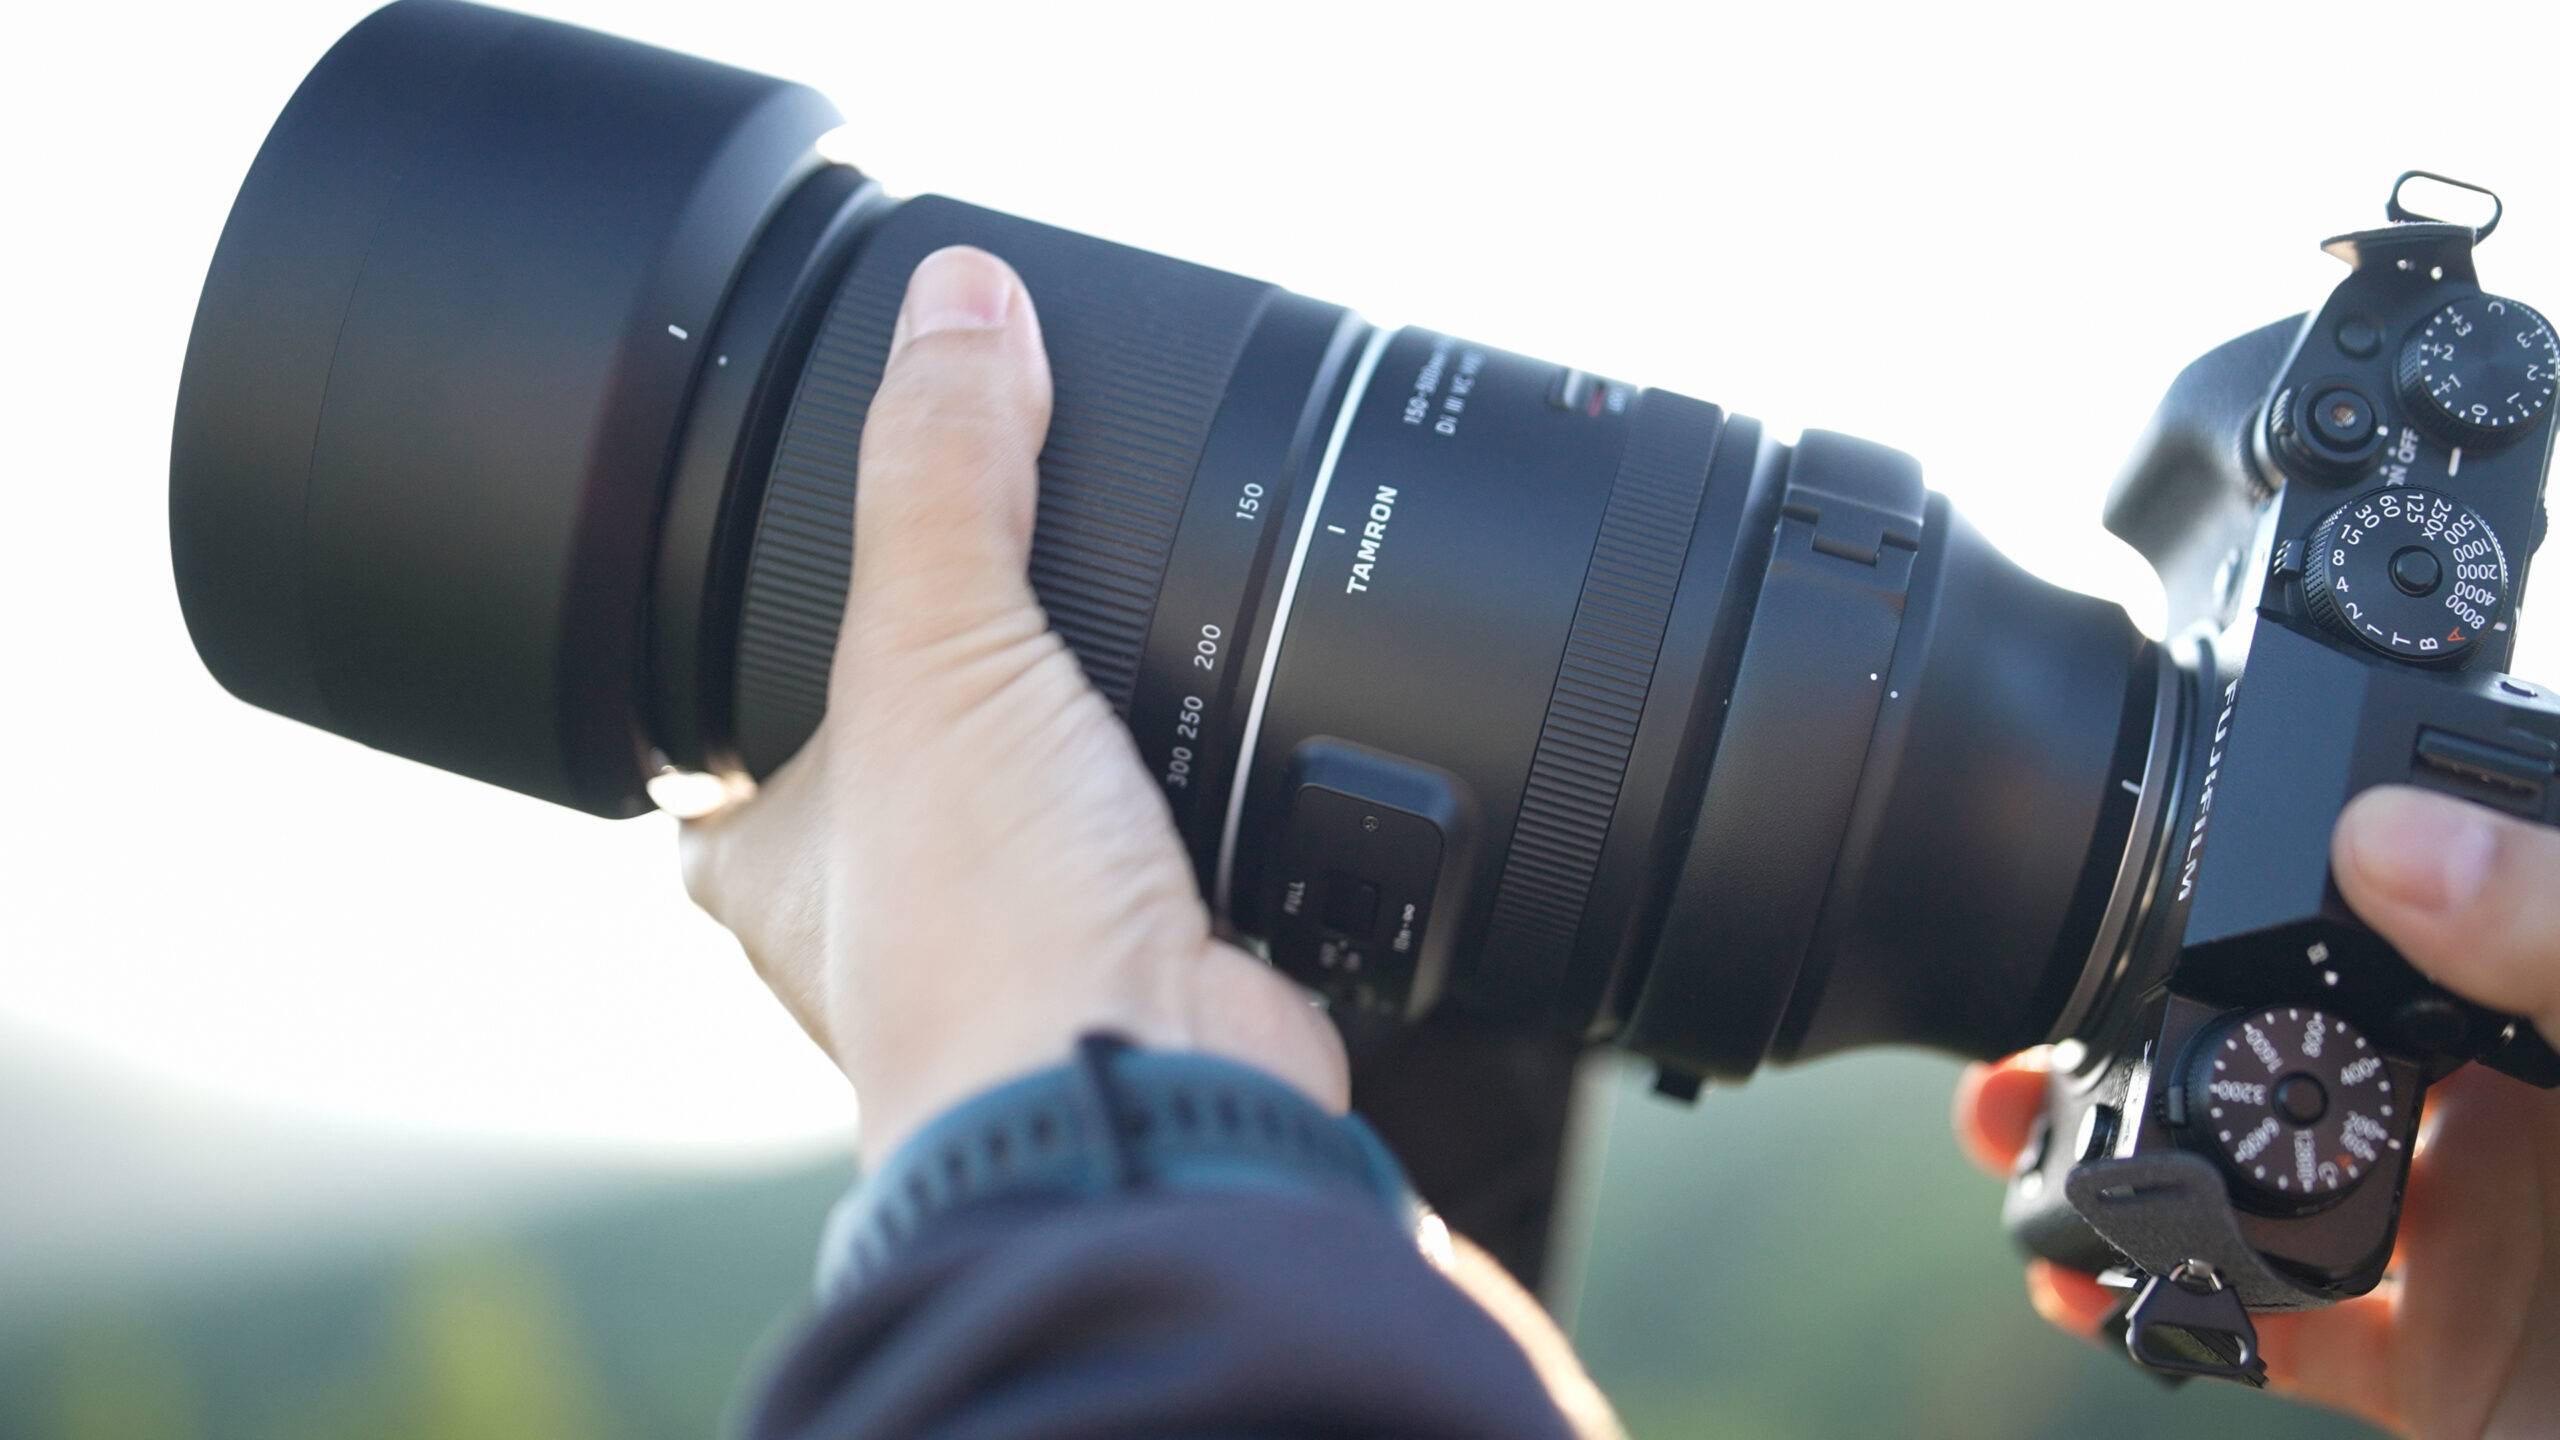
Understanding how to use image stabilization is essential for capturing sharp, blur-free images—especially when shooting handheld or in low-light situations. As camera and lens technology advances, the ability to minimize camera shake through features like in-lens stabilization (VC) or in-body stabilization (IBIS) has become a key advantage for photographers at all skill levels.
Despite today’s high-resolution sensors and ultra-sharp lenses, even the smallest movement can affect image sharpness. Image stabilization helps correct for minor shakes and motions, allowing for slower shutter speeds without sacrificing clarity.
Why Sharpness Still Matters
Sharpness has always been a hallmark of great photography. Even with post-processing tools, a poorly focused or motion-blurred image can’t be fixed after the fact. Whether using autofocus or manual focus, the camera’s setup—diopter, flange distance, and sensor alignment—all play a role in image sharpness. But even with perfect focus, handheld shooting introduces a new challenge: camera shake.
Motion blur is often caused by subject movement or camera movement when shooting at slow shutter speeds. A common rule of thumb is to match your shutter speed to your lens’s focal length (e.g., 1/500 sec for a 500mm lens). For APS-C crop sensor cameras, like those from Sony, this should be adjusted for the crop factor.


What Is Image Stabilization?
Image stabilization is a technology designed to minimize the blur caused by unintentional camera movement. It allows photographers to shoot at slower shutter speeds without introducing motion blur from handholding. You may see different names depending on the camera or lens brand: IS (Canon), VR (Nikon), OS (Sigma), SR (Pentax), OSS (Sony), or VC—Vibration Compensation, Tamron’s proprietary mechanism.
Tamron’s VC compensates for horizontal, vertical, and diagonal movement, helping maintain image clarity in a wide range of shooting conditions. Lenses with VC are typically rated by how many “stops” of stabilization they offer—3 to 5 stops—indicating how much slower you can shoot compared to the recommended shutter speed.
VC Modes on Tamron Lenses
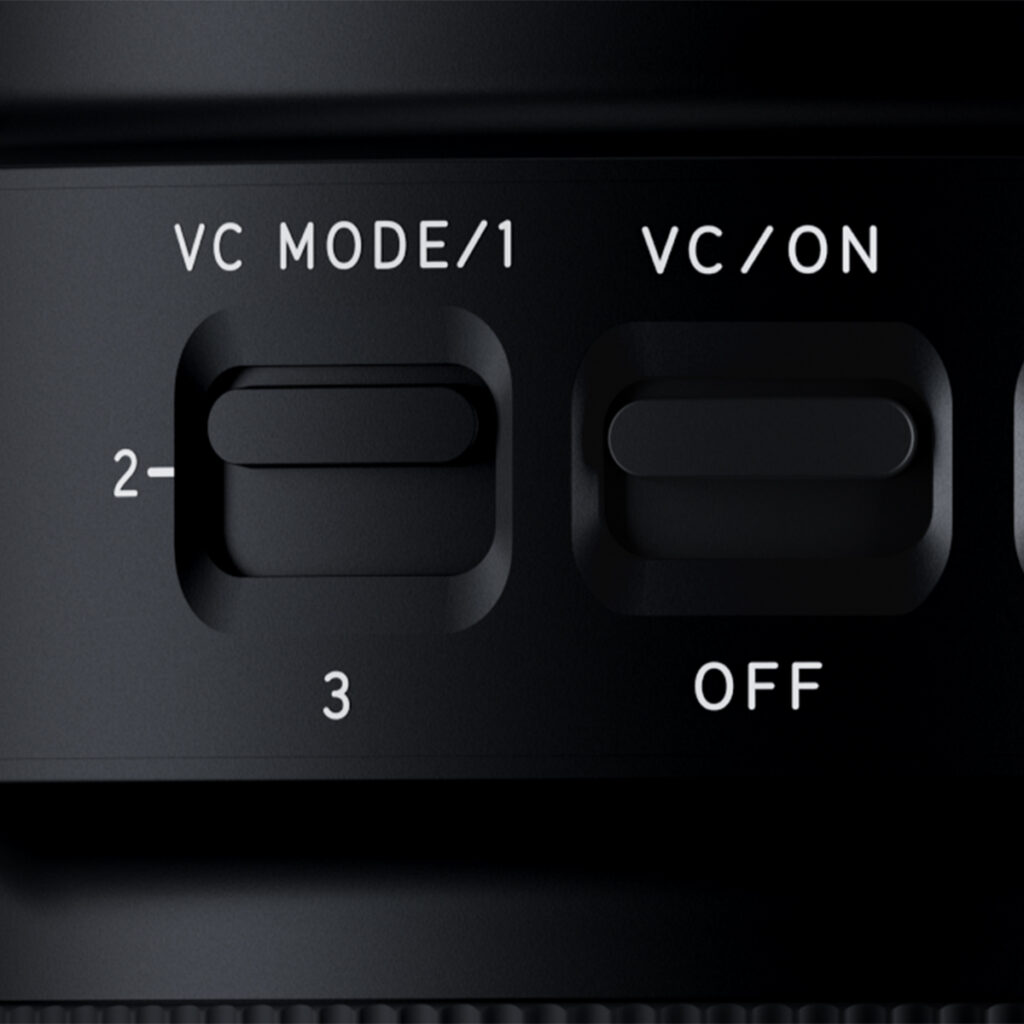
Many Tamron lenses include a VC selector switch offering three stabilization modes:
- Mode 1 (Standard): Balances viewfinder stabilization and image correction.
- Mode 2 (Panning): Stabilizes vertical shake while allowing horizontal movement for smooth panning.
- Mode 3 (Image Priority): Focuses stabilization solely on the final image, skipping viewfinder stabilization for maximum sharpness.
Understanding and using these VC modes properly ensures optimal performance in different shooting scenarios.
Watch VC In Action

When to Turn Off Image Stabilization
While image stabilization is helpful in most handheld situations, there are times when it should be turned off—particularly when using a tripod. At very slow shutter speeds (below 1/30 sec), the system may overcorrect for movements that aren’t there, causing slight image shifts and reducing sharpness. In those cases, disabling VC or any in-body stabilization is recommended.
Best Practices for Using Image Stabilization
- Always use the fastest shutter speed possible to reduce blur.
- Keep ISO low for best image quality, balancing with shutter speed as needed.
- Activate the appropriate VC mode depending on your subject and shooting style.
- Turn off image stabilization when shooting on a tripod with long exposures.
Mastering Image Stabilization with Tamron VC Lenses
Tamron offers a wide selection of lenses with built-in VC technology, giving photographers the tools to shoot handheld with confidence and precision. Whether capturing wildlife, portraits, or travel moments, understanding how to use image stabilization can make all the difference.
Learn more about Tamron technology and lenses at an authorized Tamron dealer in your area or visit the TAMRON Store today.
More Photo Tips | Watch Videos | Learn More About Tamron Lenses | Photo Gallery