Instant Savings
 Support
 Find a Dealer
Silhouette photography is a simple yet powerful technique that allows photographers to create dramatic, high-contrast images filled with emotion and mystery. By capturing a darkened subject against a bright background—like a vibrant sunrise or a glowing window—you can tell a compelling visual story without revealing every detail. Whether you’re shooting landscapes, portraits, or urban scenes, mastering silhouette photography can add artistic flair and narrative depth to your portfolio.
What You’ll Learn in This Article
- How to expose your camera correctly for silhouette shots
- Tips for finding and composing high-contrast scenes
- The best camera settings and metering modes to use
- How to plan your shoot using light-tracking apps
- Recommended gear, including lenses and tripods
Images and Text by Jillian Bell (“Silhouette photography: an easy technique that’s hard to spell”)
What Is Silhouette Photography and How It Works
Silhouette photography is a powerful yet accessible technique that emphasizes shape, form, and contrast. By photographing darkened subjects against bright backdrops, you can create visually arresting images that evoke mood and mystery. Whether you’re capturing a lone figure against a vibrant sunrise or architecture framed by golden hour light, mastering this style adds emotional depth and artistry to your portfolio.
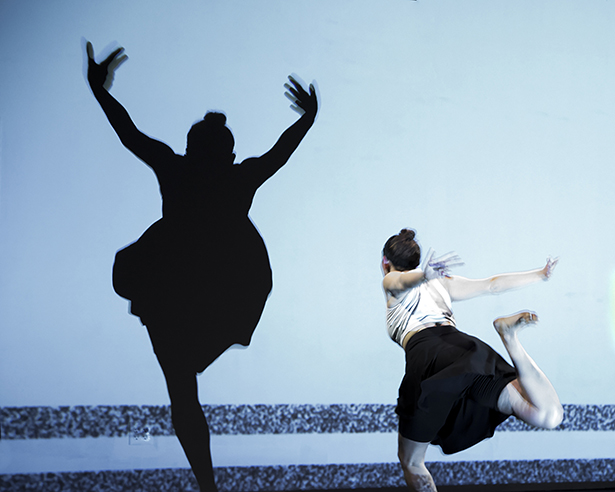
In silhouette photography, your subject appears in shadow, often entirely black, while the background is bright and colorful. This effect occurs because your camera sensor cannot capture the full range of brightness in high-contrast scenes. The result? An image where subtle details of the subject give way to striking outlines.
Historically, storytelling through shadows began with puppet theatres projected on walls or cloth, and today, that same storytelling magic can be captured through your lens.
How to Expose for a Silhouette
To successfully shoot a silhouette, you must expose for the background, not the subject. If your camera exposes for the subject, the background becomes too bright and washed out. Instead, let the subject go dark by metering for the brighter light source behind it.
Use your exposure compensation to underexpose the image slightly—around -1 E/V—to deepen the silhouette and preserve rich sky tones. This simple adjustment makes a big impact.
Finding High-Contrast Lighting for Silhouette Shots
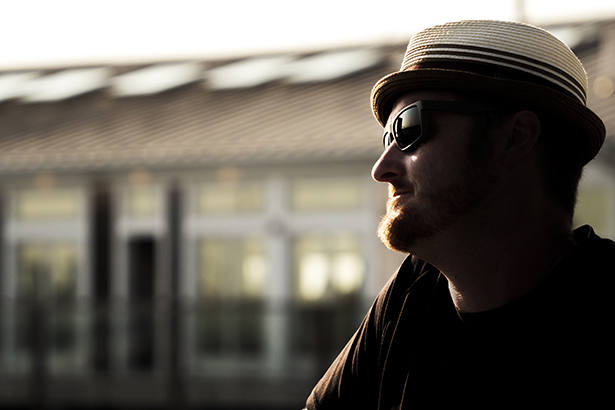
Silhouettes thrive on contrast. Scenes like sunsets, sunrises, or backlit windows naturally offer the lighting needed to create compelling silhouettes. Look for strong directional light and place your subject between the light source and your camera.
Pro Tip: Positioning yourself to shoot directly toward the light, even if it’s slightly off-axis, will help define the edges of your subject more clearly.
Advanced Tips for Shooting Silhouettes
The technique is simple, but the artistry lies in refining your approach. Look for clean lines, unique shapes, and compositions that rely on form rather than detail. Adjusting your exposure manually lets you fine-tune how deep your shadows fall while ensuring the background remains vibrant.
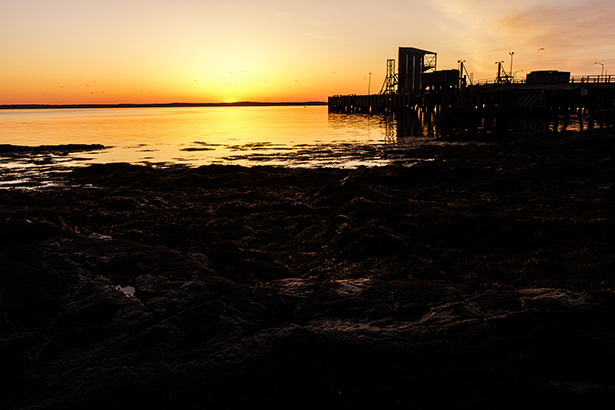
Above is an example image I captured during sunrise. Take note of how the silhouetted elements tell a complete story without showing surface detail.
Choosing the Best Subject and Composition
Subjects with distinct, recognizable shapes work best—think trees, people, bicycles, or architecture. To enhance visual impact, consider composition techniques like the rule of thirds. In one shot, I raised the horizon to the upper third of the frame so I could highlight the reflection of a pier at low tide.
Your goal should be to create an image that is easy to interpret, even in shadow, and that makes use of negative space creatively.
Gear Setup for Silhouette Photography Success
Before the shoot, I used an app to track the sun’s rise and chose a location with strong reflections. I placed my camera low to the ground on a tripod to frame the scene and used a remote app on my phone to trigger the shutter without touching the camera.
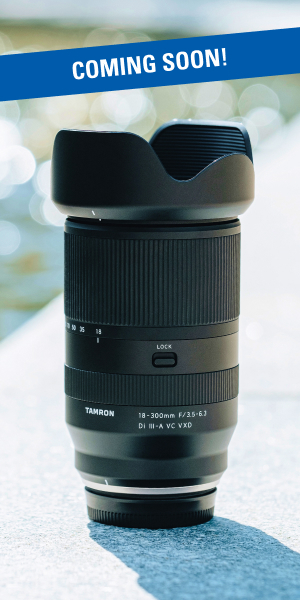
I shot using the Tamron 11-20mm F/2.8 Di III-A RXD (Model B060)—an ultra-wide-angle lens that performs beautifully in landscape scenarios. Its edge-to-edge clarity and compact form make it ideal for capturing the vast, colorful skies often needed in silhouette photography.
A tripod is essential to keep your framing consistent and your hands free—preferably holding a warm cup of coffee while you wait for the perfect moment.
Manual Camera Settings for Silhouette Photos
To gain full creative control, I recommend shooting in Manual Mode. Here’s how I dialed in my settings for a silhouette image at sunrise:
- Aperture: f/16 – to maintain sharpness across the scene
- ISO: 100 – to minimize noise and maintain color depth
- Shutter Speed: Adjusted based on spot metering next to the sun
Use spot metering to precisely expose for the brightest part of the background, not the subject. I aimed the meter just beside the sun and adjusted my shutter speed until the blacks in my histogram reached but didn’t fall off the far left edge—ensuring deep shadows while preserving tonal detail.
Pro tip: Your in-camera meter might show you’re overexposed (+2), but don’t worry—that’s because it wants to turn bright highlights into midtones. Trust your histogram instead.
Final Thoughts on Capturing Stunning Silhouettes
Silhouette photography isn’t just a technical trick—it’s a storytelling technique. You’re simplifying the world into shape, shadow, and light. Keep your eyes open for hard light, clean shapes, and moments of emotional impact. Whether you’re framing a lone pier, a friend at a window, or a skyline at dusk, the magic lies in contrast and composition.
Most importantly? Don’t forget your tripod, a warm beverage, and maybe a nap afterward—you’ve earned it.
Learn more about this lens at an authorized Tamron dealer in your area or visit the TAMRON Store today.