 Instant Savings
 Support
 Find a Dealer
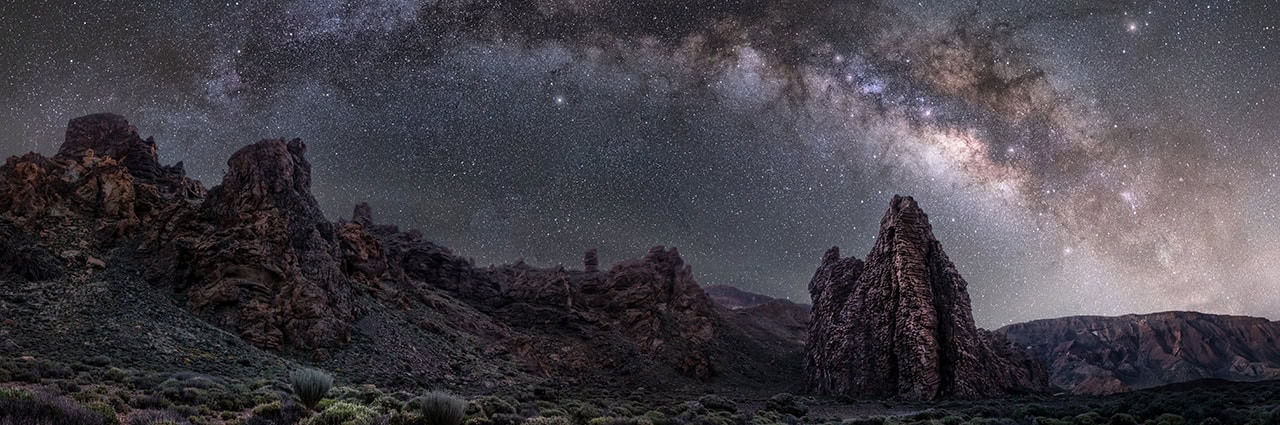
Catching a clear view of the Milky Way in a dark night sky is breathtaking, and photographing it takes patience, persistence, and preparation. For many photographers, the challenge to photograph the Milky Way is as thrilling as the reward—capturing the sweeping arc of stars stretching across the sky in a single, awe-inspiring frame. But success doesn’t come from luck alone. It requires an understanding of the night sky, careful planning, and a solid grasp of camera techniques suited for low-light conditions.
In this guide, you’ll learn how to photograph the Milky Way with confidence—from scouting ideal locations and timing your shoot just right, to mastering the best camera settings for crisp, luminous results. Whether you’re new to night photography or looking to refine your approach, these practical tips will help you turn a dark sky into a gallery-worthy image.
What You Will Learn In This Article:
- How to plan your Milky Way shoot by checking moon phases, weather, and light pollution
- When and where the Galactic Core is most visible for ideal Milky Way photos
- The importance of scouting your shooting location during daylight hours
- Tips for practicing camera adjustments in the dark before heading out
- Recommended starting camera settings for sharp and well-exposed night sky images
Here are a few tips to consider when heading out to photograph under the night sky:
TIP 1: Plan Ahead: When and Where to See the Milky Way

Astro-photographers often study the sunset and sunrise times, as well as moon phases and weather patterns in order to successfully photograph the Milky Way. The goal is to find a dark night sky away from light pollution on a night with little cloud coverage during what is often referred to as “Milky Way season”. “Milky Way season” is defined by the months of the year that the Galactic Core is visible.
In the Northern Hemisphere, the Galactic Core is not visible in winter months – November, December, and January and most commonly photographed between March and October. Popular apps such as PhotoPills and Sky Guide offer the ability to plan months in advance as well as on-location scouting.
TIP 2: Scout Your Shooting Spot in Daylight
Scout the location! Doing any activity without light simply becomes more complicated because you’re relying on other senses aside from sight. By scouting the location during the day prior to your shoot, you can fine tune the details, be sure the terrain is approachable in the dark, and confirm the view. It’s also a bonus photography moment!
TIP 3: Practice in the Dark Before You Go

Use your camera equipment in the dark at home. At home, there is a safety without weather, bears, mountain lions, and deep canyons. In other words, there’s a few less stress factors at play. Take some time, turn off all the lights and practice adjusting the camera settings. This knowledge and muscle memory prevents the need to turn on a headlamp or flashlight.
Tip 4: Best Camera Settings to Photograph the Milky Way
There is no perfect equation of camera settings for every single image. But in this case, there are settings to start with that are adjustable. Try starting with: f/2.8; 30 seconds; ISO 3200. This will need to be adjusted based on focal distance and available light. This equation is used in combination with a wide-angle lens to pinpoint the stars without movement.
Due to the rotation of the earth, when a longer focal length is used the shutter speed needs to be adjusted in order to prevent showing movement. This equation will also need to be adjusted to allow less light in when photographing on a night with moonlight or light pollution.
Learn about Tamron lenses at an authorized Tamron dealer in your area or visit the TAMRON Store today.
More Photo Tips | Watch Videos | Learn More About Tamron Lenses | Photo Gallery