Instant Savings
 Support
 Find a Dealer
Learning night sky photography for beginners is an exciting and rewarding journey. Also known as astrophotography, this genre involves capturing celestial wonders like stars, galaxies, meteors, and planets set against the dark night sky. With the right gear, thoughtful planning, and proper technique, photographing the Milky Way, star trails, and other night sky phenomena becomes far more approachable.
This beginner’s guide provides the foundational setup, essential camera settings, and expert tips to help you start capturing impressive night sky images with confidence.
In this article, you will learn:
- How to get started with night sky photography for beginners, including essential gear and planning tips
- Which Tamron lenses are ideal for Milky Way and astrophotography
- How TAMRON Lens Utility™ 5.0 and Astro Focus Lock improve focusing accuracy at night
- The best camera settings for shooting stars, the Milky Way, and celestial scenes
- How to find dark sky locations and compose powerful night sky images
- Tips for staying focused, reducing noise, and post-processing your night photos
Best Lenses for Night Sky Photography and Astrophotography

Choosing the right lens is one of the most important decisions in night sky photography. A fast, wide-angle lens allows more light to hit your sensor and helps you capture expansive views of the Milky Way.
For best results, use a fast Tamron wide-angle lens with an aperture of F2.8. Wider focal lengths like 16mm or 20mm allow you to capture more of the sky while minimizing star trailing.
Recommended Tamron lenses for night sky photography:
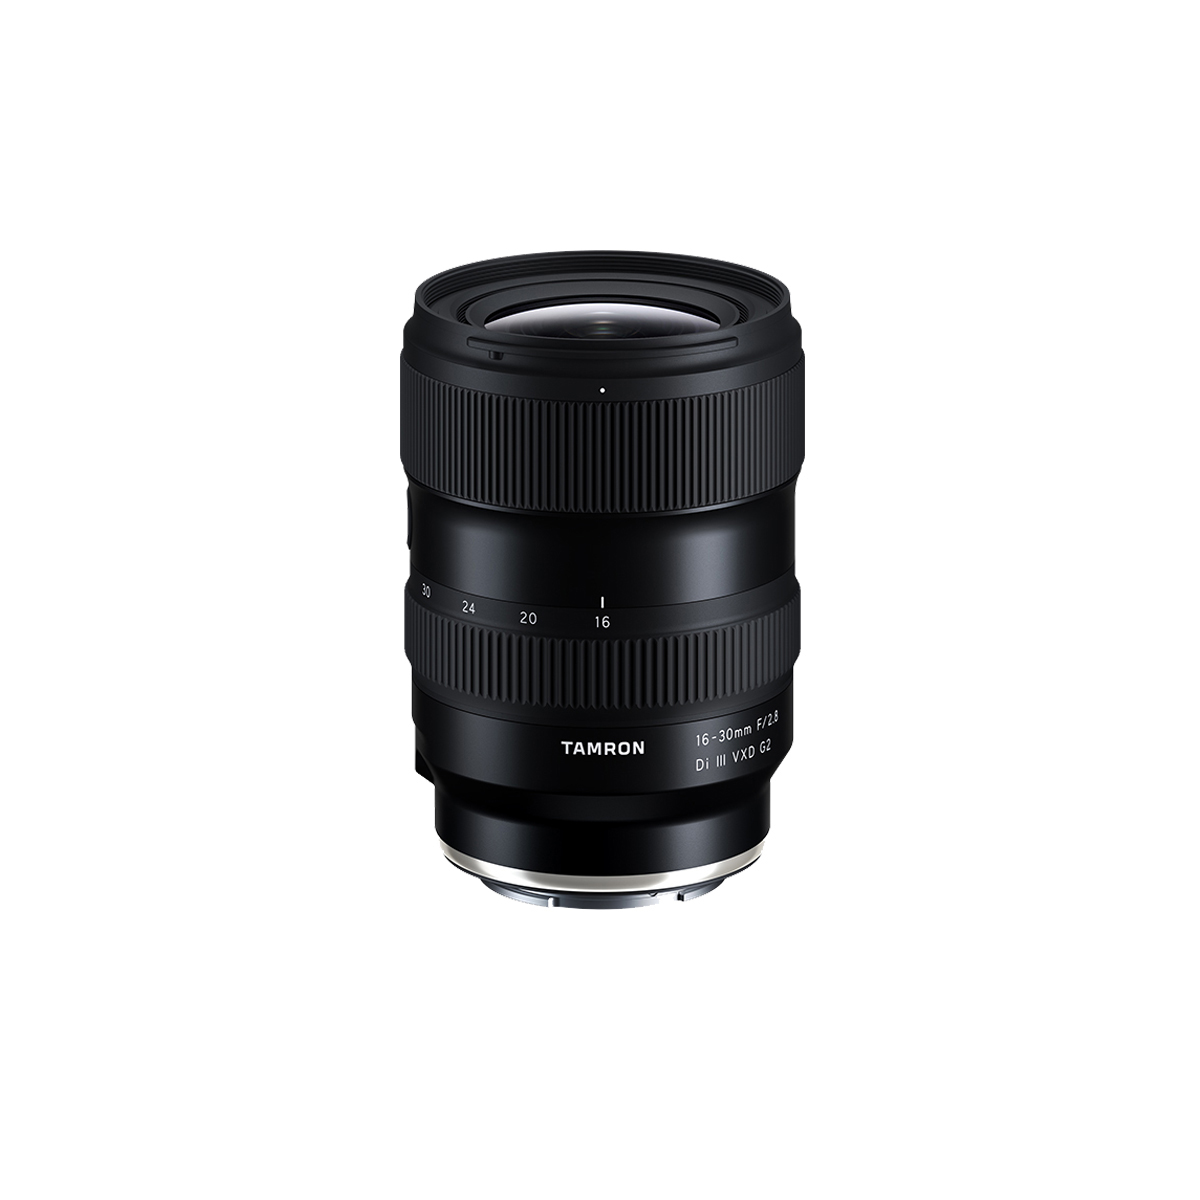
TAMRON 16-30mm F/2.8 Di III VXD G2 (Model A064)
Designed for Sony E-mount full-frame mirrorless cameras, the 16-30mm F2.8 G2 delivers an expanded wide-angle range ideal for astrophotography and Milky Way photography.
- Ultra-wide 16mm field of view for expansive sky coverage
- Bright F2.8 aperture for strong low-light performance
- Advanced VXD autofocus for precision
- Moisture-resistant construction and fluorine coating
- Lightweight and travel-friendly design
- Compatible with Ø67mm filters
The 16-30mm F2.8 G2 offers improved optical performance and refined handling, making it an excellent choice for serious night sky photographers.
Shop the Tamron 16-30mm F/2.8 Di III VXD G2 >>
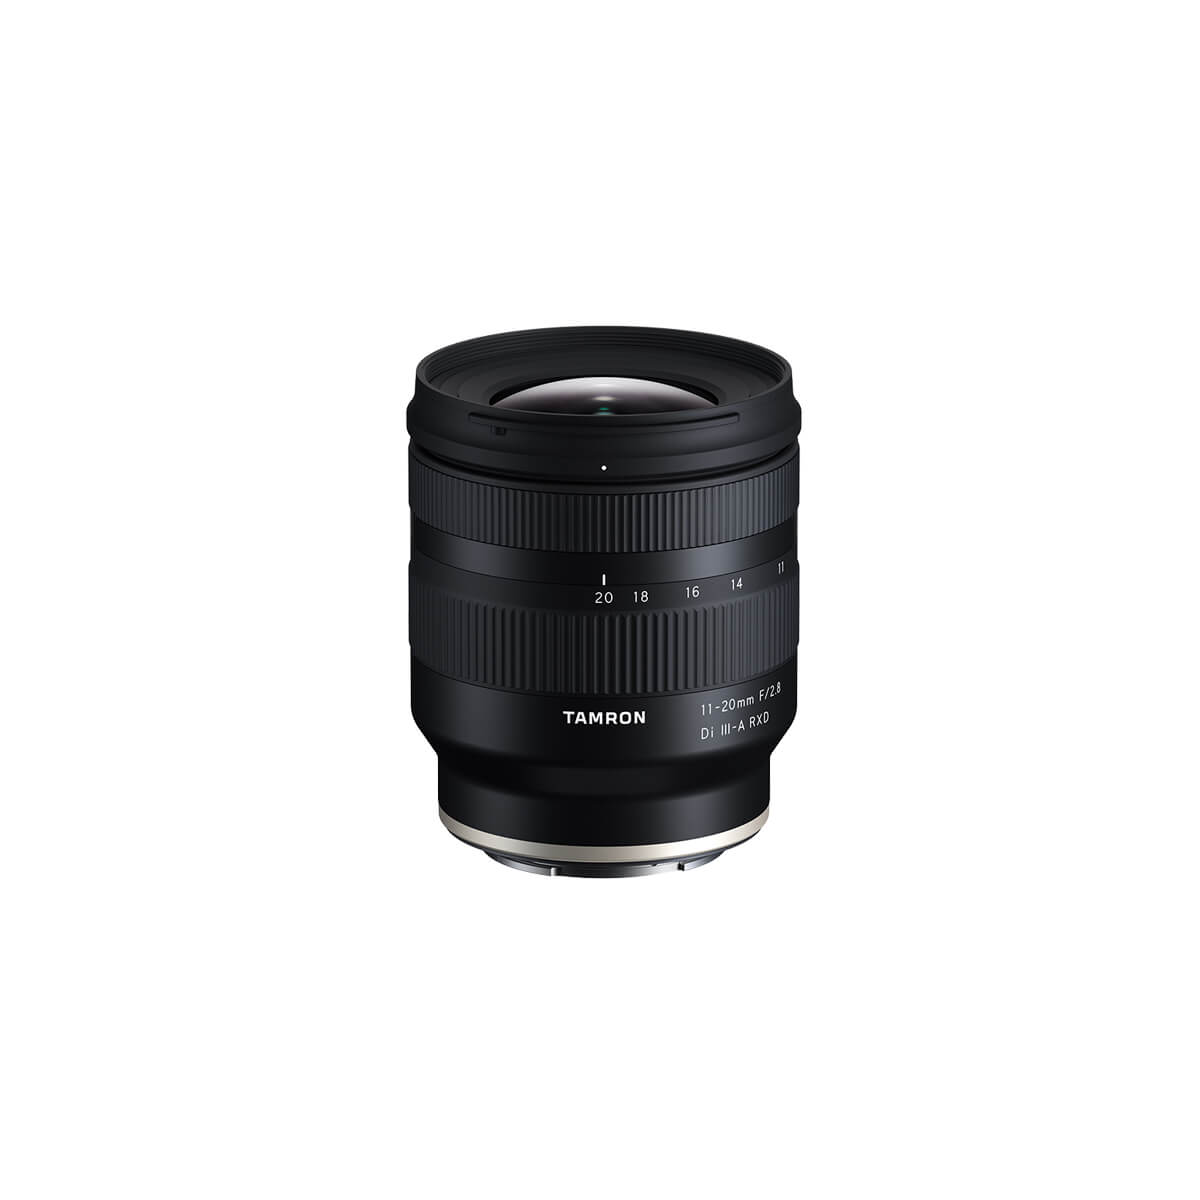
TAMRON 11-20mm F/2.8 Di III-A RXD (Model B060)
Designed for Sony E, Fujifilm X, and Canon RF APS-C mirrorless cameras, this ultra-wide zoom is ideal for capturing dramatic night sky scenes.
- 11-20mm focal range (16.5-30mm full-frame equivalent)
- Bright F2.8 aperture throughout the zoom range
- Compact and lightweight for hiking to dark sky locations
- Moisture-resistant construction
- Ø67mm filter compatibility
Its portability and optical performance make it a strong option for beginners entering astrophotography.
Shop the Tamron 11-20mm F/2.8 Di III-A RXD >>
Essential Gear for Night Sky Photography

Beyond your lens, a few critical accessories will significantly improve your results.
- Sturdy Tripod: Prevents blur during long exposures. Weigh it down with your camera bag for added stability. Learn about how to select a tripod here.
- Remote Release or Self-Timer: Eliminates camera shake when triggering the shutter. Use a 5-second delay minimum if you use the self-timer.
- Headlamp with Red Light: Preserves night vision and reduces light pollution.
- Gaffer’s Tape: Helps secure your focus ring once precise focus is achieved.
- Night Sky Planning Apps: Tools like PhotoPills help preview Milky Way alignment and celestial events.
Improve Night Focus and Workflow with TAMRON Lens Utility™ Ver. 5.0

Achieving critical focus in near-total darkness is one of the biggest challenges in night sky photography for beginners.
With TAMRON Lens Utility™ Ver. 5.0, compatible Tamron lenses now feature advanced customization tools designed specifically to support astrophotography and night shooting.
What Astro Focus Lock Does
- Enables precise focus calibration for infinity
- Locks focus to prevent accidental shift during long exposures
- Reduces focus drift caused by temperature changes
- Simplifies manual focusing in dark environments
Instead of relying solely on live view magnification, photographers can now assign Astro Focus Lock through TAMRON Lens Utility™ and confidently maintain sharp stars throughout a shooting session.
For beginners especially, this feature reduces frustration and increases keeper rates when photographing the Milky Way or star fields.
Night Mode for Low-Light Visibility
When working in dark sky environments, even small LED indicators or lens displays can affect your night vision.
TAMRON Lens Utility™ 5.0 includes Night Mode, which:
- Dims or modifies lens indicator brightness
- Reduces visual distraction in dark conditions
- Helps preserve natural night vision adaptation
- Minimizes unwanted light spill during long exposures
Night Mode is especially useful when shooting in extremely dark environments such as certified dark sky parks, where maintaining low-light discipline is critical.
Wireless Control with TAMRON-LINK

For even greater flexibility in the field, compatible lenses can connect wirelessly using the optional accessory TAMRON-LINK.
TAMRON-LINK allows you to:
- Connect your lens to a smartphone without cables
- Adjust custom lens settings remotely
- Activate or modify Astro Focus Lock
- Toggle Night Mode
- Customize function buttons for faster workflow
Wireless control is especially valuable during night sky photography sessions where minimizing physical contact with your camera reduces vibration and preserves your composition.
Together, Astro Focus Lock, Night Mode, and TAMRON-LINK create a streamlined, field-ready solution for photographers who want greater precision and efficiency when capturing the night sky.
Purchase TAMRON-LINK at the TAMRON Store.
Camera Settings for Night Sky Photography for Beginners
Dialing in proper camera settings is critical for sharp, well-exposed astrophotography images.
Recommended Starting Settings
- Image Stabilization: Turn OFF (camera and lens) when mounted on tripod
- White Balance: 3400–3900K (avoid Auto)
- ISO: Start at 3200 and adjust as needed
- Aperture: Wide open at F2.8
- Shutter Speed: Begin at 20–30 seconds
The 500 Rule (Simplified)
To avoid star trailing:
500 ÷ focal length = maximum shutter speed
For example, at 20mm:
500 ÷ 20 = 25 seconds
This rule helps maintain sharp star points rather than motion blur.
Manual Focus Tips
- Switch to manual focus
- Use live view and magnify a bright star
- Fine-tune until the star appears smallest and sharpest
- Activate Astro Focus Lock (if available)
- Secure focus ring with gaffer’s tape
Mastering these settings builds confidence and consistency in night sky photography.
How to Compose Milky Way and Night Sky Images

Great astrophotography combines technical skill with compelling composition.
Add Foreground Interest
Include elements such as:
- Mountain ranges
- Trees or Joshua trees
- Rock formations
- Desert landscapes
- Barns, silos, or tents
Foreground elements ground the image and provide scale.
Use Light Trails Creatively
If photographing near roads, wait for vehicles driving away from you. Their taillights create red light trails that add storytelling context.
Plan with PhotoPills
PhotoPills allows you to:
- Preview Milky Way rise direction
- Check core visibility season
- Plan around moon phases
- Scout compositions during daylight
Planning ahead dramatically improves your results.
Finding the Best Dark Sky Locations for Astrophotography

Light pollution is the biggest obstacle in night sky photography.
How to Find Dark Skies
Visit darksky.org to locate certified International Dark Sky Places. These areas maintain lighting policies that preserve optimal viewing conditions.
Monitor Weather and Moon Phases
- Clear skies are essential
- Avoid full moon phases for Milky Way photography
- Plan multi-day trips for flexibility
The darker the sky, the more visible the Milky Way and faint celestial detail.
Final Tips for Successful Night Sky Photography for Beginners
- Practice before traveling
- Arrive before sunset to set up safely
- Dress for colder nighttime temperatures
- Shoot multiple exposures for stacking
- Be patient and experiment
- Explore long exposure photography tips
Night sky photography rewards preparation, persistence, and creativity.
Where to Buy Tamron Lenses
Learn more about Tamron lenses at an authorized Tamron dealer near you or shop directly at the official TAMRON Store.
People Also Ask
What is the best lens for night sky photography?
A fast wide-angle lens like the Tamron 16-30mm F2.8 G2 allows you to capture expansive skies while gathering enough light for detailed astrophotography.
What ISO should I use for astrophotography?
Start around ISO 3200 and adjust depending on brightness and noise levels.
How do I focus on stars at night?
Use manual focus, magnify a bright star in live view, fine-tune until sharp, and use Astro Focus Lock if available.
What is Astro Focus Lock in TAMRON Lens Utility™?
Astro Focus Lock is a feature in TAMRON Lens Utility™ 5.0 that allows precise infinity focus calibration and locks focus for astrophotography.
Where can I find dark sky locations near me?
Visit darksky.org to locate certified dark sky parks and communities.
FAQ: Night Sky Photography for Beginners
Do I need a full-frame camera for astrophotography?
No. APS-C cameras paired with lenses like the Tamron 11-20mm F2.8 can produce excellent results.
Is F2.8 fast enough for Milky Way photography?
Yes. F2.8 is widely considered ideal for capturing sufficient light while maintaining image quality.
Can I shoot the Milky Way during a full moon?
It is not recommended. The moon significantly brightens the sky and reduces contrast.
Should I use autofocus at night?
Manual focus is typically more reliable, especially when combined with Astro Focus Lock.
How long should my exposure be?
Typically between 15–30 seconds, depending on focal length and the 500 Rule.
More Photo Tips | Watch Videos | Learn More About Tamron Lenses | Photo Gallery