 Instant Savings
 Support
 Find a Dealer
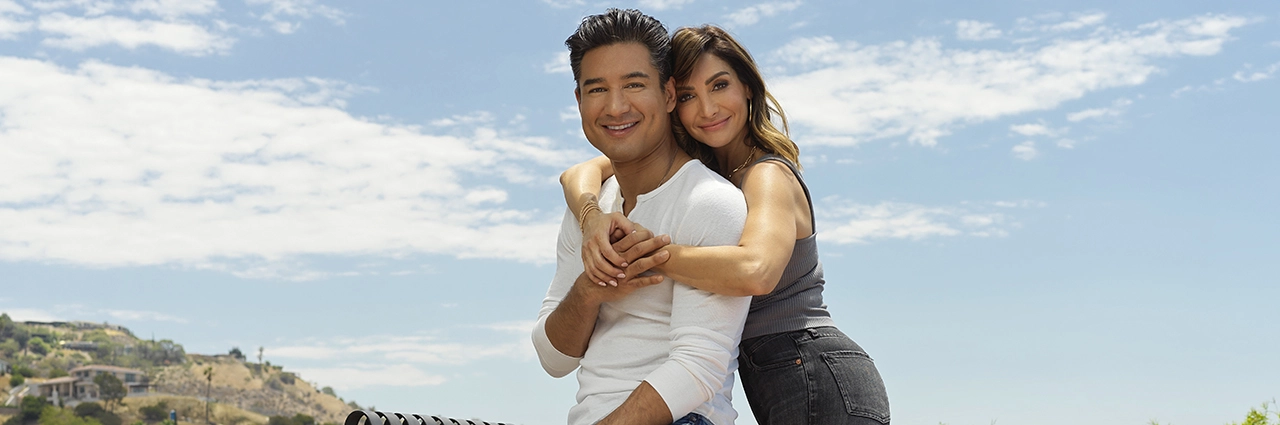
Lighting is everything in photography and videography. Using reflectors and diffusers can transform a good image into an extraordinary one—highlighting details, adding depth, and enhancing overall quality. These essential tools give you greater control over your lighting, helping you shape and manipulate it for the best results.
What You’ll Learn in This Post:
- The key differences between reflectors and diffusers and how they work
- How to choose the right type of reflector or diffuser for your needs
- Best practices for positioning reflectors and diffusers in different lighting conditions
- How to use these tools effectively for outdoor and indoor, portrait photography and videography
- Practical tips to achieve professional-quality lighting in your photos and videos
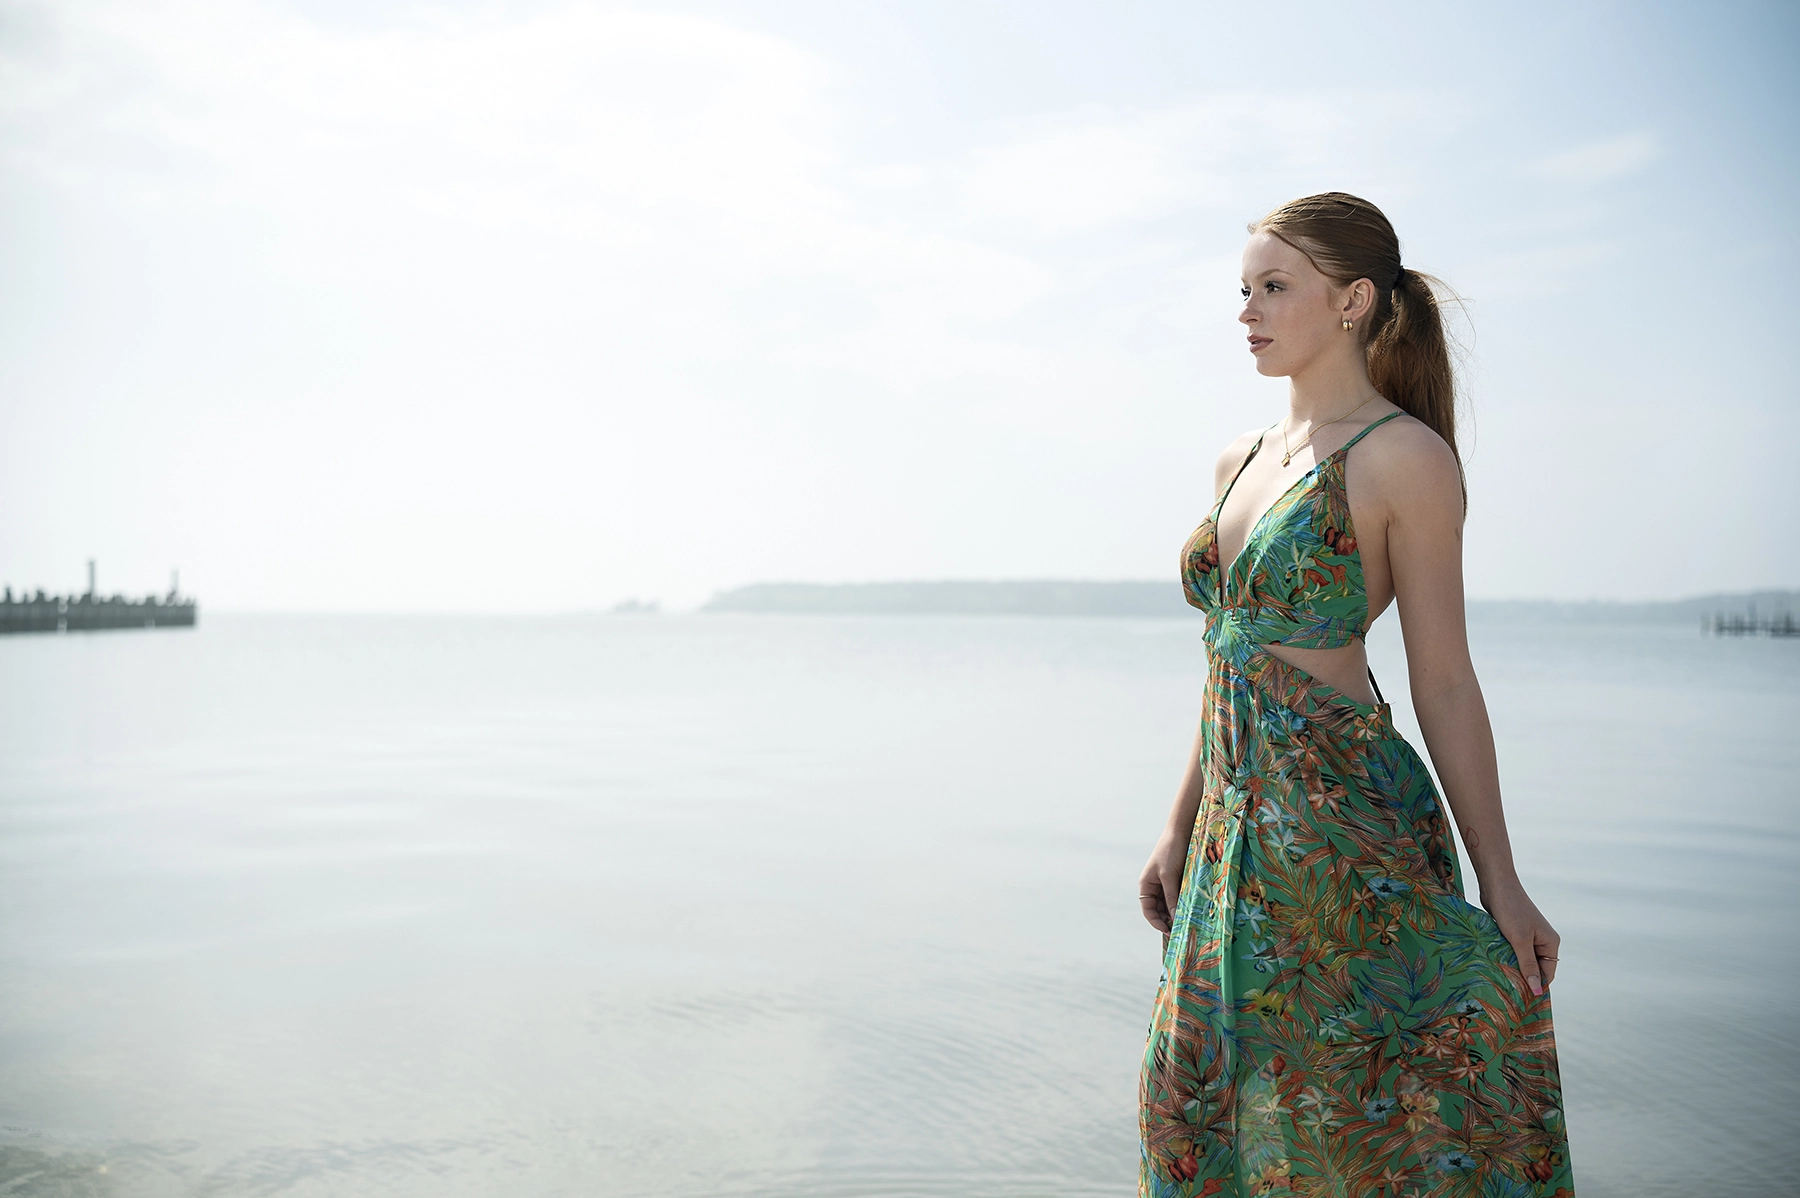
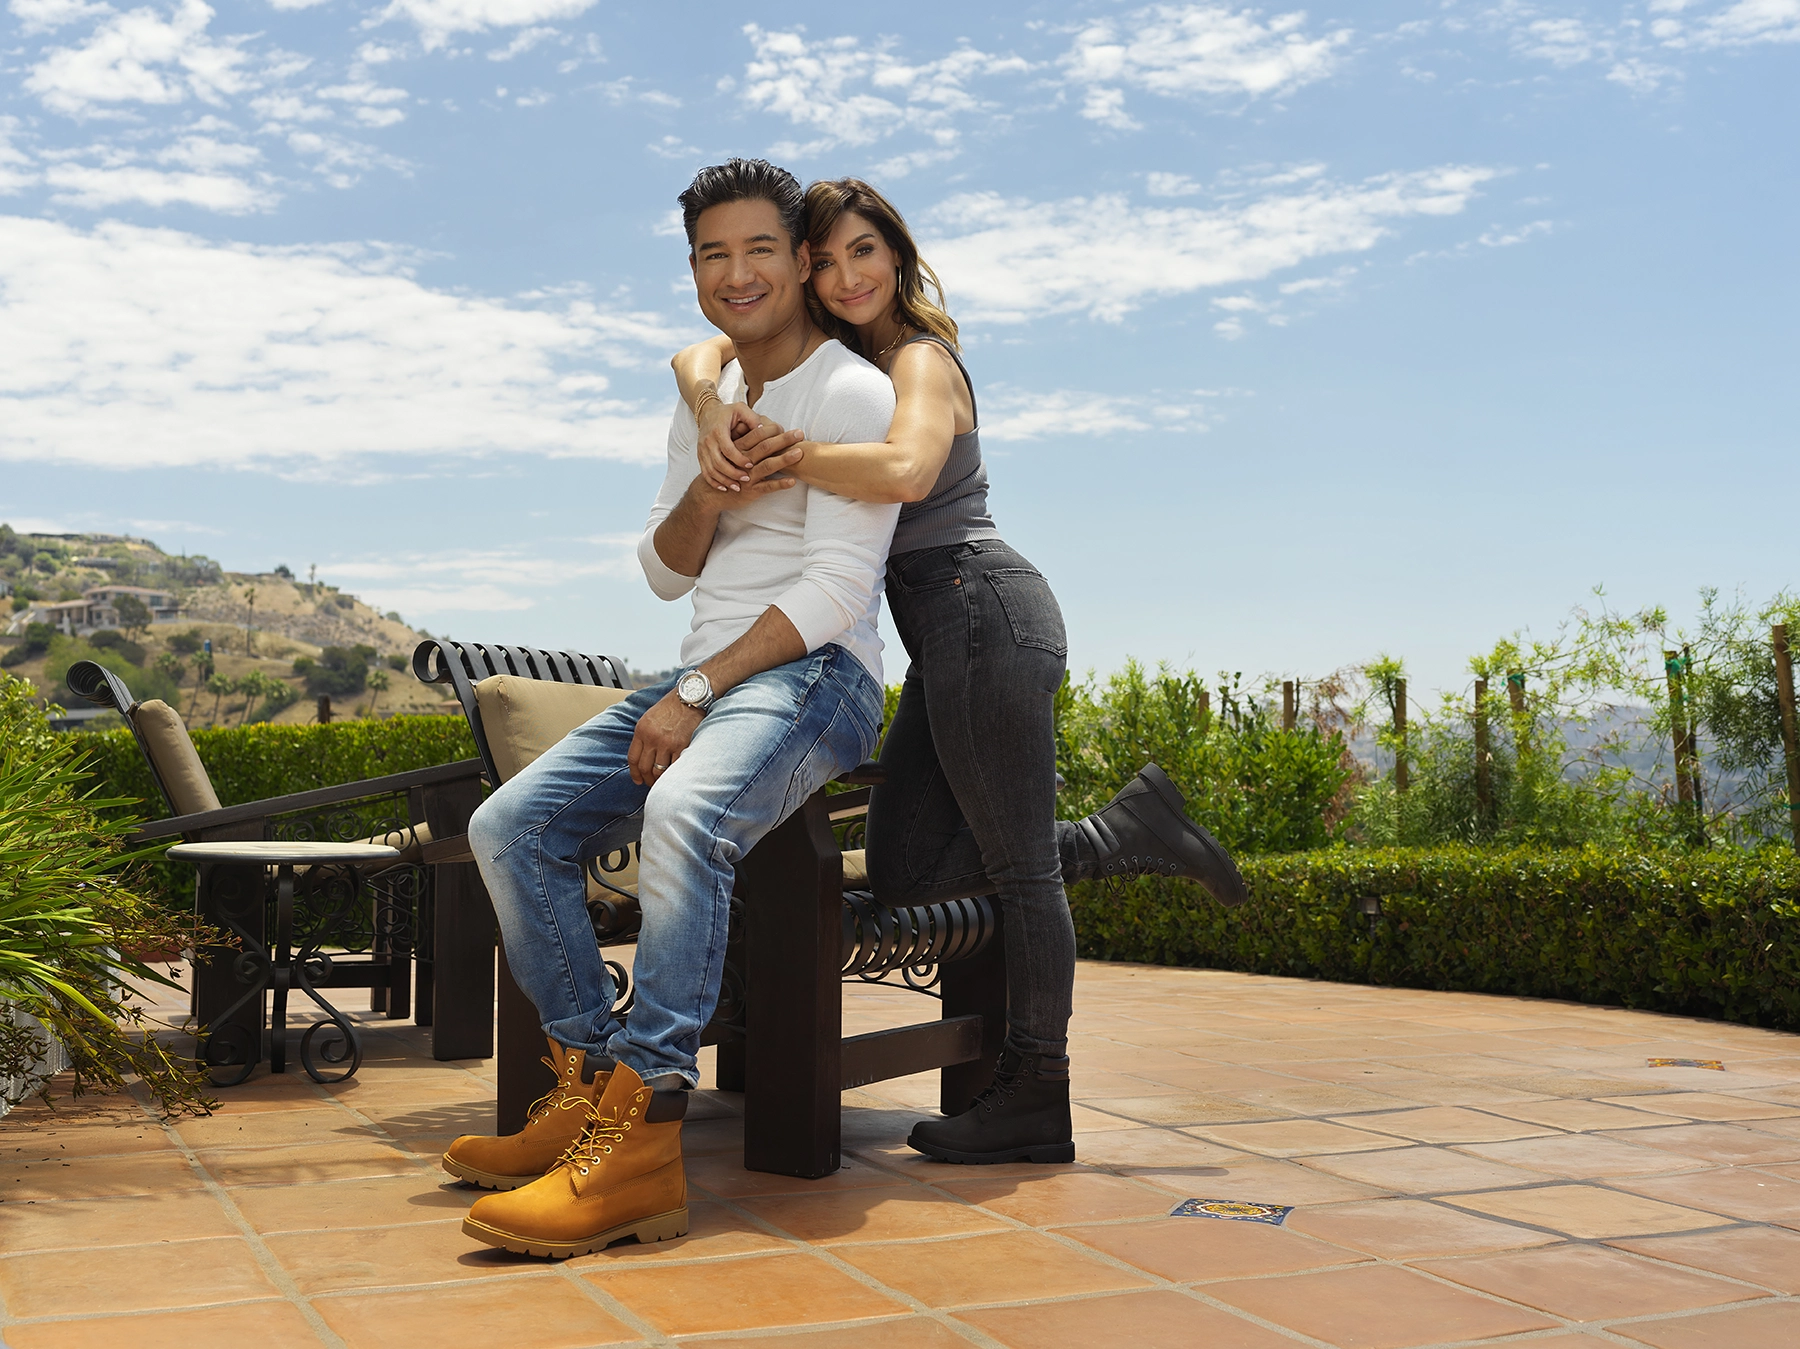
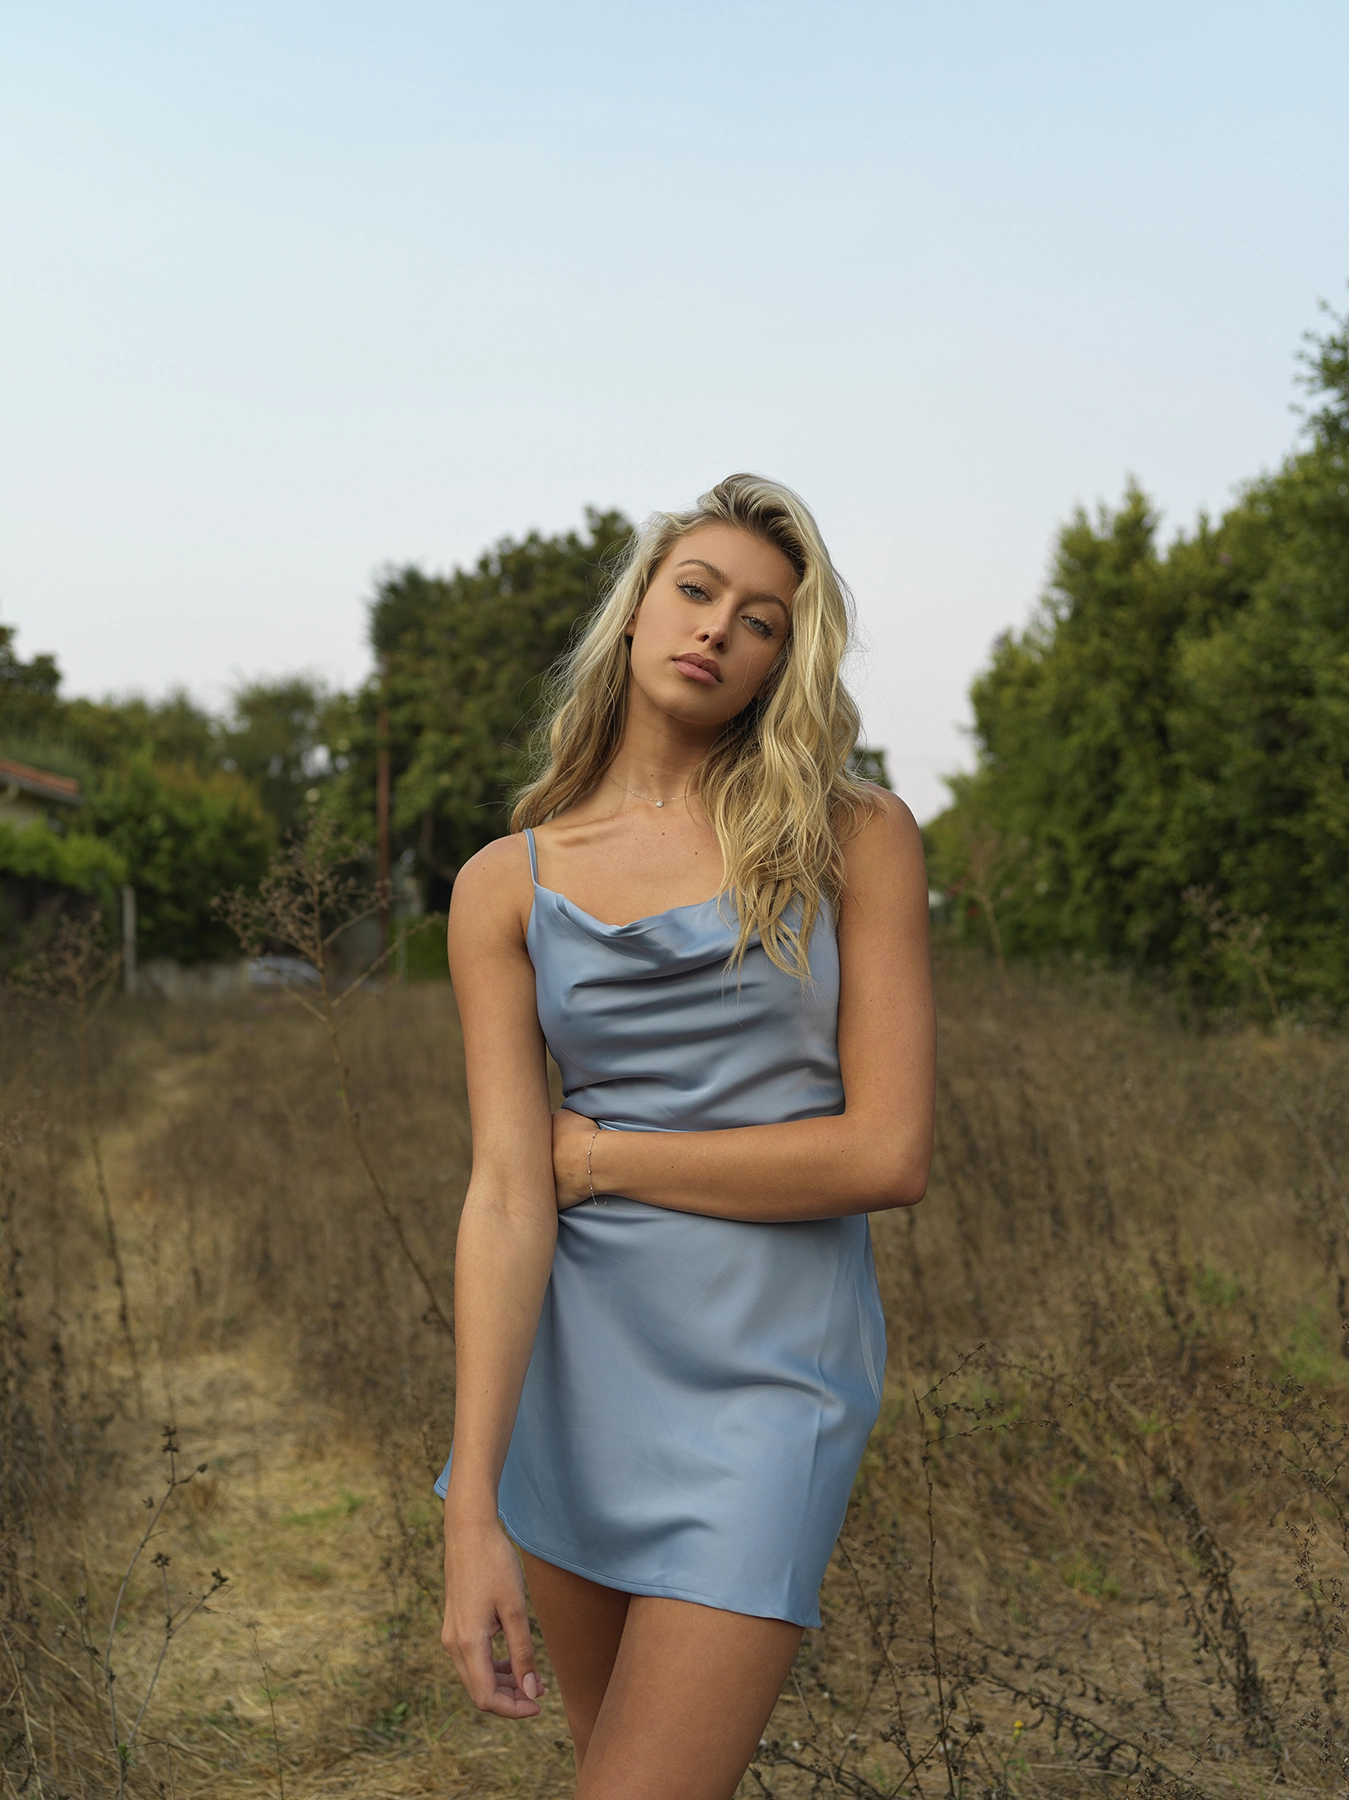
This guide features images by professional celebrity photographer Hernan Rodriguez, who shares his lighting setup using reflectors and diffusers to achieve impressive results. Hernan is a Tamron Image Master who shoots with the lineup of Tamron Nikon Z mount lenses.
What Are Reflectors and Diffusers?
Reflectors
Reflectors are lightweight, portable panels—typically made of fabric stretched over a collapsible metal frame—that bounce natural light or artificial light onto your subject. Available in various shapes and sizes, reflectors help fill in shadows and create flattering illumination. Many photographers use 5-in-1 kits, which include different colored reflectors for various lighting effects.
Here’s how different reflectors work:
- Silver Reflectors: Produce bright, high-contrast, reflected light, ideal for adding drama and definition. Perfect for outdoor portrait photography where you need extra fill light in harsh light conditions.
- Gold Reflectors: Cast a warm, golden glow, enhancing skin tones and mimicking sunset lighting. Great for creating a warm aesthetic in soft light conditions.
- White Reflectors: Provide neutral, even illumination, reducing shadows without adding contrast. Best for natural, balanced fill light.
- Black Reflectors: Absorb light instead of reflecting it, helping to add shadows and depth to your subject. Often used for dramatic lighting effects or to control hair light in portrait setups.
- Translucent Reflectors: Also function as diffusers, allowing you to soften the light by spreading it out for a more natural look.
Diffusers

A diffuser produces soft, even lighting by scattering direct light sources. Whether it’s the sun or an artificial light, a diffuser helps minimize shadows and create a smoother transition between highlights and darker areas. Just like reflectors, diffusers come in various sizes and are frequently used in outdoor portrait photography to soften strong sunlight.
How to Position Reflectors and Diffusers
Proper positioning is key to achieving the desired lighting effect.
- For reflectors: Place one opposite your main light source to bounce reflected light onto your subject, adjusting the angle to control intensity and direction.
- For diffusers: Position them between the light source and your subject to spread diffused light evenly.
Using Reflectors and Diffusers for Outdoor Photography
- Use a diffuser to soften strong natural light, reducing harsh light and minimizing deep shadows. Simply hold or mount the diffuser between the sun and your subject to create soft, even illumination.
- A silver reflector can help add brightness and contrast, while a gold reflector will add warmth to skin tones.
- When shooting an outdoor portrait, use a white reflector for subtle, flattering fill light without altering the subject’s skin tone.
Using Reflectors and Diffusers for Indoor Photography

- Use 5-in-1 kits to experiment with different lighting effects. A white silver gold combination allows you to switch between neutral, bright, or warm tones based on your setup.
- Place a black reflector to absorb unwanted light and create more defined shadows.
- A diffuser produces a softer glow by minimizing harsh artificial lighting, creating a more natural, flattering look.
Using Reflectors and Diffusers for Portrait Photography
- For outdoor portrait photography, a silver reflector can help brighten the face, while a gold reflector can add warmth for a sun-kissed effect.
- To avoid harsh overhead shadows, use a diffuser to soften the natural light before it reaches your subject.
- For studio portraits, use a black reflector to create depth and define facial features. A hair light can also be added to highlight the subject’s hair and separate them from the background.
Mastering Light When Using Reflectors and Diffusers
Mastering reflectors and diffusers allows you to take full control of your lighting, improving the quality of your photos and videos across different conditions. Whether you’re working with harsh light outdoors, balancing fill light indoors, or using a 5-in-1 kit for versatility, these tools offer endless creative possibilities.
By using reflectors and diffusers effectively, you can shape natural light to your advantage and achieve professional-quality visuals in any setting. Experiment with different lighting techniques, and soon, you’ll be capturing stunning images with beautifully controlled soft light.