- Learn essential framing, composition, and basic videography tips and techniques to enhance your storytelling.
- Explore videography lighting techniques that use natural and artificial light to create mood, tone, and clarity in your videos.
- Understand what the basic camera movements are, including pans, tilts, and zooms, to add dynamic motion and depth to your footage.
- Discover how to select the best lenses for your video projects and why image stabilization, like Tamron’s Vibration Compensation, is fun for smooth, professional-quality footage.
- Apply practical tips for planning, practicing, and reviewing your videography to continuously improve your skills and achieve cinematic results.
Now that you’ve got a handle on the basics of videography, it’s time to dive into the essential techniques that will help you master the craft and create truly captivating visuals. Whether you’re a photographer expanding into video or a novice filmmaker, understanding these foundational techniques is key to telling visually compelling stories. In this post, we’ll explore basic videography tricks and techniques you need to know, including framing, composition, lighting, camera movements, lens selection, and the importance of image stabilization. These are the building blocks that will set the stage for your journey into more advanced videography.
Framing, Composition, and Lighting: The Foundation of Good Videography

The foundation of effective videography lies in becoming a master at framing, composition, and lighting. These elements work together to shape how your audience perceives your story, making them fundamental aspects of your video creation process.
Framing and Composition: Just like in photography, the way you position your subject within the frame and arrange visual elements can significantly impact the viewer’s experience. Framing involves determining what will be included in the shot and where its boundaries will be. A well-framed shot draws the viewer’s eye to the most important elements of the scene while minimizing distractions.
Using the Rule of Thirds—where you divide your frame into nine equal sections with two horizontal and two vertical lines—is a classic technique to create a balanced and engaging composition. Position your subject at the intersection of these lines to naturally guide the viewer’s gaze.
Composition goes beyond simple framing; it encompasses the overall arrangement of elements within your shot. Leading lines direct the viewer’s attention toward the subject, while symmetry and patterns can create a sense of balance and harmony. Additionally, consider the depth of your scene; incorporating foreground, midground, and background elements can add layers to your storytelling, which makes your visuals more dynamic and engaging.
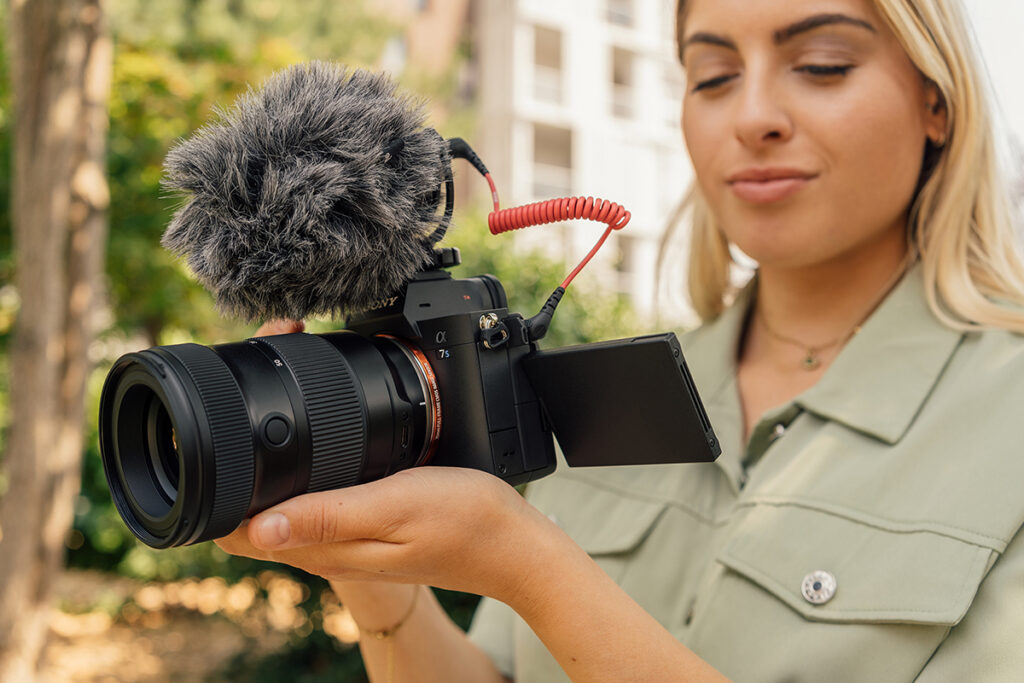
Lens Tip: A versatile zoom lens like the Tamron 17-50mm F/4 Di III VXD is perfect for capturing a variety of framing options without the need to constantly switch lenses. Its focal range allows you to experiment with different compositions, whether you’re shooting wide scenes or more focused subjects.
Lighting Techniques: Lighting shapes the mood, tone, and clarity of your footage, making it essential for professional-quality videos.
When outdoors, shoot during Golden Hour—just after sunrise or before sunset—for soft, flattering light. Try to avoid harsh, midday sunlight.
Indoors or in low light, use setups like key lights, fill lights, and backlights, with the key light as the main source, the fill light softening shadows, and the backlight adding depth.
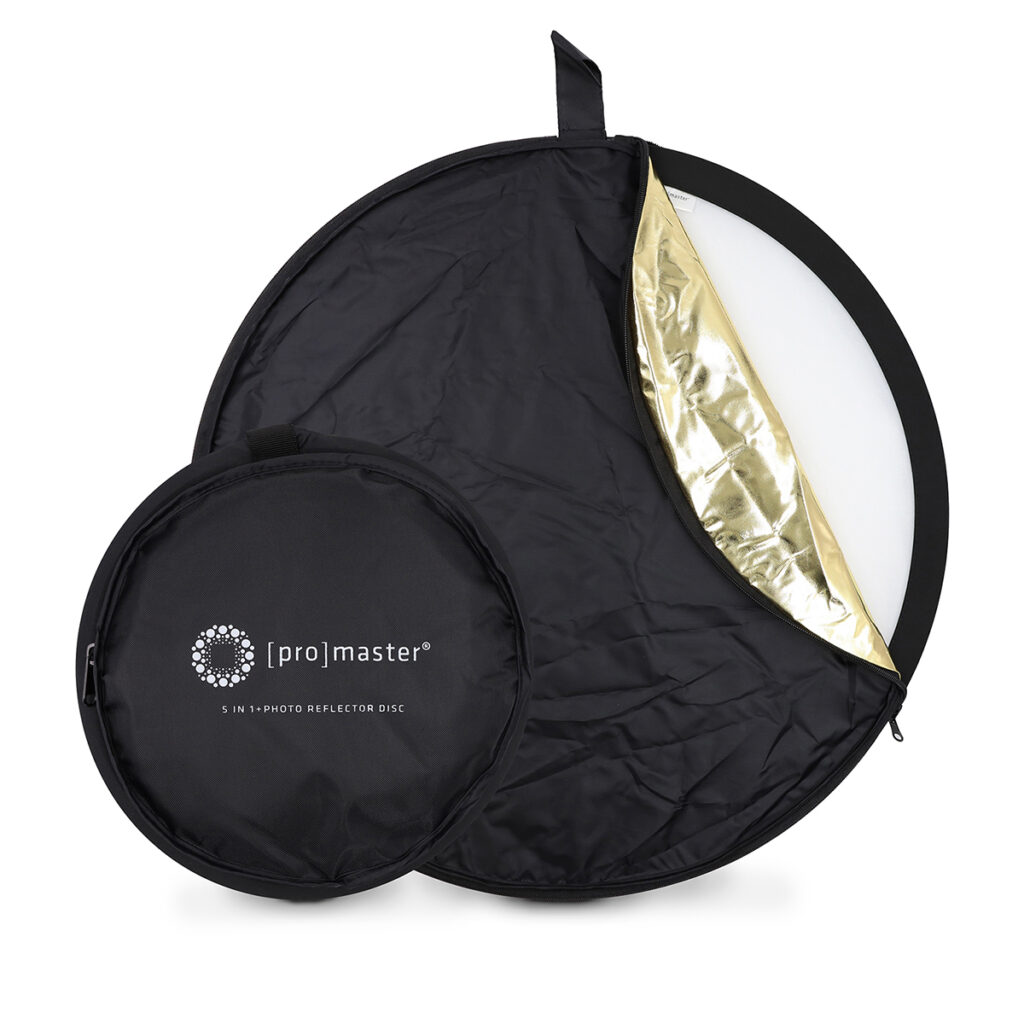
Accessories like reflectors and diffusers can further improve your lighting by filling shadows and softening harsh light.
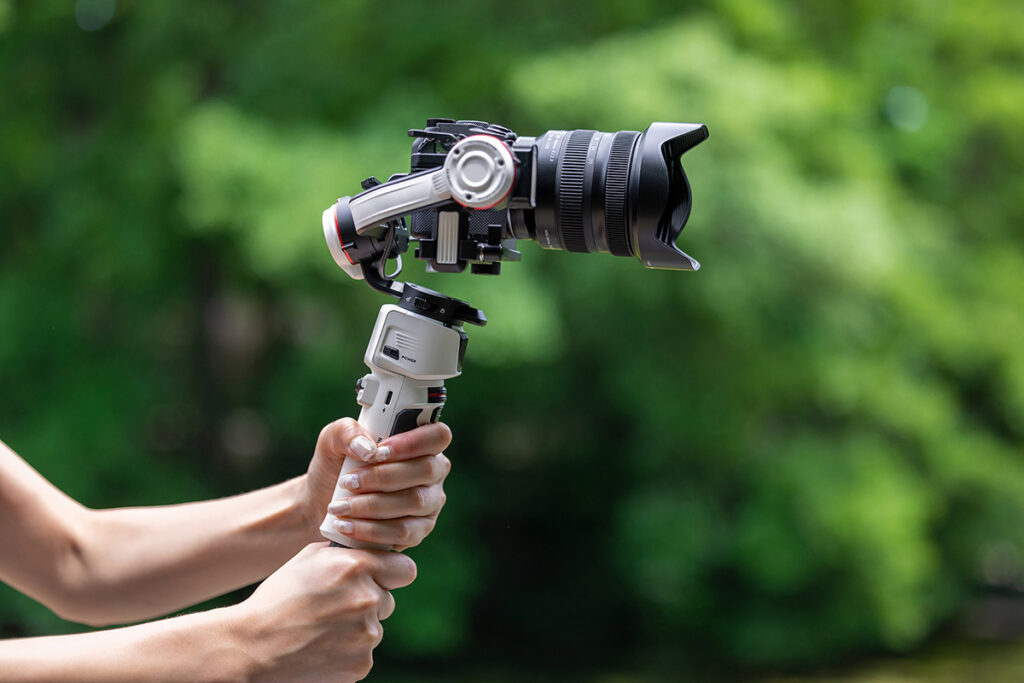
Lens Tip: When working in low-light conditions, a fast lens like the Tamron 20-40mm F/2.8 Di III VXD is ideal. Its wide aperture allows more light into the lens, making it easier to achieve clear, well-lit footage even in challenging lighting situations.
Camera Movements: Adding Dynamic Motion
So, you might ask, “what are the basic camera movements” and “why are they important to learn?” Understanding basic camera movements is essential for adding emotion to your videos. By mastering these movements, you can guide your viewer’s attention, evoke feelings, and create more engaging visual narratives. Here are some fundamental movements every videographer should know:
Pan: This involves moving the camera horizontally from one side to another on a fixed axis, much like turning your head left or right. Panning is great for showing the surroundings or following a subject in motion, such as a car driving past or a person walking across the frame. It’s also useful for revealing new information or transitioning between scenes. To achieve a smooth pan, consider using a tripod with a fluid head, which allows for controlled and steady movement.
Tilt: Like a pan, but this time the camera moves vertically, tilting up or down. Tilting can be used to emphasize the height of a subject, such as a tall building, or to reveal something gradually, adding suspense or curiosity. For instance, tilting down from a clear sky to a dramatic landscape can set the scene, while tilting up from a character’s feet to their face can create a sense of anticipation or tension. Like panning, tilts are best executed with a tripod to ensure smooth motion.
Zoom: While zooming changes the focal length of the lens to make the subject appear closer or further away, it’s important to use this sparingly. Excessive zooming can feel amateurish unless used purposefully. A zoom can be effective for highlighting a specific detail or drawing attention to a particular aspect of the scene. However, zooms can sometimes feel mechanical, so they are often better suited to documentary-style footage or scenes where a dramatic focus shift is necessary. Smooth zooms can be achieved using lenses like the Tamron 28-75mm F/2.8 Di III VXD G2, which offer responsive and precise zoom control.
Dolly: This is when the entire camera moves toward or away from the subject, creating a sense of movement through space. It’s often achieved using a dolly track or slider and can create a more immersive experience than a zoom, as it physically moves the viewer through the scene. Dolly movements are particularly effective in drawing the viewer into the action or pulling them away to reveal the bigger picture. For example, a dolly-in can heighten tension as you move closer to a character, while a dolly-out can provide context by revealing the surroundings.
Truck: Moving the camera left or right, parallel to the subject, is known as trucking. This movement is useful for maintaining a consistent distance from the subject while following their movement, such as walking alongside someone or tracking a moving vehicle. Trucking shots are often used in scenes where you want to maintain a specific framing of the subject while moving with them. This technique is also effective for following action scenes or creating a sense of motion across a landscape.
Pedestal: Raising or lowering the camera vertically while keeping it level with the subject is known as a pedestal move. Unlike a tilt, which changes the angle of the camera, a pedestal move keeps the camera parallel to the ground. This movement can be used to capture low-angle or high-angle shots without tilting the camera, providing a more neutral perspective shift. For example, you might pedestal up from a seated character to standing, maintaining a consistent framing while changing the viewer’s perspective. This technique is great for emphasizing height differences or adding a subtle dynamic to a static scene.
By mastering these camera movements, you can add a new layer of visual storytelling to your videos, making them more engaging and professional. Each movement has its own purpose and effect, so understanding when and how to use them will help you convey your narrative more effectively.
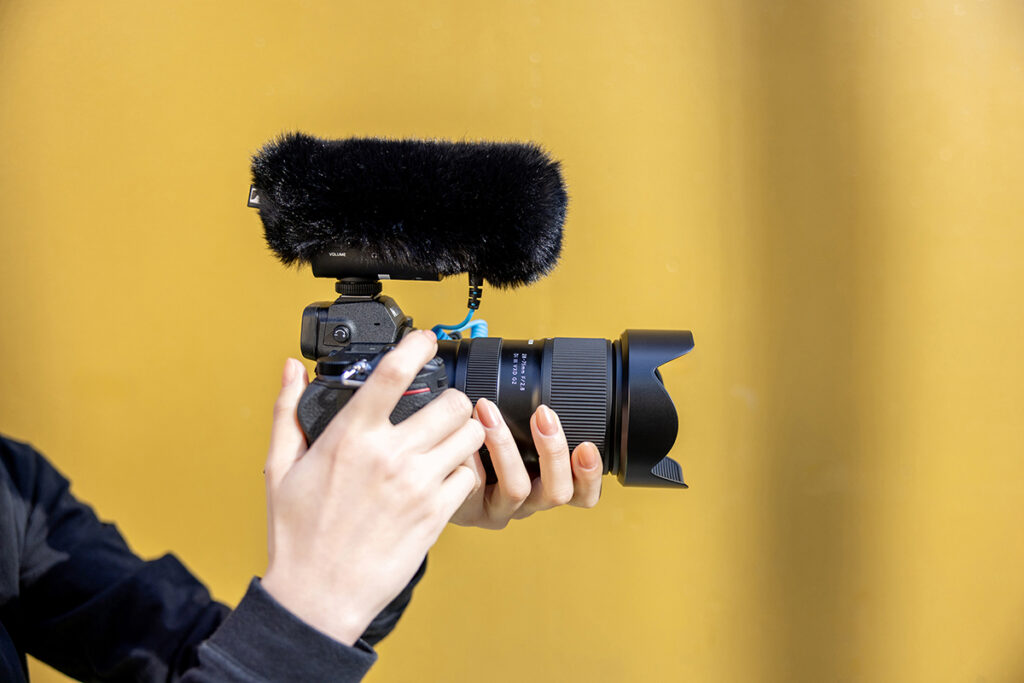
Lens Tip: The Tamron 28-75mm F/2.8 Di III VXD G2 offers a smooth zoom function that can enhance your dolly shots, making it easier to maintain clarity and focus while creating dynamic motion within your scenes.
Lens Selection: Choosing the Best Tools for Your Video
Selecting the right lens for your project is key to achieving your desired look and feel. The lens you choose can dramatically alter the visual style of your video, affecting everything from the depth of field to the way movement is captured, ultimately shaping the viewer’s experience.
Wide-Angle Lenses: These lenses are perfect for capturing expansive scenes, such as landscapes, architecture, or large groups of people. Their broad field of view creates a sense of depth and can make the viewer feel more immersed in the scene by pulling in more of the surroundings. Wide-angle lenses are excellent for establishing shots, where you want to showcase an environment or setting in its entirety. However, they can introduce distortion, particularly at the edges of the frame, causing objects to appear stretched or warped. This is something to be mindful of, especially when shooting close-ups or straight lines, where the effect might be unwanted.
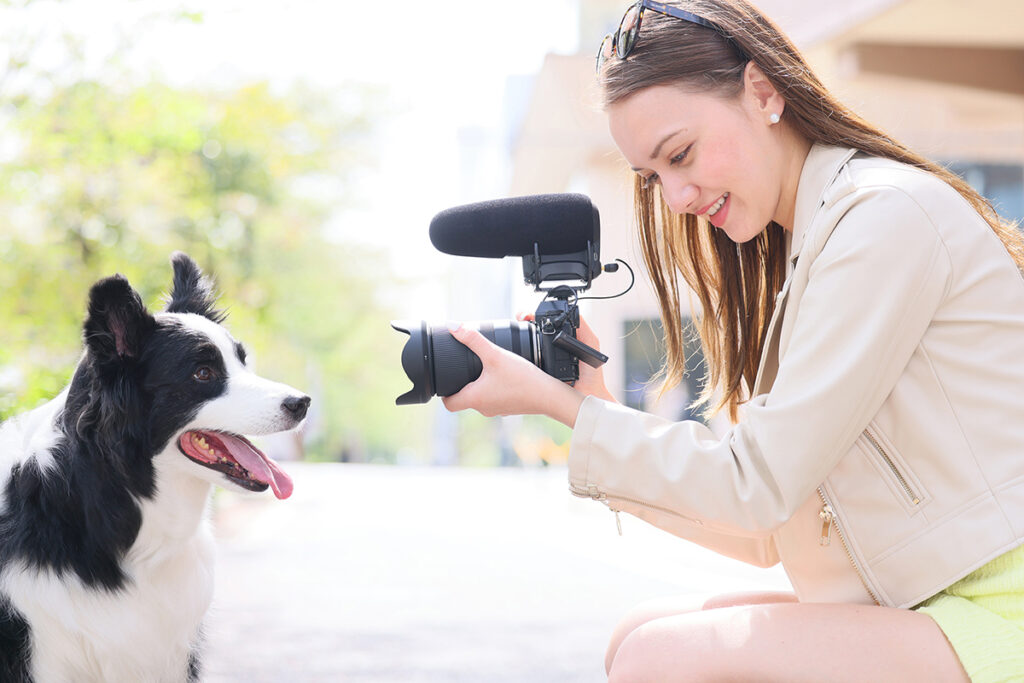
Lens Tip: The Tamron 17-70mm F/2.8 Di III-A VC RXD offers a versatile focal range with minimal distortion, making it ideal for capturing wide shots without sacrificing image quality.
Standard Lenses: Offering a focal length that closely resembles the human eye’s perspective, standard lenses are versatile and well-suited for most situations. They provide a natural field of view, making them ideal for interviews, portraits, and general-purpose filming. The balanced perspective of standard lenses avoids the extremes of distortion seen in wide-angle lenses and the compression effect typical of telephoto lenses. This neutrality makes standard lenses particularly effective for scenes that require a realistic portrayal of the subject, such as in narrative storytelling or documentary work.
Lens Tip: The Tamron 28-75mm F/2.8 Di III VXD G2 is an excellent choice for standard shots, offering flexibility across various focal lengths while maintaining outstanding image quality.
Telephoto Lenses: These lenses are perfect for isolating a subject from the background, making them ideal for close-up shots in nature, sports, or documentary videography. Telephoto lenses compress the distance between the subject and background, creating a shallow depth of field that beautifully blurs out distractions and focuses attention on the subject. This is particularly useful in wildlife videography, where you need to capture intimate details from a distance without disturbing the subject. The selective focus capabilities of telephoto lenses also add a cinematic quality to your footage, enhancing the emotional impact of close-up shots.
Prime vs. Zoom Lenses: Prime lenses, with their fixed focal lengths, offer superior sharpness, clarity, and low-light performance due to their typically wider apertures. They are often favored for their optical quality and ability to produce a shallow depth of field. However, the fixed nature of prime lenses means you need to physically move the camera to change your framing, which can be limiting in dynamic shooting environments. In contrast, zoom lenses provide the flexibility to change focal lengths quickly without switching lenses, making them incredibly useful when you need to adapt to different scenes on the fly. This versatility is particularly valuable in situations where time and mobility are critical, such as in event videography or on-the-go documentary shooting.
Lens Tip: Tamron’s zoom lenses, like the Tamron 17-70mm F/2.8 Di III-A VC RXD, are designed to offer the best of both worlds, combining exceptional image quality with the flexibility needed for a wide range of videography applications.
Choosing the right lens for each scene allows you to control how your audience perceives your subjects and environment and makes sure that your visuals align perfectly with your creative vision.
The Importance of Image Stabilization: Keep It Steady
One of the often-overlooked basic videography techniques is image stabilization. Shaky footage can be distracting and unprofessional, so it’s crucial to understand why stabilization matters and how to use it effectively.
Built-In Camera Stabilization: Many modern cameras come equipped with in-body stabilization, which compensates for small movements, allowing for smoother handheld shots. This is especially useful when shooting in challenging conditions or when using longer focal lengths.
Lens-Based Stabilization: Some lenses have built-in stabilization that helps to reduce camera shake. This is particularly beneficial when shooting handheld or in low-light conditions where slower shutter speeds are necessary. Understanding how to maximize your lens’s vibration reduction capabilities can significantly improve the quality of your footage.
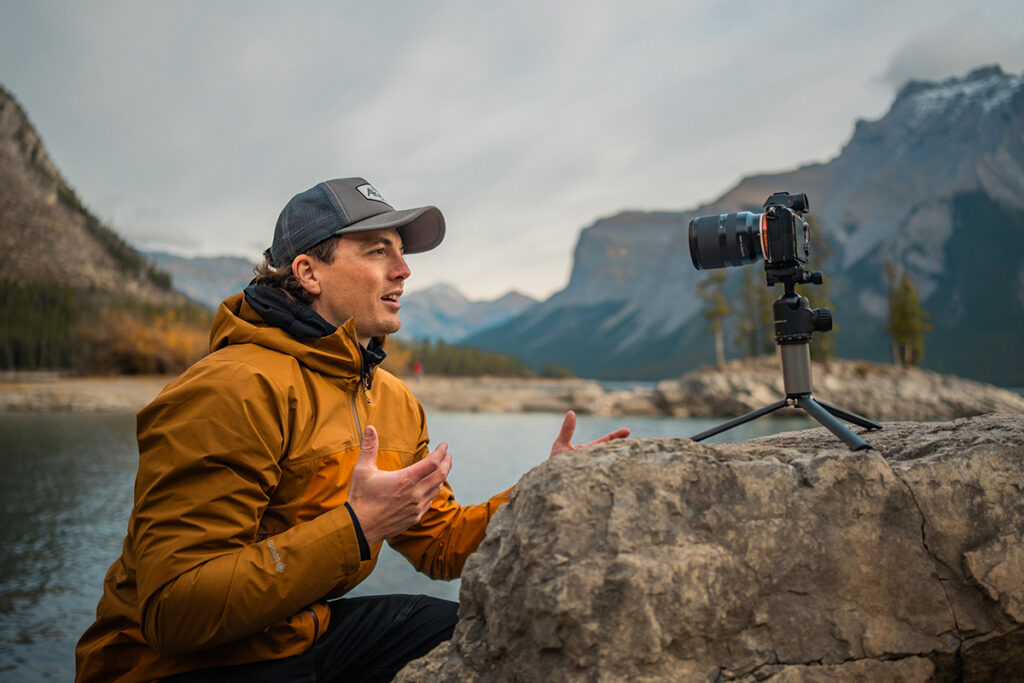
Tripods and Gimbals: While in-camera and lens stabilization are great, sometimes you need the additional support of a tripod or gimbal. Tripods are perfect for static shots, ensuring your camera remains perfectly still. Gimbals, on the other hand, are ideal for moving shots, providing smooth, cinematic movements even when you’re on the go.
Practical Tips for Applying These Basic Videography Techniques
Now that we’ve covered the basics, here are some practical tips to help you apply these videography tricks and techniques in your projects:
- Plan Your Shots: Before you start filming, storyboard your shots. This approach helps you capture all the necessary footage and minimizes the need for extensive editing later.
- Practice Makes Perfect: The more you practice framing, composition, and camera movements, the more instinctive they will become. Take time to experiment with different angles and lighting setups to see what works best for your style.
- Review Your Footage: After each shoot, review your footage to identify areas for improvement. This will help you refine your techniques and avoid repeating mistakes in future projects.
- Keep Learning: Videography is a constantly evolving field, with new techniques and technologies emerging all the time. Stay curious and keep learning to stay ahead of the curve.
Mastering these fundamental basic videography tips and techniques is the first step toward creating professional-quality videos. By focusing on framing, composition, lighting, camera movements, lens selection, and image stabilization, you’ll be well on your way to producing visually compelling stories that resonate with your audience. As you continue to practice and refine your skills, you’ll find that these basics become second nature, allowing you to explore more advanced techniques in the future.
